
Are you confused about how to make a crochet gauge swatch? Have you noticed the gauge section in the pattern and wondered what it means? Is it really necessary to make a crochet swatch? I’ll walk you through all of these questions and more below!
It’s confession time – I HATE doing gauge swatches!!! Who’s with me?
But, sometimes it is a necessary evil to endure. Let me start with a little story for you.
I can usually tell before starting a project that a gauge swatch is needed. With some projects it really is crucial that you are using the same gauge as the pattern author. Like, when you only have a limited amount of yarn for your project.
This was the issue with my recent gauge failure with a hair towel. For starters, the gauge listed in the pattern was waaaayyyy off from what I got with the hook/yarn combination. I’m not really sure if that is an issue of the designer being a super tight crocheter or if it was maybe a misprint. In addition, the yarn requirements listed in the pattern had no buffer built in.
Like none.
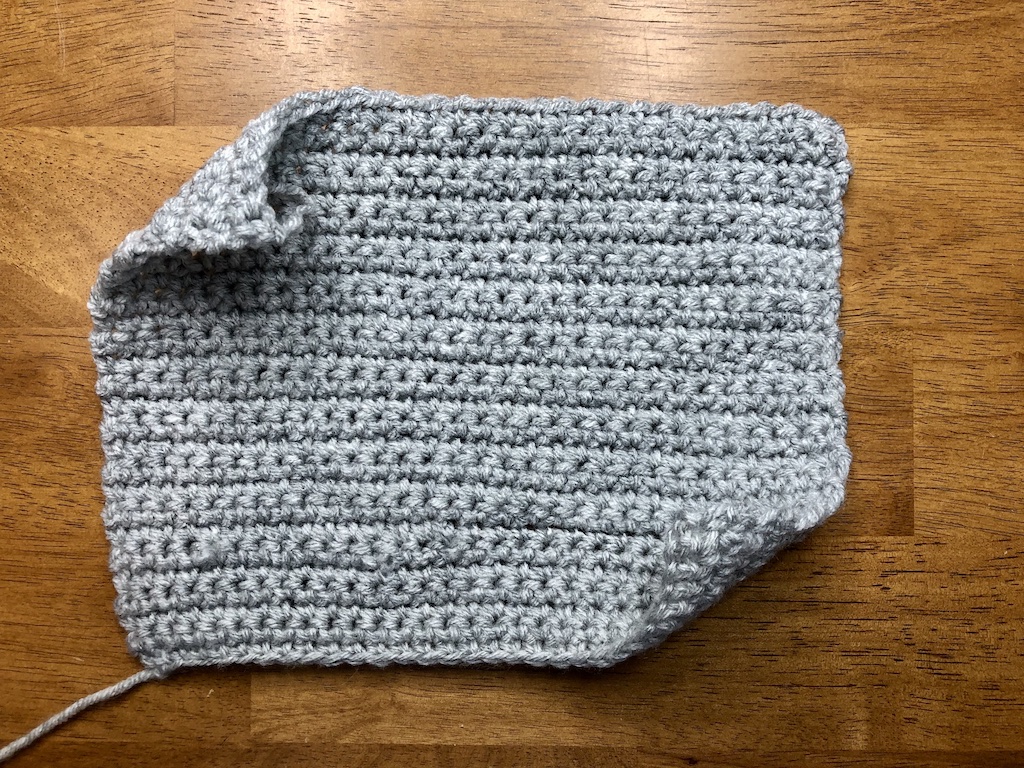
So, I started out as usual and dove right into the pattern. I worked up the first piece and thought my stitches looked a little loose compared to the photo, but that’s not always a good indication of how your gauge matches up. Besides, it looked nice. But, about halfway through the second piece, I ran out of yarn.
YIKES!
I grabbed my trusty turtle tape measure (who decided to break, but that’s a different story. Never fear – I found a replacement!) and checked, and my gauge was way off. Like instead of being 4 inches, it was more like 4.5-5 inches.
OK – time to frog the whole thing and start again.
Here’s where you would expect a rational person to do a gauge swatch, right? Nope. Not me – I grabbed a smaller hook and jumped in again.
You guessed it – still too big and I ran out of yarn. Again. I’m stubborn and determined to get this right. This pattern will not beat me!
So, I broke down and did a gauge swatch. Knowing that I had limited yarn, I did not finish off the swatch so I could tear it out and still use the yarn. Great – now I have the right hook. Right?
Wrong. Somehow, my gauge loosened up while working the pattern, even though my swatch was right. Grrrrrr.
Fourth time’s a charm – I grabbed my D hook (3.25 mm) and started again. BTW – the pattern called for an H hook in the gauge! This time I made sure to keep my stitches nice and tight. I also modified the pattern slightly to fix a couple of things that I didn’t particularly care for – I mean, I’m basically an expert on this pattern by now, right?!
Success!!! I was able to finish the towel with a smidge of yarn leftover.
All of this is to say, please learn from my mistake! So, let’s take a more in-depth look at how to do a gauge swatch.
The million dollar question is, “Do I HAVE to do a crochet gauge swatch?“
When looking at a pattern, it should list a crochet gauge for that particular pattern. Find it at the top of the pattern or in the “legend” sectionnear the materials and abbreviations lists. Or, if it truly doesn’t matter, the author should indicate that gauge is not important or vital to the pattern. If this is the case, then grab the suggested hook and yarn combination and dive in.
If there is a gauge listed, then you need to consider doing a gauge swatch. There are several factors to check when deciding whether or not to do a swatch.
- Does the pattern author say that gauge is crucial to the pattern? If the answer is yes, then you should definitely do a gauge swatch.
- Does sizing matter for this pattern? This could relate to a wearable garment or the proportions of the finished piece. If it is important that the finished piece look exactly as the pattern author’s example, then you should definitely do a gauge swatch.
- Do you know that you tend to crochet on the tight or loose side? If so, doing a gauge swatch will help you make sure you are in the same ballpark as the pattern author.
- Do you have exactly the right amount of yarn for the pattern? If so, doing a gauge swatch will help ensure that you do not run out of yarn by inadvertently making your stitches looser than the pattern.
If you answered ‘no’ to the above questions, then it really is up to you whether you need to do a gauge swatch. It comes down to how important it is that your finished piece looks exactly like the pattern. If it is not super important, then jump right in!
What do the words mean in the crochet gauge swatch section of the pattern?
Unfortunately, there doesn’t seem to be a standardized format for gauge swatches. Most gauges on Ravelry are 4-inch squares. But, this is only because of the options available when entering a pattern on the site.
So, if it’s not standardized, how do you know what to do?
To answer that, I’ve pulled a few examples from one of the books in my stash.
Small Crochet Pig gauge instructions
Here we have the gauge section for a small stuffed pig. This is good news! You don’t need to do a gauge swatch for this project since the author has said it does not matter. The pattern does list the finished dimensions for the pig, so you will know if you are close once you’ve finished. In this case, dive right in with the suggested yarn and hook sizes and start creating.
Watermelon Rug gauge instructions
This is the gauge section from a watermelon shaped rug. It gives two options for checking your gauge. The gauge section tells you that 6 double crochet stitches worked for 3 rows gives you a swatch 4 inches across and 4.25 inches high. The suggested gauge swatch is working the pattern through Row 2, after which it should measure 4.5 inches high and 7 inches wide. In this case, it would be up to you which route you would like to go. Given the nature of this pattern, you may as well start making the rug and measure after row 2. It would be about the same amount of work as making the 6 stitch by 3 row almost square.
Baby Bunting gauge instructions
Finally, here is the gauge section from a baby bunting pattern, which uses a combination of puff stitches and v-stitches. Since gauge squares are often worked with single or double crochet stitches with no spaces, the author specified a swatch that uses the stitch pattern for the garment. You also have two different stitch patterns for this garment – the ribbing and the main body. The gauge swatch works the body pattern, but sets you up to work a smaller section so you can make sure you are using the right hook. In patterns like this, definitely make the gauge swatch as indicated by the author. If you don’t, you may end up tearing out and reworking the same thing multiple times. For this particular pattern, you would work 74 rows before getting to body rows 9 and 10 so you could measure your gauge. Much better to work 6 rows!
All 3 of these swatch photos are from my (very old) “In Love with Crochet” book published by Leisure Arts. I honestly don’t remember where or when I got this book, or if it was a gift somewhere along the way. But, the copyright is listed as 1997!
How big should I make my swatch?
If the swatch is specified, like in baby bunting example last week, then make the swatch as directed.
If the directions list out a number of stitches and rows, then you need to make it bigger than the measured area. As a general rule, I do twice as wide and at least 4 rows longer than the area to be measured. This gives you a section in the middle of the swatch to measure and eliminates any inconsistencies that might be in the edges.
Let’s look at an example. The gauge is listed as 13 stitches over 15 rows with worsted weight yarn and an H hook is a 4 inch square. I would do a swatch that is 26 stitches across and at least 19 rows high. This example ended up being 30 stitches across and I made it 30 rows because it was curling quite a bit in the corners. Also, better to be too big than too small.
Now that you have your swatch, do you need to block it?
This one is a simple answer – if your final project will be blocked, then definitely block the gauge swatch!
If the final project will not be blocked, it is up to you. Personally, I wouldn’t block the swatch if the final project will not be blocked as it could alter your sizing a bit when blocking. If the edges of your crochet swatch are curling a bit, use your hands to smooth it out as much as possible without stretching the stitches.
If you’ve never blocked before, don’t be intimidated! It’s a pretty simple process.
Here are some basic blocking instructions to get you started:
- Gather your materials – gauge swatch, rust proof pins, a foam mat or something you can stick pins in, and a spray bottle or steamer, depending on your fiber content
- Place your swatch on the mat
- Pin the swatch in place, making sure the edges are even and you are not over stretching the stitches.
- For natural fibers – spray with water until very damp or wet, for synthetic fibers – use a steamer and steam until damp, being sure you do not touch the hot steamer directly to the fibers or they could melt
- Allow to air dry, then remove the pins and measure!
These are very basic instructions. Check your yarn label to see if there are any yarn specific instructions. If so, then follow the included instructions for your yarn.
How do I measure my crochet gauge swatch?
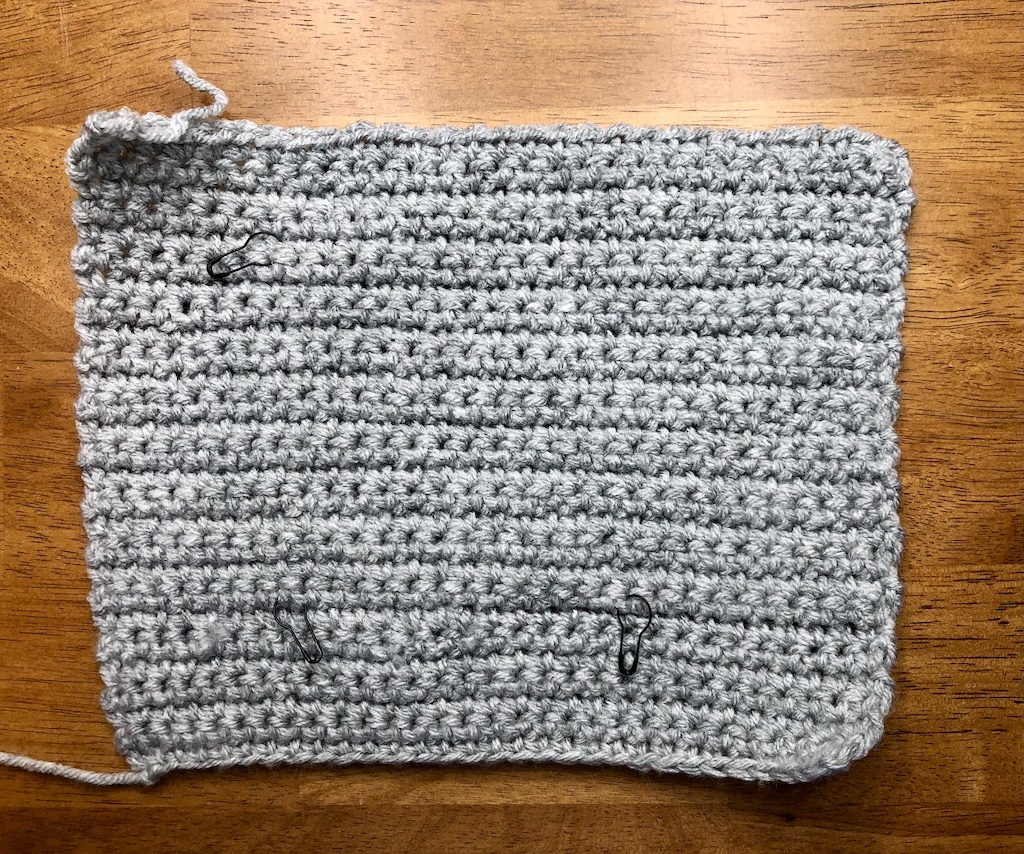
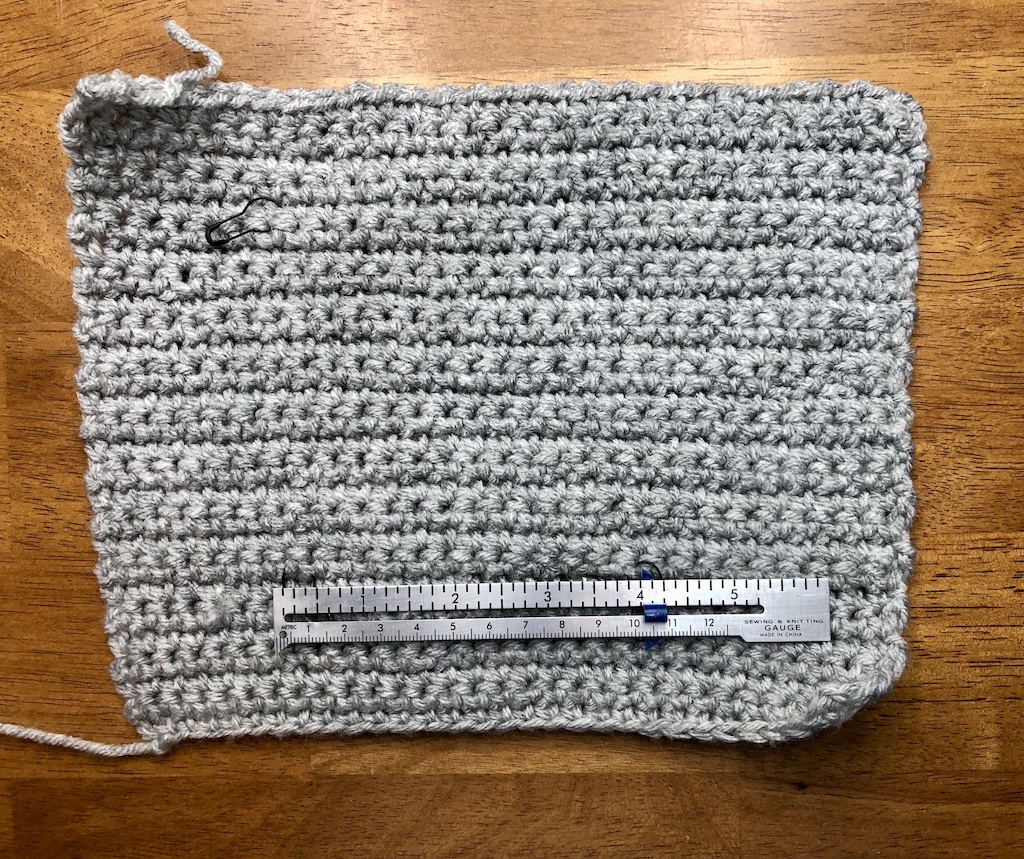
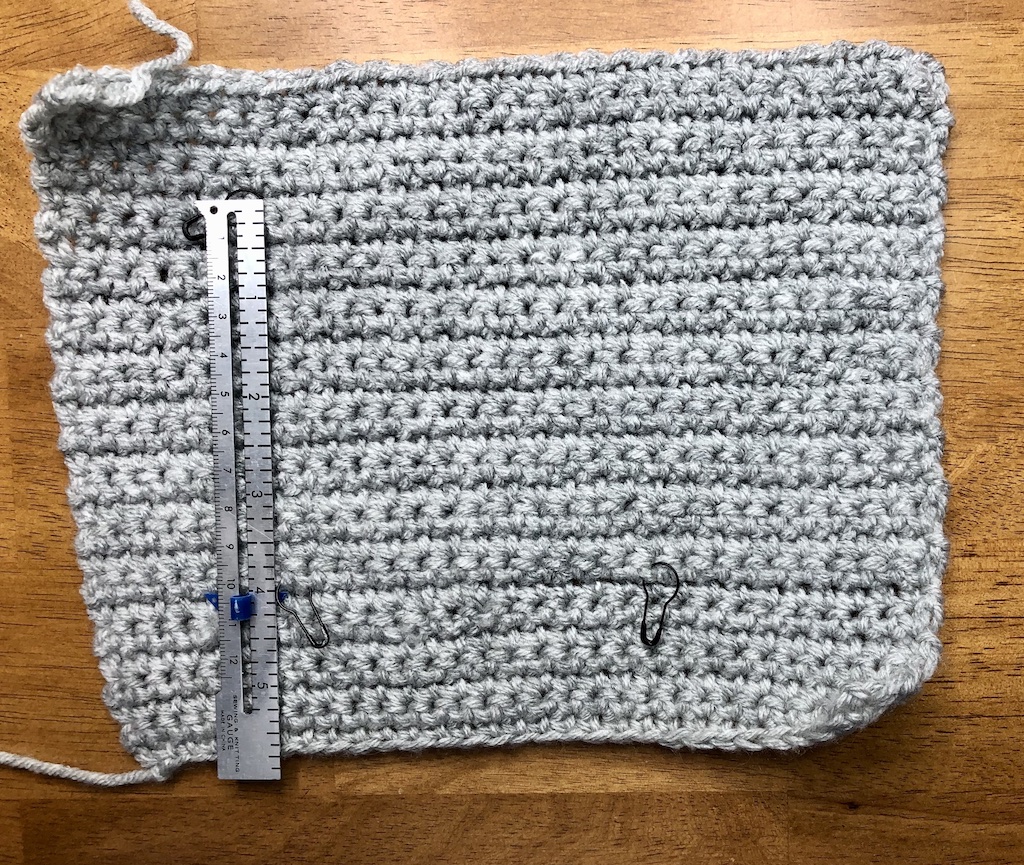
To measure, pick a stitch a few rows up and several stitches in, making sure you leave enough room to measure the width and height. Choose a stitch that is far enough in the crochet swatch so you avoid the curling edges. Mark that stitch and count across 13 stitches and place another marker. Then, starting with the first marked stitch, count up 15 rows and mark the top of that stitch.
Use your tape measure (or ruler) and measure across the marked stitches. Make sure you include both legs of the stitch. Then measure from the bottom of the first stitch to the top of the second stitch to find the height of your swatch.
While it is tempting to look at the numbers for the gauge and figure out a smaller section, beware! the gauge swatch is often a 4 inch section to allow space for your stitches to settle as you work. Making a smaller swatch (i.e. instead of 16 stitches for 4 inches, doing 4 stitches for 1 inch) can leave you with a very wonky project.
Oh no – my crochet swatch doesn’t match the gauge in the pattern! No what?
I wish there was some kind of magic formula that would tell you exactly what to change, but there really isn’t. I’ll give you some general guidelines, but it really comes down to trial and error. The process isn’t difficult, just a little tedious.
If your gauge swatch is bigger than the required size:
- Double check that your yarn is the correct size for the pattern
- Switch to a smaller hook – usually the next size smaller, but if your swatch is way off, you can jump a few sizes
If your gauge swatch is smaller than the required size:
- Double check your yarn and make sure it is the correct size for the pattern
- Switch to a larger hook – usually the next size bigger, but if your swatch is way off, go ahead a jump a few sizes
That’s really all there is to it. If you need to adjust hook sizes to match the gauge, then you will need to do another swatch. But, take a test measure after you’ve done a few rows to make sure you are on track. I would suggest that you pick some stitches in the middle and measure across to make sure that your stitches are close to the gauge listed. It may not be the exact measurement you will get with a finished swatch, but you will be able to tell if you are close to the right hook and yarn combo. (You can also do this on your first swatch attempt as a check to see if you are way off). If your test measurement is close, then finish out the swatch and repeat the measuring process.
Still struggling with your gauge? It might be a tension issue. Check out my post on Solving the Yarn Tension Mystery – How to Maintain Consistency in your Projects to help you get consistent tension!
Are you a knitter and wondering how knitting gauge swatches work? Check out my friend over at Ozzylosi Knit Designs to learn How to make a Gauge Swatch in 4 Easy Steps.

Buy me some Yarn?
If you are enjoying the content I've created and would like to support with a tip, you've found the right place. Any amount is greatly appreciated!