
Sometimes I wonder if it gets any better than the smell of fresh baked homemade bread. There is just something comforting about that smell wafting from your kitchen. It calls forth images of a warm roll or slice of bread with butter slowly melting into the nooks and crannies. It also conjures up a feeling of accomplishment, like “I did this, I made something from scratch with my own two hands.” Even if you used a bread machine, the heavenly aroma is still the same!

A little background
I have been making homemade bread for my family for over fifteen years now (yikes – has it really been that long?!?) and I will never go back. I love knowing exactly what is in the bread and the taste is way better than anything you buy in the store. Typically, I use the bread machine to mix the dough, but the same recipe works if you mix using your hands or a stand mixer. I’ll outline step-by-step instructions for all three methods below. You can download the recipes using the purple buttons at the bottom of the post.

To make your own loaf of homemade bread, you will need:
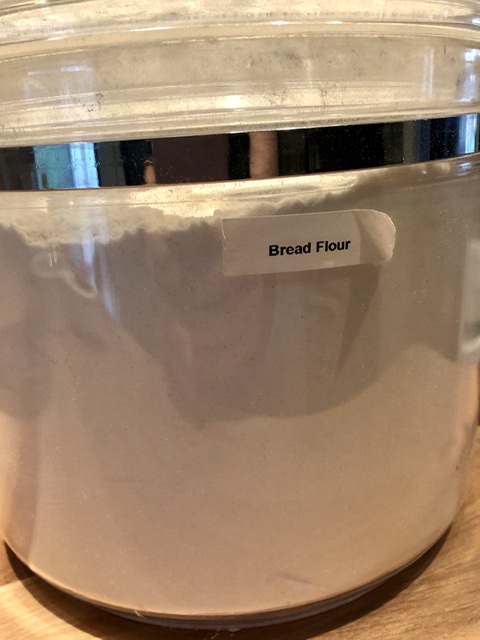
- 2 cups of bread flour
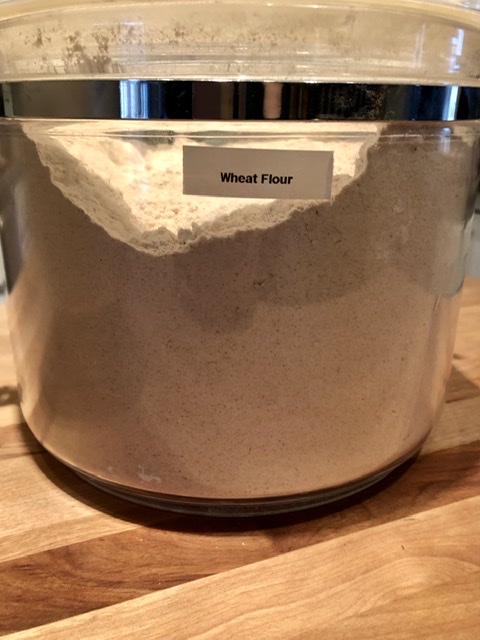
- 1 cup of wheat flour
- 1 cup of water (warm if mixing by hand, stand mixer or if your bread machine does not have a preheat option)
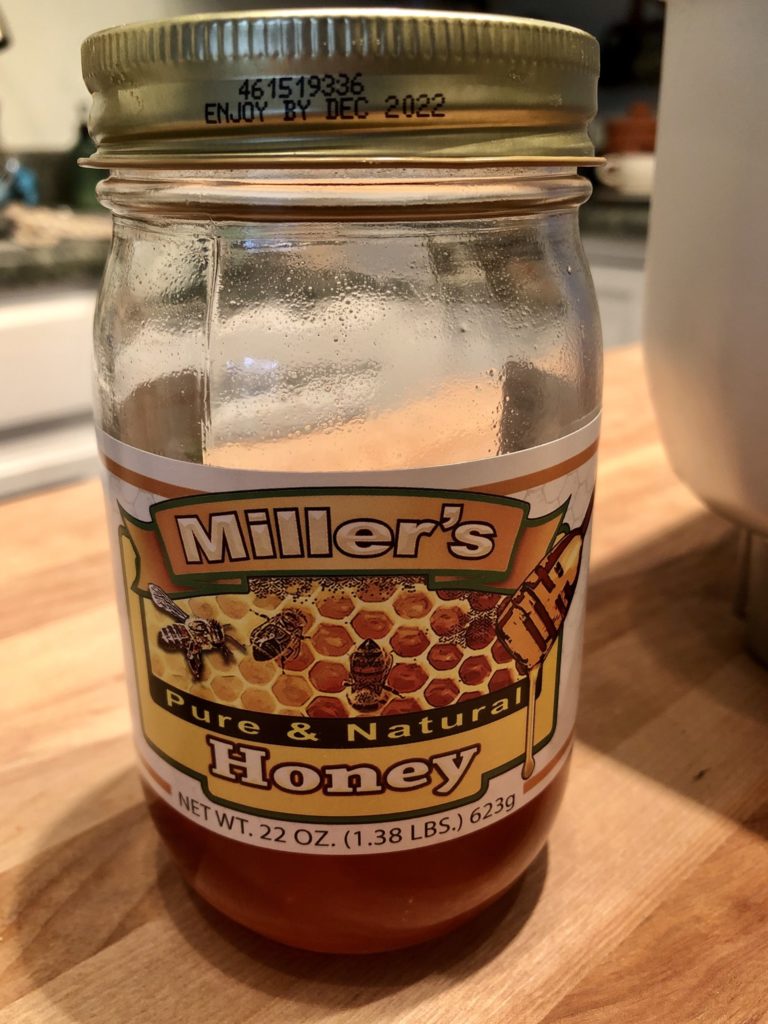
- 1 tablespoon of honey
- 2 tablespoons of powdered milk
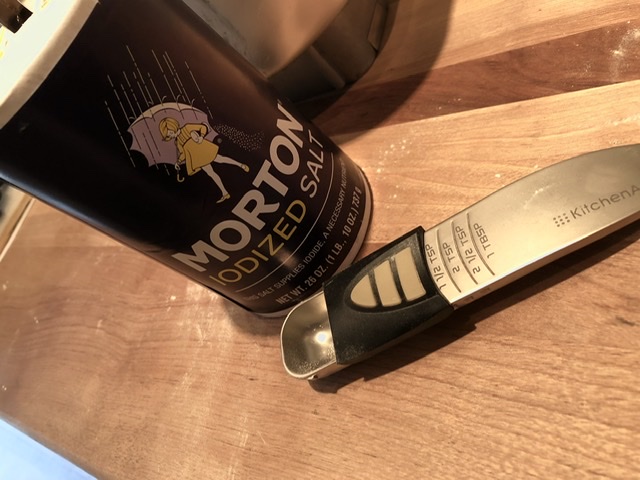
- 1 1/2 teaspoons of salt
- 2 tablespoons of butter (softened if mixing by hand, stand mixer or if your bread machine does not have a preheat option)
- 2 teaspoons of active dry yeast.
In this recipe, I use 1 cup of whole wheat flour and 2 cups of bread flour. I like King Arthur Flour, which you can find in most stores or order online at www.kingarthurflour.com. They also carry yeast and powdered milk. You can make this recipe with all bread flour for a true white bread, though the wheat flour adds some more substance to the loaf. I have also made this using 2 cups of wheat flour and 1 cup of bread flour with great success or using white wheat flour instead of whole wheat. It depends on your preference. You can use all-purpose flour in a pinch, but the bread will have less structure and stick to the roof of your mouth and be “pappy” to quote my father-in-law.
Bread Machine Instructions
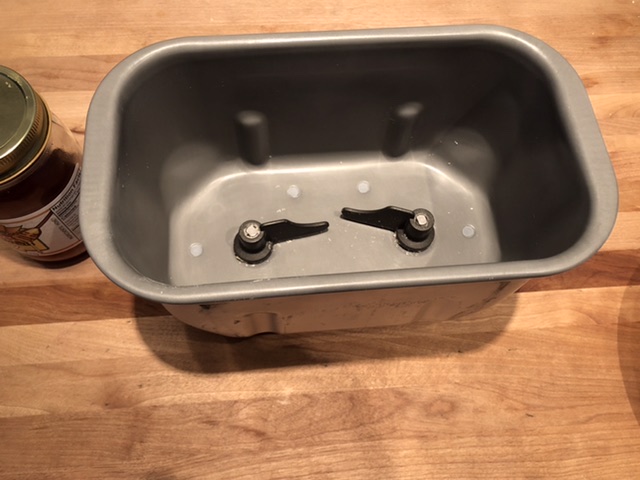
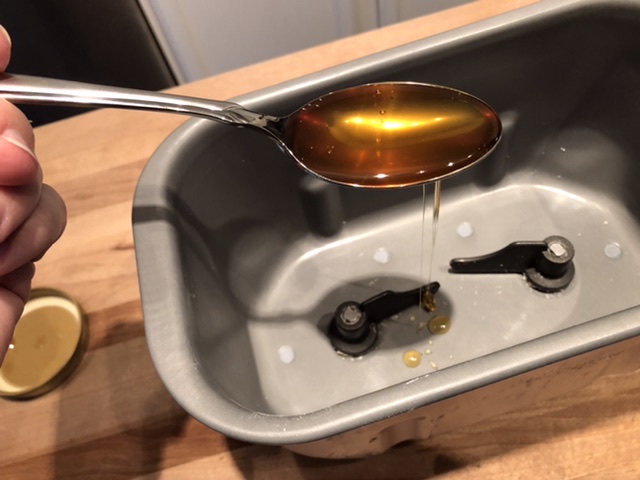
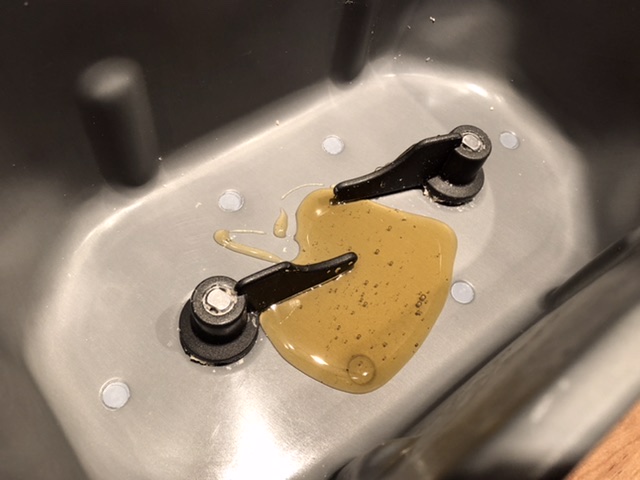
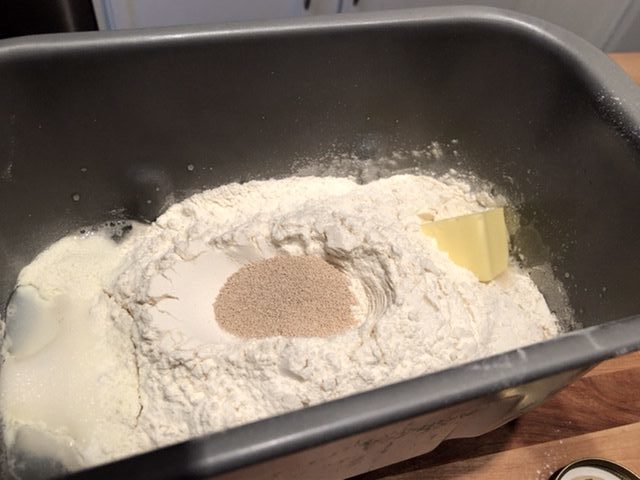
To begin, soften the butter by letting it sit on the counter for at least an hour. If your bread machine has a preheat option, you can skip this step. Take your pan out of the machine and place it on the counter. Make sure the paddles are properly installed and pressed firmly down on their pegs. Speaking from experience here – the ingredients do not mix well if you forget to install the paddles. 😂 Measure 1 tablespoon of honey and add to the pan.
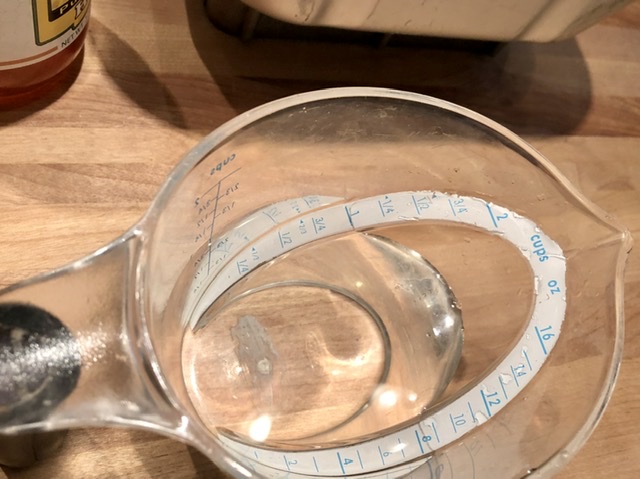
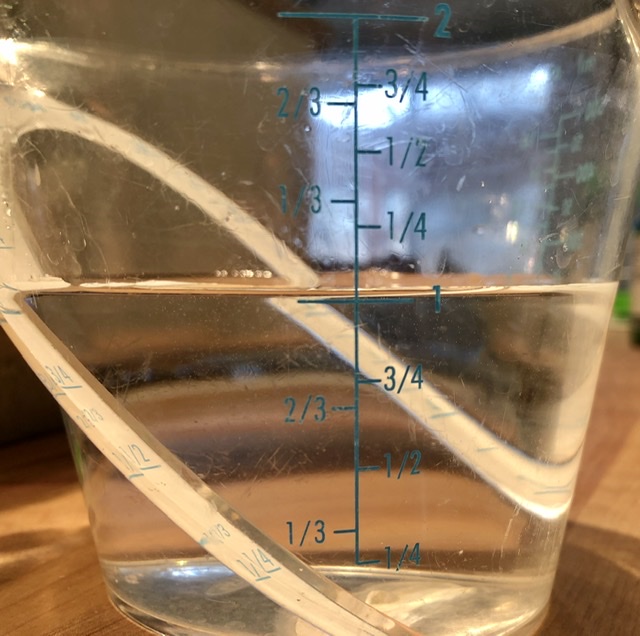
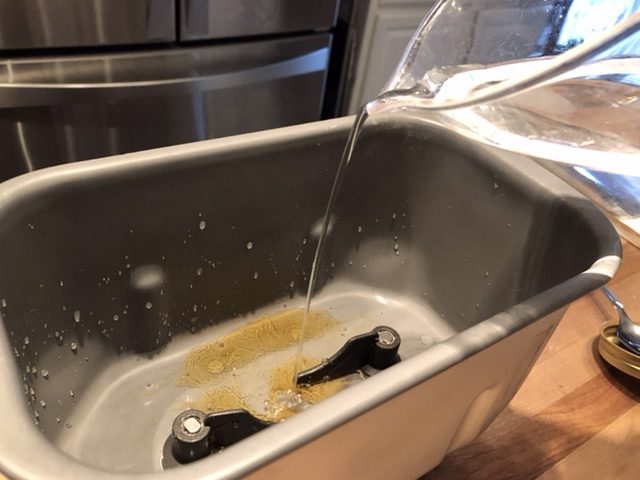
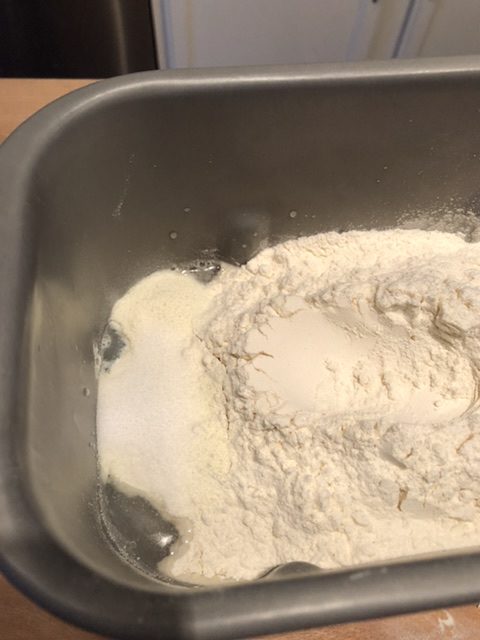
Measure 1 cup of water. If your machine does not have a preheat option, you will need to use warm water – not hot! Think warm enough for a baby’s bath. About 20-30 seconds in the microwave gets the right temperature. Check the water level by setting the measuring cup on the counter and look across the water at eye level. The bottom of the curve (meniscus) should align with the 1 cup line. Add the water to the pan.

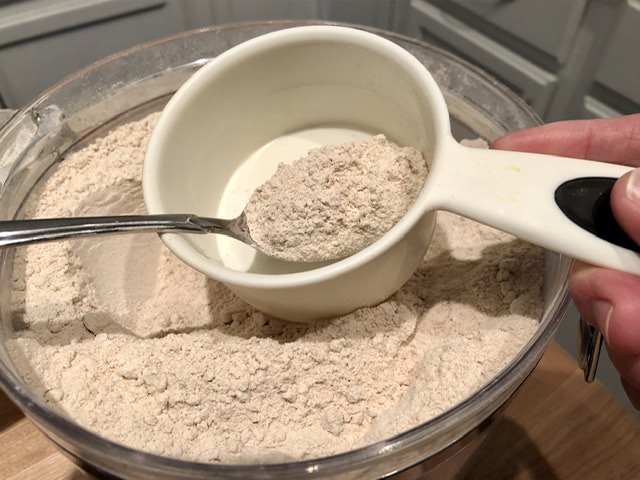
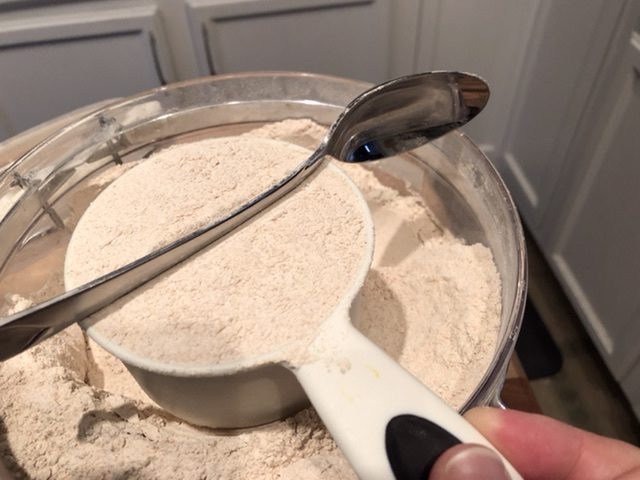
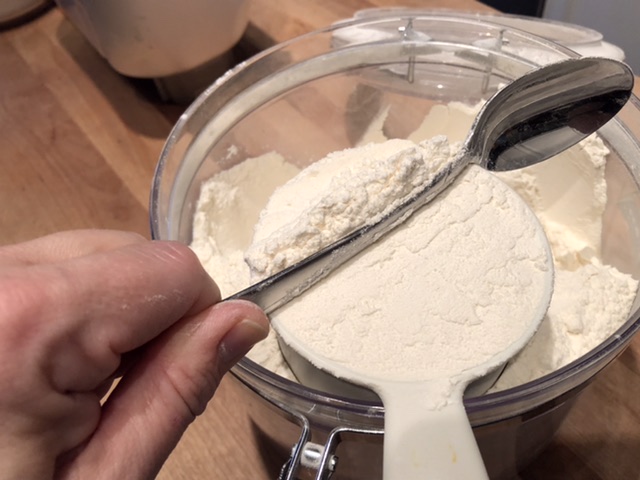
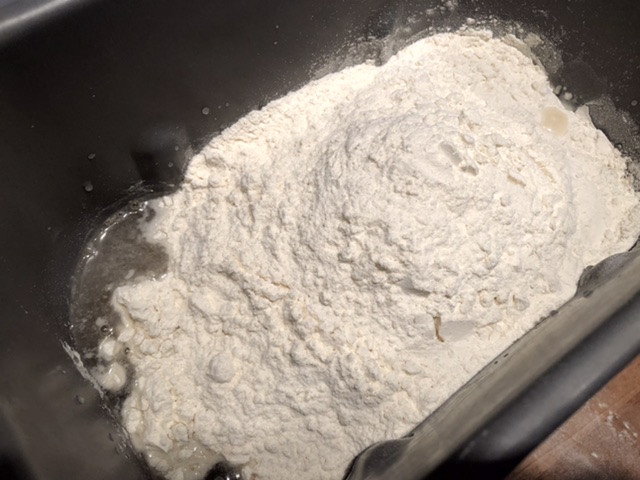
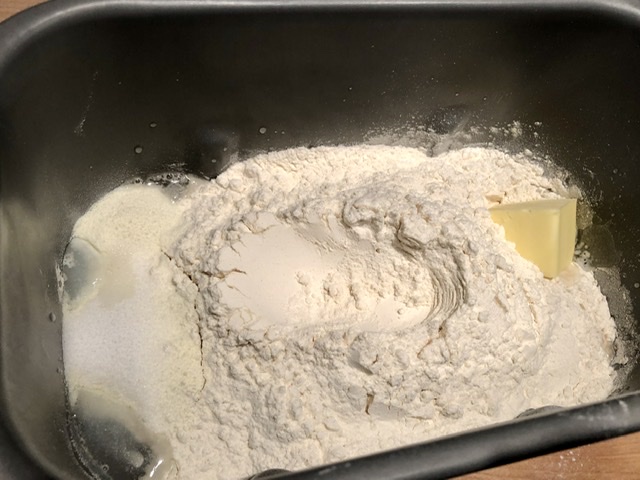
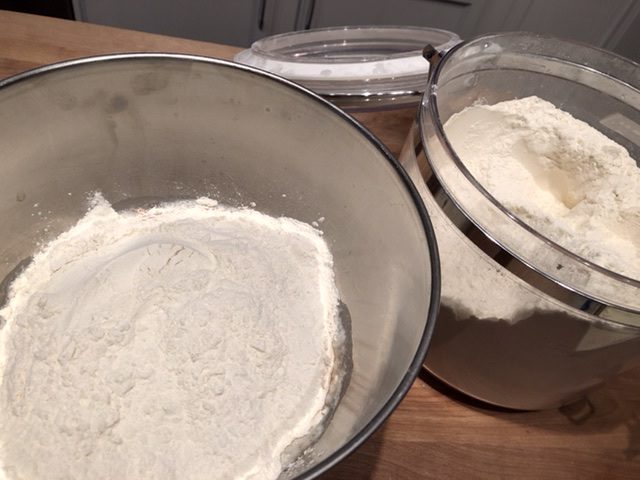
Next, measure the flours by lightly spooning the flour into the measuring cup, being sure that you do not compact the flour. Here I have used 1 cup of whole wheat flour and 2 cups of bread flour. Add the flours to the pan.
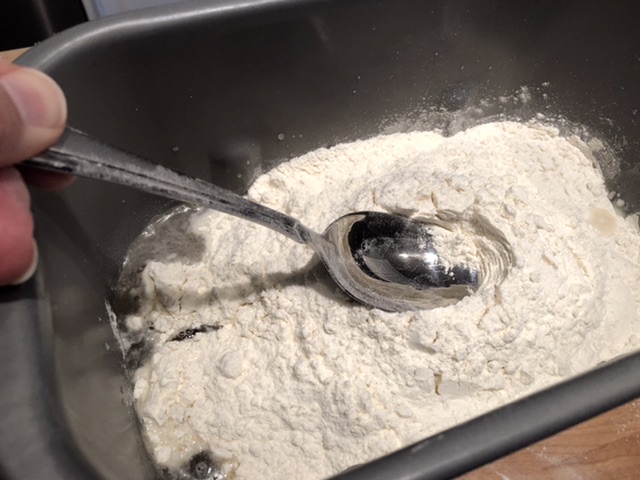
Create a well in the flour for the yeast using the back of the spoon.

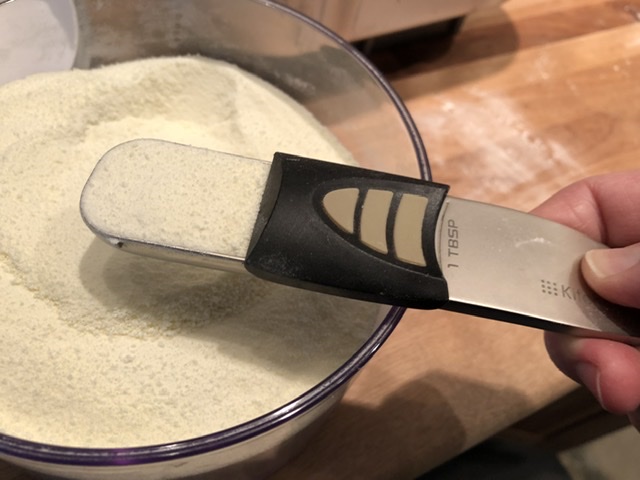
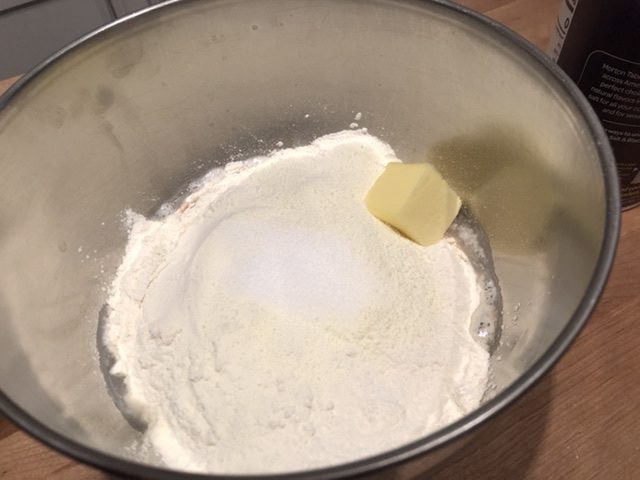
Measure 2 tablespoons of powdered milk and add to the side of the pan.

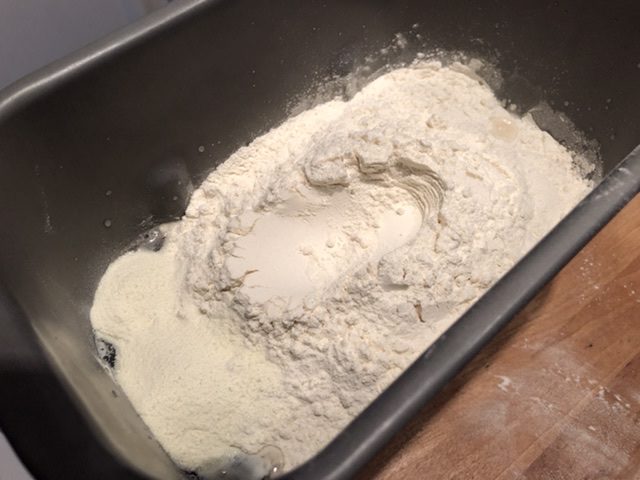
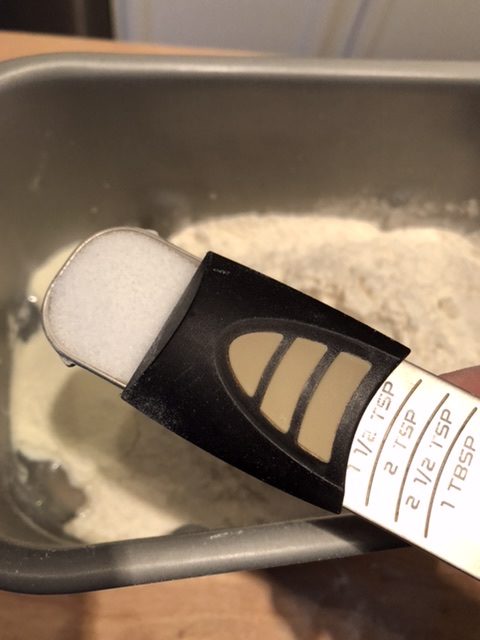
Measure 1 1/2 teaspoons of salt and add to the pan. Keep the salt to the side of the pan and away from the well created in the center of the flour. Salt and yeast should remain separated until the dough begins mixing as salt can decrease the effectiveness of the yeast.
Add 2 tablespoons of butter to one side in the pan.
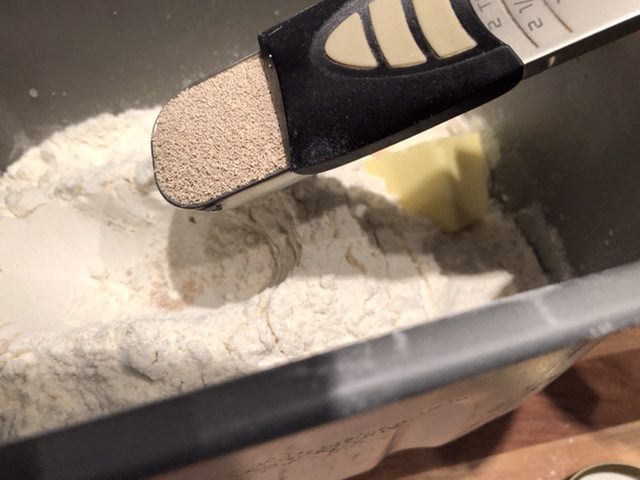
Finally, measure 2 teaspoons of yeast and add it to the well in the center of the flour. I like to use Fleishman’s Bread Machine yeast.

Place the pan in your bread machine, making sure that it is securely locked in place.
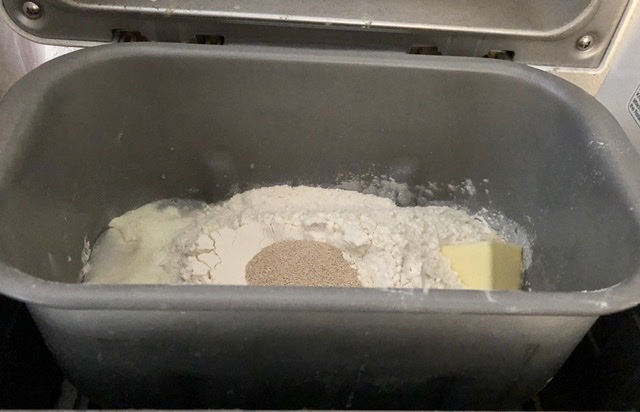
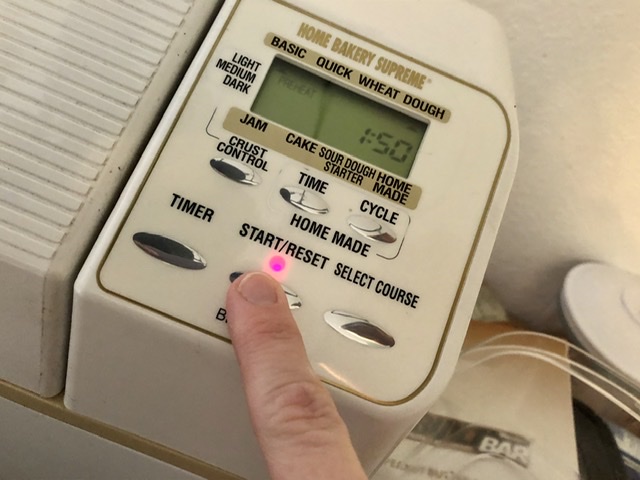
Select the dough cycle (and pre-heat option if available) and start the machine.
Hand Kneading or Stand Mixer Instructions
Soften the butter by letting it sit out on the counter for about an hour. Get a large mixing bowl or the bowl of your stand mixer if you are using one. Measure 1 tablespoon of honey and add it to your bowl.
Add 2 teaspoons of yeast to the honey.
Measure 1 cup of warm water. Think warm enough for a baby’s bath, not hot. About 20-30 seconds in the microwave gets the right temperature. Check the water level by setting the measuring cup on the counter and look across the water at eye level. The bottom of the curve (meniscus) should align with the 1 cup line. Add the water to the bowl and let it sit for 5 to 7 minutes until the yeast starts to bubble and the mixture looks a little frothy.


Next, measure the flours by lightly spooning the flour into the measuring cup. Make sure you do not compact the flour. Here I have used 1 cup of whole wheat flour and 2 cups of bread flour. Add the flours to the bowl.
Measure 2 tablespoons of powdered milk and add to the bowl.
Measure 1 1/2 teaspoons of salt and add to the bowl. Keep the salt on top of the flour. Keep the salt and yeast separated until the dough begins mixing as salt decreases the effectiveness of the yeast.
Add 2 tablespoons of butter to the bowl.
If you are using a stand mixer, attach your dough hook and use the lowest speed until the ingredients come together in a sticky dough. Increase the speed to medium/medium high and knead for 7-10 minutes until the dough clears the side of the bowl and you have a smooth, elastic dough.
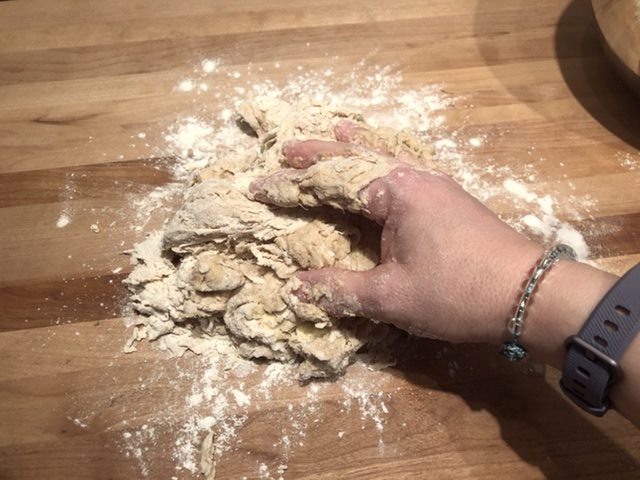
To mix by hand, spread a bit of flour on your work surface where you will be kneading the dough. The countertop is perfect or if you prefer you can use a cutting board, silicone mat or marble slab.

Mix the ingredients together in the bowl until they from a cohesive, sticky dough. You can use a spoon if you like, but I prefer to just use my hands. You’re going to get messy anyway and this keeps all of the dough together and doesn’t leave any stuck on a spoon.


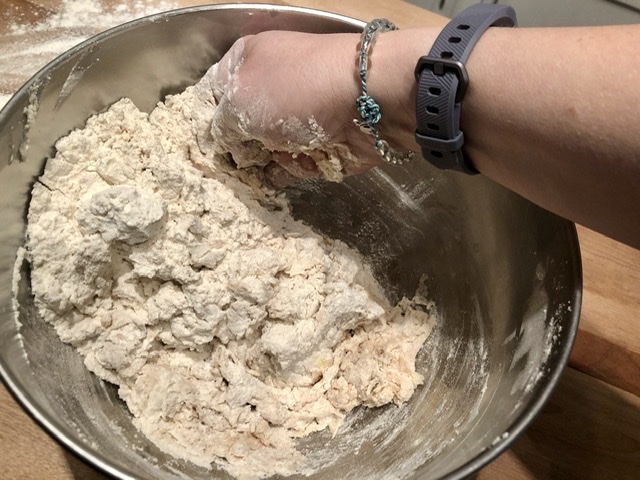
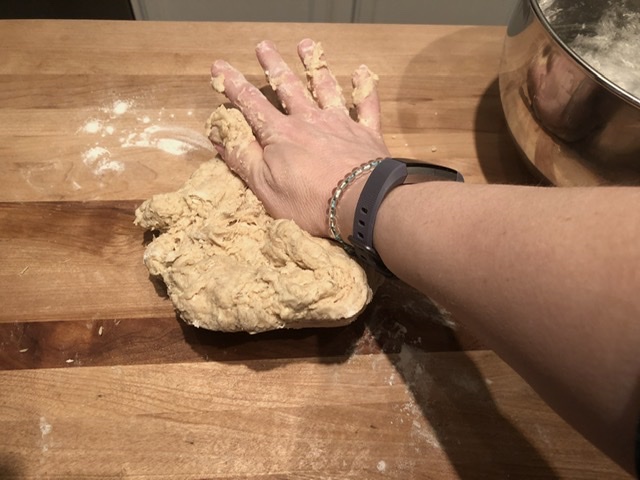
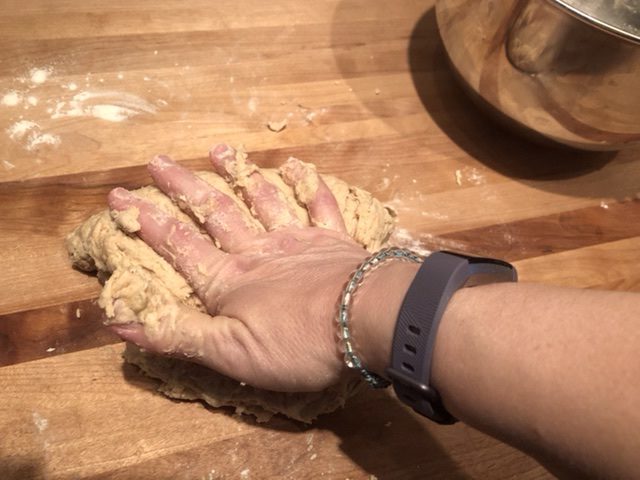
Once the dough comes together, turn it out onto your floured surface and begin kneading. Do not be gentle with the dough – it needs a bit of rough handling to fully develop the gluten and help it rise evenly. To knead, push down on the dough moving away from you. Rotate the dough a quarter turn, fold it over and push down away again. Repeat this process and knead for 15 to 20 minutes until you have a smooth, elastic ball of dough.


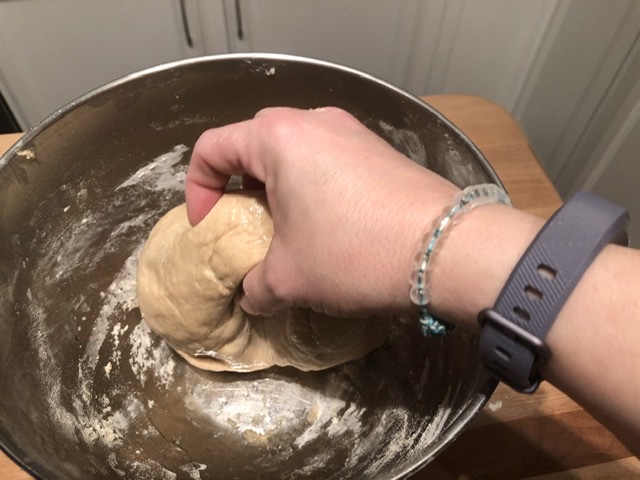
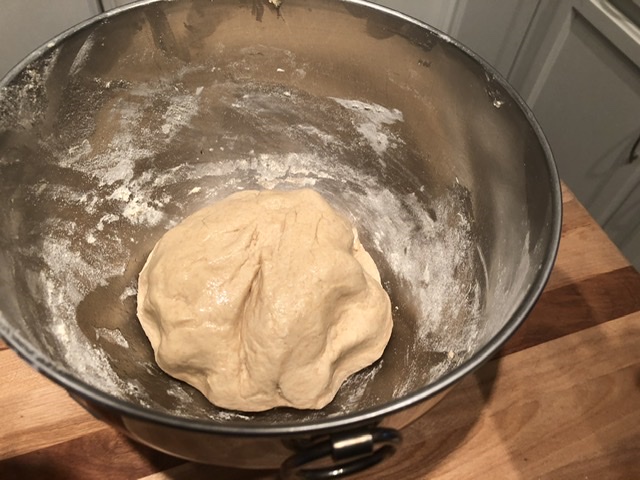
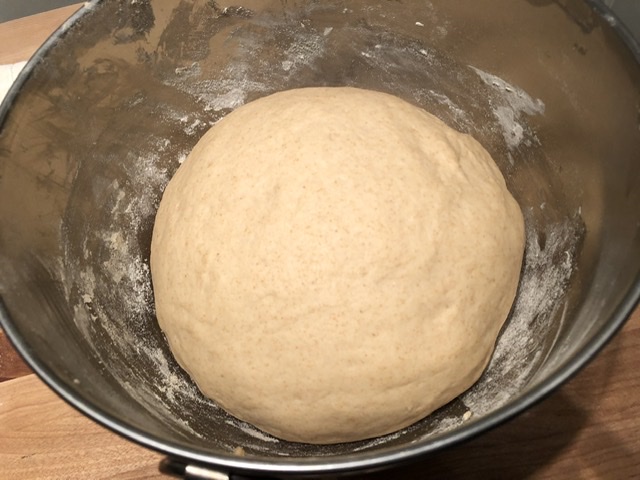
When you are done kneading the dough, drizzle a small amount of vegetable oil in your bowl. Place the dough into the bowl, turning it over once to coat the ball. Cover the bowl with a dish towel and set in a warm (not hot) place to rise for 45 to 60 minutes, until the dough looks puffy and almost doubles in size.


Finishing your homemade bread for all methods
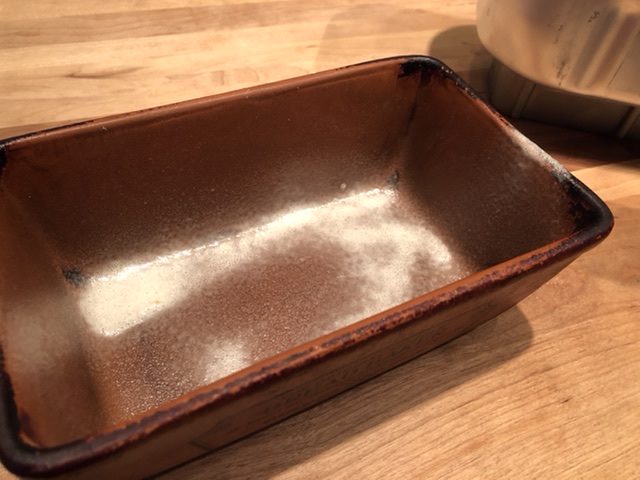
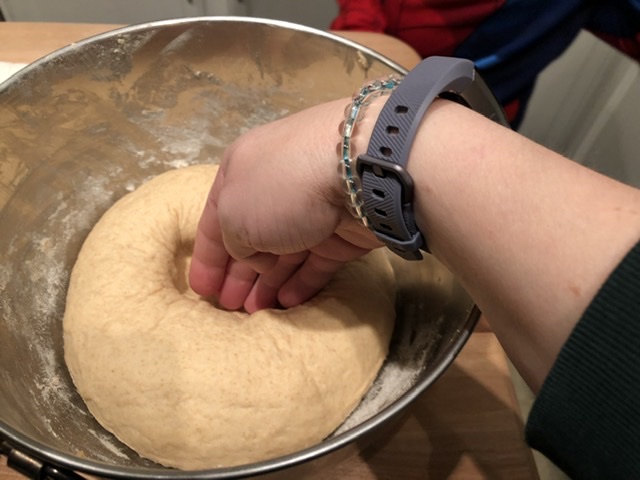
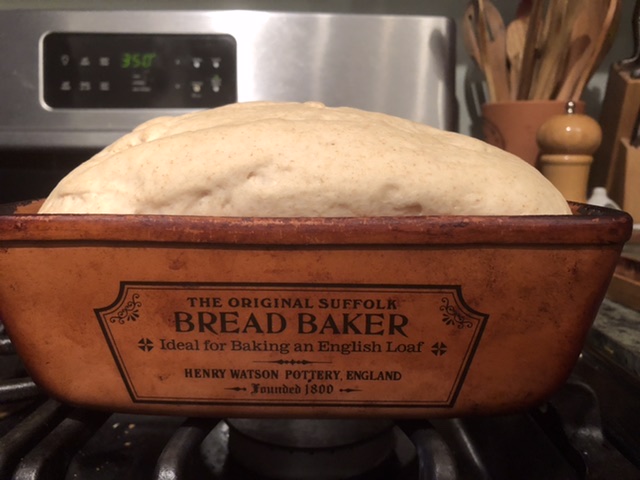
Coat an 8 1/2 x 4 1/2 inch loaf pan with baking spray. You can use a larger pan if that is what you have and it will yield a longer more shallow loaf. Once your dough cycle is finished or your dough is done rising, deflate the dough with your fingers. Pick up the dough and squish it back and forth between your hands to really punch it down. If you used a bread machine, remember to make sure the paddles are not stuck in the dough.


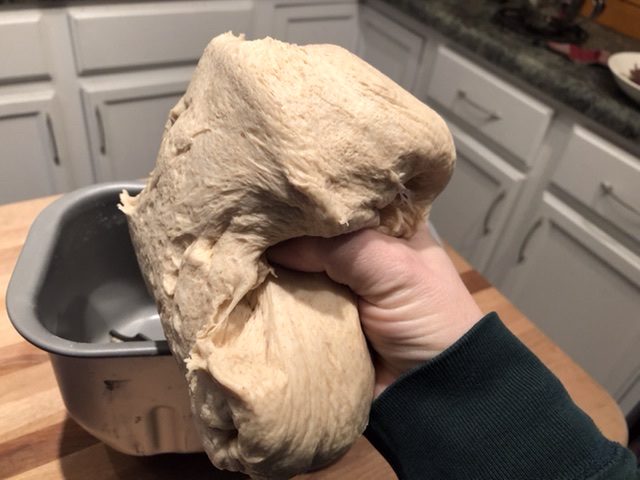
Put the dough into the prepared pan and firmly press it into the corners.


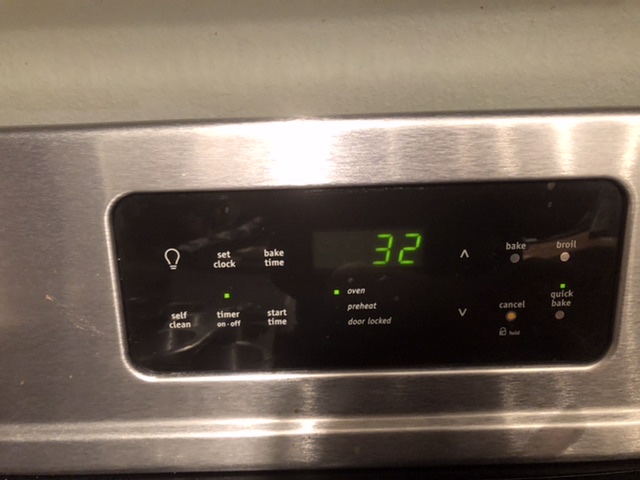
Cover the pan with a dish towel and put in a warm (not hot) place to rise for about 30 minutes. While the dough is rising, preheat the oven to 350 degrees F. I use the quick bake setting on my oven that also has a fan, but this is not necessary.


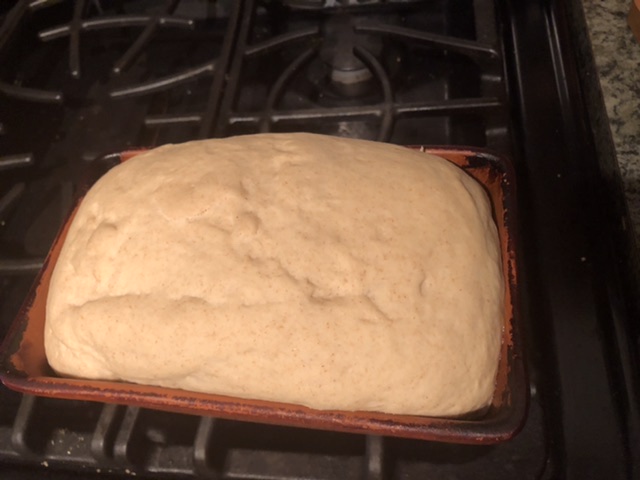
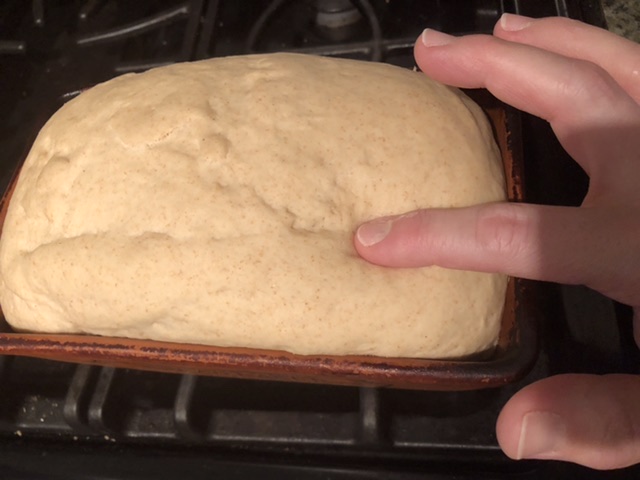
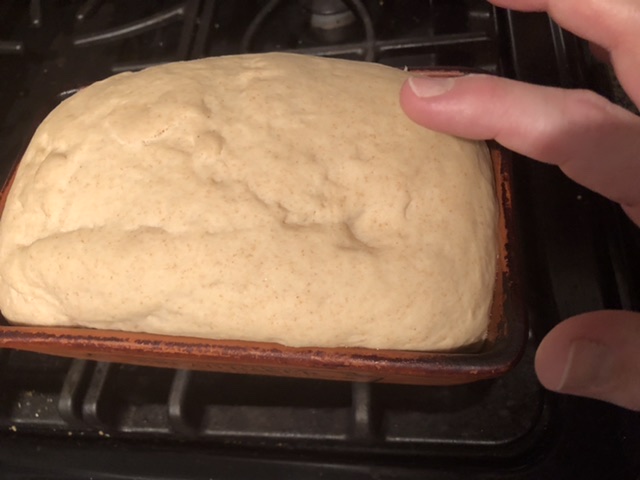
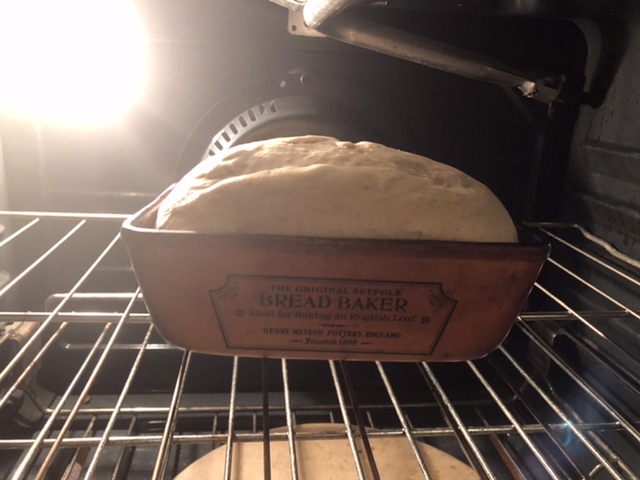
The dough is ready to go in the oven when it is slightly puffy and risen to a dome shape. It will bounce back when lightly pressed.
Place the pan in the oven on the middle rack and bake for 32-35 minutes. The loaf should be a nice golden brown color and should sound hollow when you tap the top. If you prefer a darker brown crust, bake the loaf longer until it reaches your desired color.
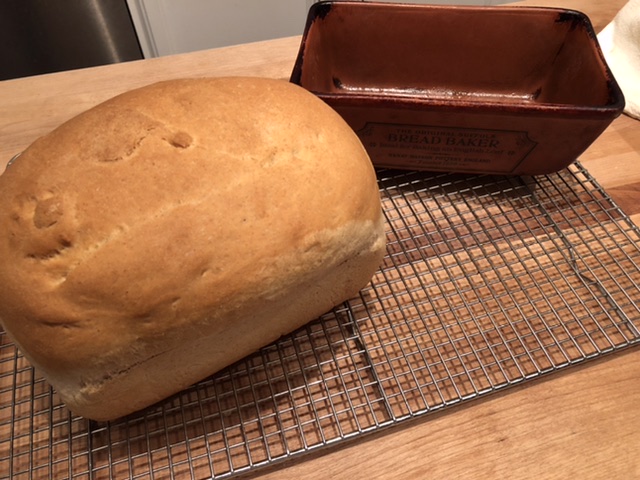
Remove the pan from the oven (don’t forget the potholders!) and immediately turn out on a wire rack to cool. Cool completely before cutting, otherwise the bread will be sticky and collapse in the middle.

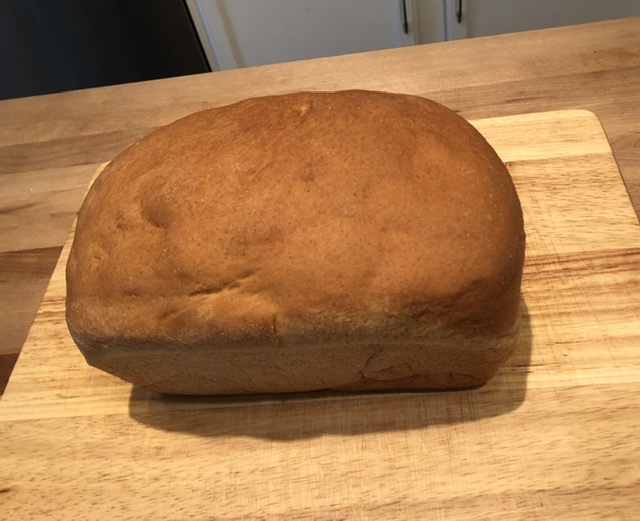
Once the bread is completely cooled, wrap the loaf in a beeswax wrap and let it sit overnight. This is not necessary, but I find that the bread slices more easily after resting overnight. You can also use a gallon ziploc bag if you don’t have any beeswax wraps. These are my favorite beeswax wraps if you are looking for some to buy! The large is the perfect size for wrapping around your loaf of homemade bread.

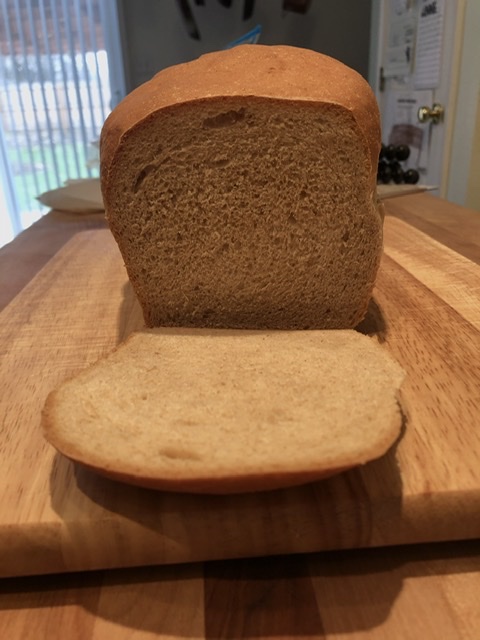
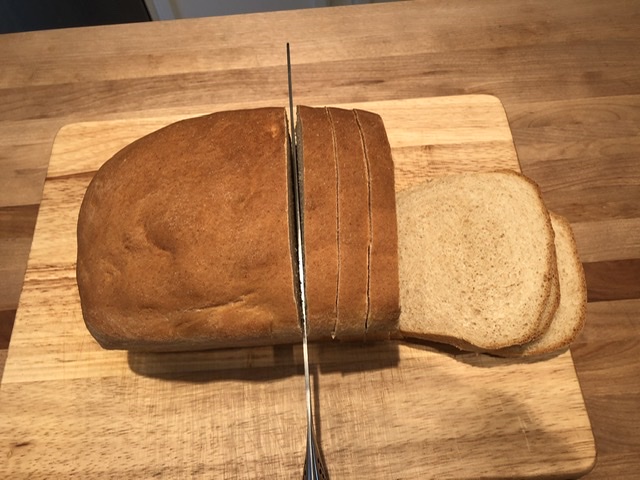
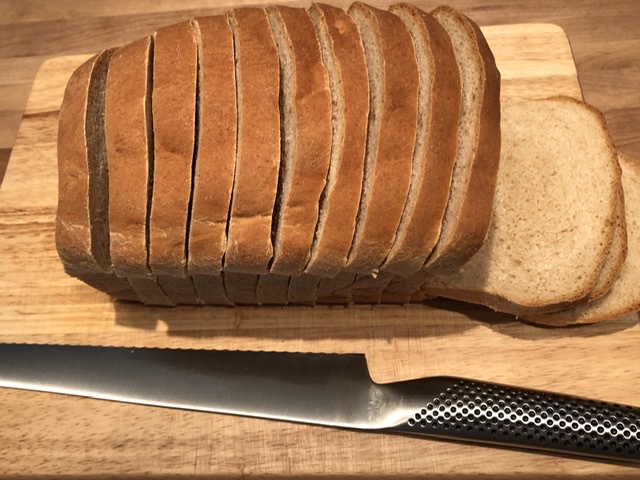
When you are ready to slice the bread, grab a cutting board and a bread knife. A bread knife should be long and have a serrated edge. If you do not have a bread knife, try a steak knife or another serrated knife in your kitchen. Hold the bread steady with your non-knife hand and slice the bread with long sawing motions with the knife. Depending on the thickness of your slices, you should get 10 to 12 slices out of the loaf.
After slicing, wrap the loaf in a beeswax wrap, making sure the entire loaf is sealed inside. If you do not have any beeswax wraps, Glad Press-n-seal works well.

Bread will keep like this for several days and sometimes up to a week. Or, it will keep in the freezer for several months until you are ready to use it. If you are using Press-n-seal instead of beeswax, I recommend placing the wrapped loaf into your gallon ziploc bag for storage.
I hope you enjoy baking your own homemade bread. Be forewarned – you may never go back to store bought bread again! Let me know how your loaves turn out!

Buy me some Yarn?
If you are enjoying the content I've created and would like to support with a tip, you've found the right place. Any amount is greatly appreciated!
Send a Tip