
Growing up, Saturday night was homemade pizza night at my dad and stepmom’s house. We would sit around the living room, watching a movie, usually rented from Blockbuster Video (how’s that for a blast from the past!). Dinner was served on pink and blue Fiestaware plates on vintage metal TV trays with delicate flowers painted on a black background. It was on one of these nights that I first learned to crochet too, but that’s a story for a different post. Here, I’ll show you how to make this delicious, easy pizza dough!
A little background…
Pizza has always been one of my favorite foods, but something about that homemade pizza was extra delicious. The crust is nice and fluffy, without being too doughy. And As an added bonus, you get to choose what toppings to put on top!
In those days, the best topping was pepperoni from the local Italian grocery store in Omaha – Marino’s Deli. Stepping inside, you could smell the fresh sausages and salami piled high in the meat counter. The selection of herbs and spices was extraordinary. Entering the store was like stepping back in time. The scale looked like it had been there since the store was built. The floor boards were worn with many years of loyal customers. If you were a regular, Mr. Marino knew you by name. That was hands down the best pepperoni I have ever had the pleasure to eat – nothing else has come close.
Dad and I would also take turns eating the crust from my stepmom’s pizza. She preferred the crust with toppings on it and not the plain bit at the end. We always chuckled and said it was her loss!
Over the years, I have made very few changes to this recipe. The toppings vary depending on what is on hand and our current mood and I do make my own sauce. But, the crust recipe is the same. Sometimes I add some garlic powder to the mix or use part wheat flour, just for fun. Either way, it is delicious and you can get a pizza made and on the table in about the same time it takes to get delivery on a busy Saturday night!
Ingredients
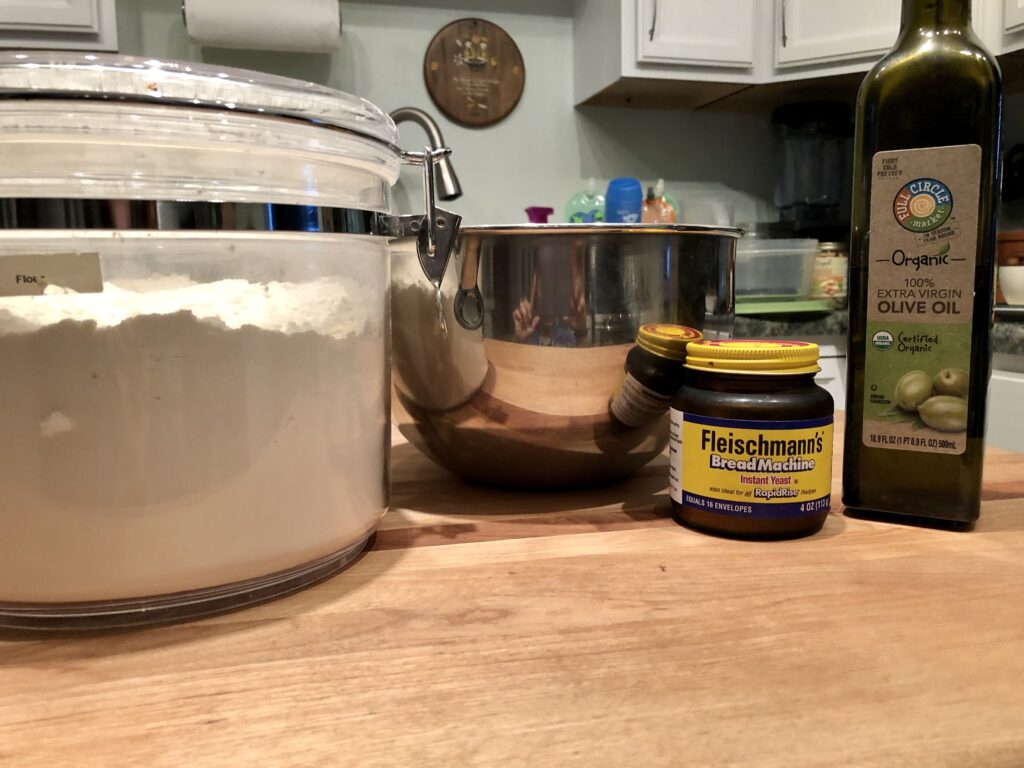
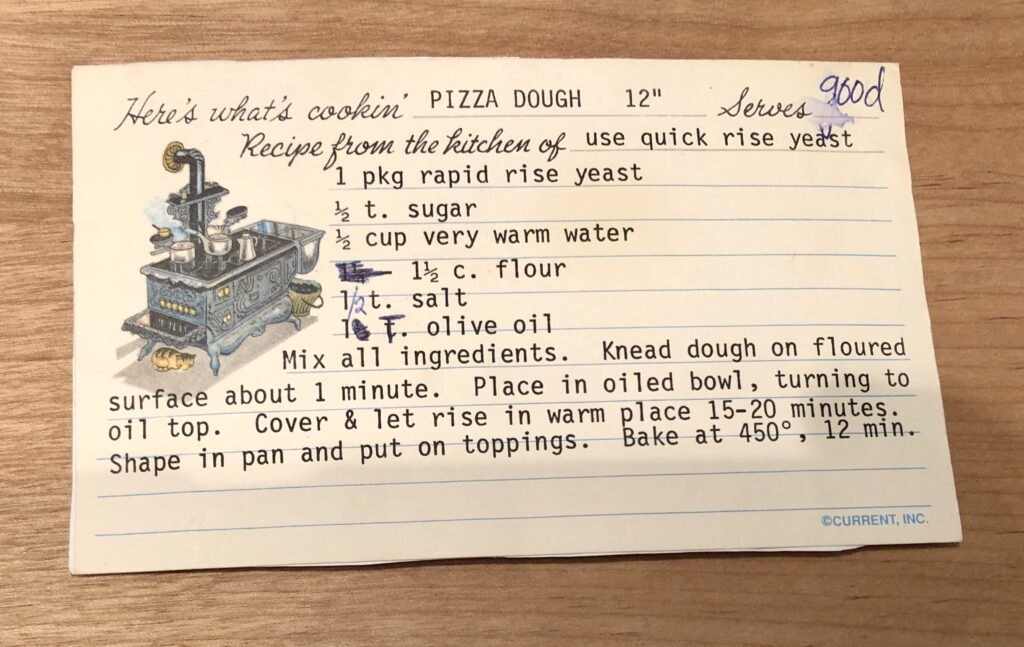
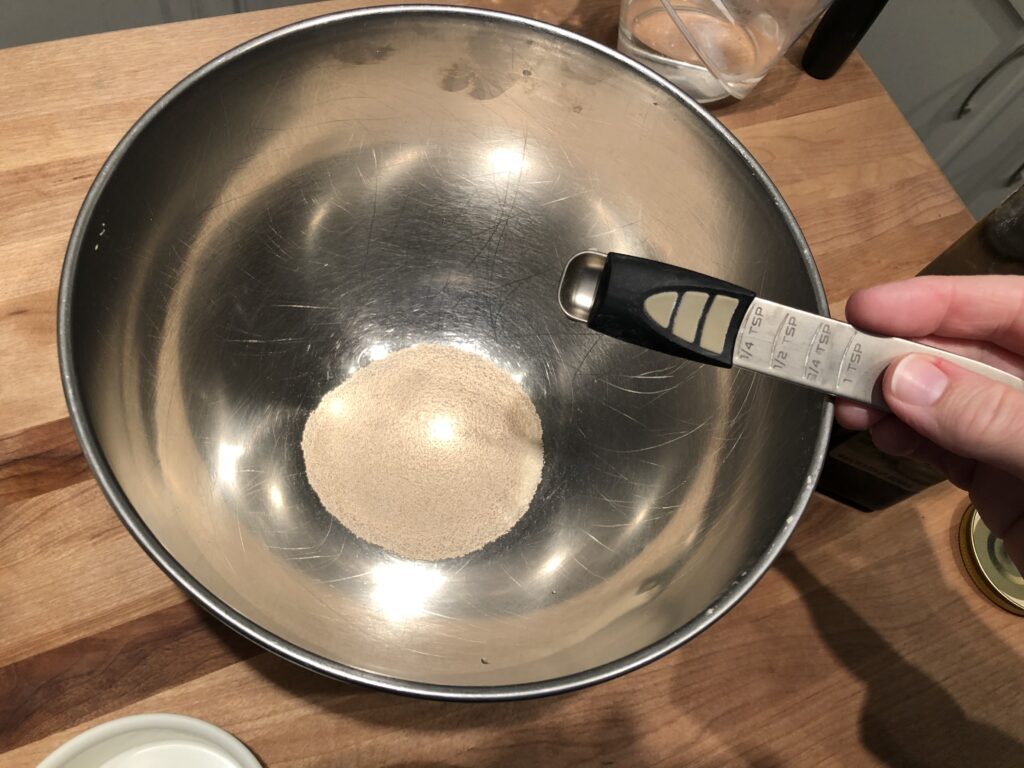
- 1 package (2 1/4 tsp) rapid rise or bread machine yeast
- 1/2 tsp sugar
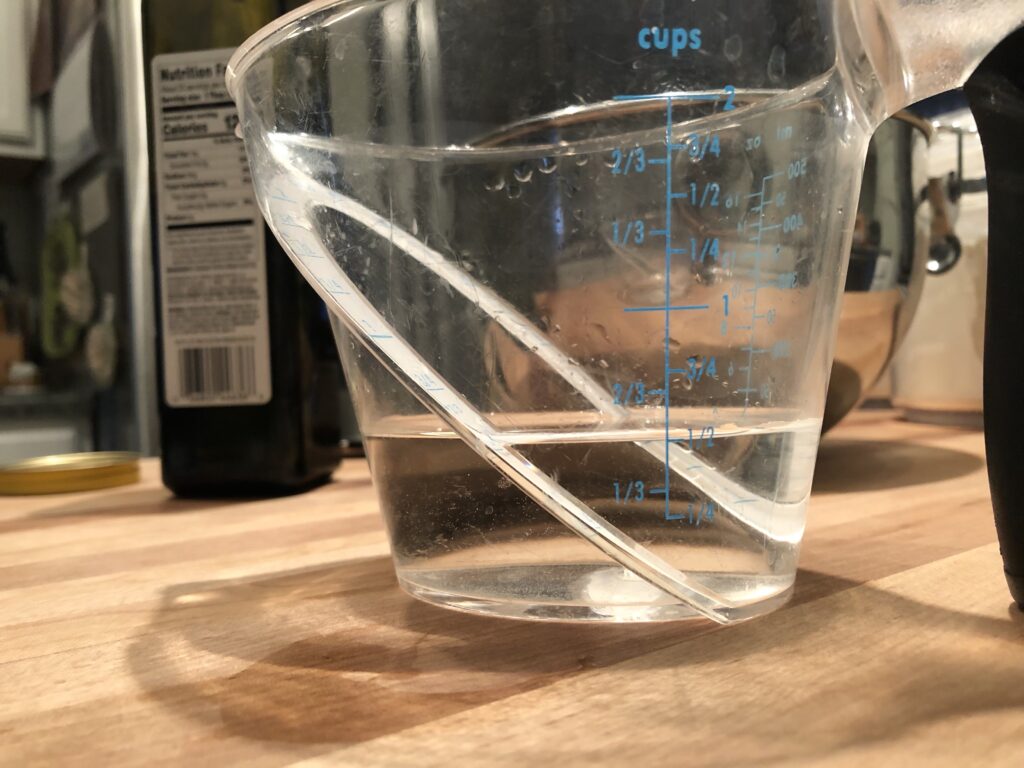
- 1/2 cup warm water
- 1 1/2 cups flour (all purpose, bread or substitute 1/2 wheat flour as desired)
- 1/2 tsp salt
- 1 Tbsp olive oil
- Garlic powder (optional)
Instructions
Grab your medium to large mixing bowl and measure out the yeast and sugar. I like Fleishman’s Bread Machine yeast, but have used other brands when I couldn’t find Fleishman’s. It doesn’t really seem to matter, as long as it is rapid rise yeast. Fleishman’s was always in the cupboard when I was a kid, so that’s what I gravitated toward as an adult.
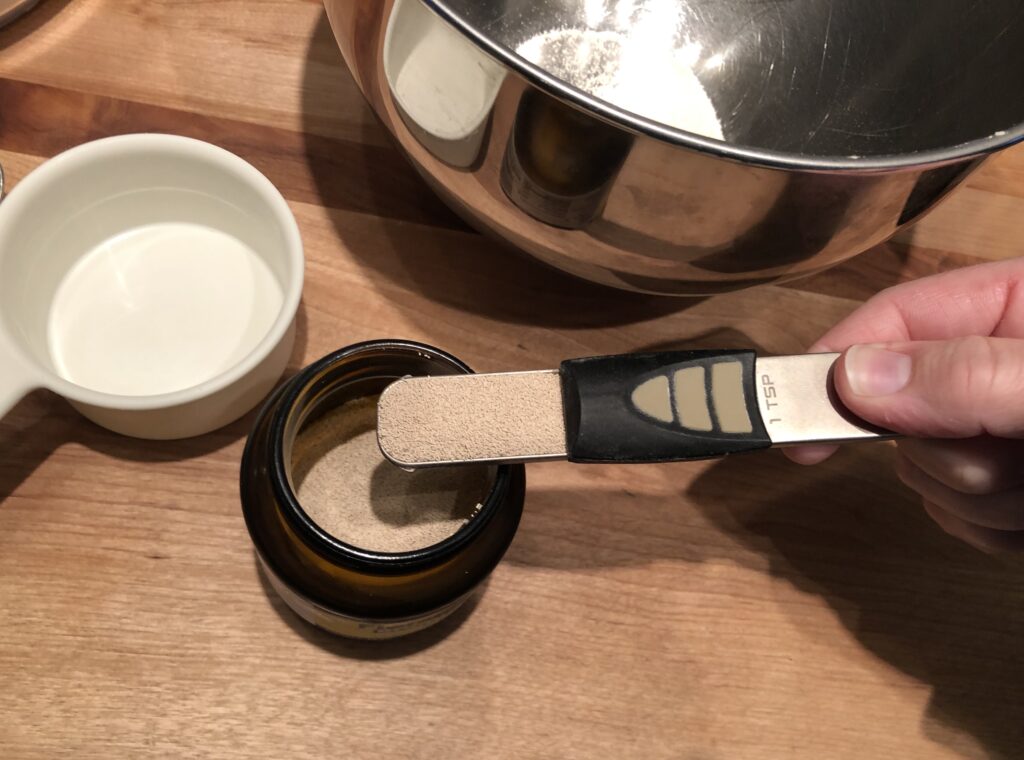
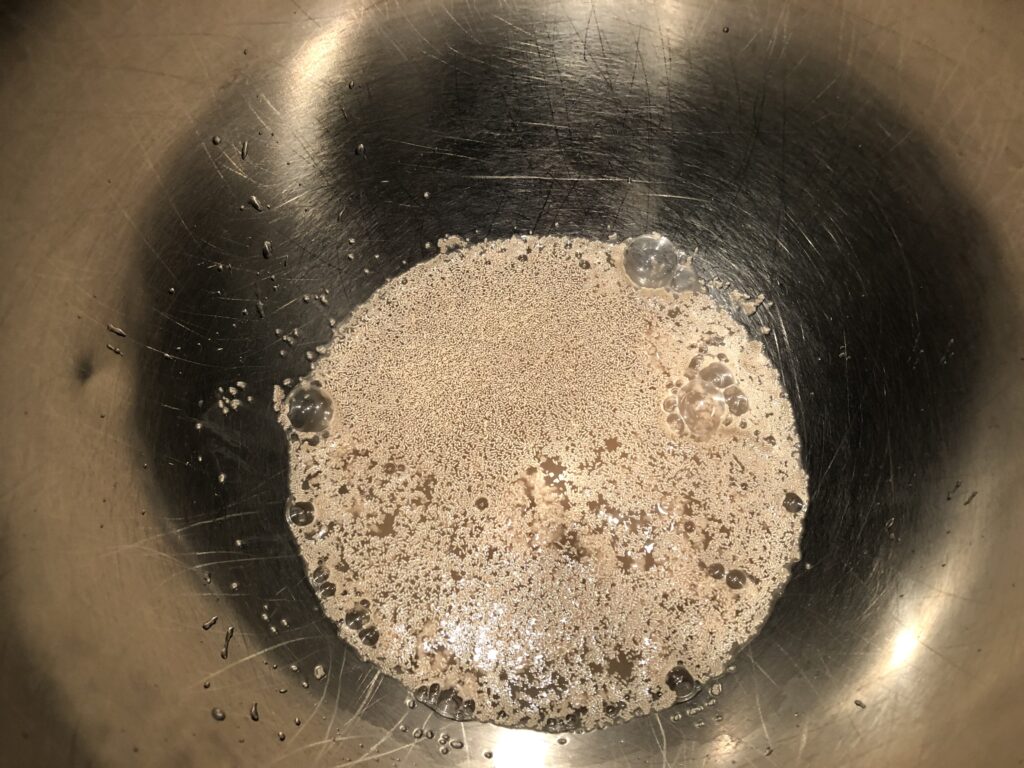
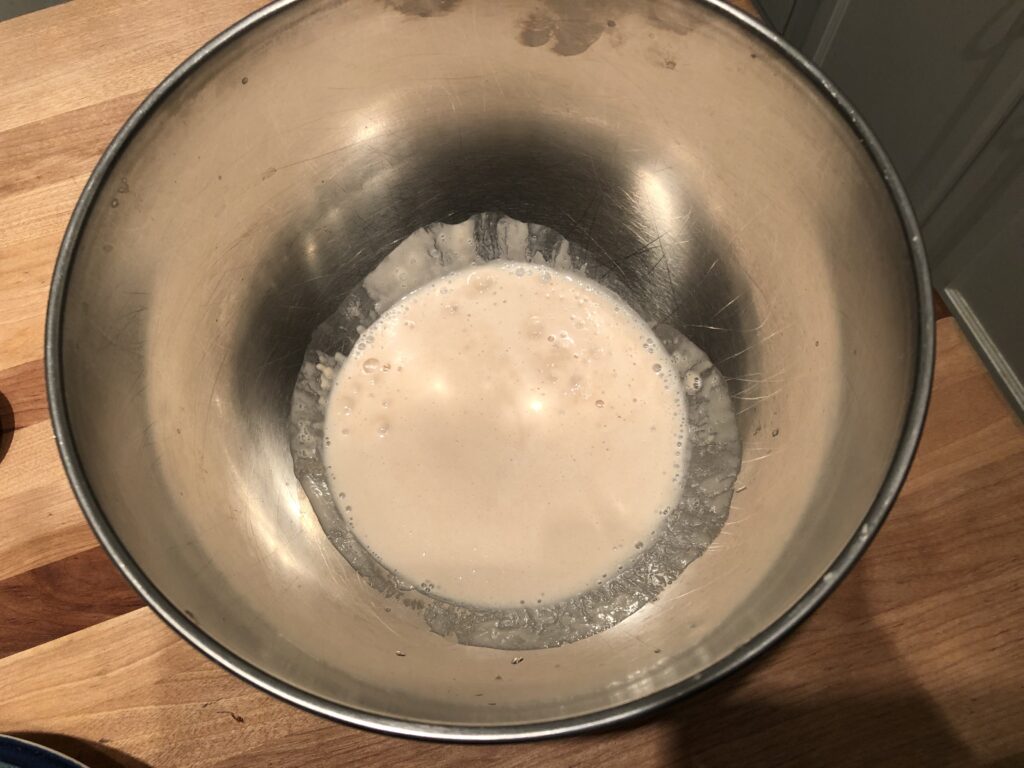
Measure out your water and warm it up. About 20 – 30 seconds in the microwave will do the trick. The water should be warm to the touch, but not hot. Think bath temperature for a baby or pet. Add the water to the yeast and sugar, pouring slowly so the yeast stays in the water and doesn’t splash up the side of the bowl. No need to stir, just let it sit about 5 minutes until it looks frothy.
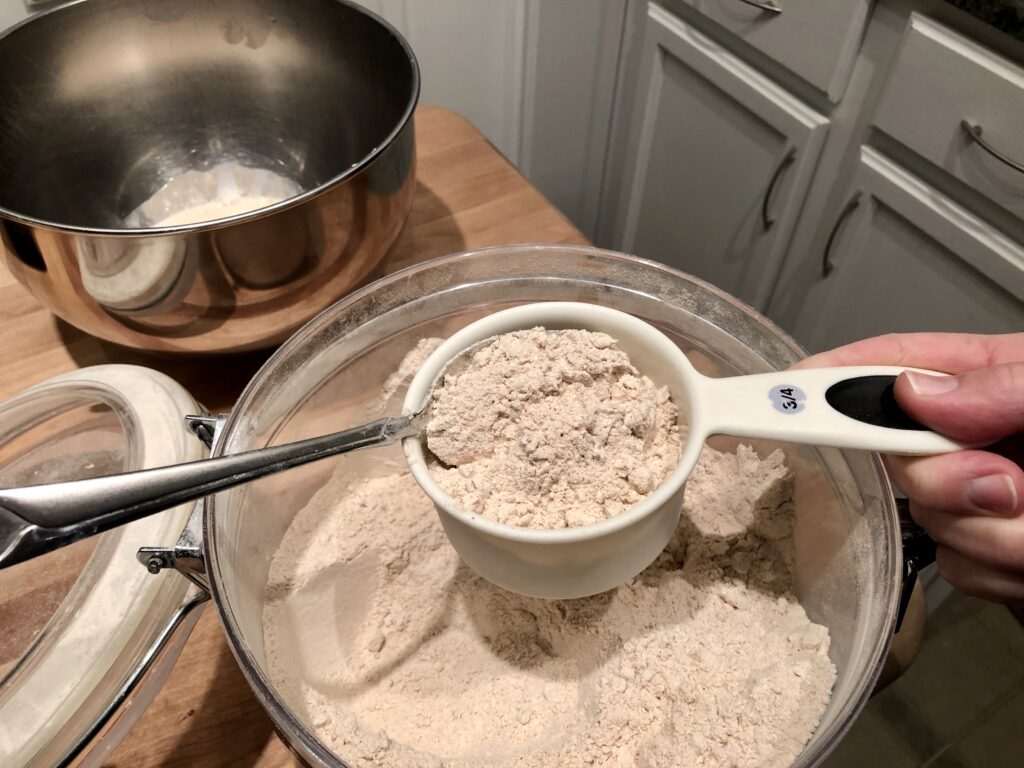
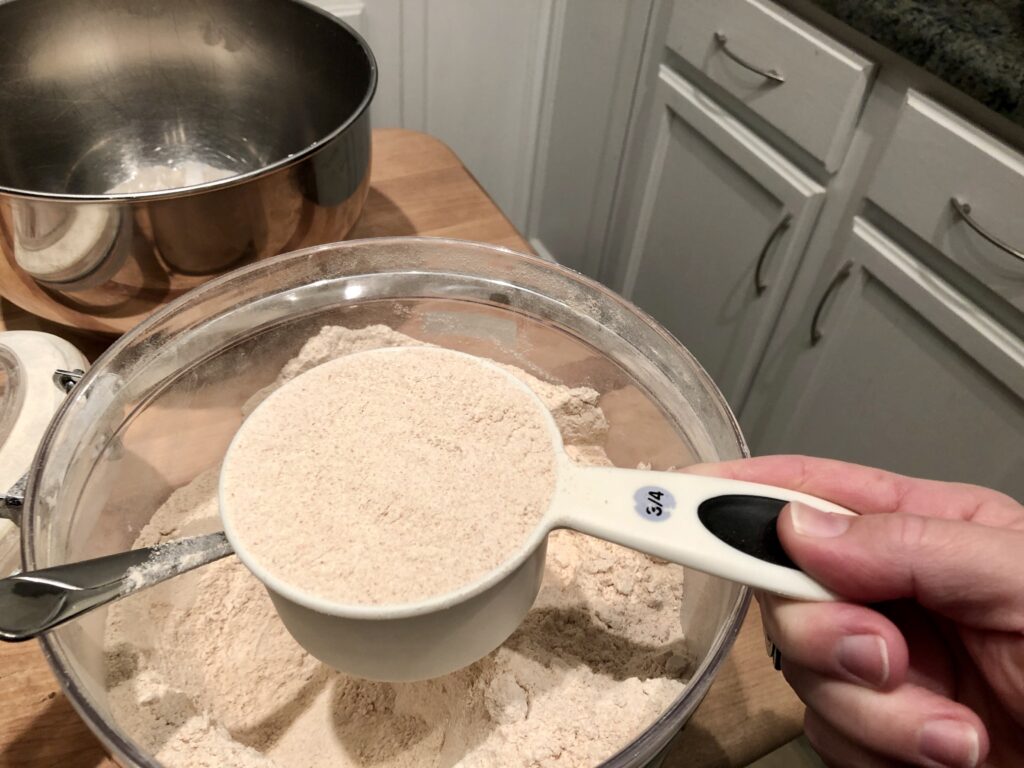
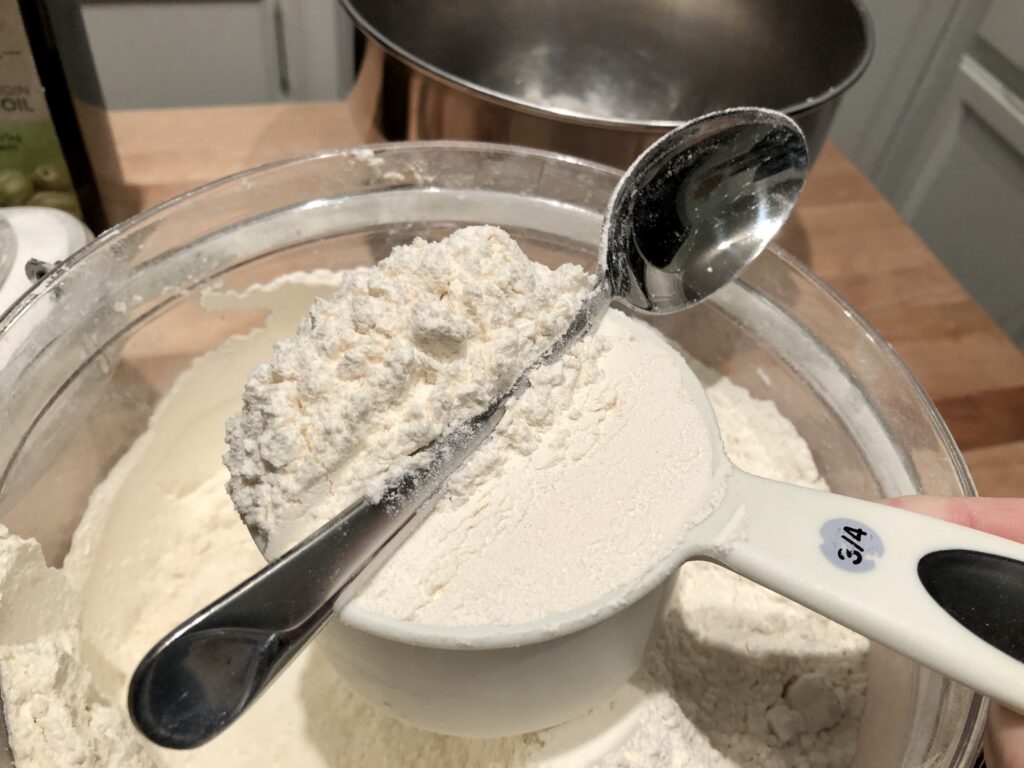
Measure the flour by using a spoon to gently scoop the flour into your measuring cup. Do not pack the flour into the cup or you will end up with too much flour and a very dry and heavy crust. Using the handle of the spoon or a knife, level off the top of your measuring cup, then add the flour to the mixture in your bowl.
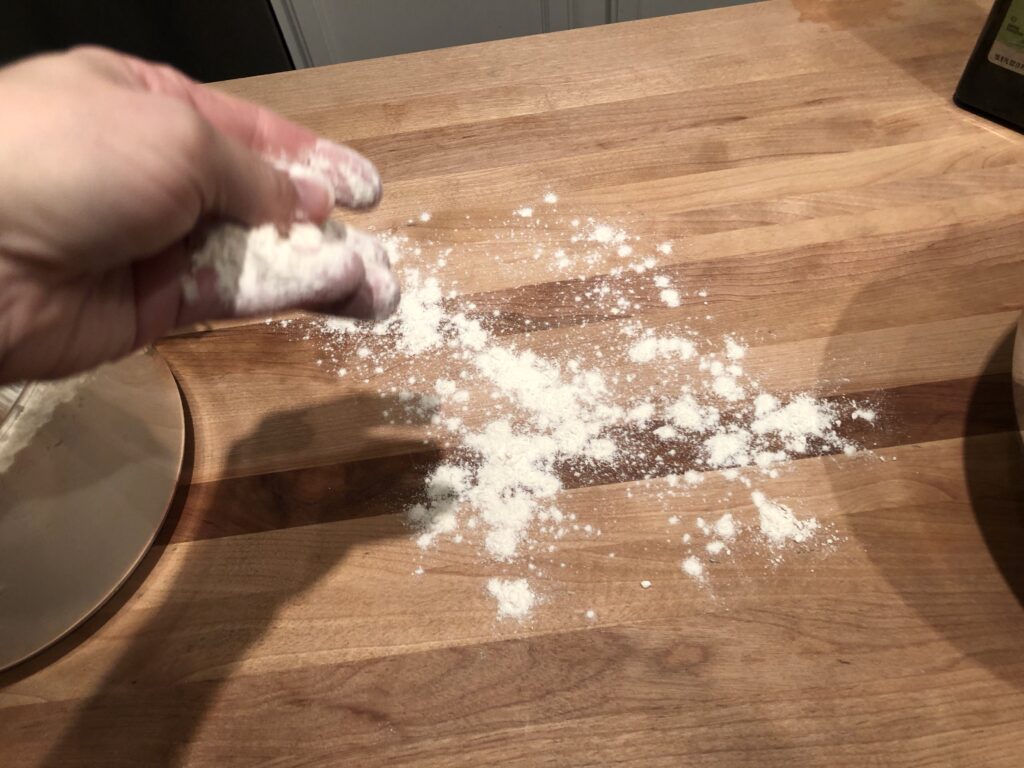
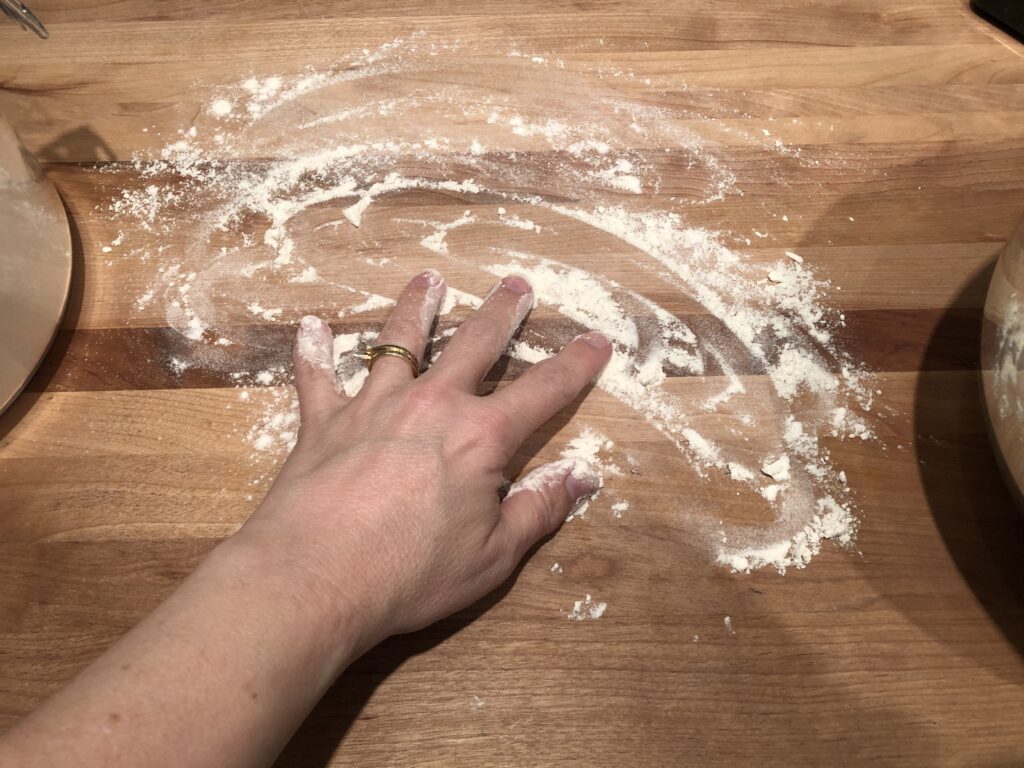
Sprinkle some flour on your work surface so you are ready when it’s time to begin kneading.
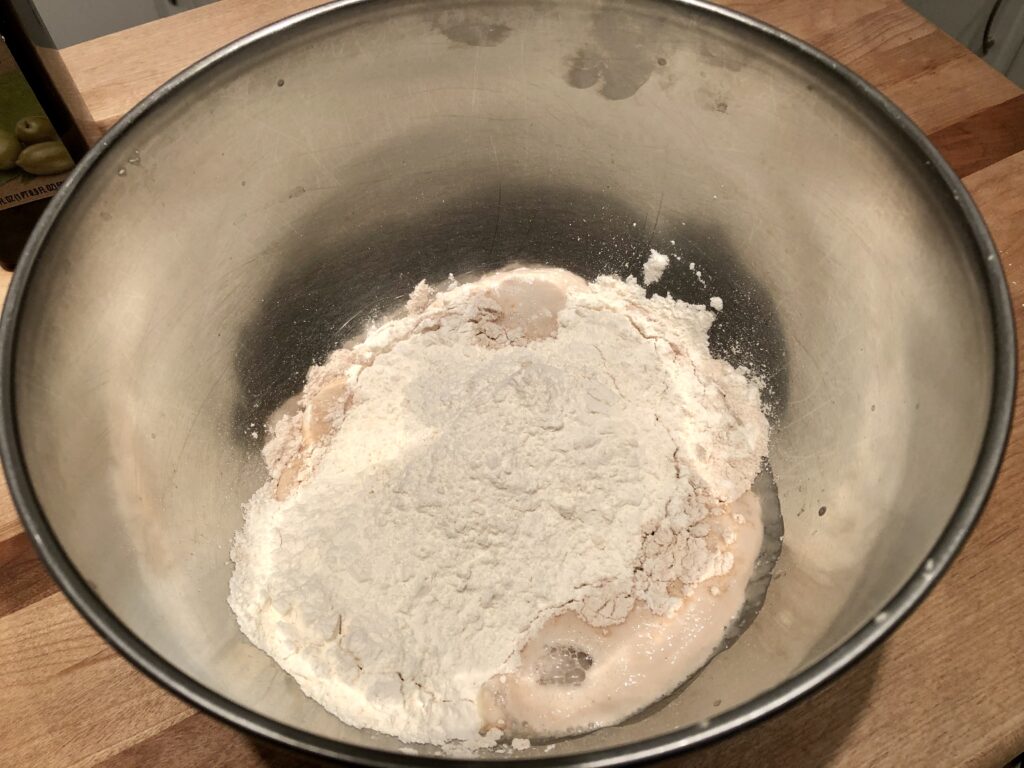
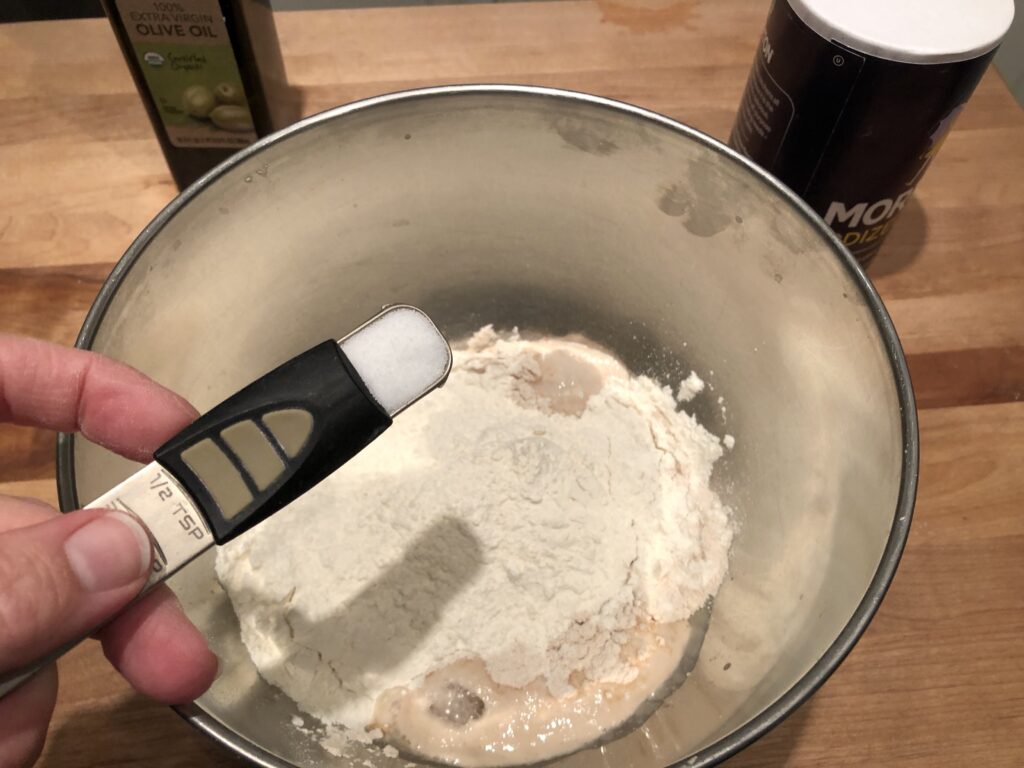
Measure a level 1/2 teaspoon of salt and add on top of the flour. Make sure the salt stays on top and does not contact the yeast mixture until you start stirring. If they mix too soon, the salt can inhibit the yeast performance.
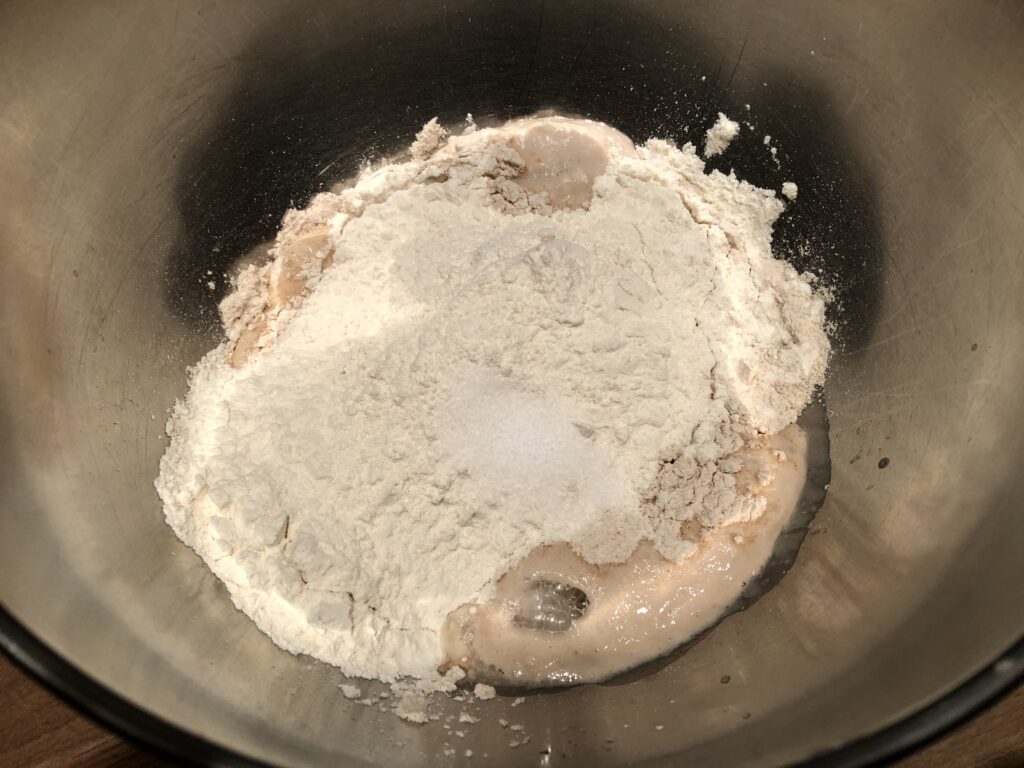
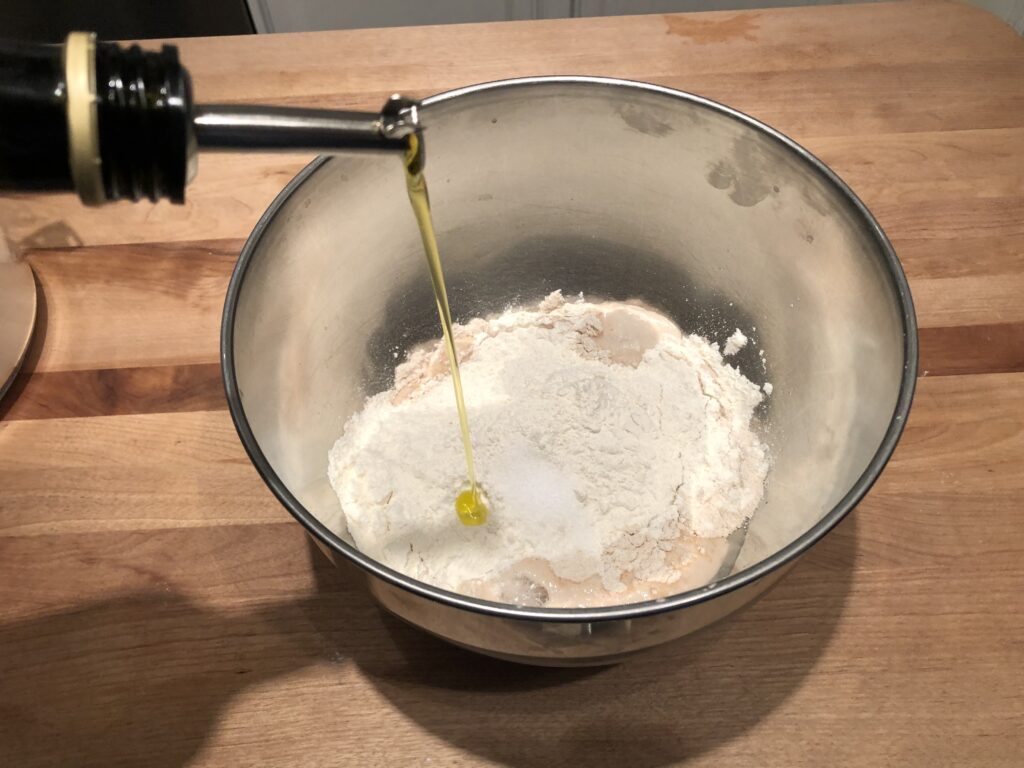
Measure 1 tablespoon of olive oil and add to your bowl.
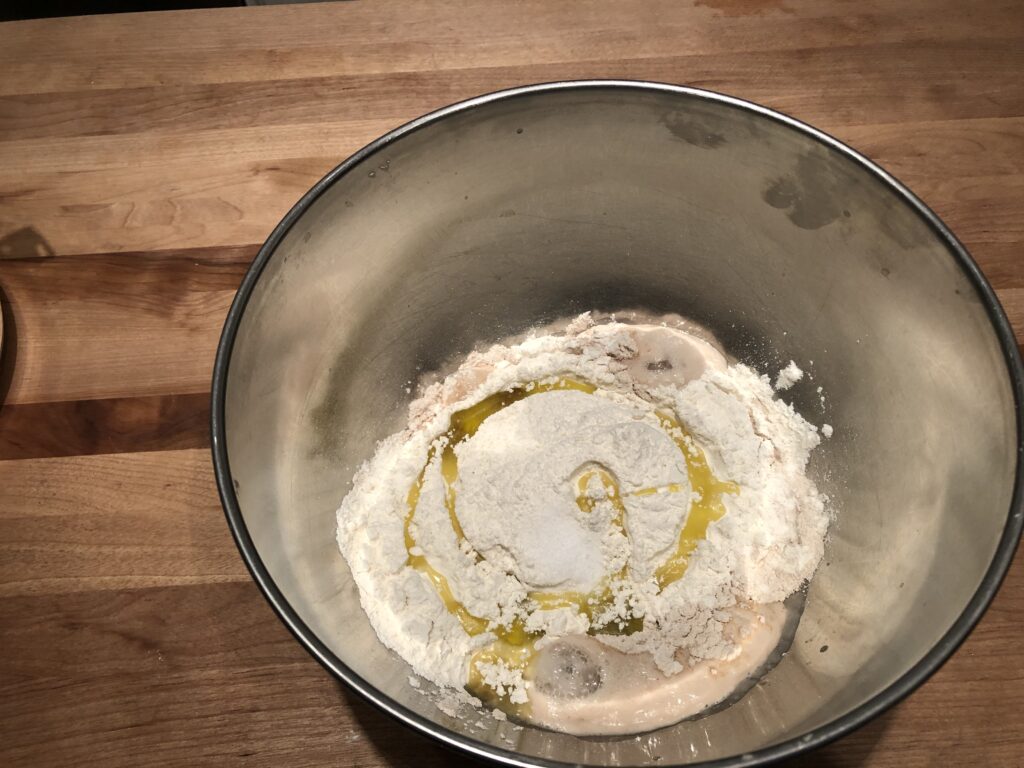
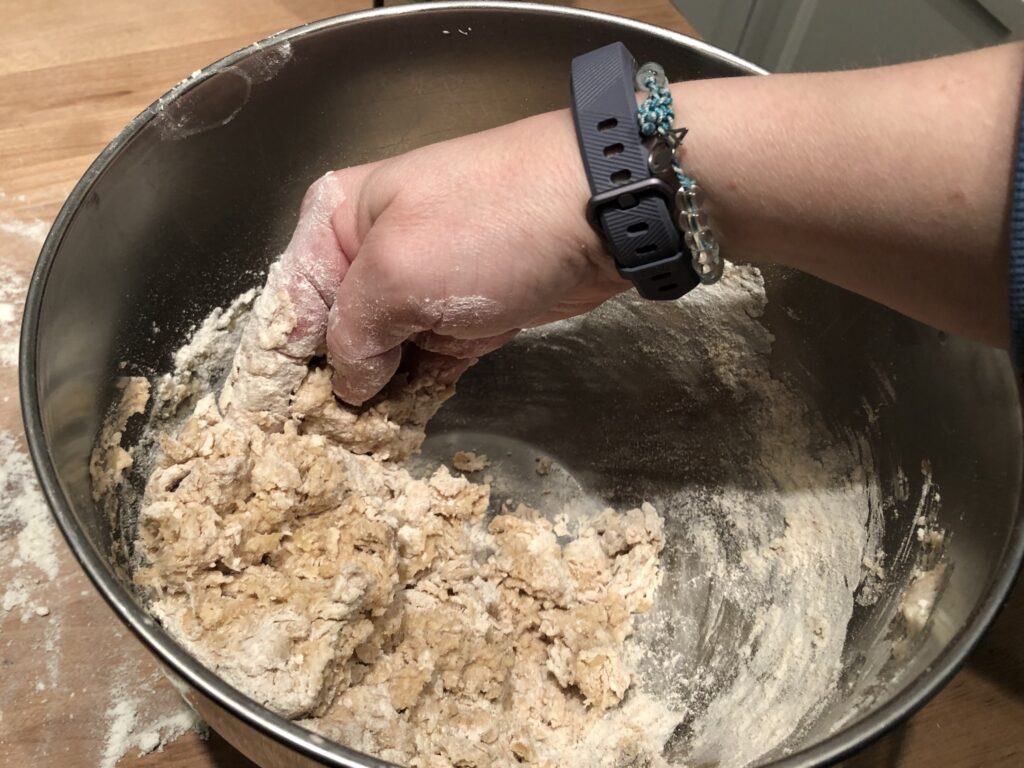
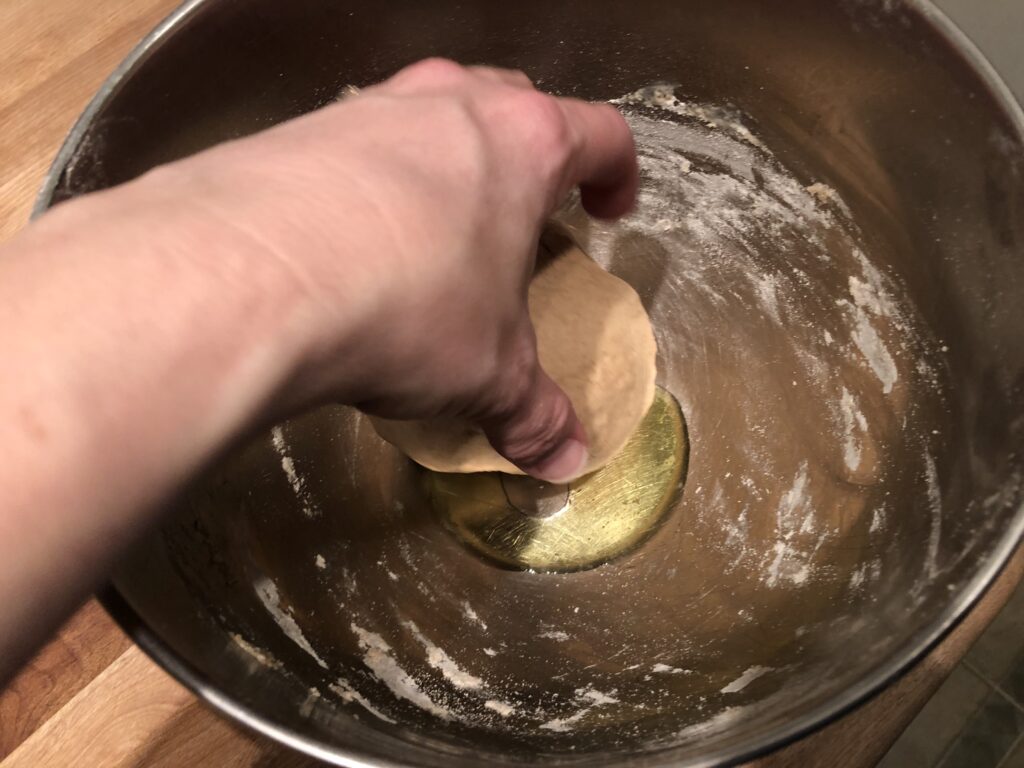
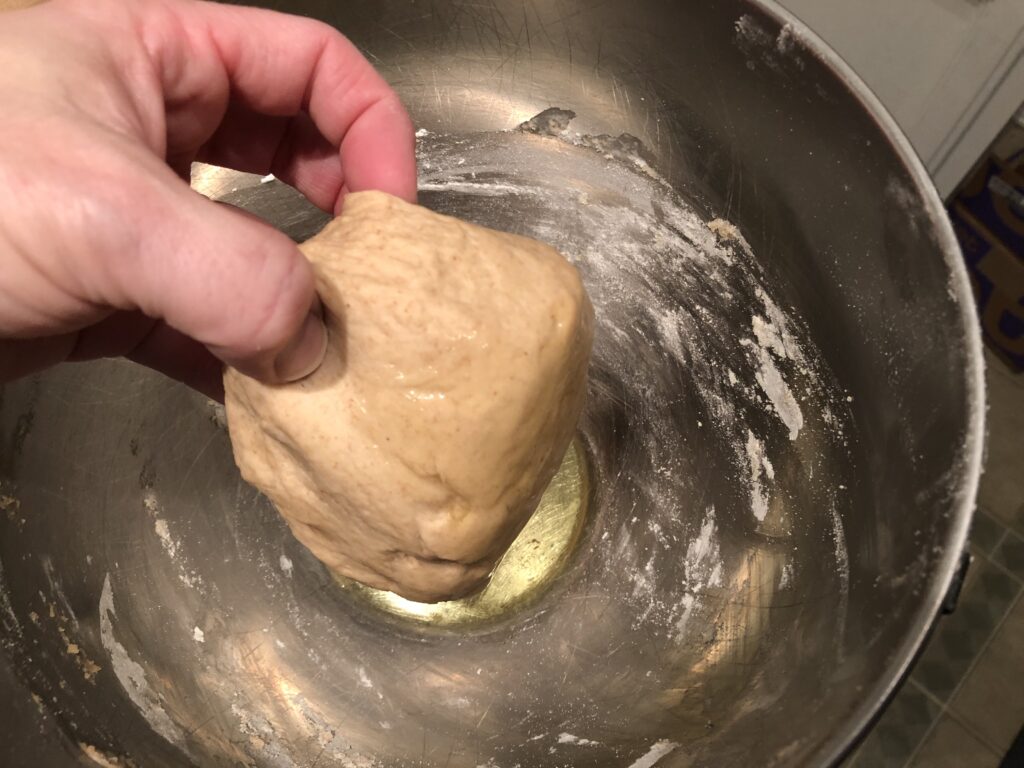
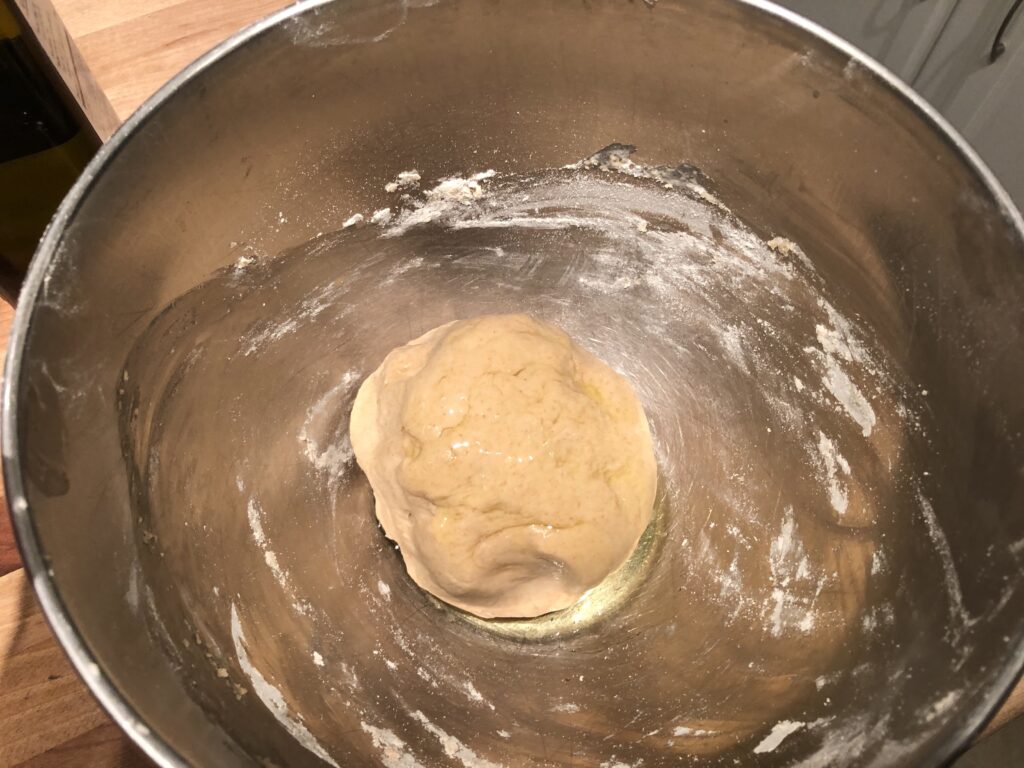
Now it’s time to stir! You can use a spoon, but I prefer to dig in and mix with my hands. They’re going to get messy anyway from kneading, so why dirty a spoon? If using your hands, coat your fingers with a little flour first to help keep the dough from sticking. Mix everything in the bowl together until it forms a rough ball.
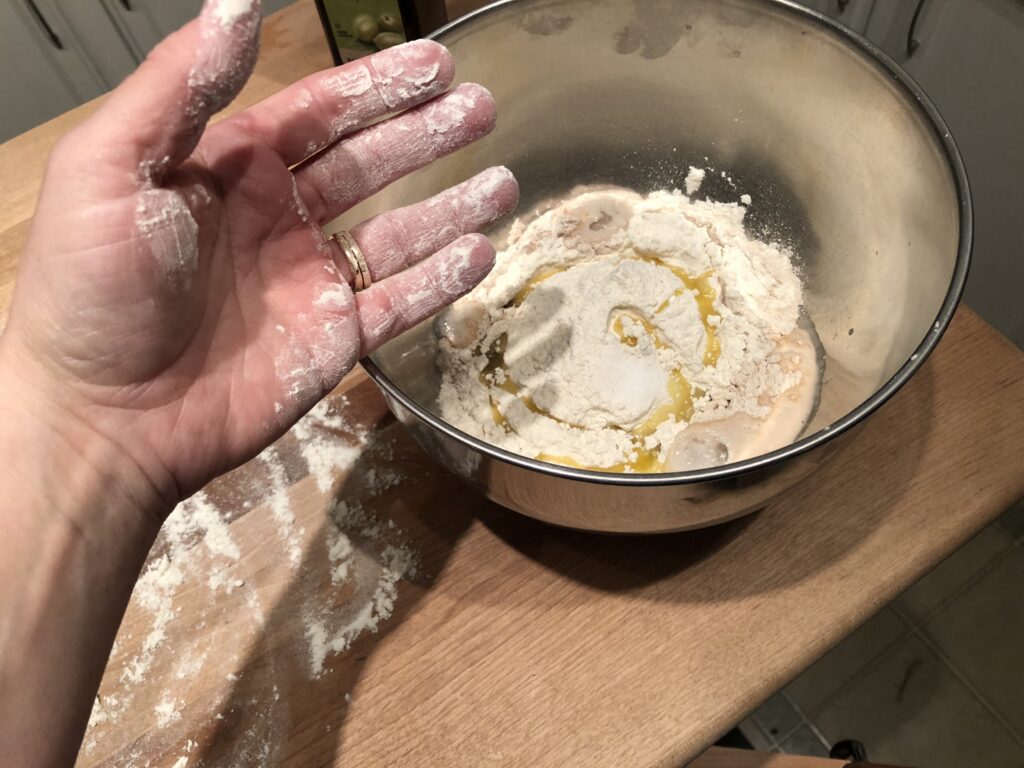
Turn the ball (and any remaining bits in the bowl) out onto your work surface and coat your hands with flour.
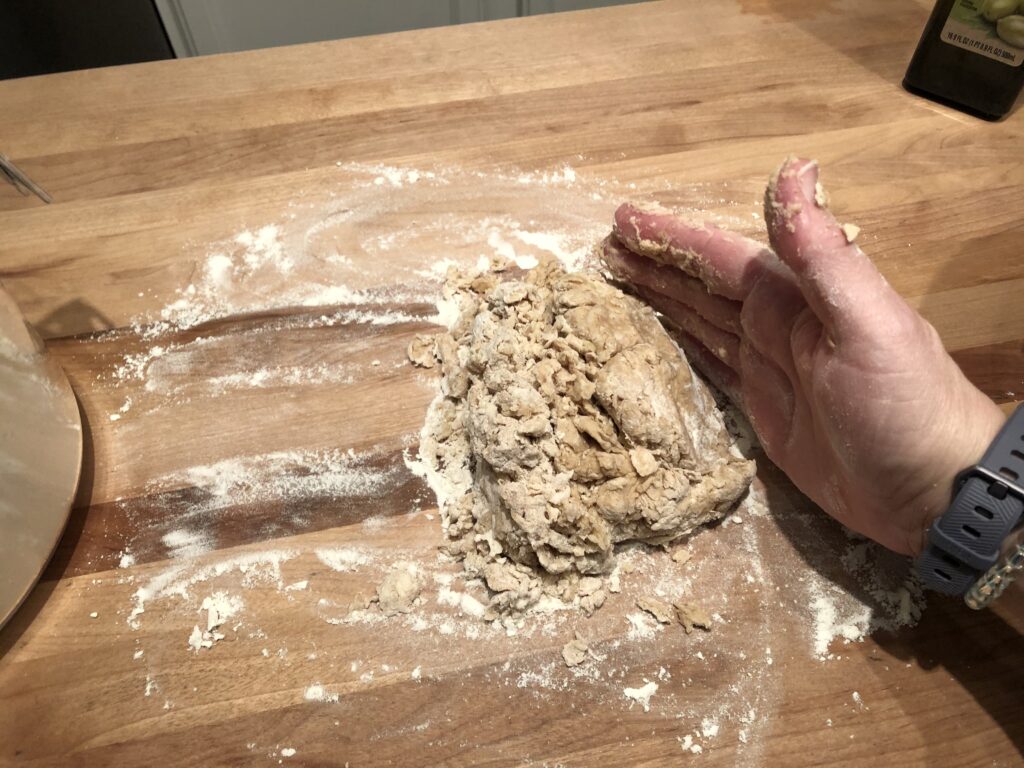
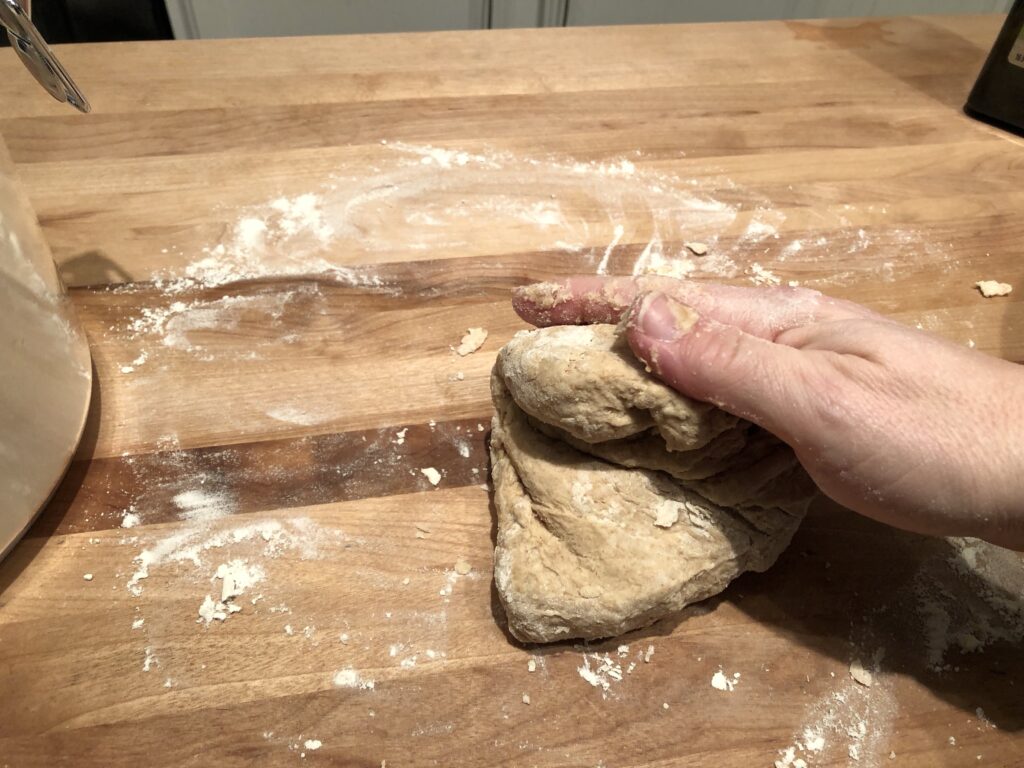
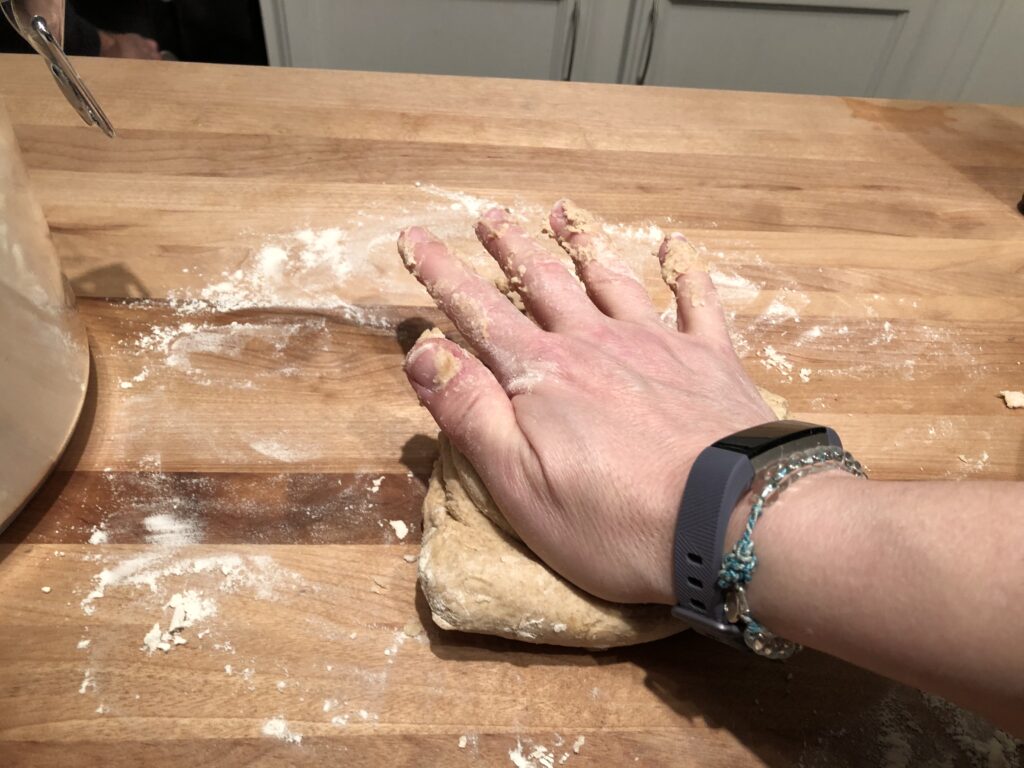
To knead the dough, push down firmly moving away from your body. Fold the dough in half and turn 90 degrees, then push down firmly moving away from your body again. Repeat this process until it forms a smooth, elastic dough, about 5-10 minutes. The dough should look nice and soft and not break immediately when you pull it apart. Don’t skimp on the kneading or you will end up with a flat, tough crust.
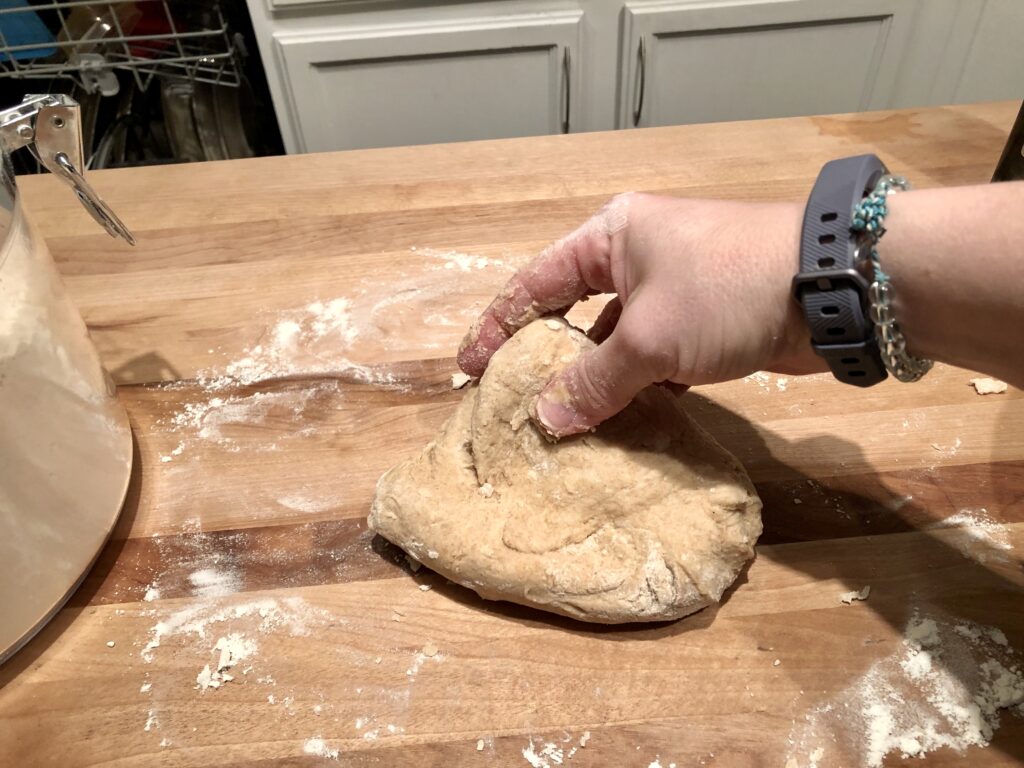
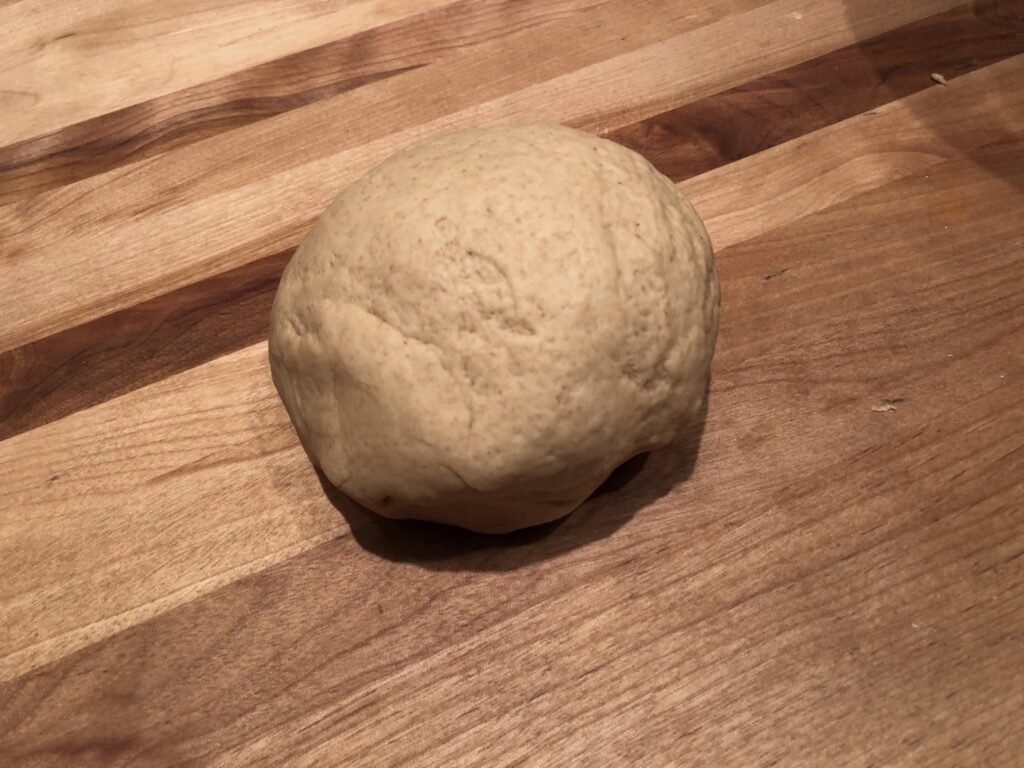
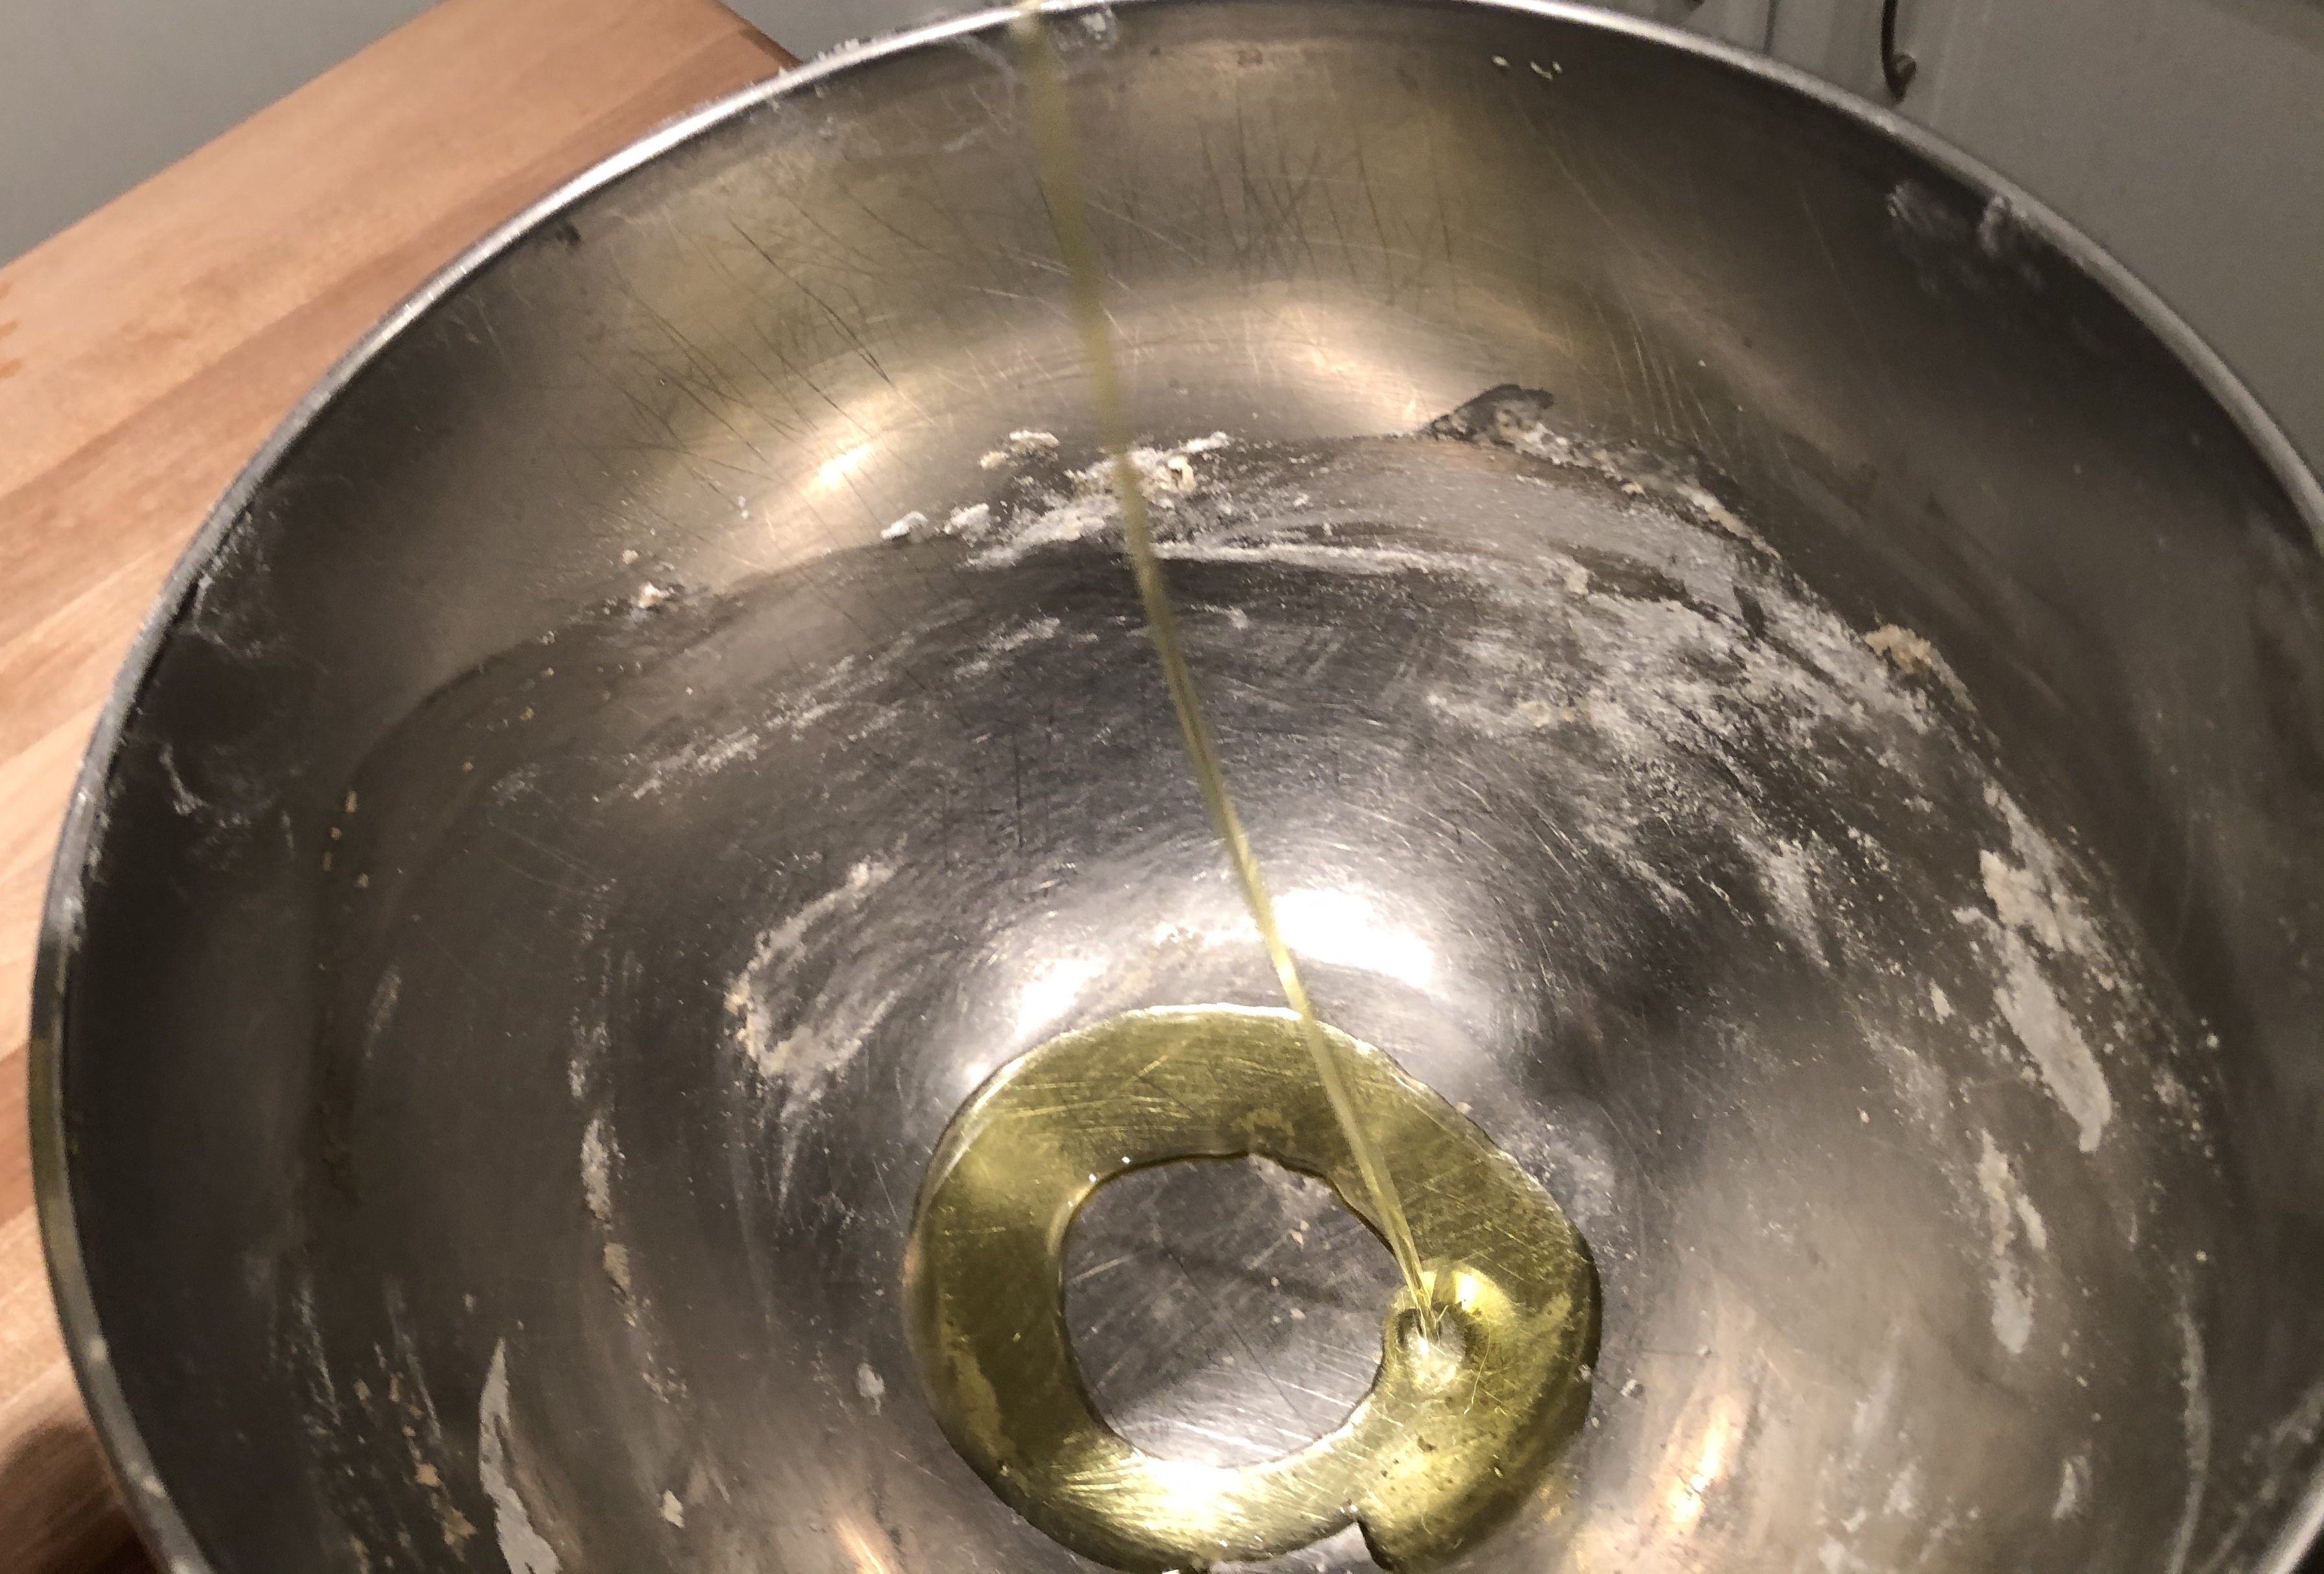
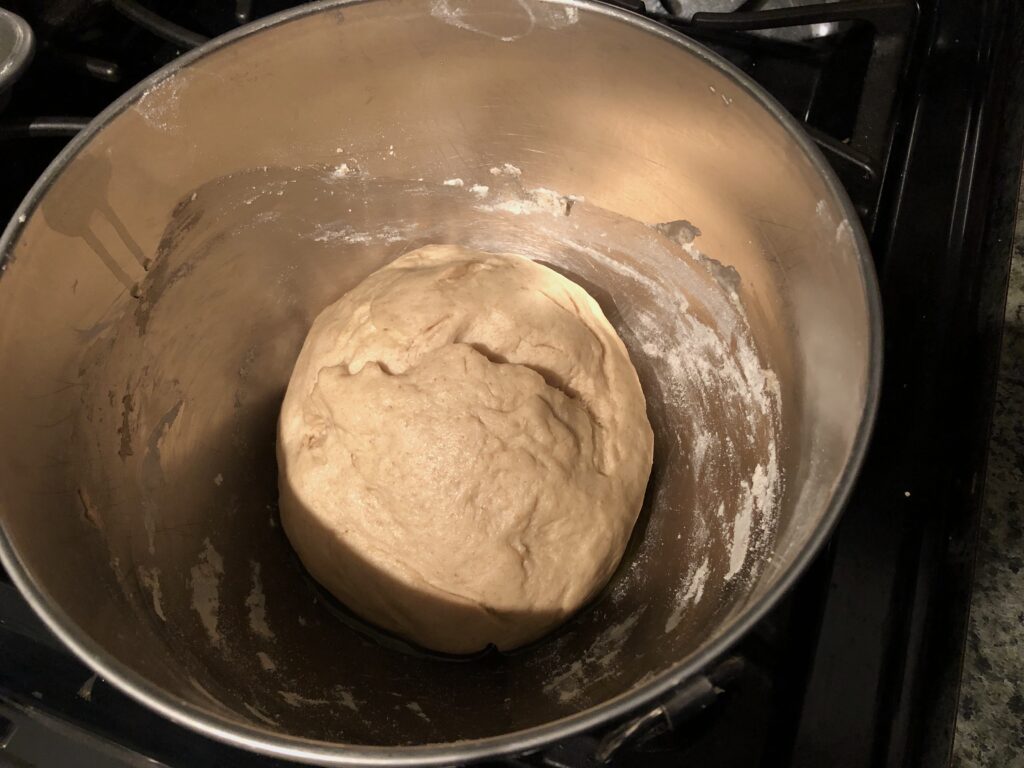
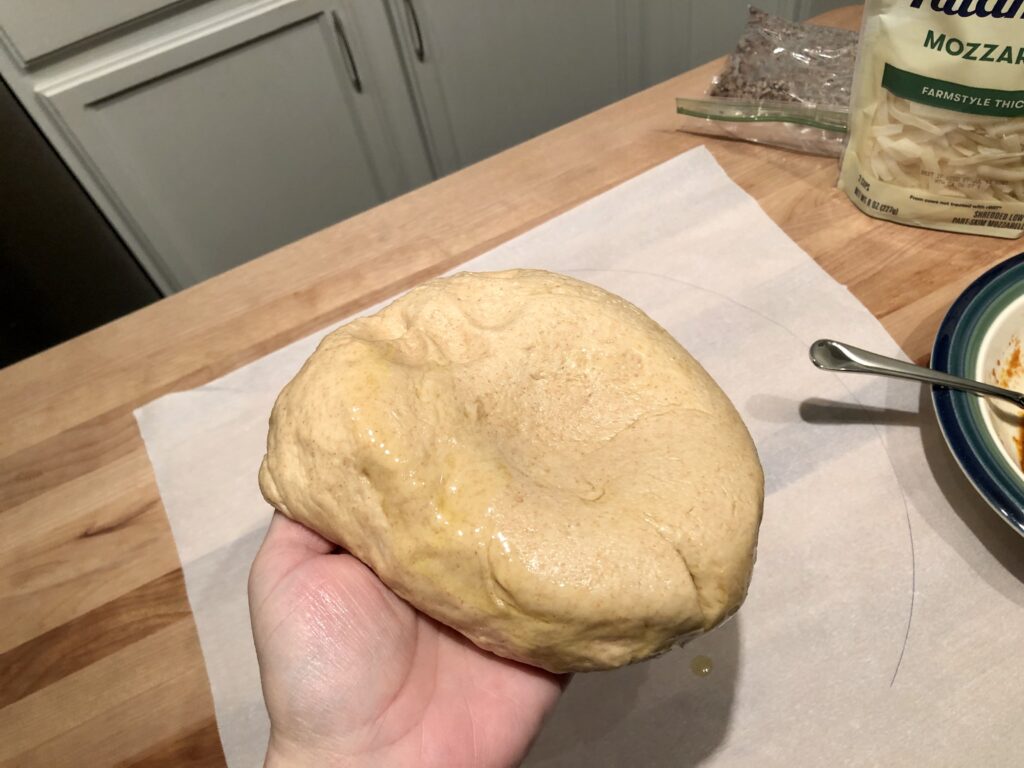
Drizzle a little oil in your bowl and place the dough ball into the bowl. Turn the dough over to cover the whole ball with oil. Cover the bowl with a towel and sit it in a warm place (on the stove is perfect) to rise for 20-40 minutes. You want the dough to almost double in size – it should look quite puffy.

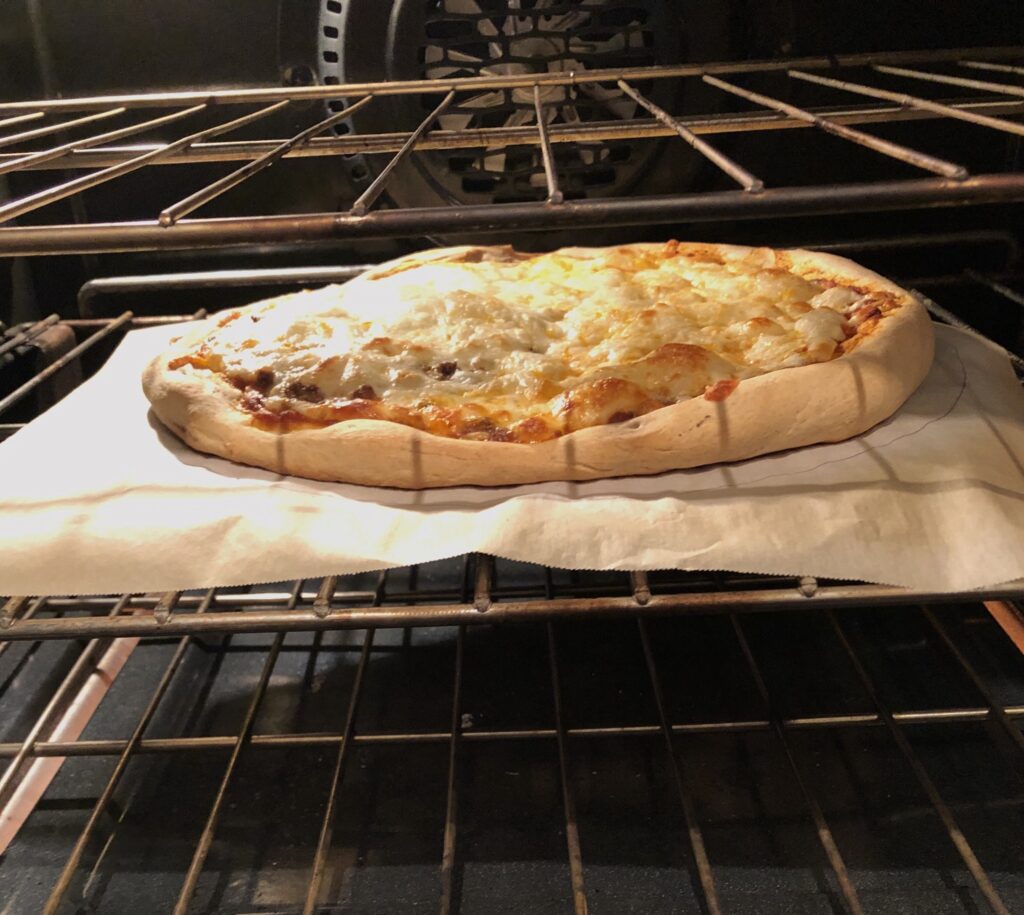
While the dough is rising, preheat the oven to 450 degrees F. If you are using a pizza stone, place it in the oven while it is preheating. You can use either the middle rack or the lower middle rack. I prefer the lower middle rack because it gives a little more crisp to the bottom of the crust. Mine is an eighteen year old Pampered Chef 13” pizza stone that I received as a gift. The design has changed since and now there are built in handles, which I could definitely see as a bonus.
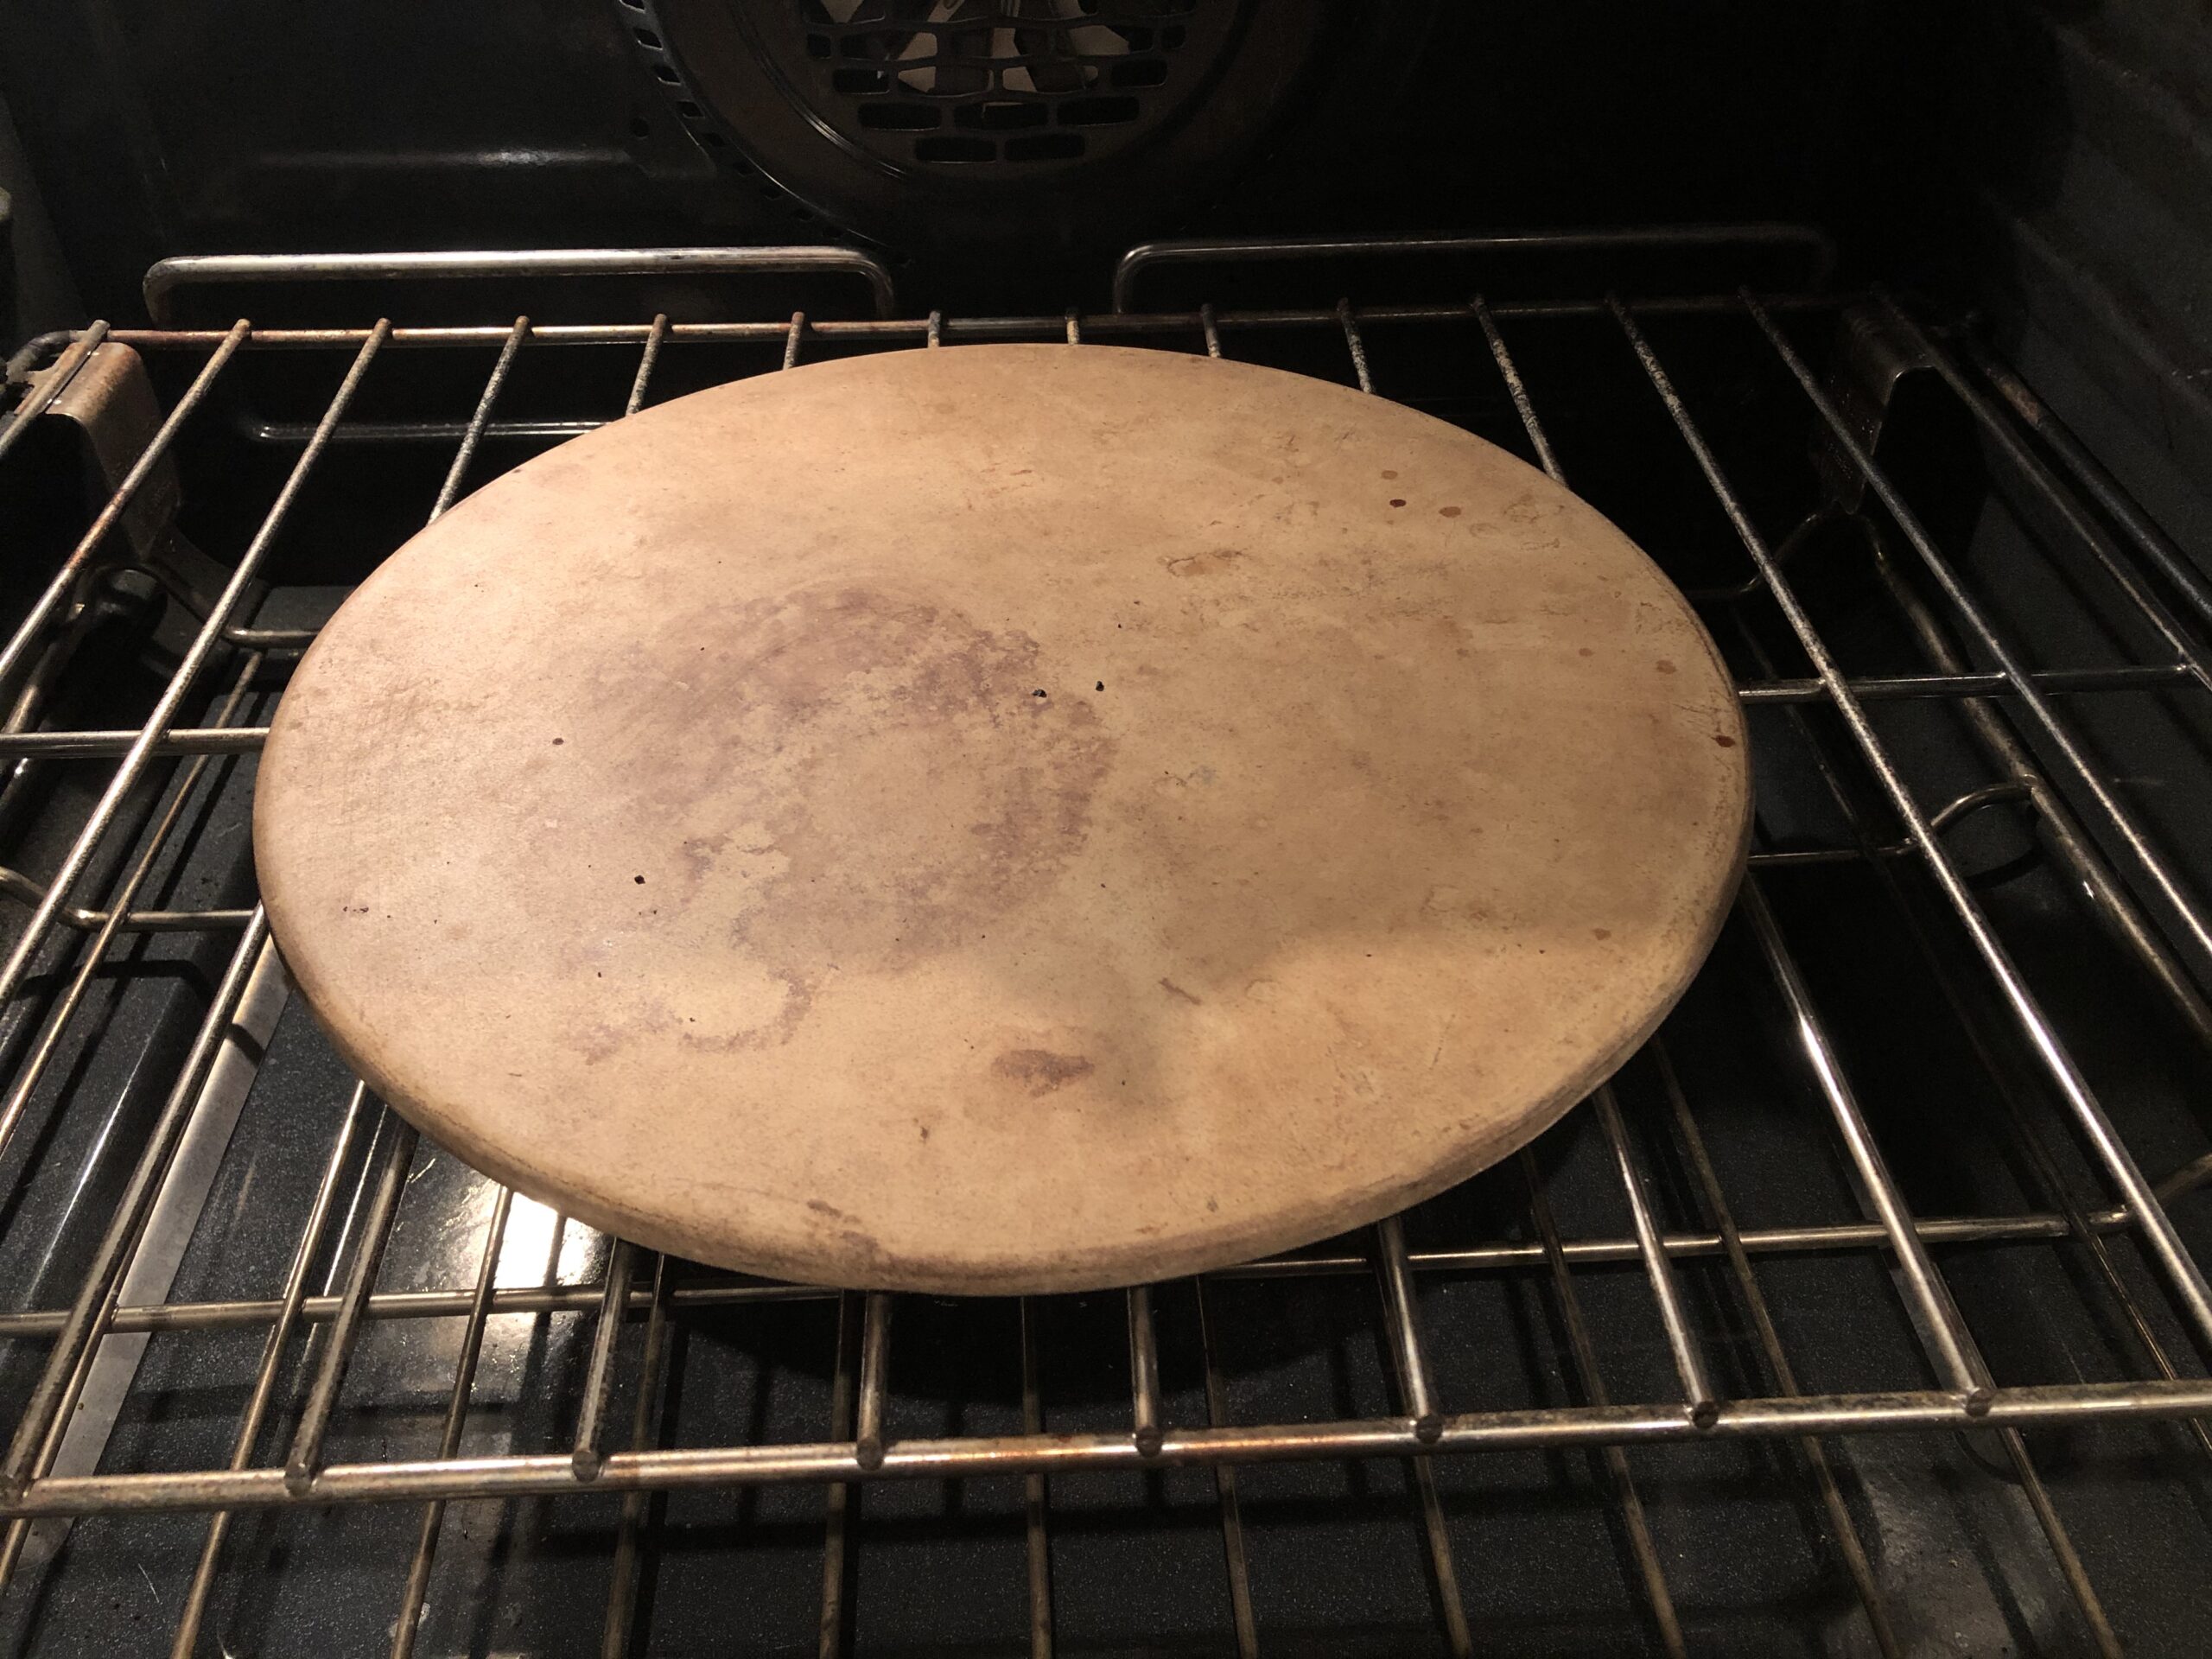
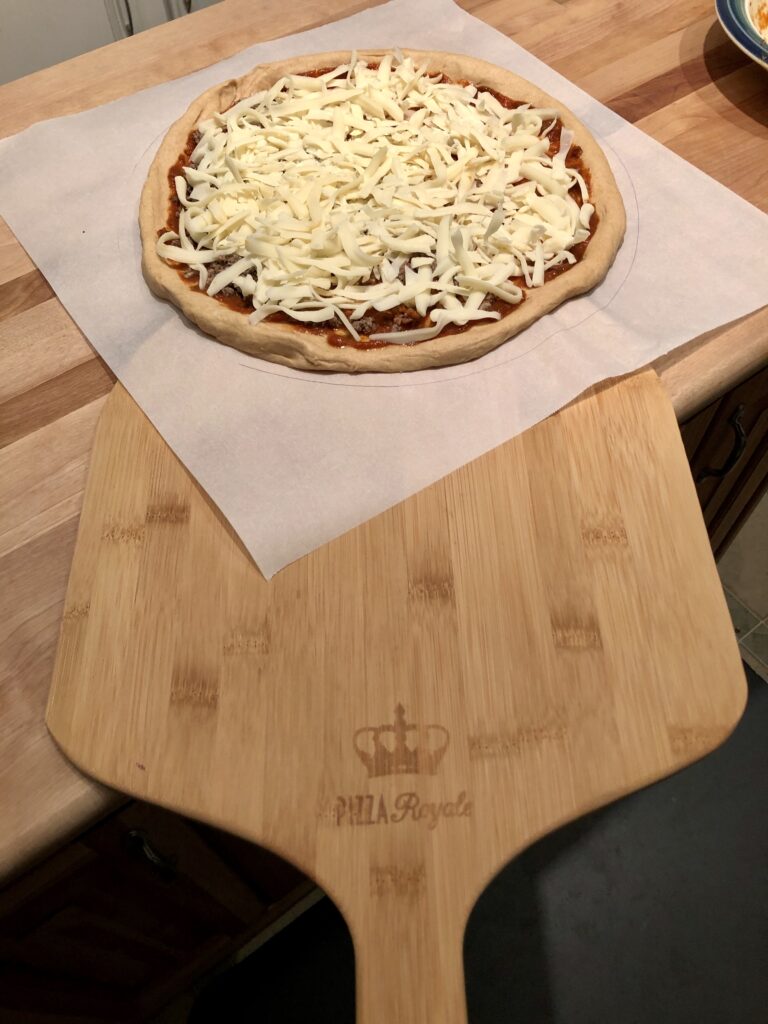
Better yet, use a peel to move the pizza in and out of the oven and leave the stone. I finally got this one for Christmas and I can’t believe I waited so long to get one. It is a game changer and looks really cool hanging on the wall.
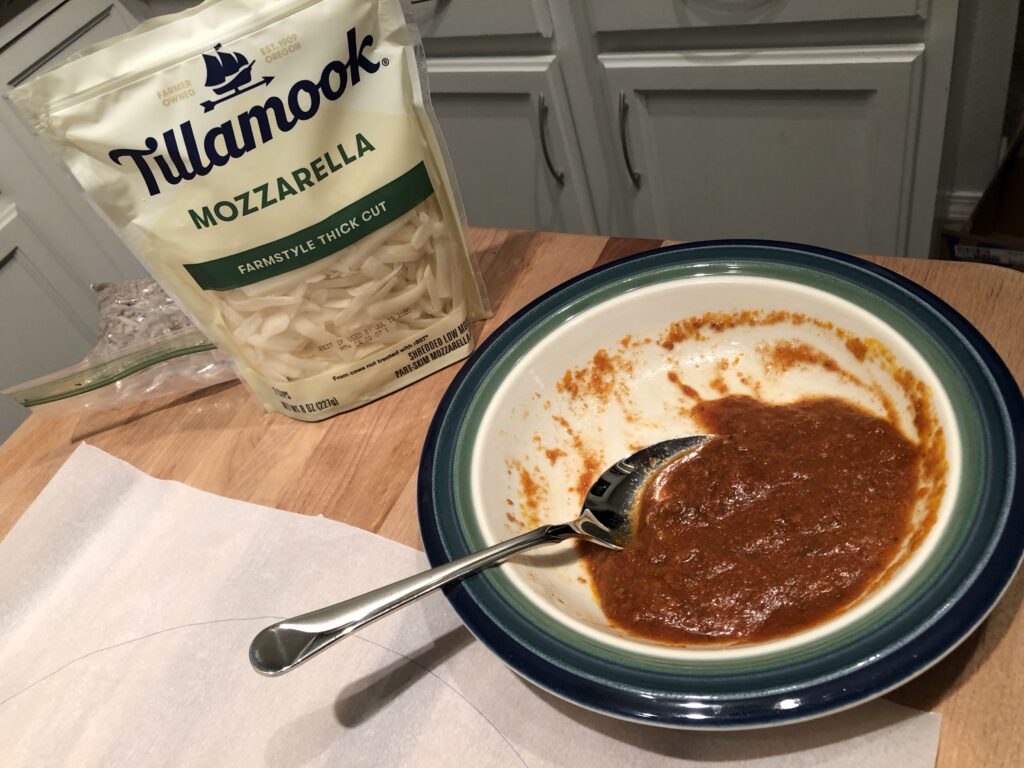
Assemble your toppings so you are ready to go when the dough is finished rising. As a kid, the go to pizza sauce was Ragu, but any style pizza or spaghetti sauce you like works here. Now, I use leftover sugu for the pizza sauce. This is a traditional family recipe from Sicily given to me by my best friend under penalty of death if I ever share it. Seriously, we were friends for over 30 years before I was considered close enough family to know the secrets of this recipe! Whole milk mozzarella can be hard to find, but it is definitely worth it. You can also use fresh mozzarella, but it spoils quickly if you do not use the entire ball. Since I can’t always find whole milk mozzarella, I like the Tillamook farmhouse cut cheese.

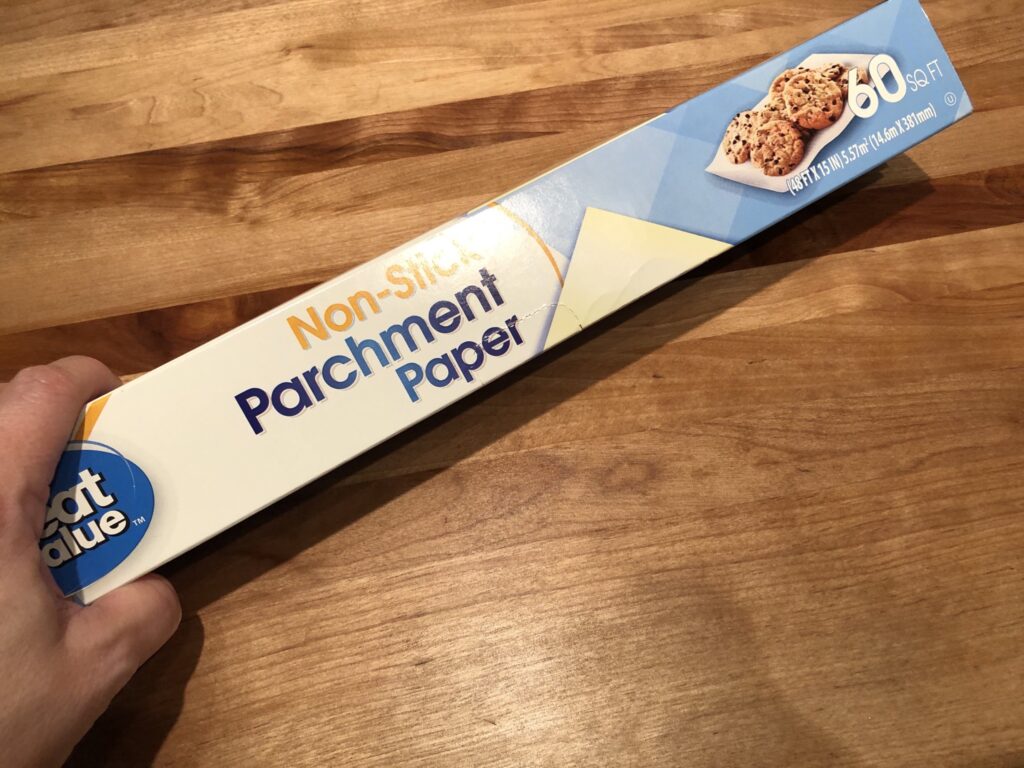
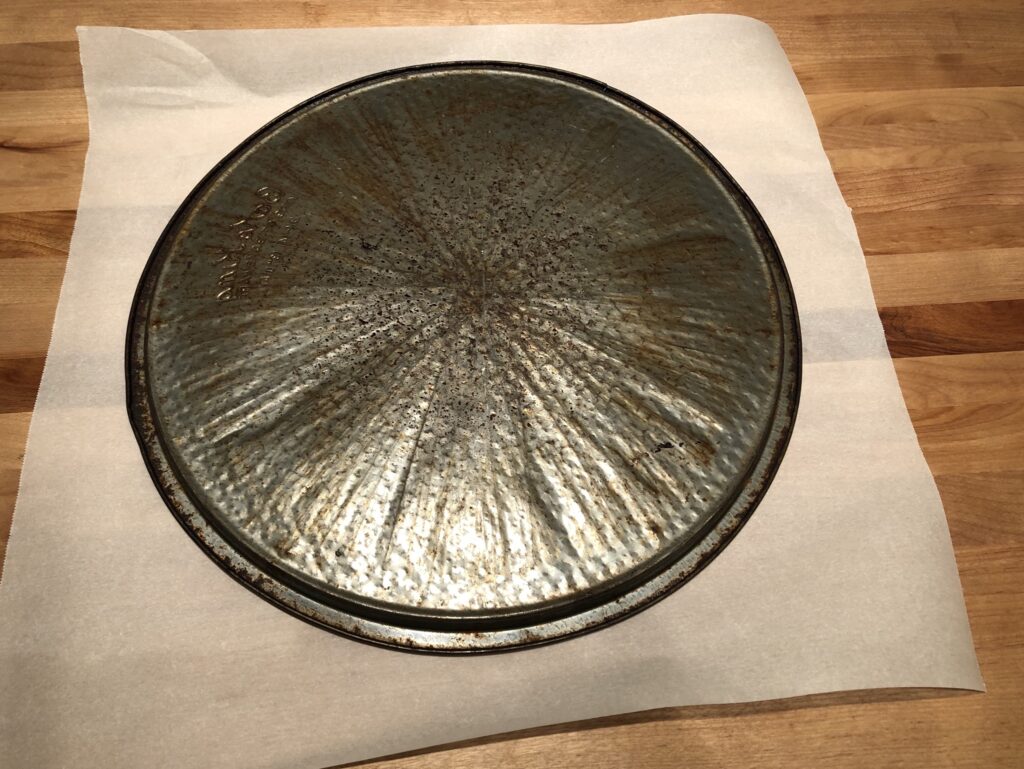
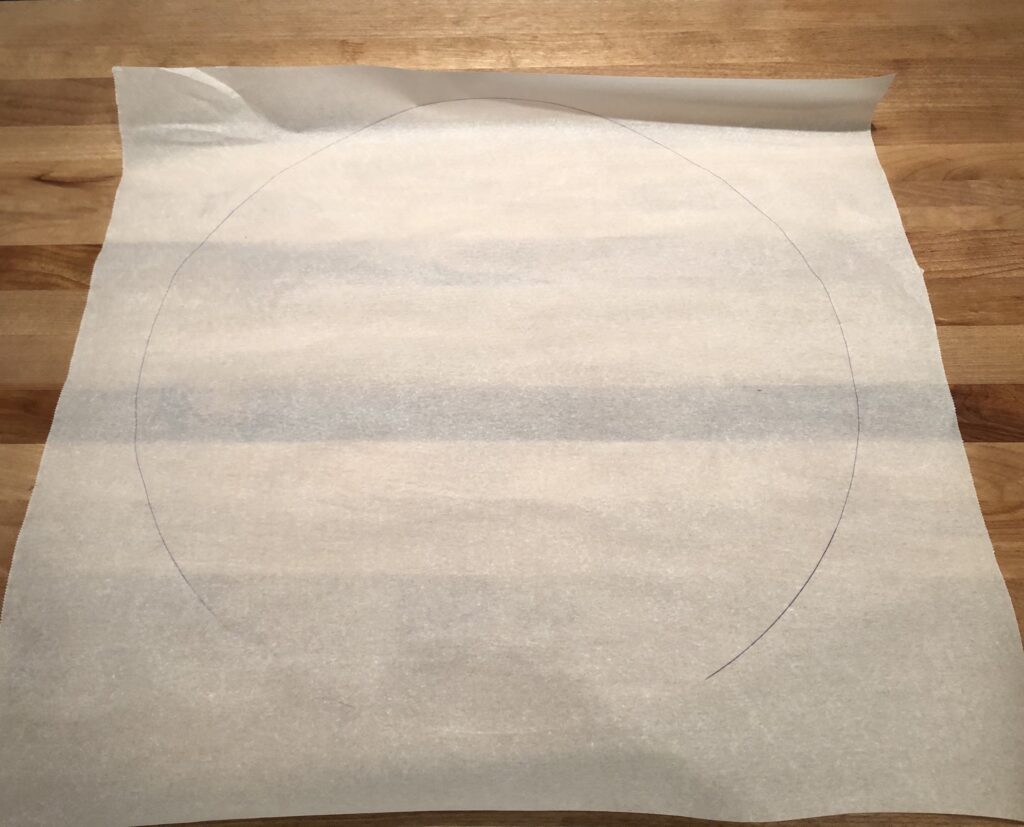
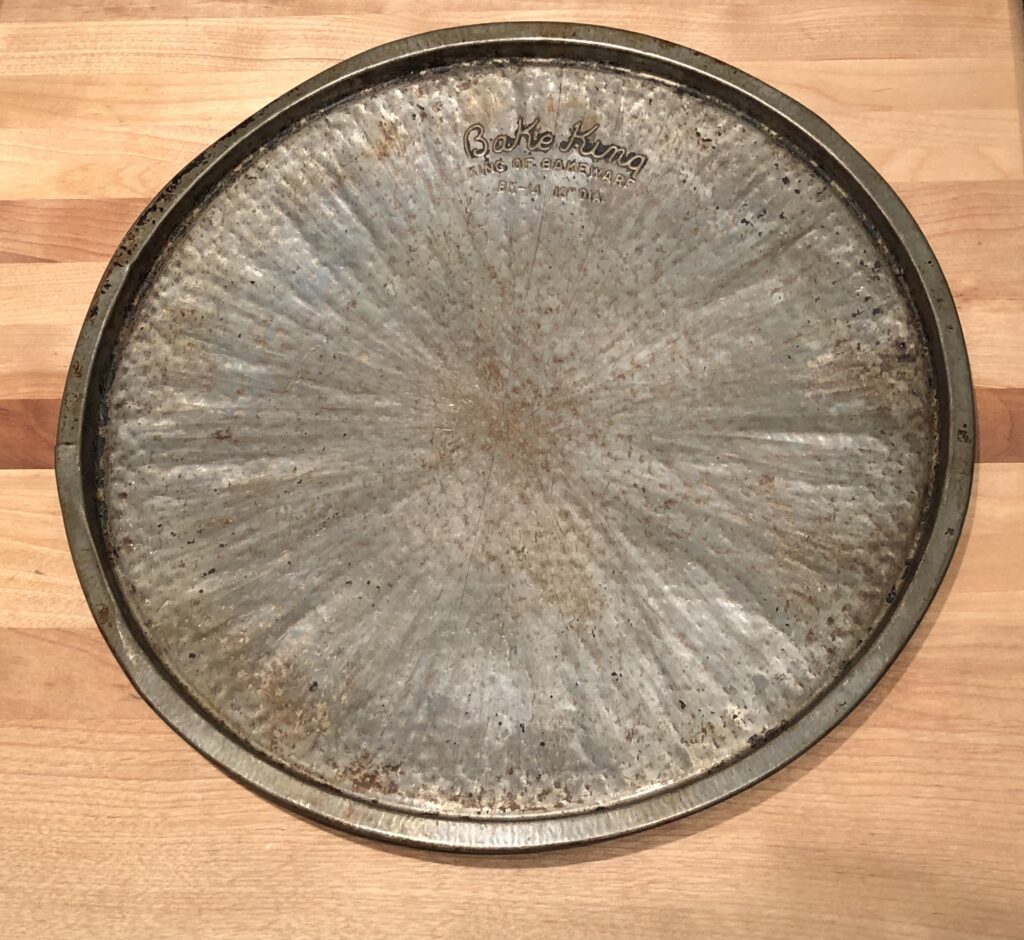
When your dough is almost doubled in size and looks nice and puffy, you are ready to shape your crust. If you are using a pizza stone, I recommend drawing a circle on a piece of parchment paper that will fit on your stone so you don’t accidentally make the pizza too big for your stone. That would be a mess and a waste of good pizza ingredients. If you are using a metal pan (I like the bake king one given to me by my stepmom many years ago), put a little olive oil in the pan and spread it around with your fingers.
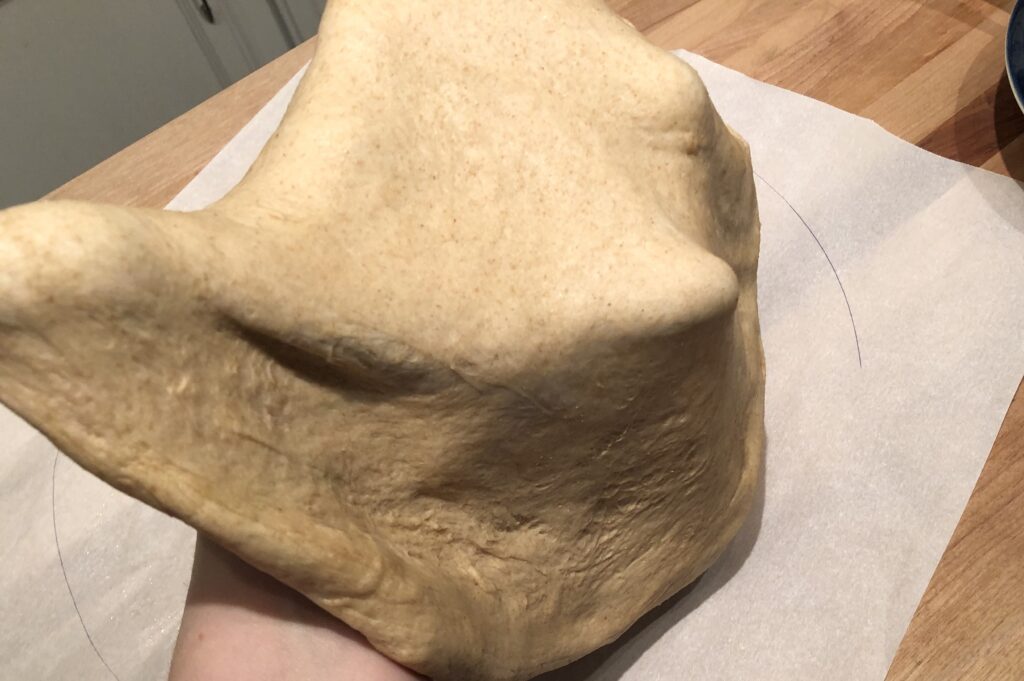
Punch down the dough in the bowl and lift it out. Lay it on your parchment paper or pan and hand stretch (or toss it in the air a few times if you are feeling adventurous). Full disclosure – it took me many, many years before I was brave enough to try a tiny toss. I am such a klutz and was always afraid of losing my pizza dough on the floor and having to start all over!
Once in the pan or on the paper, stretch and form the dough by pushing out from the center and stretching to the edges. Slow and steady is the name of the game here. If you go too fast or apply too much pressure, you’ll tear the dough. Gradually spread the dough to the edge of the pan or just inside your circle outline, leaving a little extra ridge around the edges to hold your toppings in place.


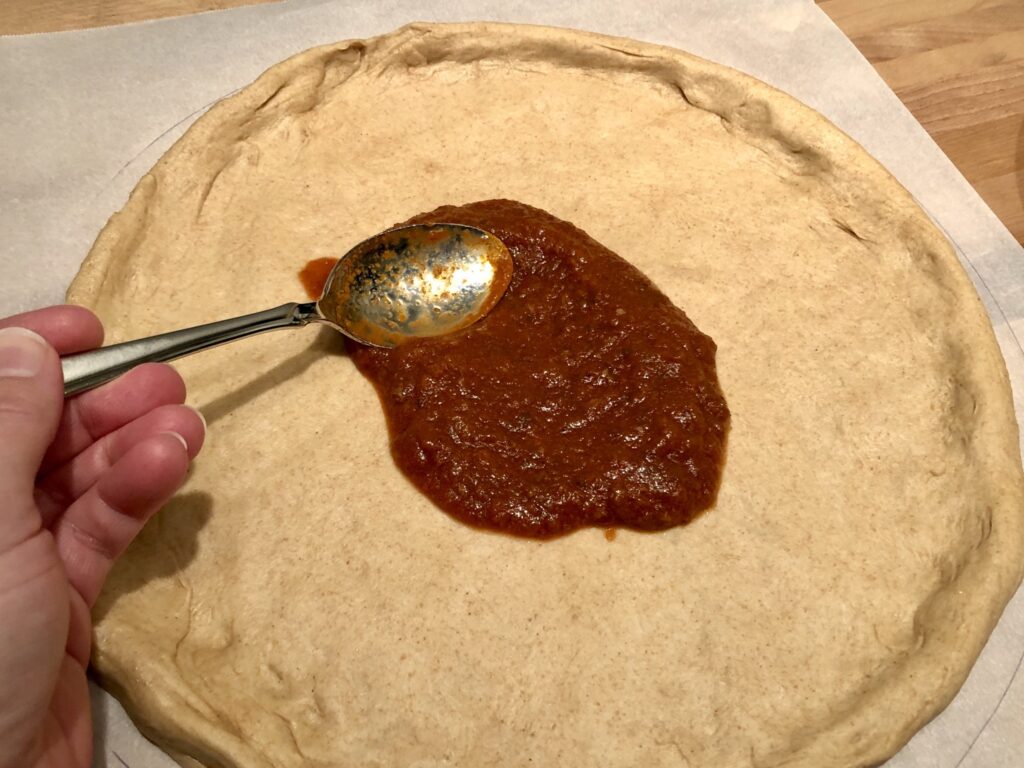
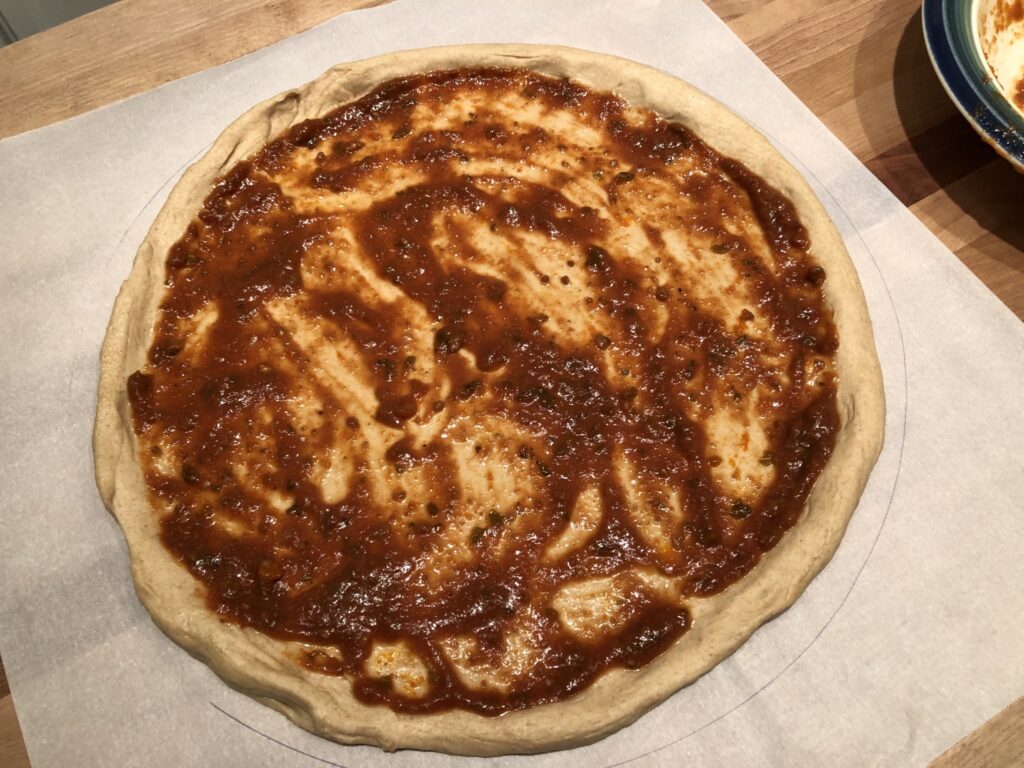
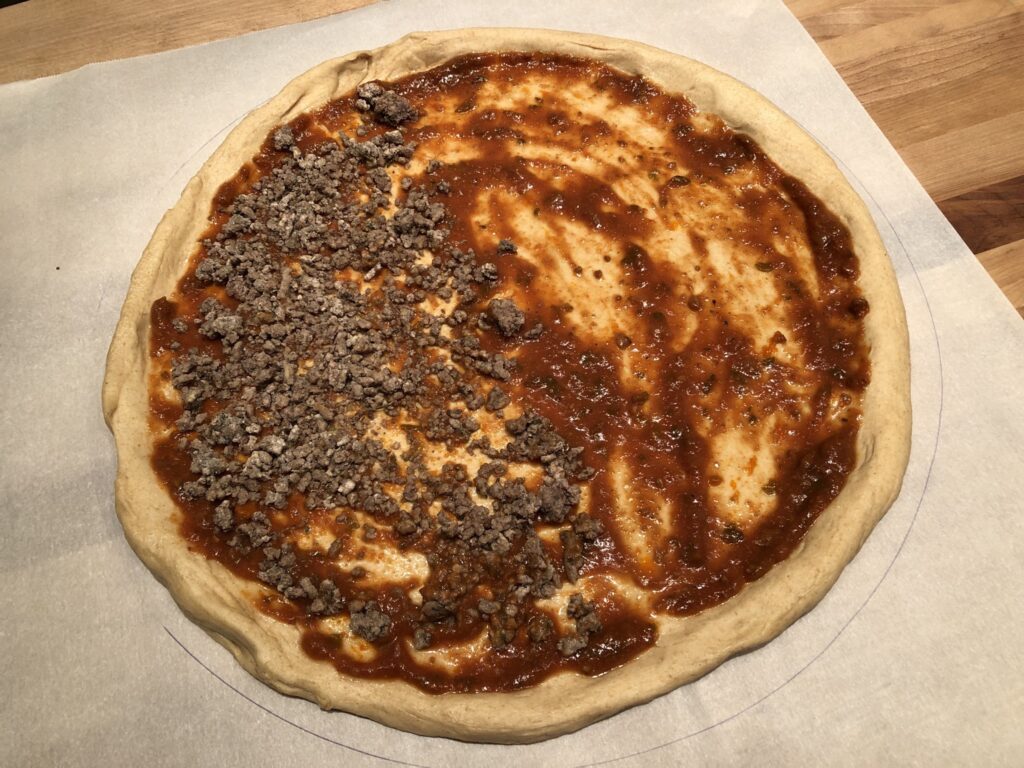
Spread your sauce onto the crust. You’ll need 3-5 large spoonfuls, depending on how much sauce you like on your pizza. Using the back of the spoon to spread the sauce around the crust works really well and distributes it evenly.
Add your toppings, arranging them however you like. This is your chance to add as much or as little as you want on your pizza. No more skimping on the pepperoni or mushrooms like delivery!
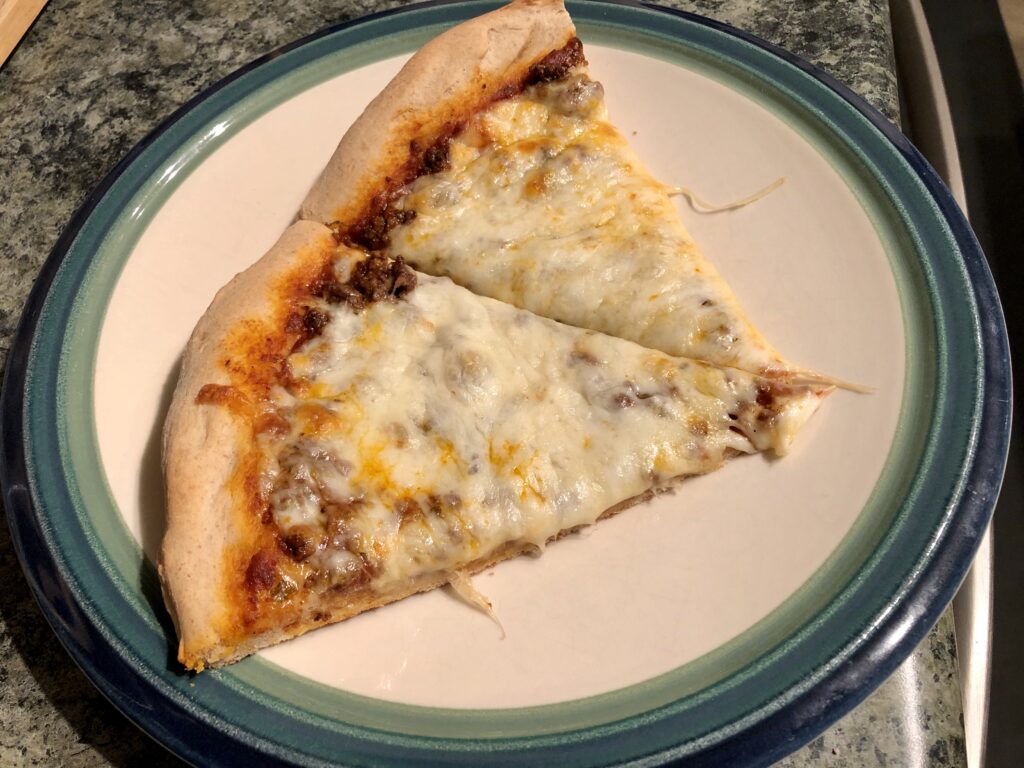
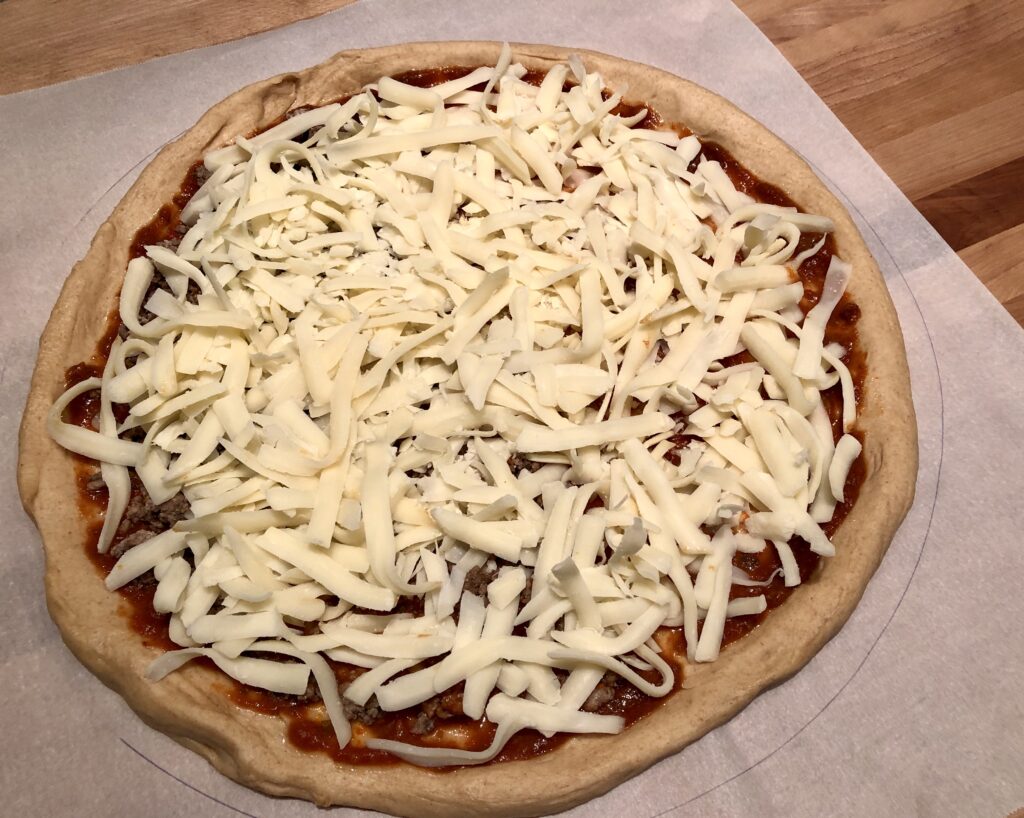
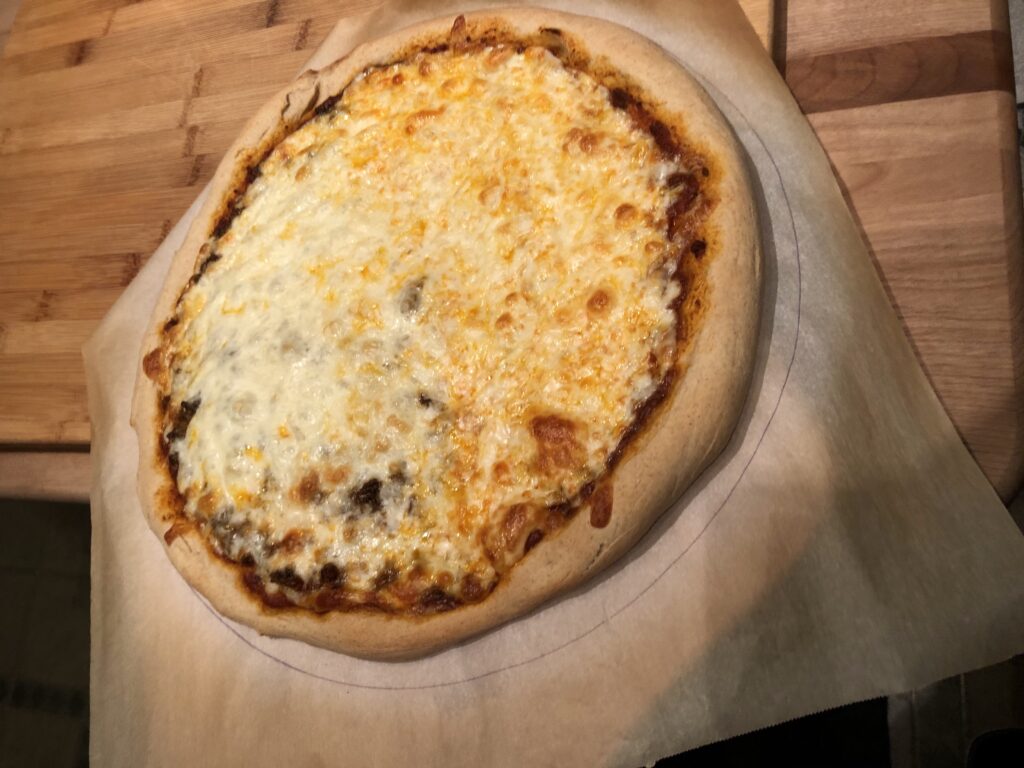
Top everything off with cheese. The entire bag (8 oz or 2 cups) is the perfect amount, but here again is your chance to customize your cheese. For even more flavor, grate some fresh parmesan on top of the mozzarella!
Place your pan in the oven, or put the pizza on the stone. I leave the parchment paper under my pizza on the stone for baking, but you can transfer the pizza directly onto the stone if you prefer. See my earlier statement about being a klutz – it’s definitely safer for all involved if I leave the pizza on the parchment paper.

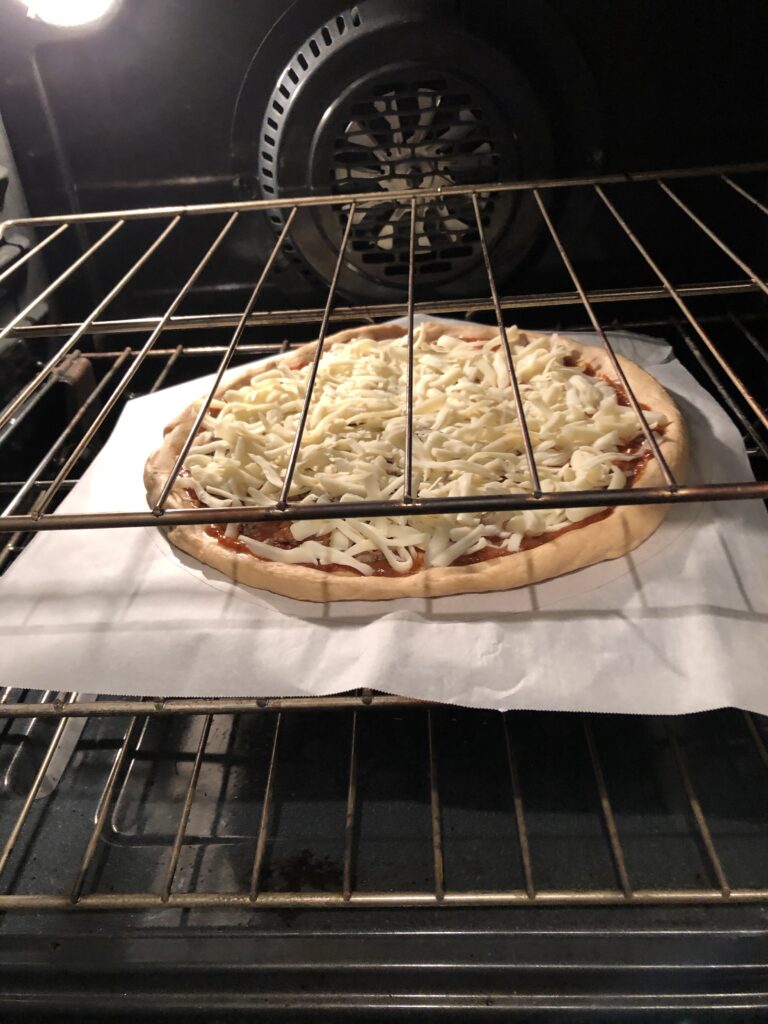
Bake for 10-12 minutes, until the cheese is melted and the crust is your desired darkness.
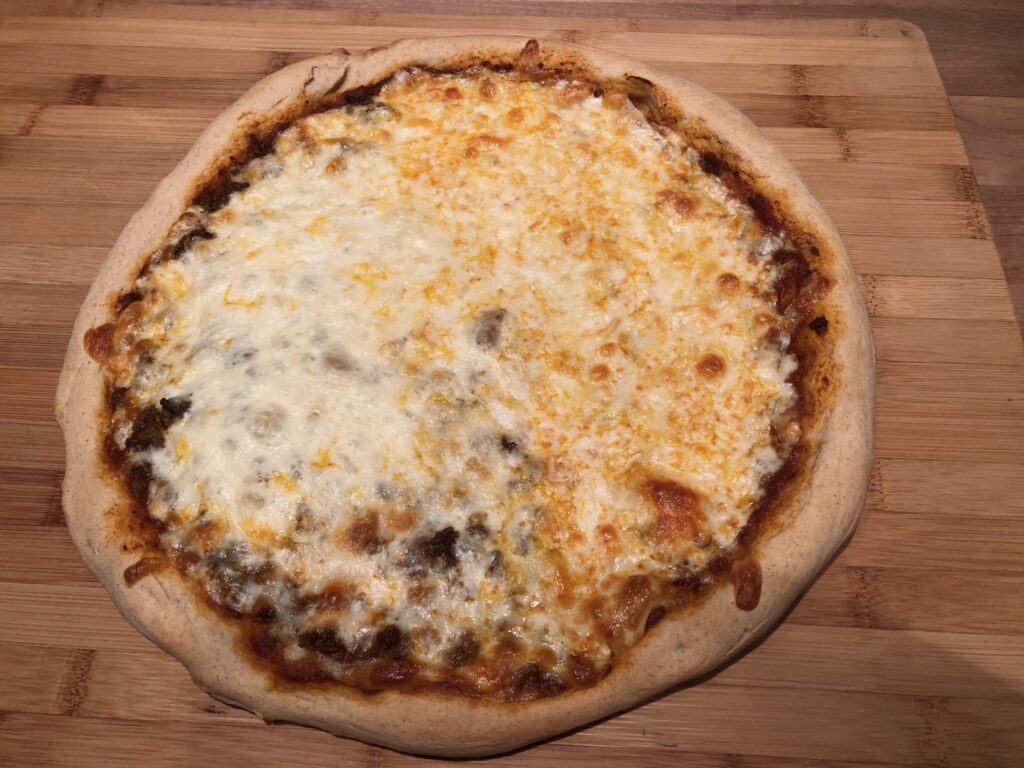
Remove from the oven (either the entire pan, or the pizza off of the stone) and place on a large cutting board. If using a pan, I like to remove it from the pan right away to allow for faster cooling and so it does’t get soggy in the pan. You can cut right away, or give it a few minutes to set, depending on how stringy you like your cheese.
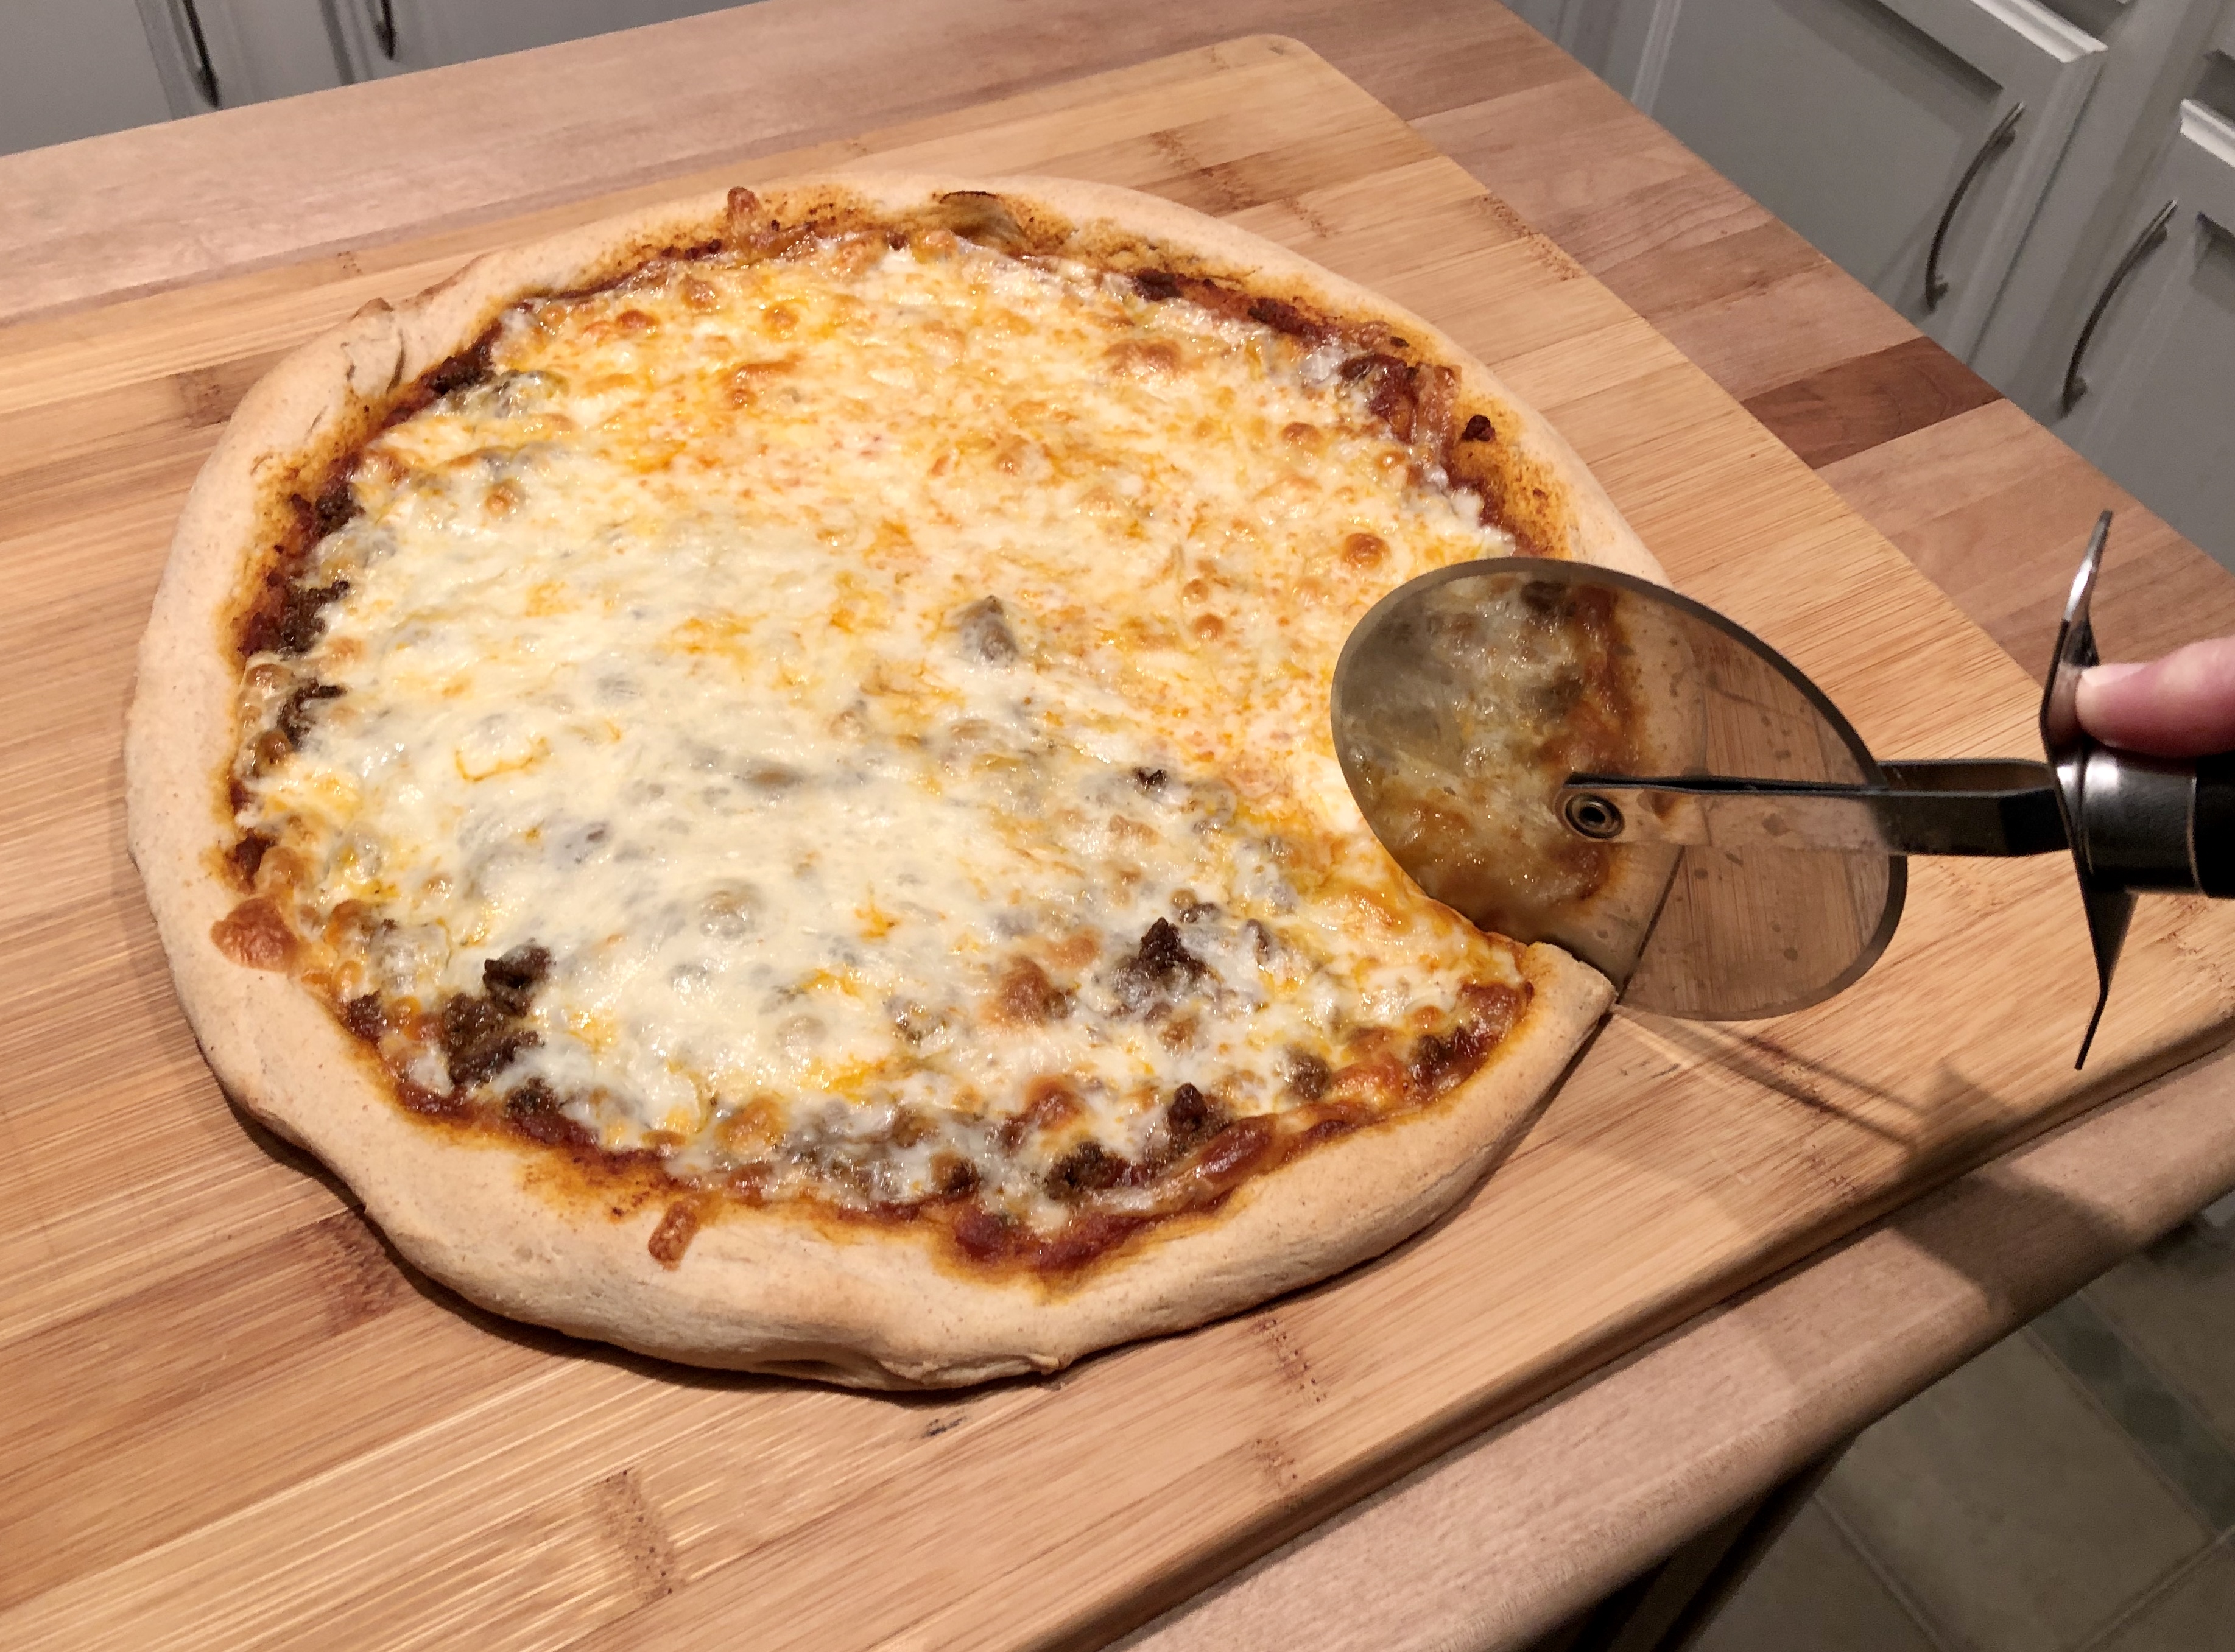

Serve it up and enjoy! It will be hot, so watch that cheese and don’t burn your mouth (voice of experience here).
If there are any leftovers, I recommend reheating in a toaster oven or in a skillet on the stove. This will keep the crust from getting soggy in the microwave.
Will this be your new Saturday night tradition?

Buy me some Yarn?
If you are enjoying the content I've created and would like to support with a tip, you've found the right place. Any amount is greatly appreciated!
Oh my, I didn’t even remember giving you my recipe card, or the pizza pan. I still have mine, along with a 14″ one that I picked up later. Sometimes I still use the pan even though I mainly use the stone now. I have always trimmed my parchment paper to fit the stone, but I think I’ll trim it larger just to make it a bit easier. When I cut it though, I always cut a “handle” to tug on so I can transfer it to the peel, which I wouldn’t have to do if I leave it larger. Lately I have been using 1/2 milk, 1/2 water because I read that it makes a softer dough, and it does. I miss Marino’s so much, oh, the memories. Oh, and we still use those black metal TV trays, getting a bit worn on top though!
LOL! It was in the recipe box you gave me. I will have to give the milk a try!