When I asked my son what kind of Valentines he wanted this year, he declared that he just wanted little hearts. These little hearts have been part of Valentine’s Cards for several years now. It all started when I came across Lucy’s Teeny Tiny Hearts pattern over at Attic 24 and asked if he wanted to include them with his Valentines for his Pre-K class. Since then, he has requested to include these adorable little hearts instead of opting for pencils or stickers. I won’t lie, it makes my heart swell just a little bit!
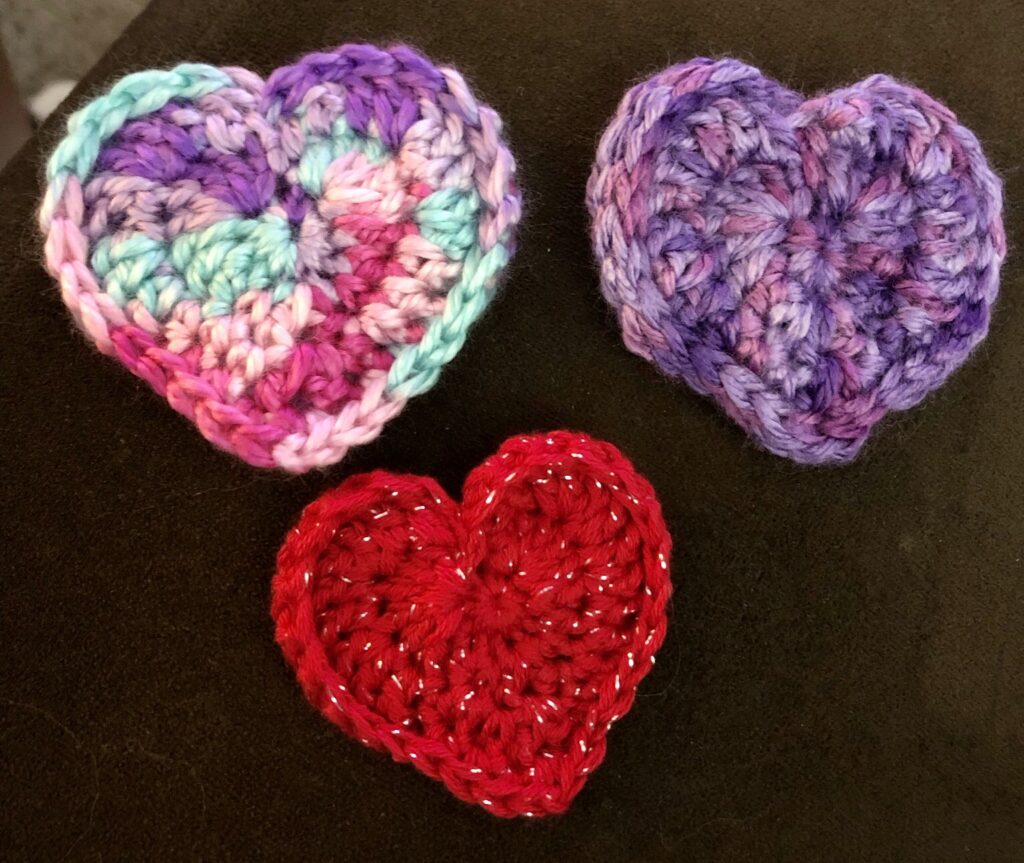
Since he only wanted to give out the hearts and no cards this year, I needed to modify the design a bit to make them a little bigger. I also wanted to make them 3-D so they would be extra special. I’ve put together a full tutorial for you, complete with full step by step instructions, a video tutorial and a downloadable, printer friendly PDF (scroll to the bottom for video and PDF links).
Gathering the Supplies
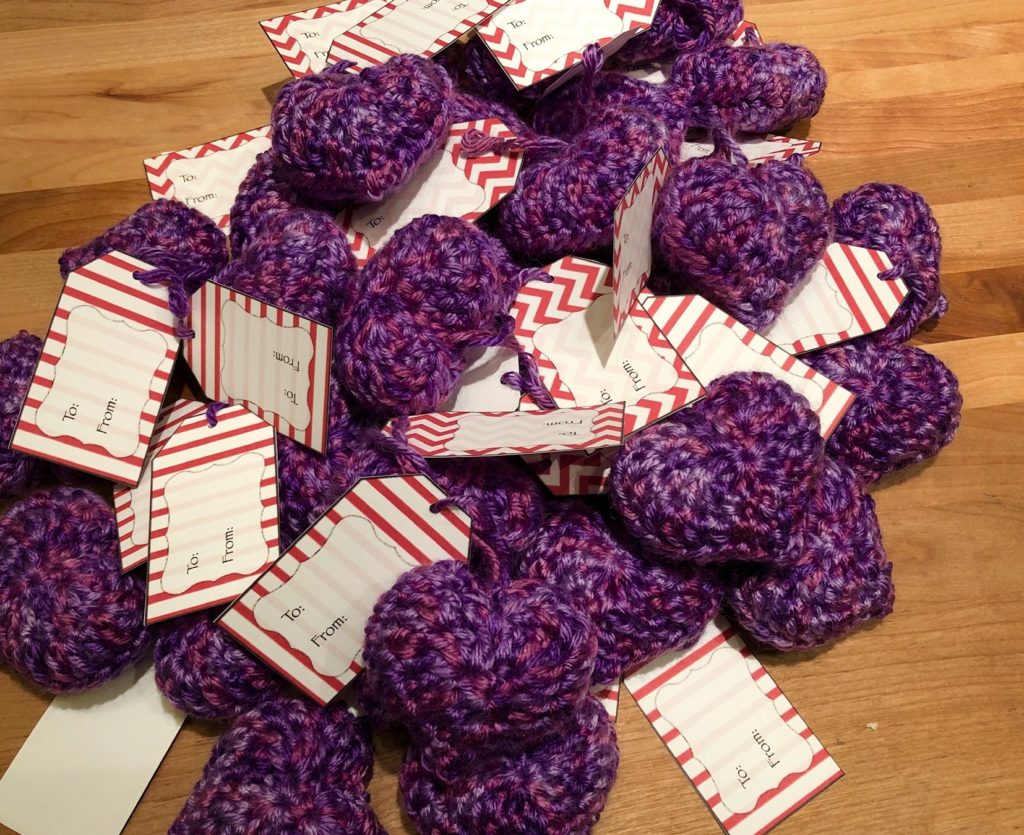
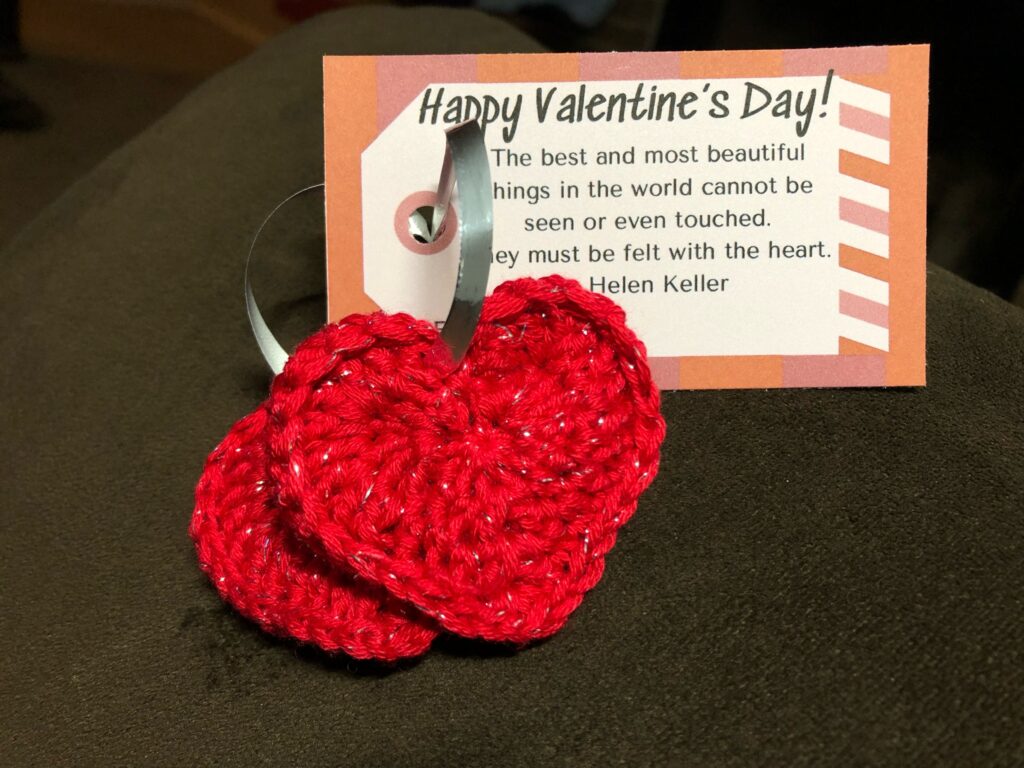
The first step was figuring out a printable tag to attach to the hearts. There are many free printable templates available online, but they all included both ”To” and ”From” fields. This year, his teacher specifically requested that the students only sign their names and not address cards to individuals. So, I created my own with a quote by Helen Keller and printed enough for the 28 (yikes!) kids in the class. Click here to download a printable copy. Or, if you prefer a basic Happy Valentine’s Day to/from tag, you can download a copy here.
Next, you’ll need to pick out your yarn. Any kind of yarn will do here – these can be a great stash buster! I’ve used all weights and brands to make these adorable Valentine’s hearts over the years. Gauge is not important – just make sure you match your hook size to the yarn you are using. In the pictures below, I’m using Big Twist yarn in plain pink (for clarity) and an H hook.
Making the Hearts (make 2)
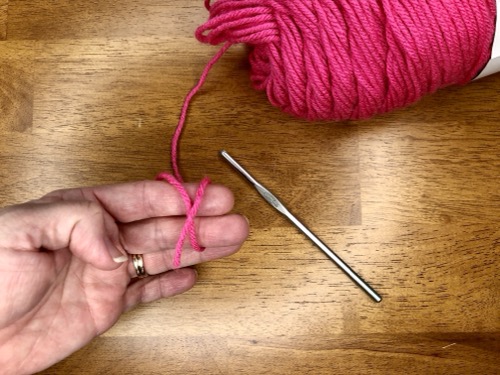
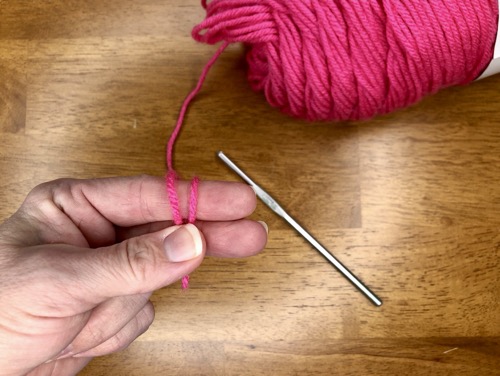
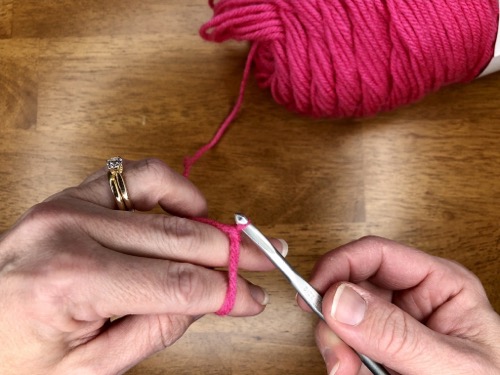
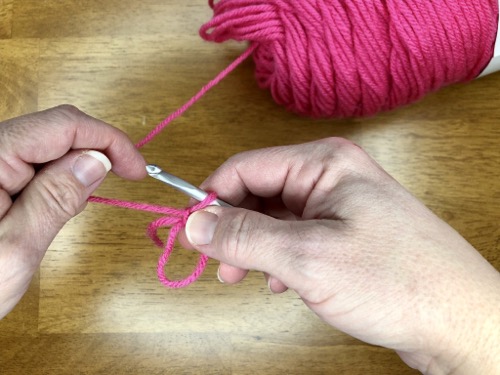
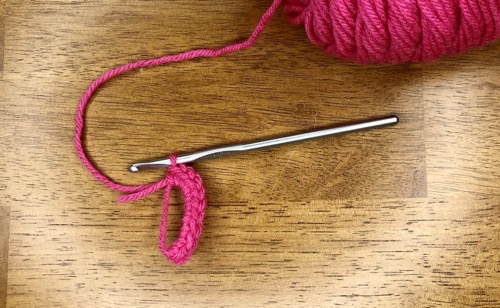
Begin with a magic loop and worked 9 single crochet (sc) stitches in the loop. If you are not comfortable with the magic loop, you can also ch 2 and work 9 sc in the 2nd ch from your hook.

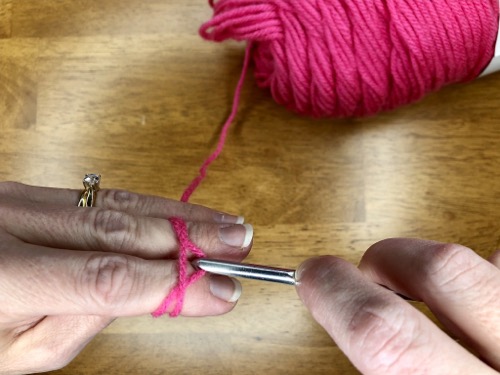
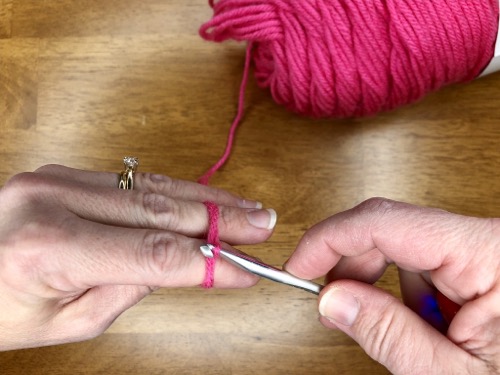
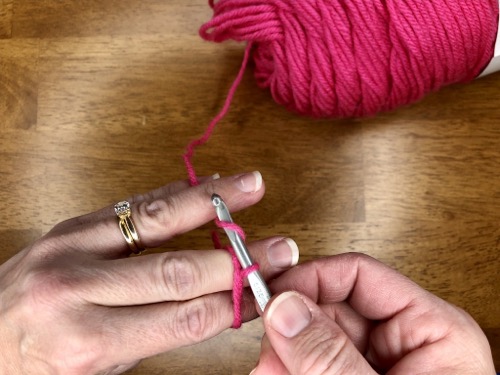
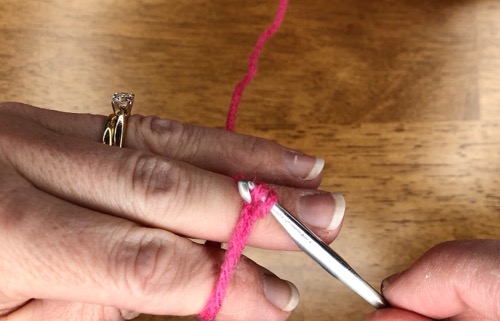
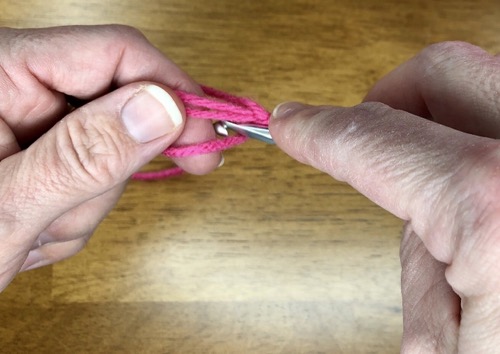
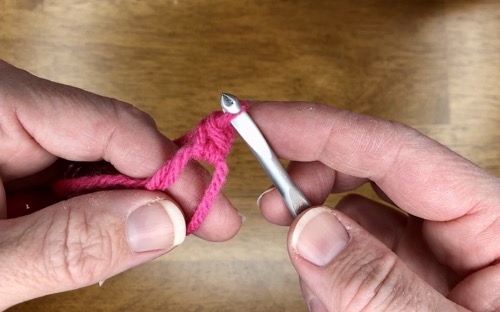
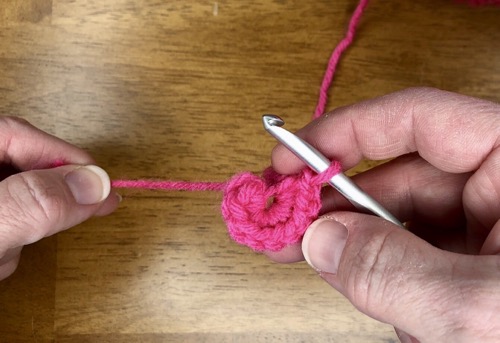
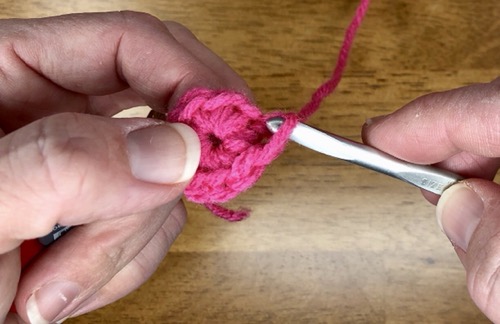
Chain 1 and then work 5 double crochet (dc) stitches into the first stitch.
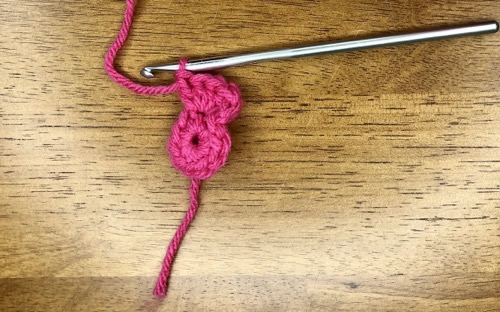
Work 1 dc in the next stitch.
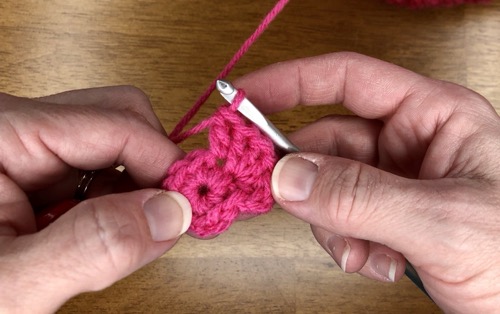
Next, work 1 half double crochet (hdc) into the third stitch.
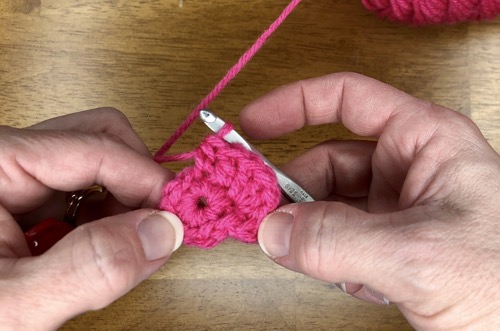
Then, work 1 sc into the 4th stitch.
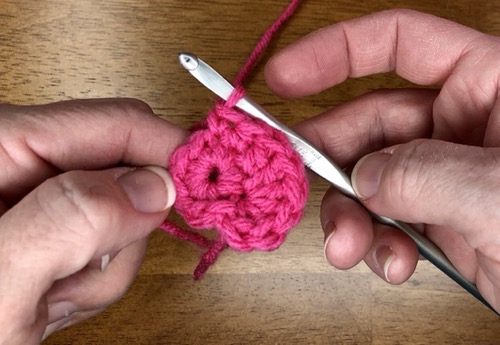
In the 5th stitch, work 1 dc, chain 1 and then another dc to make a small v stitch.
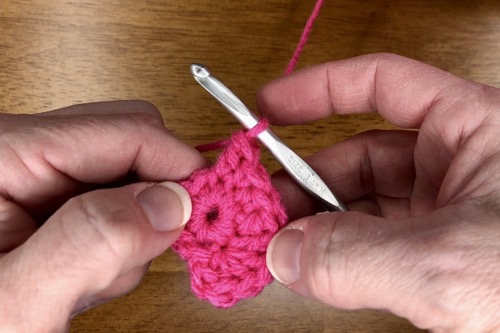
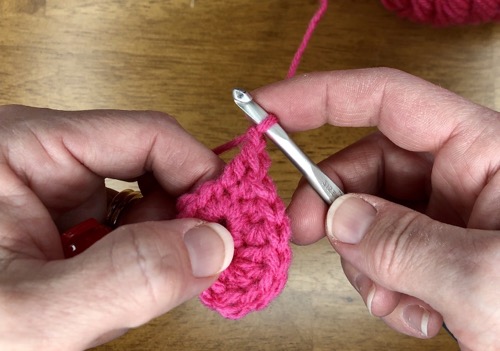
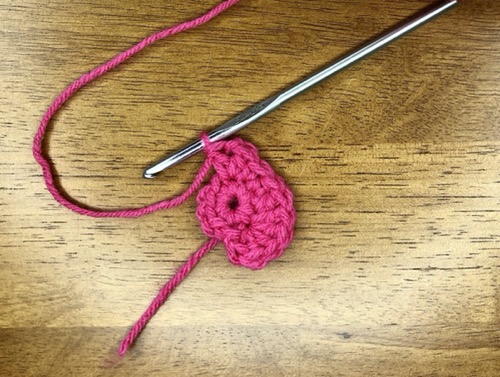
To finish the round, you will work the same stitches in the reverse order. Work 1 sc in the 6th stitch. Next, work 1 hdc in the 7th stitch. Work 1 dc in the 8th stitch. Finally, work 5 dc in the ninth stitch.
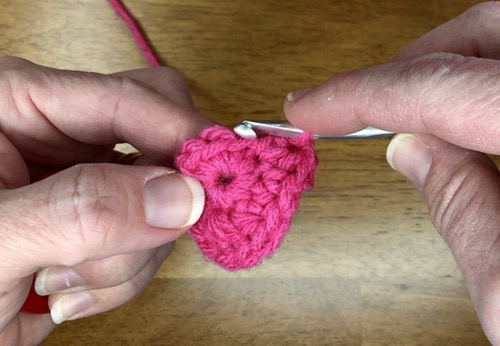
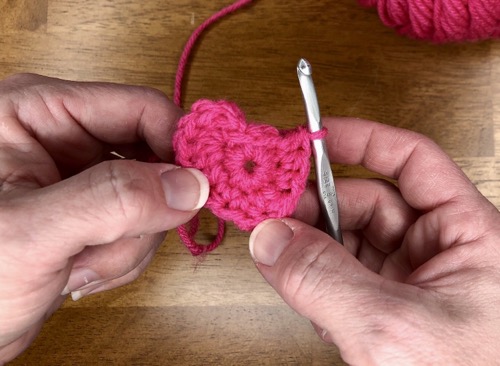
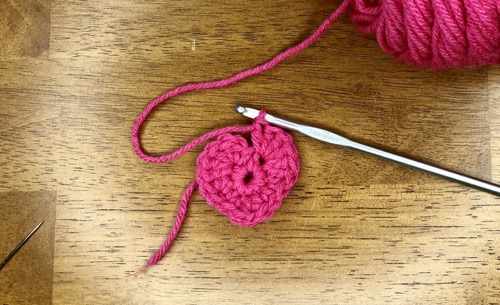
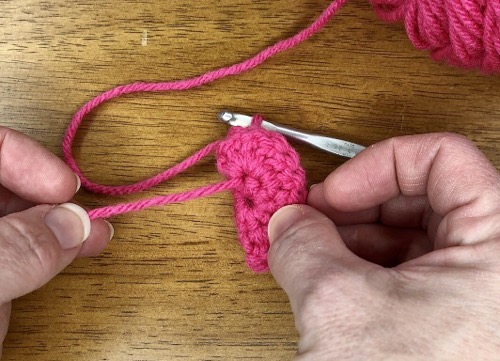
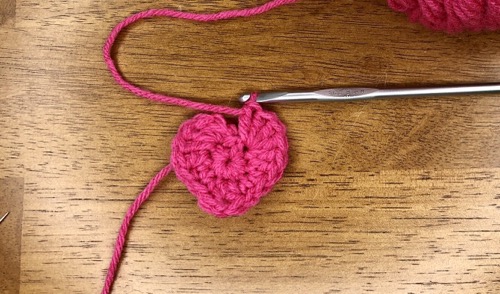
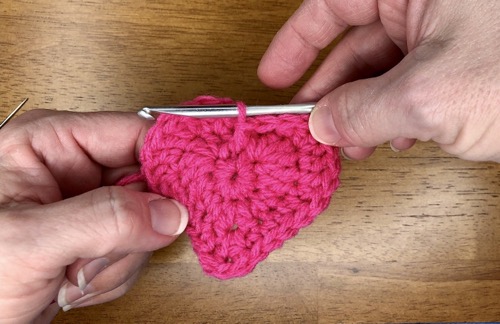
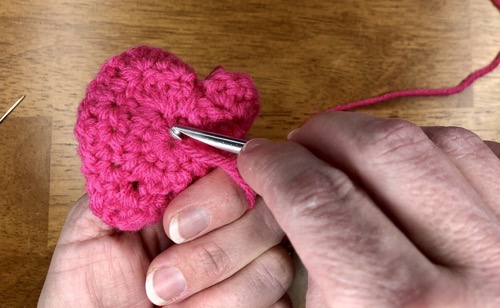
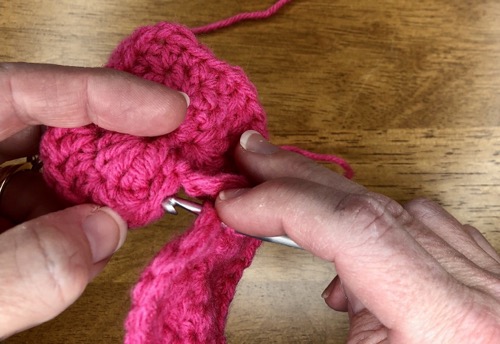
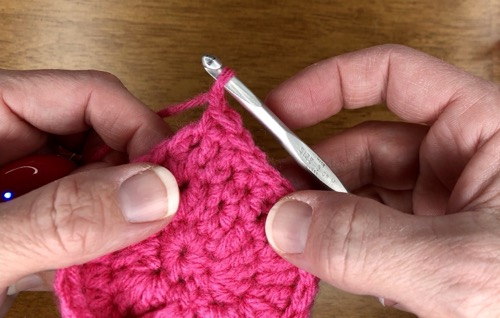
To close the heart and make the distinctive “v” at the top, insert your hook (front to back) between the first and last stitches in the first round (magic loop round). Pull up a loop from behind and then sl st, pulling tight to pull the stitches down into that “v” shape.
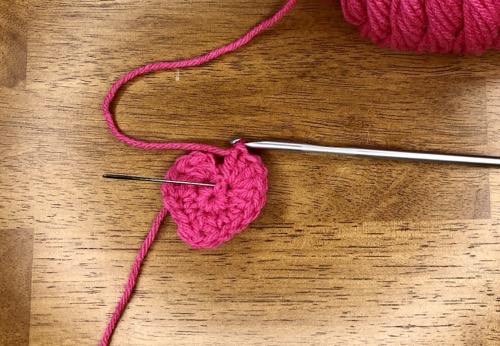
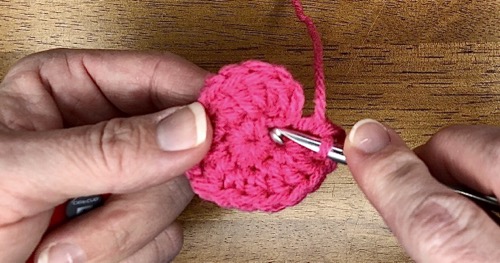
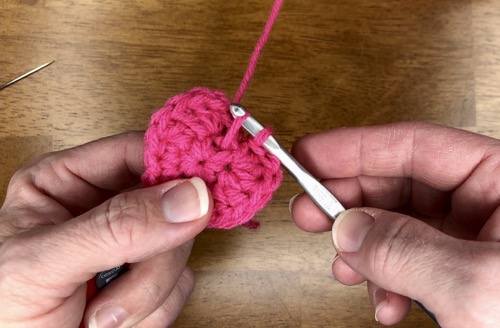
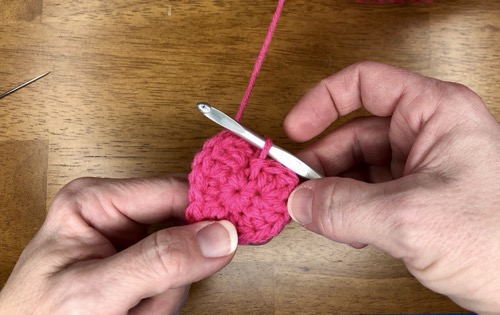
Now for Round 2! Chain 1, then dc in the first two stitches. Make sure you find that first stitch as it can get buried under the “v”.
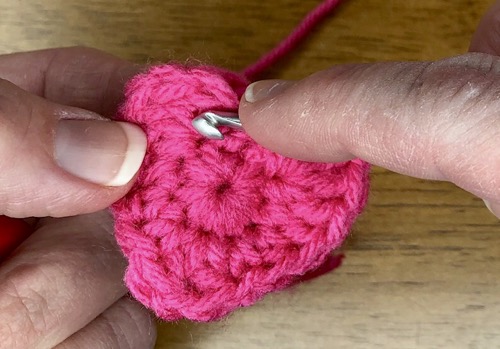
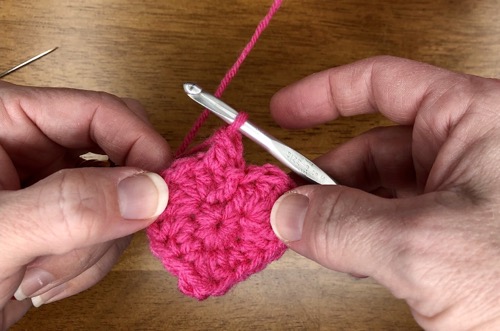
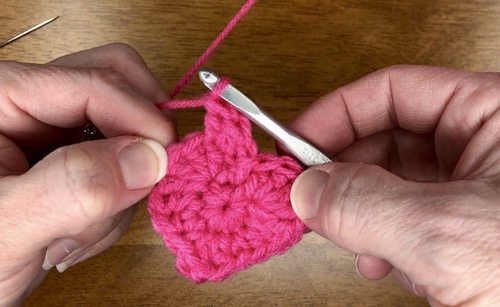
Work 3 dc in the next stitch.
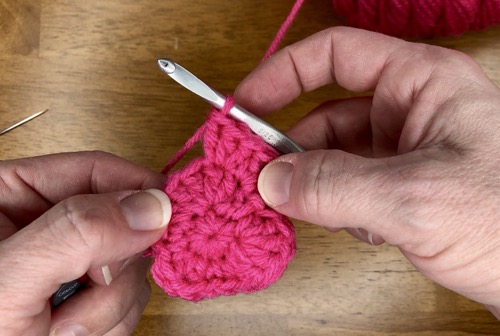
Dc in the next stitch
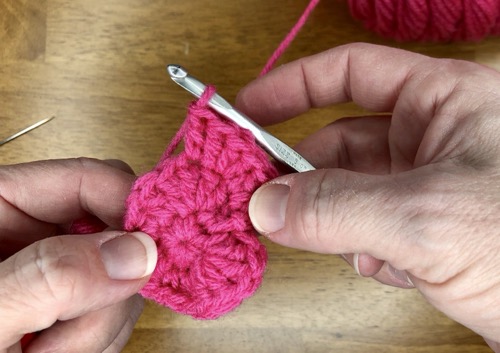
2 dc in the next stitch.
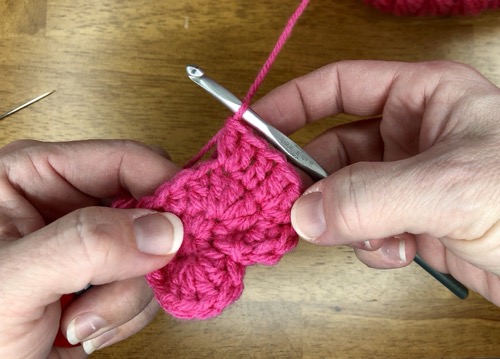
Dc in the next stitch
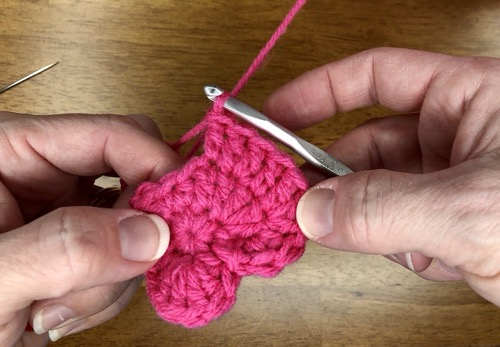
Hdc in the next st
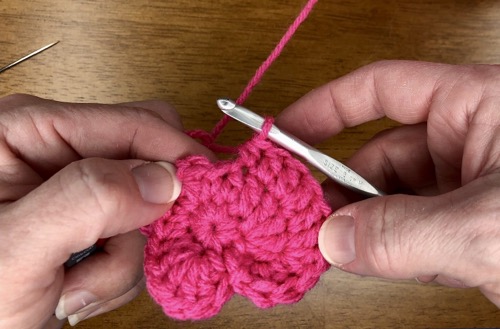
Sc in the next 2 stitches.
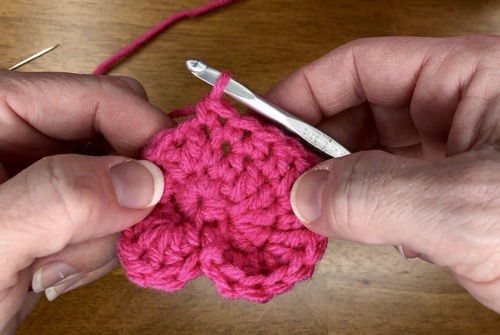
Now you should be at the bottom of the heart, ready to work in the chain 1 space from the previous round. In that space, work a dc, ch 1, dc.
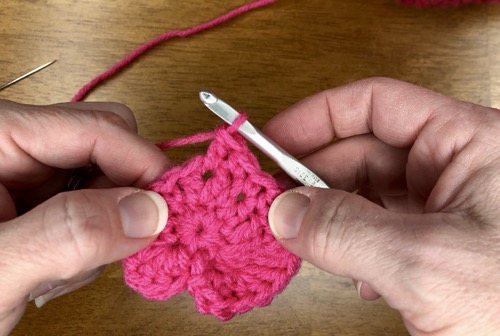
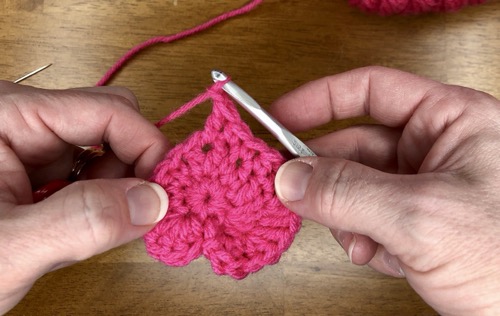
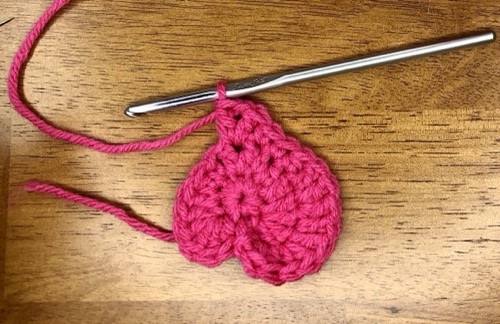
Find the next stitch (look carefully as it might be buried under your dc in the space).
Just like the previous round, you will be working the same stitches in reverse to complete the heart. Work a sc in the next two stitches, a hdc in the next stitch then a dc in the next stitch. Now work 2 dc in the next stitch. Dc in the next stitch. 3 dc in the next stitch and finish with a dc in each of the last two stitches.
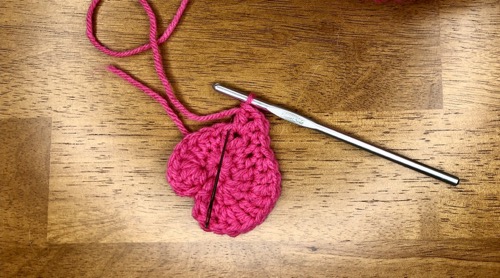
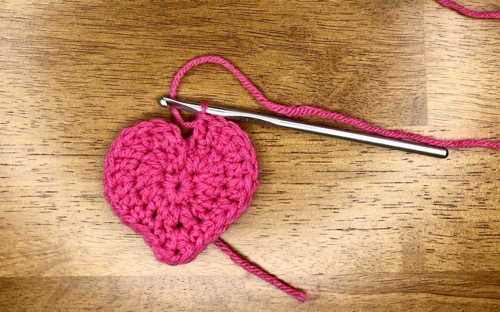
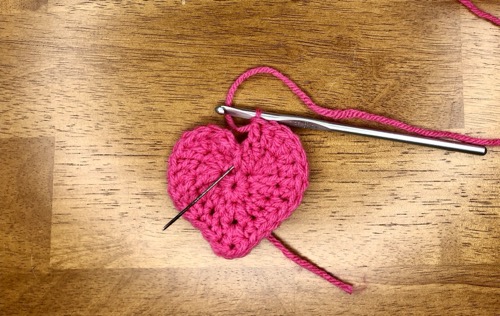
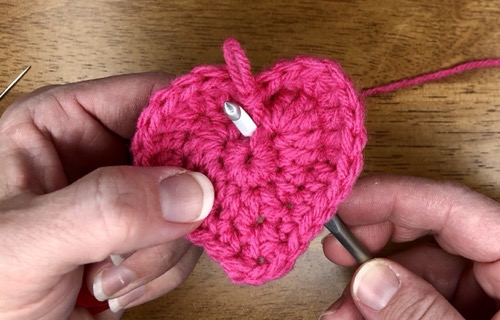
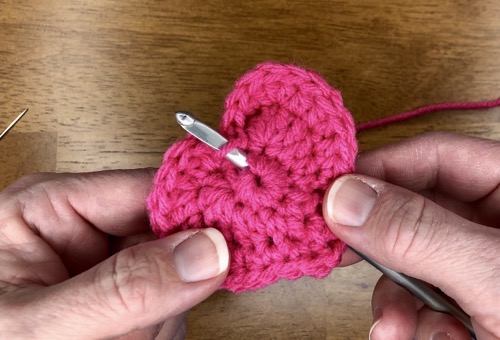
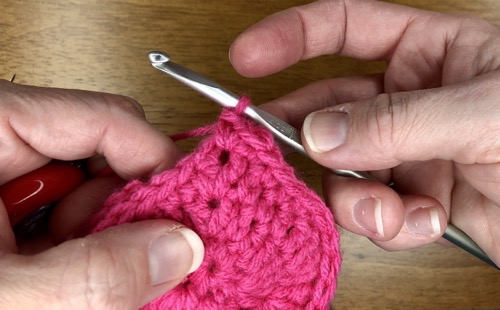
Now we need to close up the heart again. Insert your hook from front to back between the first and last stitches of the previous round and pull up a loop and sl st. If this is the second heart of the pair, skip down to ”Finishing the Hearts”. For the first heart, cut your yarn, leaving a medium size tail. Remove your hook and insert it from back to front in the same space you just worked. Put your hook through the loop of the sl st and pull the loop and tail through to the back of the heart. Tie off the yarn and you are finished. Since I knew I was going to make these 3-D, I tied the ends of yarn (from the magic loop and the end tail we just made) together at the back to make it extra secure.
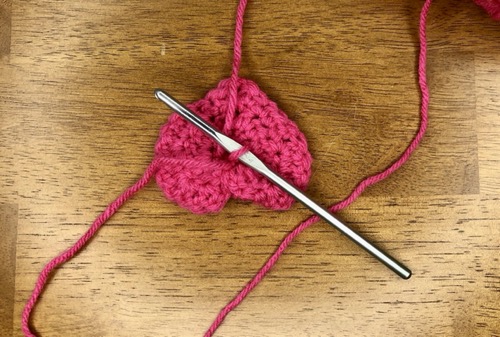
Finishing the Hearts
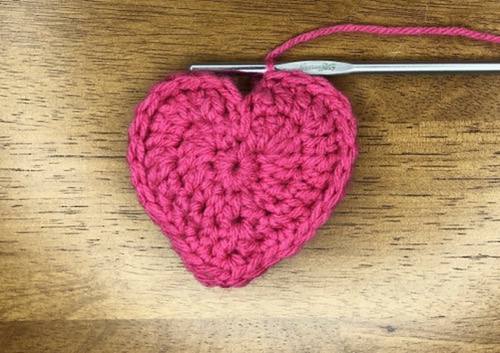
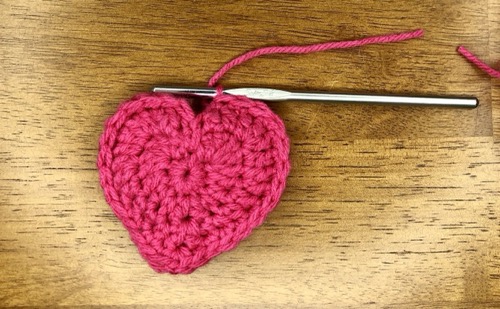
Make 2 hearts like this and then you are ready to assemble!
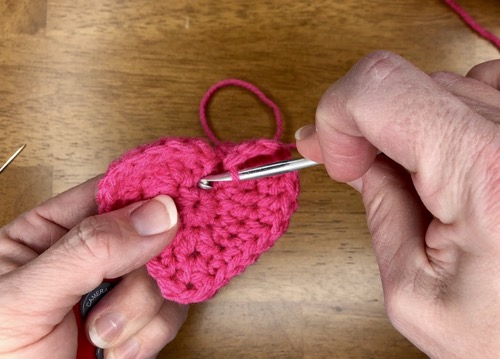
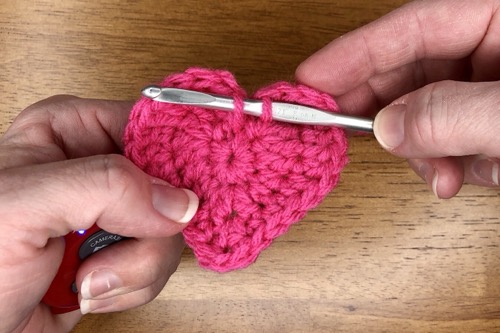
To assemble, make a sl st and insert the hook into the first st of round 2. Pick up the 2nd heart and hold the hearts with the wrong sides together. Insert your hook into the corresponding stitch on the second heart. Yarn over and pull a loop through both stitches, then complete the sc. Continue joining the hearts by sc in each st around. When you reach the point, work sc, ch 1, sc in the ch 1 space. Continue working 1 sc in each st around. After you complete the last stitch, cut the yarn, leaving a 3ish inch tail. Insert your hook between the first and last stitch of the previous row, going through both hearts, and pull up a loop. Make a sl st, pulling the entire tail through the loop. Weave in the end with a yarn needle.
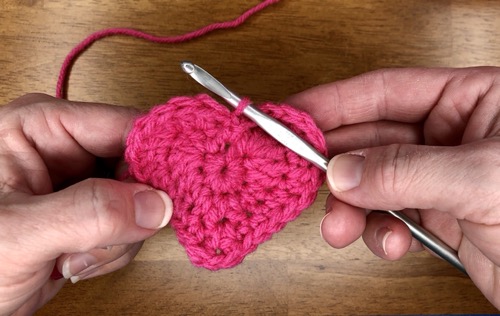
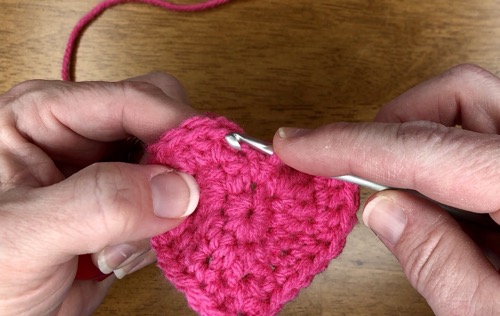
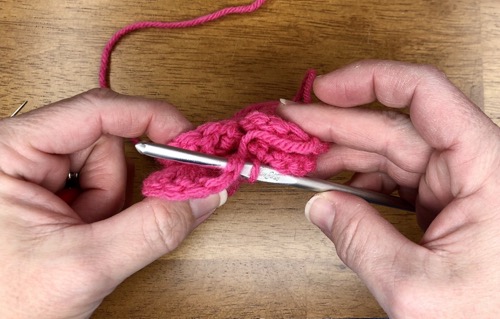
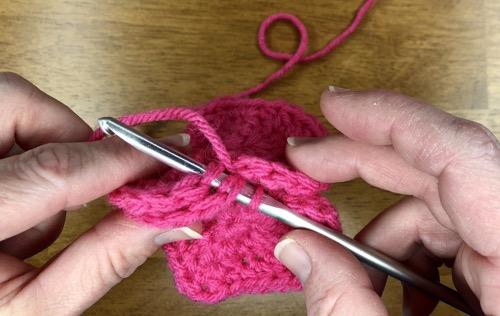
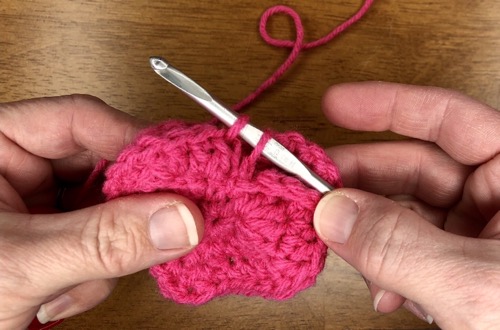
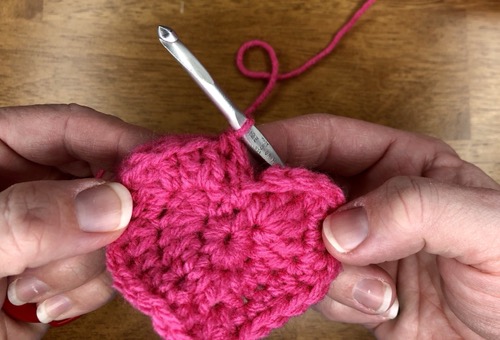
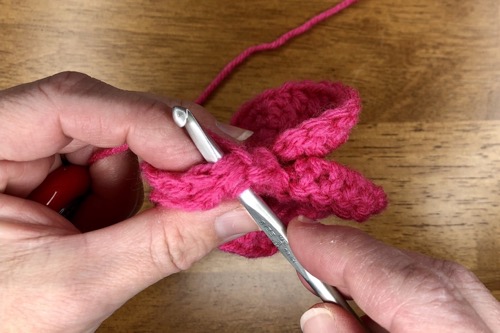
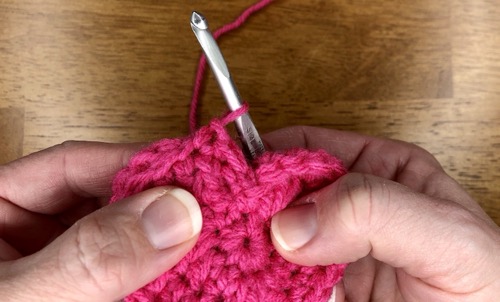
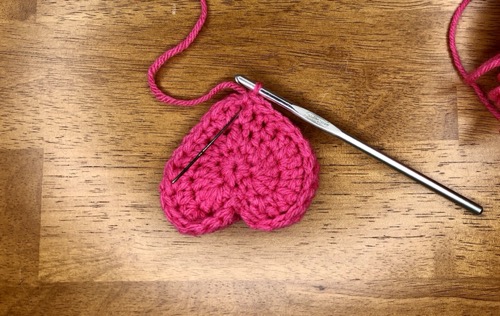
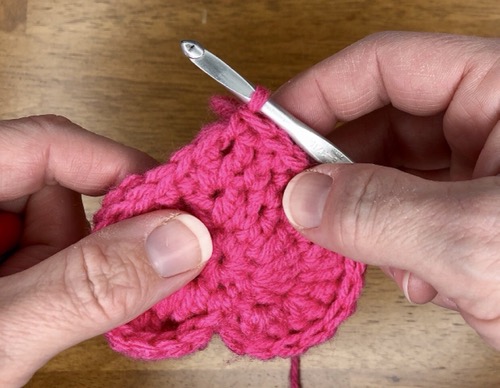
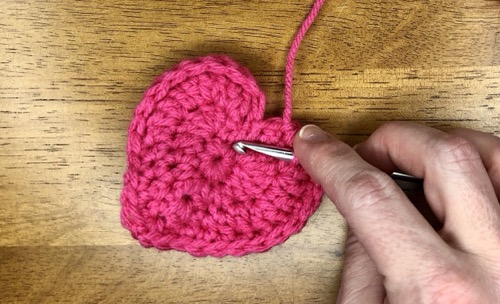
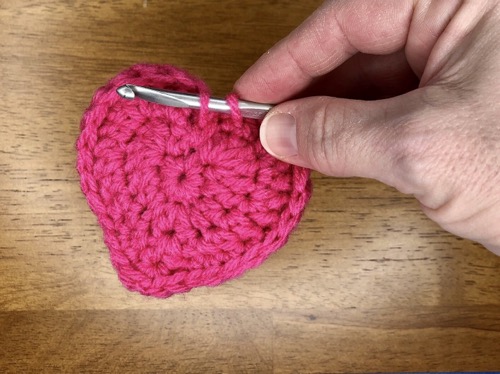
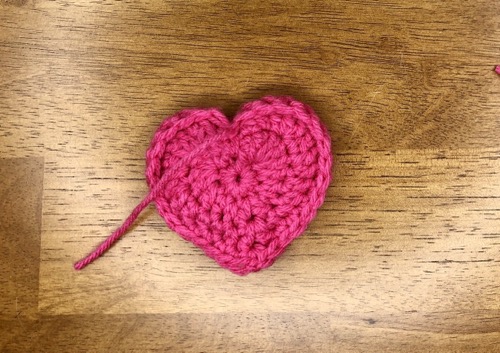
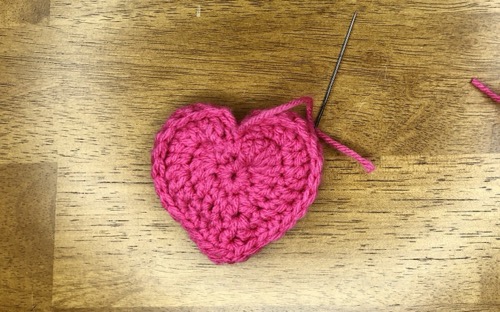
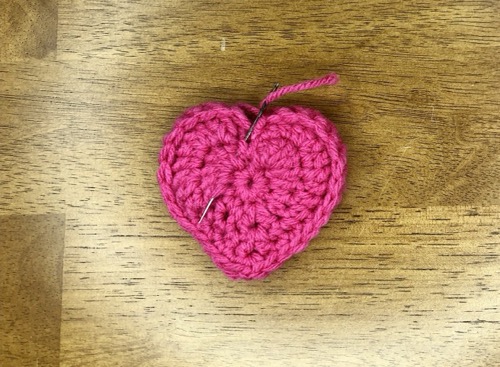
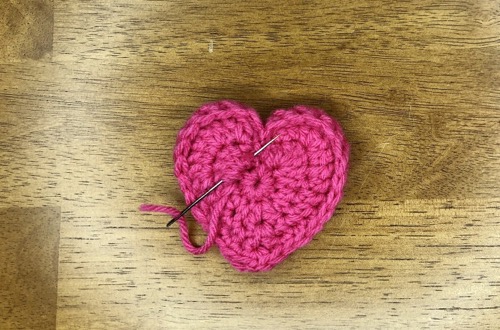
If you would like to add some stuffing, just stop a few stitches before the end while joining and stuff with fiber fill. Then finish joining. To attach tags, you will need a loop of some kind. I have used yarn loops that match the hearts and ribbon. Each work equally well. Just make sure you put the tag on the loop before attaching to your heart! These are very quick to work up and somewhat addictive too. Please don’t blame me if you end up overrun with little Valentine’s hearts!
Click here to download a printer friendly PDF of the pattern.
Looking for another project? Make sure you check out my Patterns Page or my Lucky Little Crochet Shamrocks!

Buy me some Yarn?
If you are enjoying the content I've created and would like to support with a tip, you've found the right place. Any amount is greatly appreciated!


Much better than store bought cards. I noticed Lucy didn’t use the Magic Loop, surprised they looked as good as yours!
I agree – a personal card or gift is best! They can really be made with whichever beginning loop you like and are most comfortable using. I like the magic loop because I feel like I can get it tighter, but it can be tricky to get the entire loop pulled through all of the stitches.
These are so cute, Jenn! I’m excited about your new blog!! What’s next, Sugar, Spice, or more Yarn? If you want to get very advanced I can think of a knit poncho that could use a video tutorial! 😜🤣
Thanks, Brenna! I think Sugar is next with Chocolate Chip Cookies 🍪