
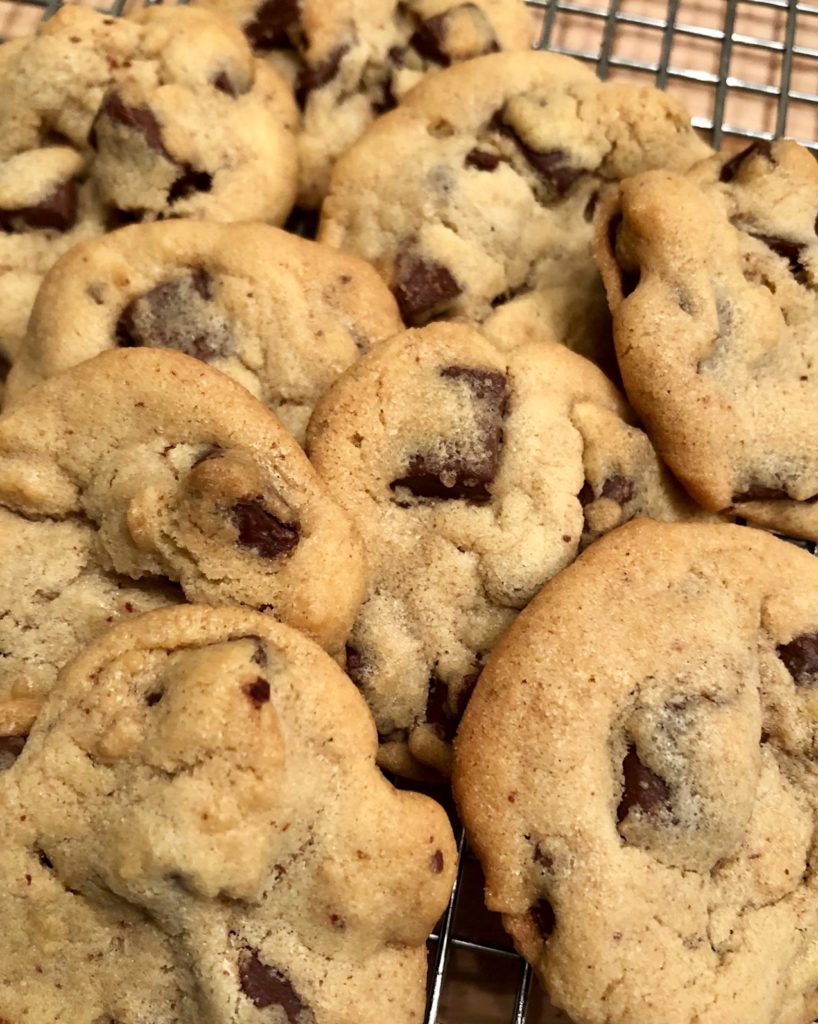
Who doesn’t love chocolate chip cookies?!? They are a staple in our house. It doesn’t matter how many new and different cookies I try, chocolate chip is always the go-to in our house. There is something about the combination of salty and sweet that is just irresistible. My husband has declared these the best chocolate chip cookies he has ever tasted (and that was before we were even dating!). I must confess to being a bit partial to my own cookies, too.
The history
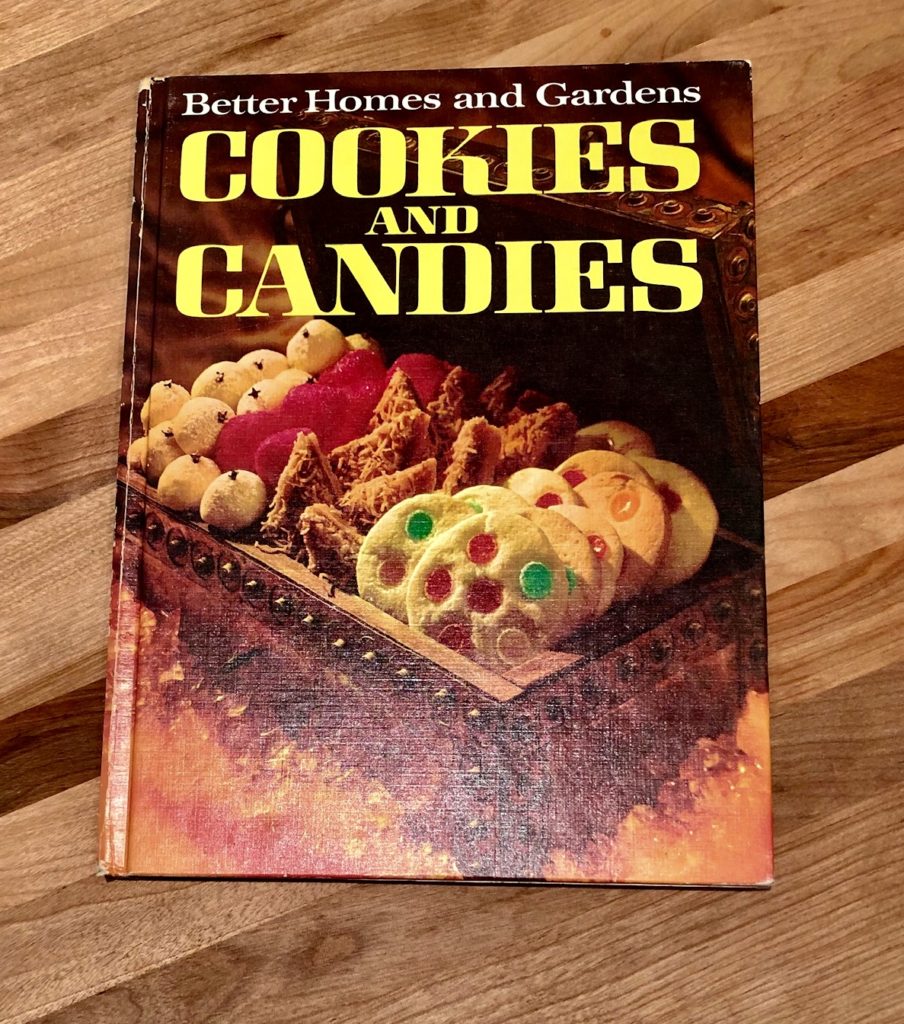
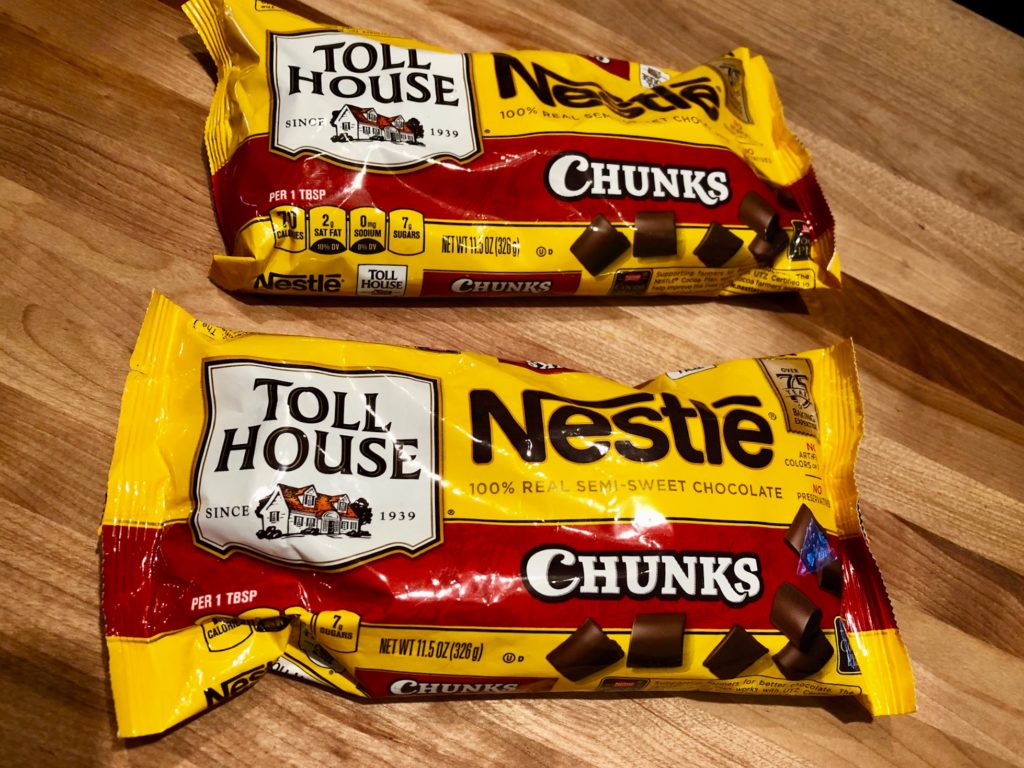
I have been making chocolate chip cookies for years, and it has always been some variation of this recipe, from the Better Homes and Gardens Cookies and Candies book from 1966. I stumbled on the perfect chocolate to cookie ratio quite by accident. When I read the recipe, I saw that it called for 1 package of chocolate chips, so I used the entire (11.5 oz) package of chocolate chunks. My mistake was that the recipe called for a 6 oz package, which was standard size at the time the recipe was originally printed. Good luck finding a 6 oz package of chocolate chips these days!
Our favorite variation of these cookies is using Nestle chocolate chunks, but any kind of chip you like works well. I have made them with dark chocolate chips, peanut butter chocolate chips, and half chocolate chips/half mini m&ms. The mini m&m version was a big hit for both a school bake sale and post game snacks.
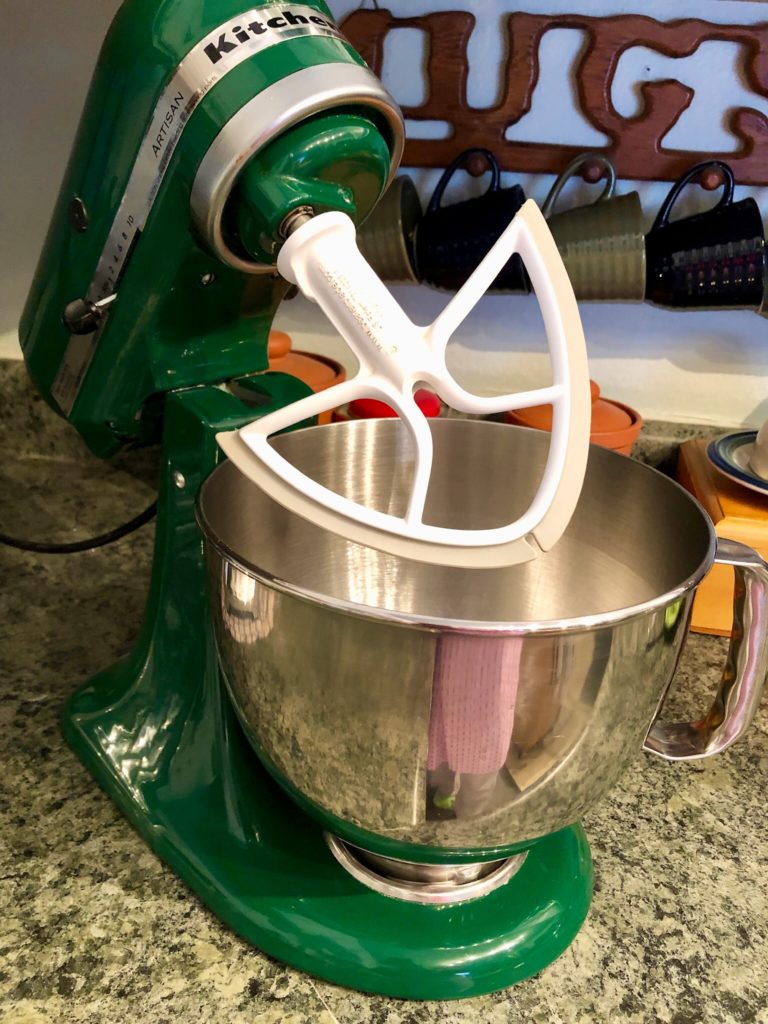
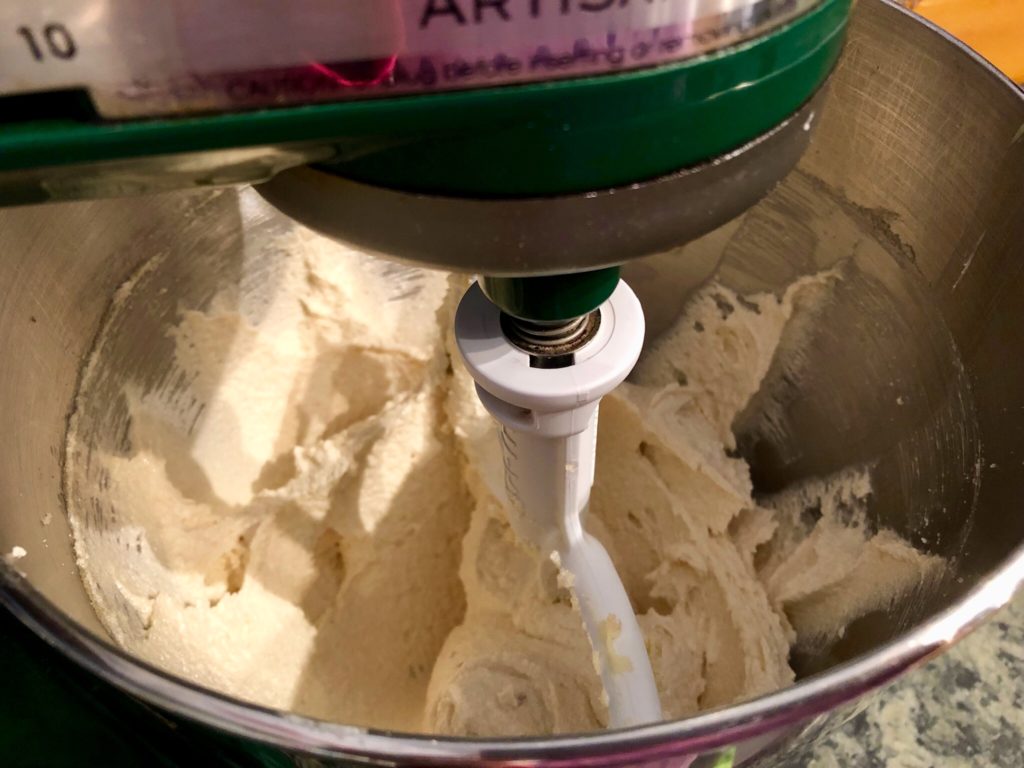
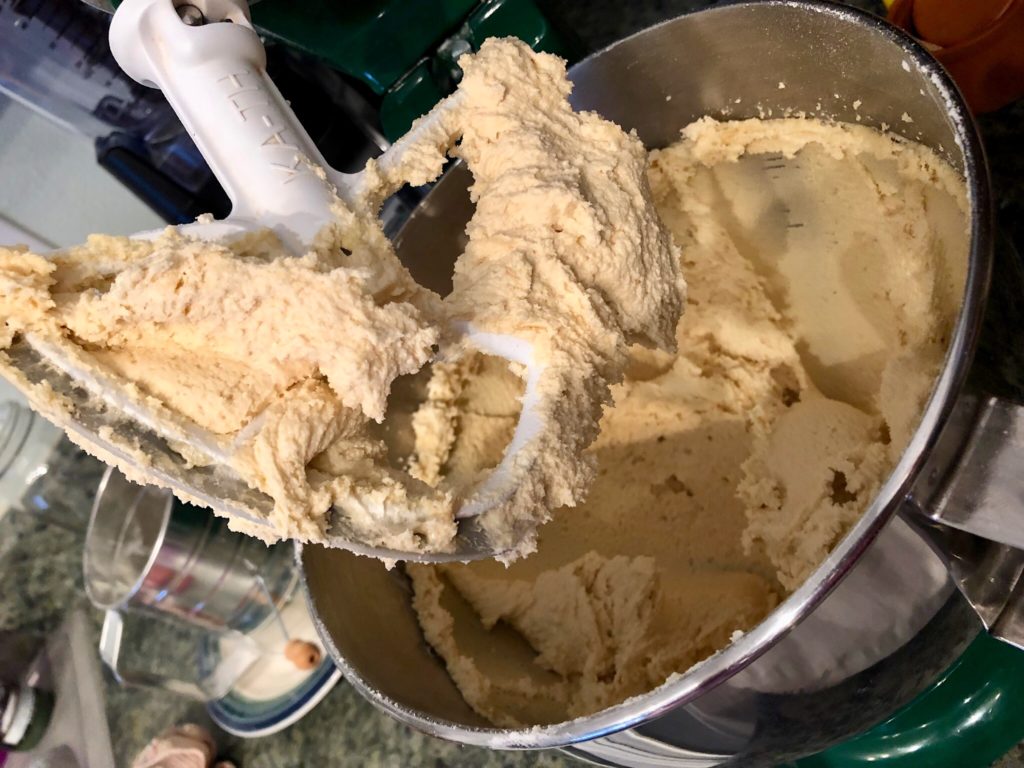
For many years, I stubbornly insisted on making cookies with a wooden spoon, just like Grandma used to do. I figured if that was the way it was always done, then that’s what I should do. Then, one day I saw my friend’s mom using her Kitchen Aid stand mixer and I decided to give it a try. I’ve never looked back! The key to superb cookies is the fluffy texture of the dough, which is much easier (and quicker) to achieve with a stand mixer. If you don’t have one, don’t worry, you can reach the desired fluffiness with your favorite spoon. It will just take some good old fashioned elbow grease and some time!
Gather your ingredients
The quantities listed are for a single batch of chocolate chip cookies. In the photos, I’m making a double batch. The only time I make a single batch is if I happen to not have enough of something on hand for a double batch.
- 1/2 cup shortening (I like the butter flavored Crisco sticks)
- 1/2 cup granulated sugar (regular white sugar)
- 1/4 cup brown sugar, tightly packed
- 1 egg
- 1 teaspoon vanilla (pure vanilla, not imitation)
- 1 cup all-purpose flour
- 1/2 teaspoon baking soda
- 3/4 teaspoon salt
- 1 package (11.5 oz) chocolate chunks or your preferred chocolate chip
- 1/2 cup chopped nuts (optional, I never use these!).
Step-by-Step
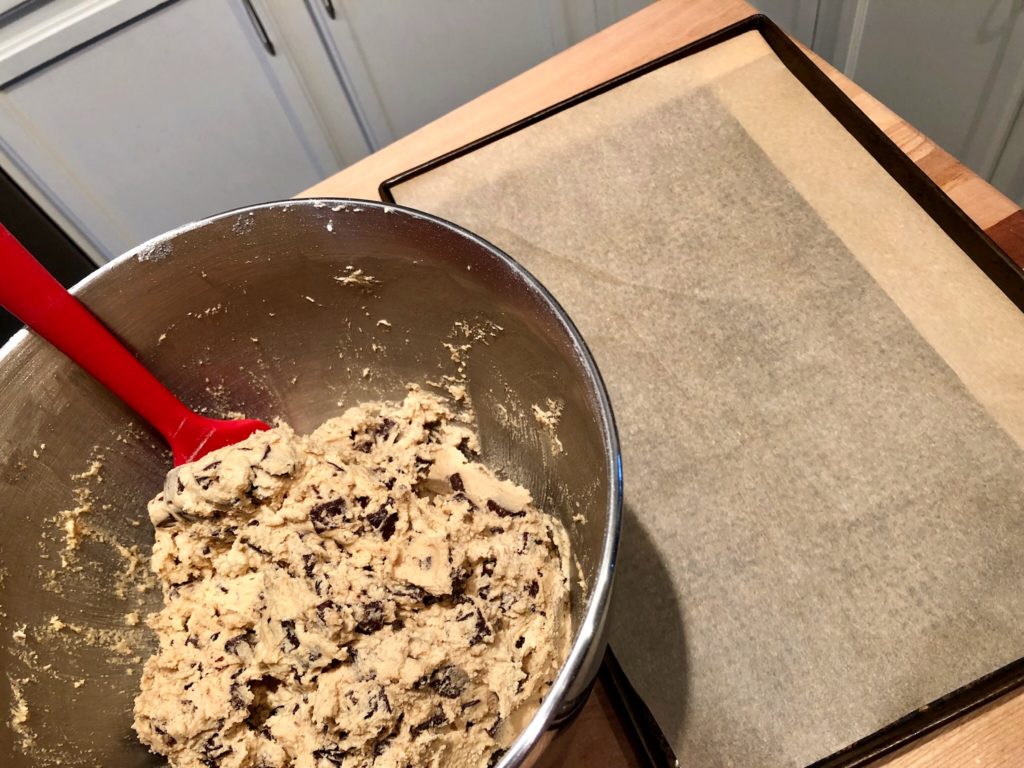
Turn your oven on and set it to 375º F and leave it to preheat. Make sure your oven rack is in the center position in the oven. Grab your cookie sheets and line them with parchment paper. This is not strictly necessary, but it really helps with the cleanup. If you don’t have parchment paper, you will need to grease your cookie sheets. Set the cookie sheets aside.
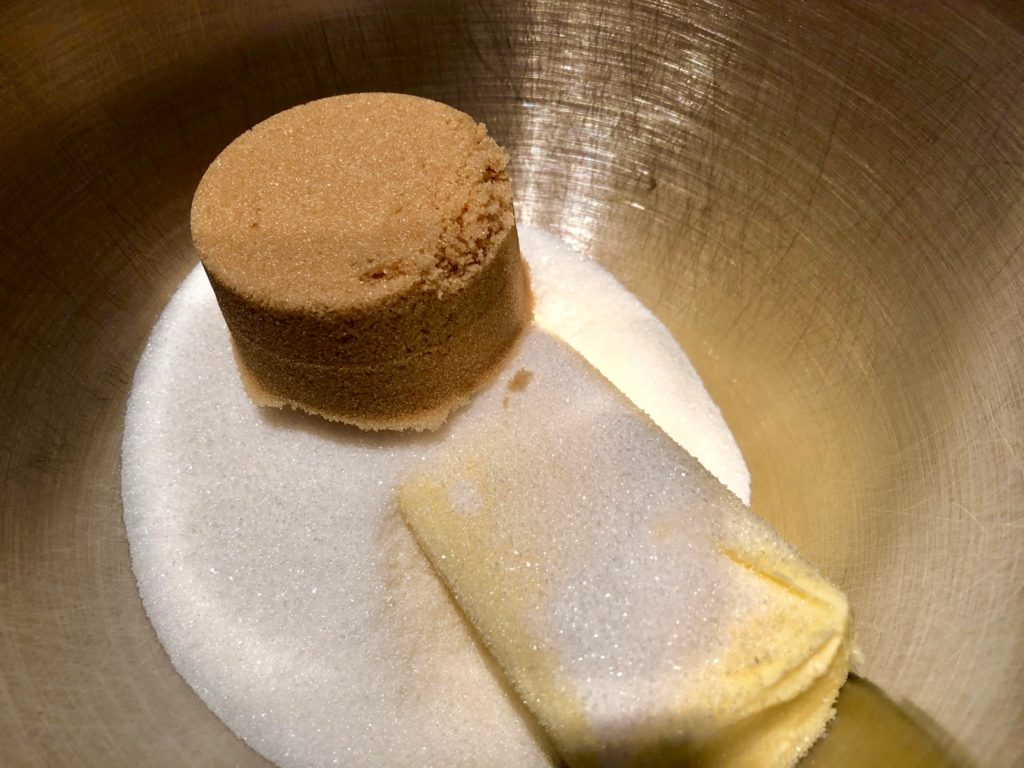
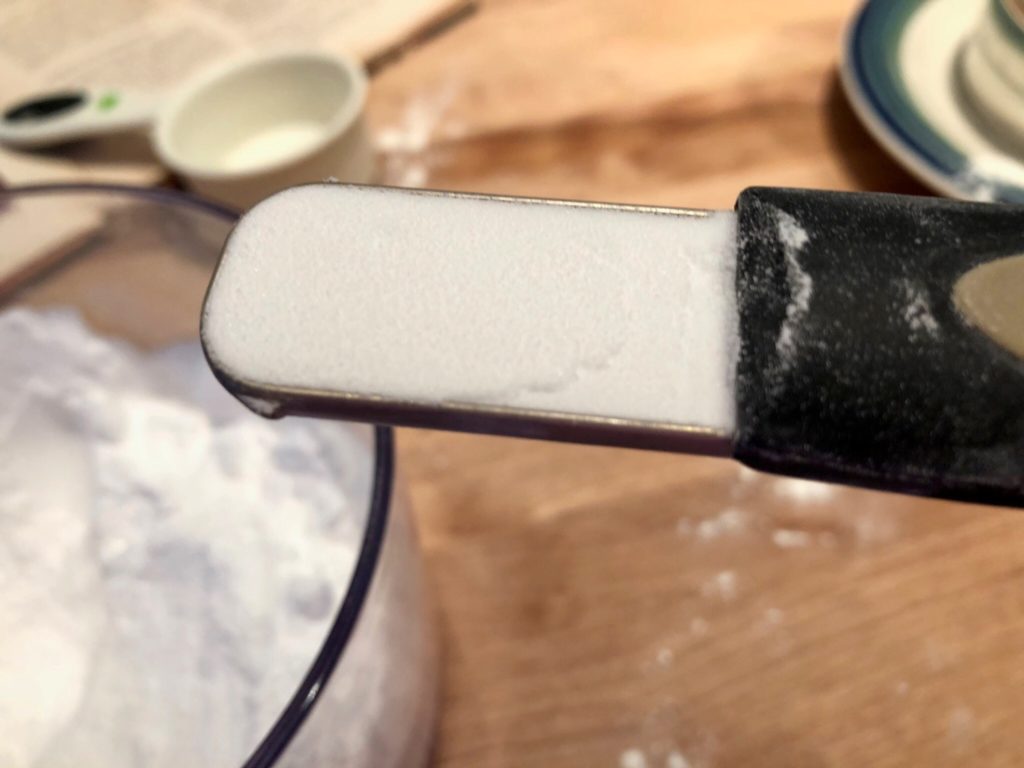
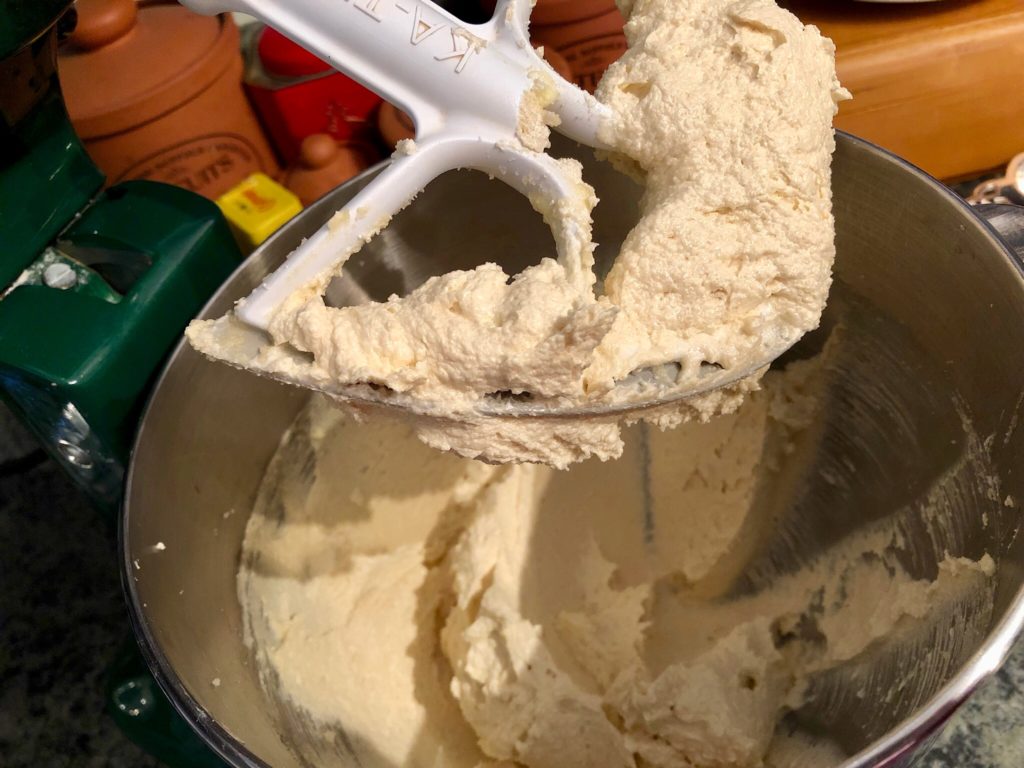
Measure out your shortening and sugars and place them in your mixing bowl. To measure granulated sugar, fill your measuring cup and level off the top with a spoon handle or knife. Press brown sugar firmly into the measuring cup until it is completely full and level at the top. When you dump it into the bowl, it will keep its shape like sand on the beach. Turn the mixer on medium and run until the shortening and sugars are creamed in a well combined, fluffy texture.
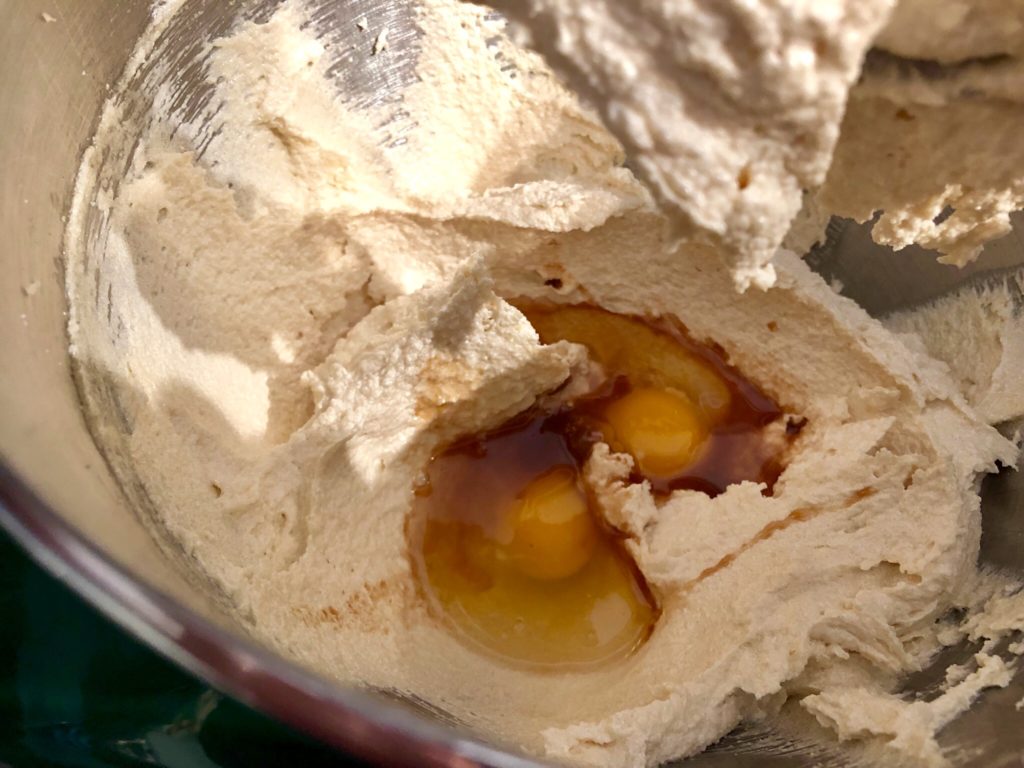
Turn off the mixer and add the vanilla. Honestly, I never measure vanilla. I just dump some in that looks about right. Crack the egg and add it to the bowl. If you are unsure cracking the egg directly into the bowl, crack it into a smaller bowl first. Turn the mixer on low to incorporate the liquids. Once combined, increase to medium speed and mix until the mixture is light and fluffy. This will take several minutes.
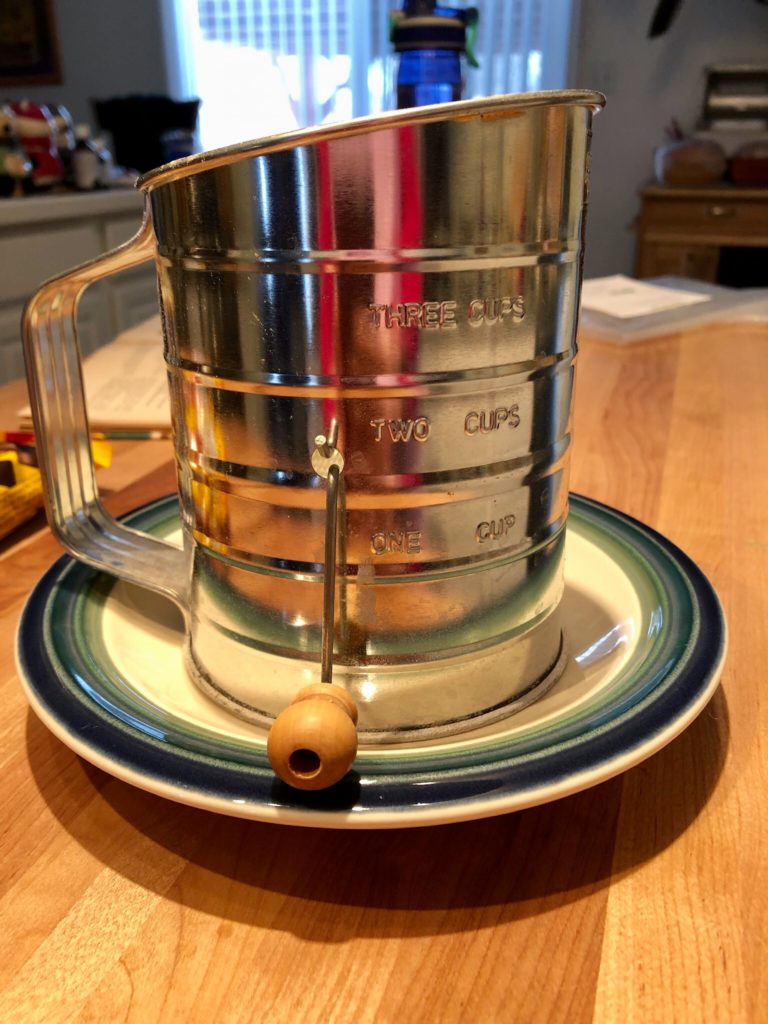
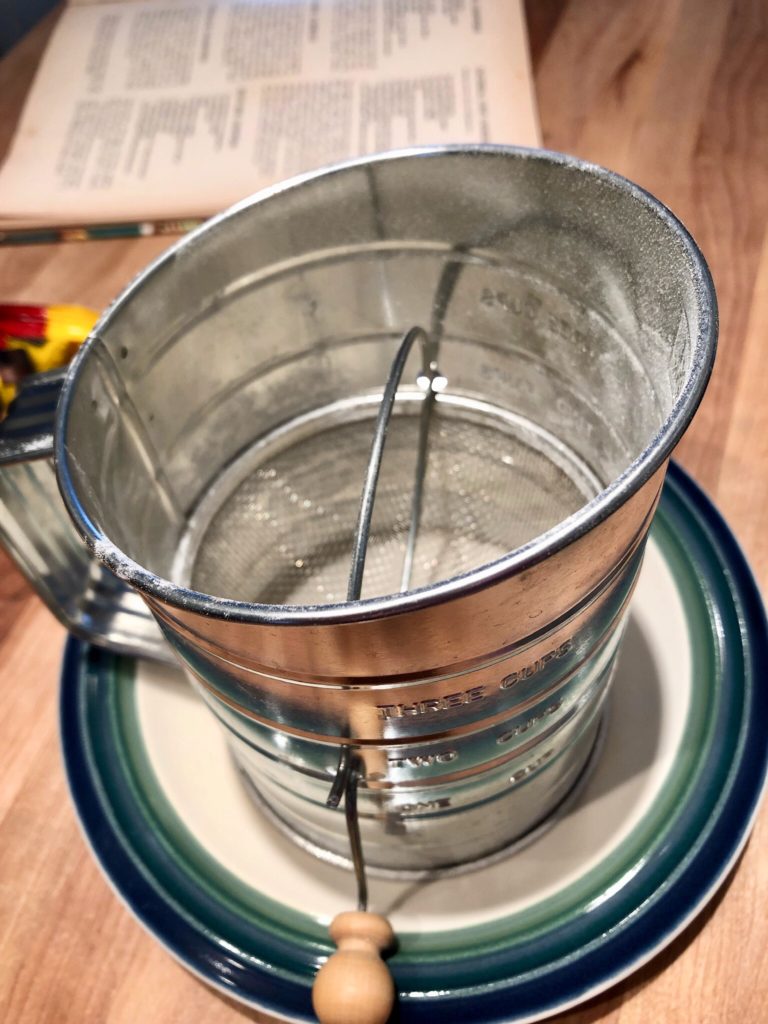
Meanwhile, combine the dry ingredients into a sifter. If you don’t have a sifter, it is not the end of the world. You can use a mesh strainer over the bowl or skip the sifting all together. Sifting ensures there are no lumps in the dry ingredients. If you do not have a sifter, use a whisk or fork to remove any lumps.

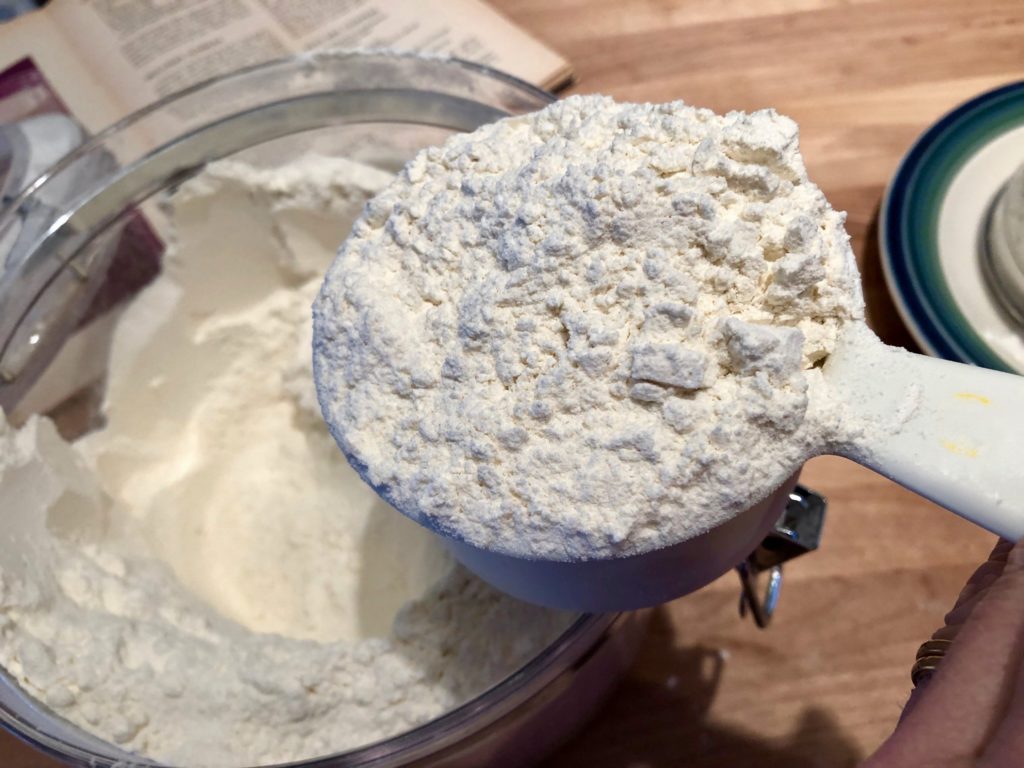
To measure flour, gently spoon the flour into your measuring cup, taking care to not smash it in the cup. Compressed flour is very dense and you will end up with more flour than needed in the recipe.

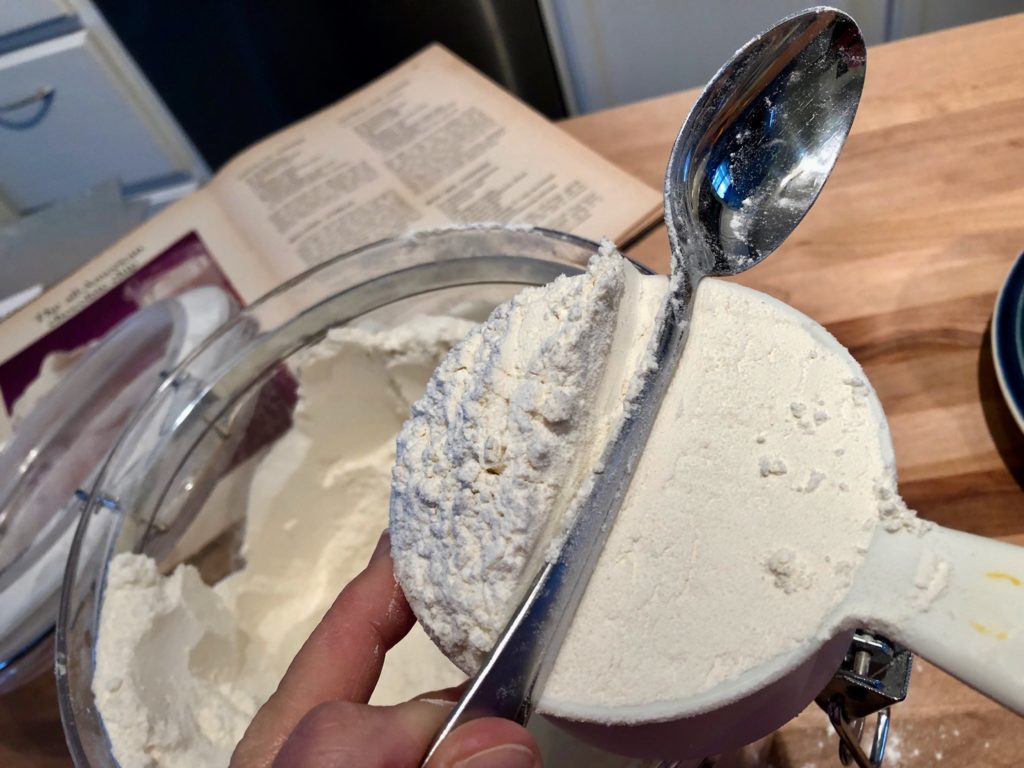
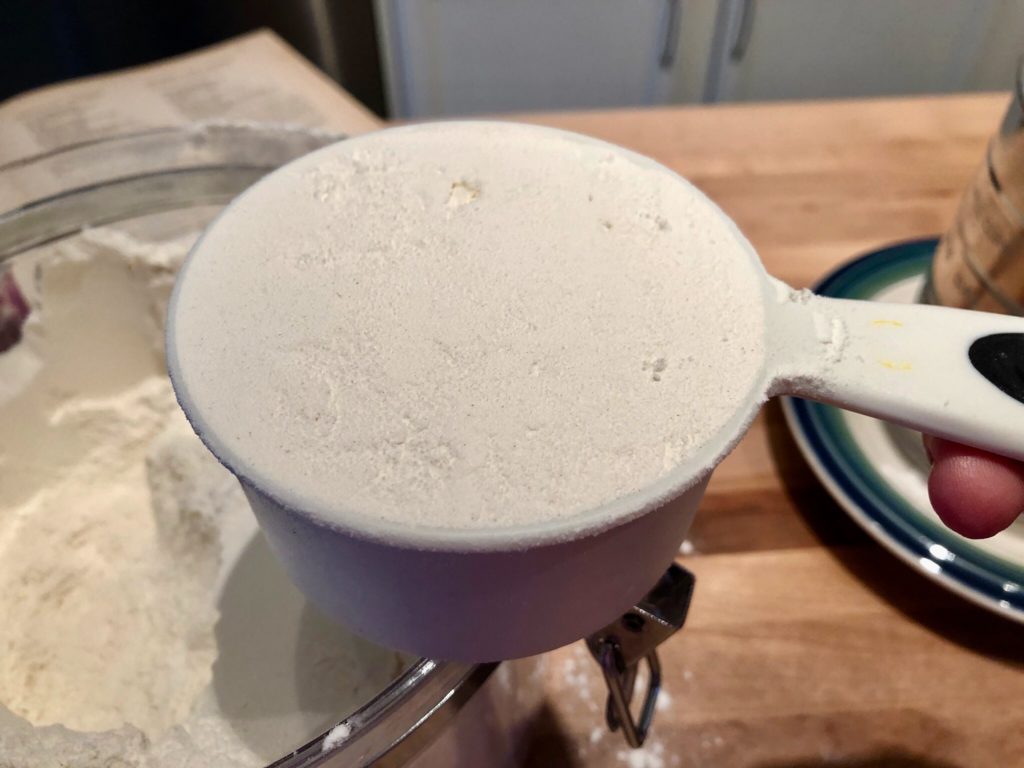
After filling your cup, use the handle of your spoon or a knife edge to level off the flour.
When measuring the salt and baking soda, level off the spoon just like the flour.
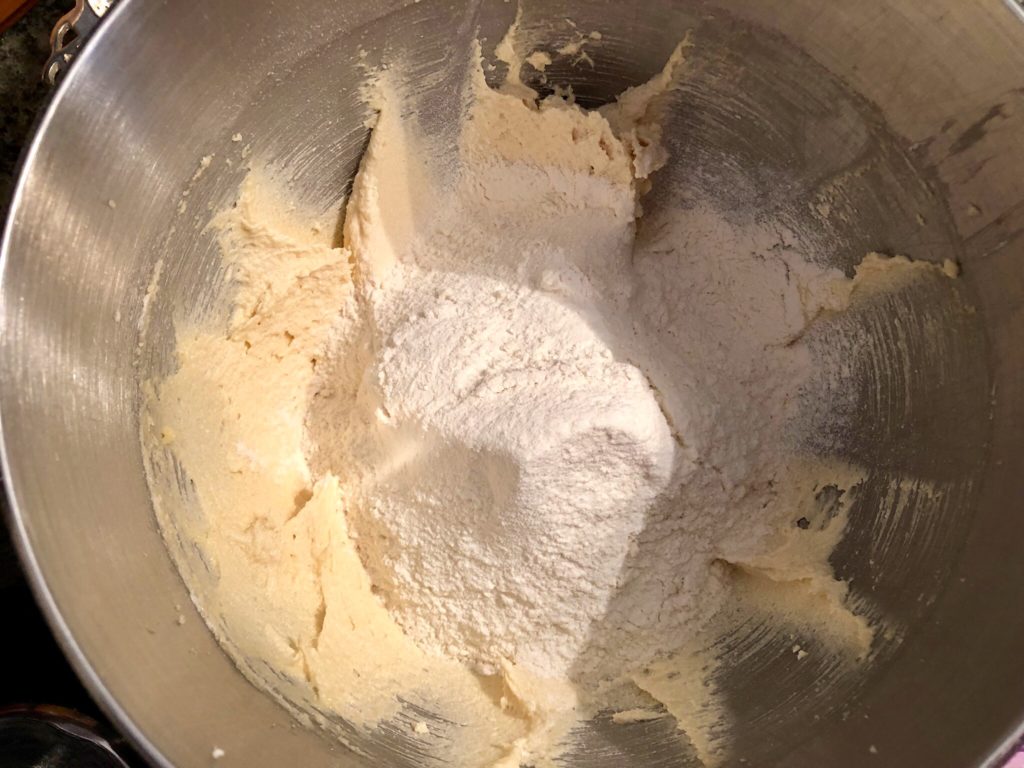
The egg and shortening mixture should be nice and fluffy by now. Turn off the mixer and add the dry ingredients. It might be helpful to remove the bowl from the stand mixer to have room to sift in the ingredients.

Turn the handle on your sifter until all of the dry ingredients are sifted through and in your bowl. This was always my favorite thing to help with as a little girl. To this day I love the sound it makes and the way it feels!
To avoid the flour “poofing” all over your counter, drape a dish towel around the bowl before mixing.
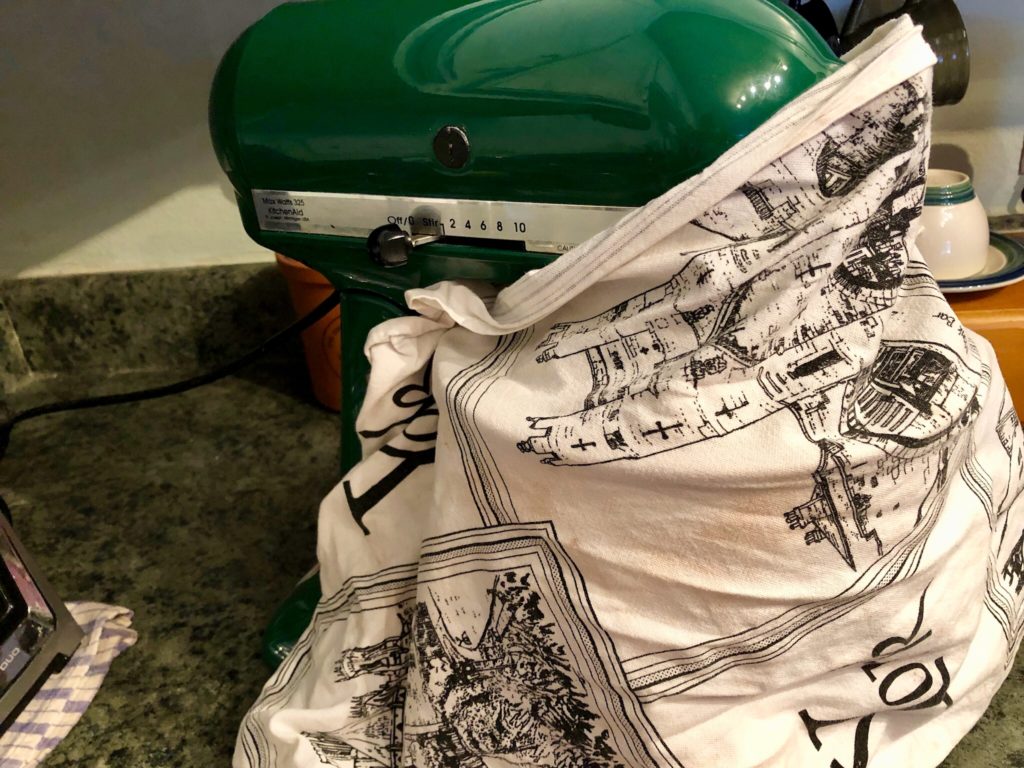
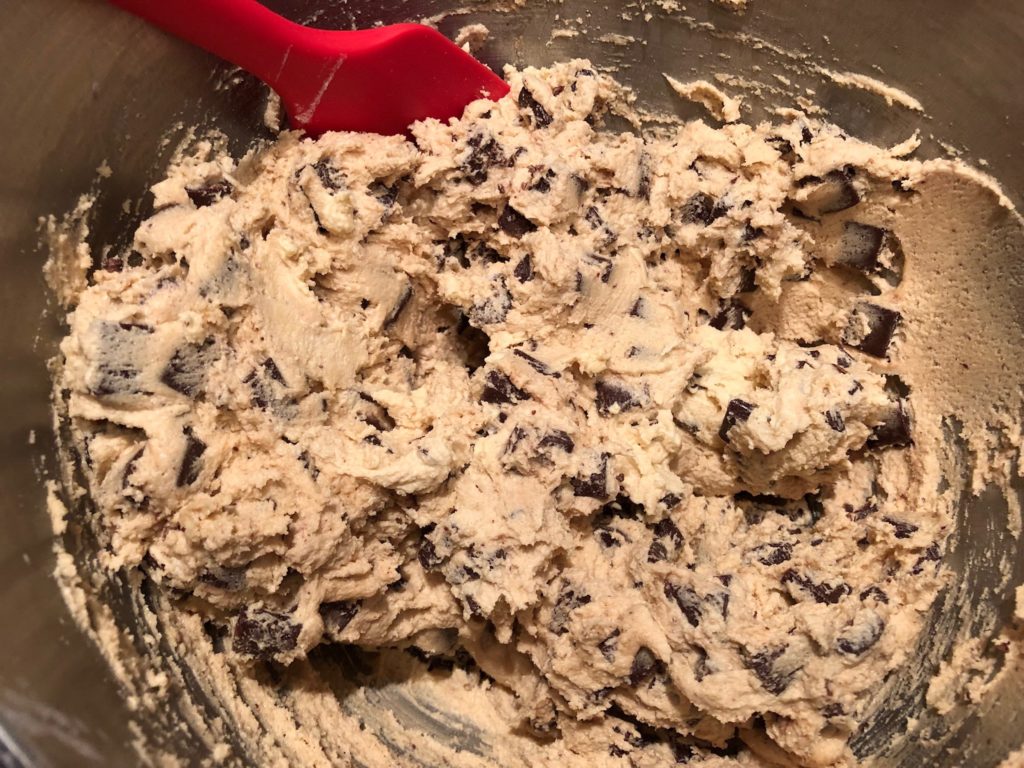
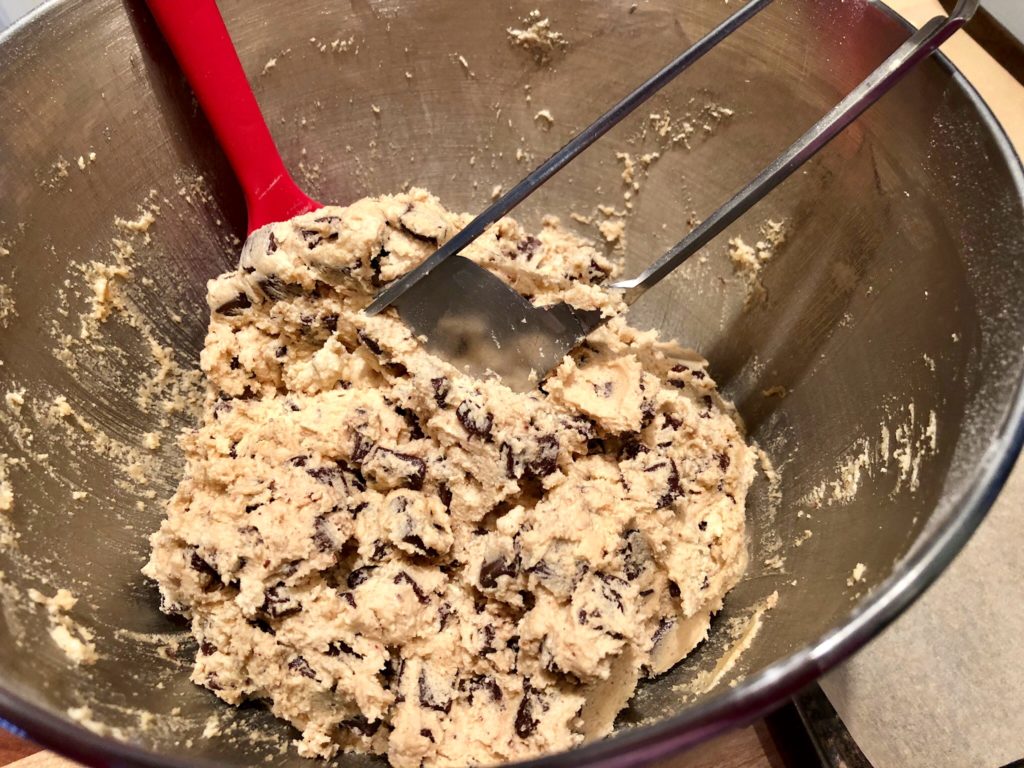
Turn the mixer on low to partially incorporate the flour, and then increase to a medium speed. Mix until everything is well combined, but don’t over-mix and lose the fluffiness! Turn off the mixer and add the chocolate chips. You can either fold these in by hand or use your mixer. If using the mixer, lock the top so it doesn’t bounce up with all of the chunkiness.

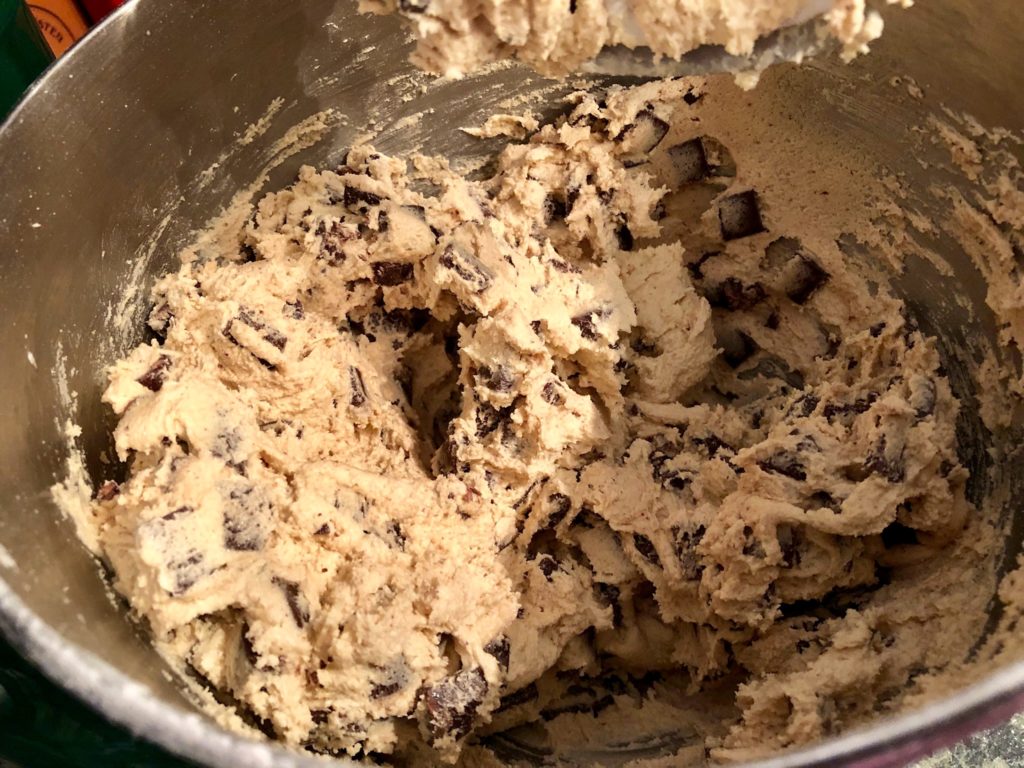
Remove the bowl from your mixer scrape down the sides with a rubber spatula to make sure everything is nice and combined.
Drop by rounded teaspoonful onto your prepared cookie sheets.
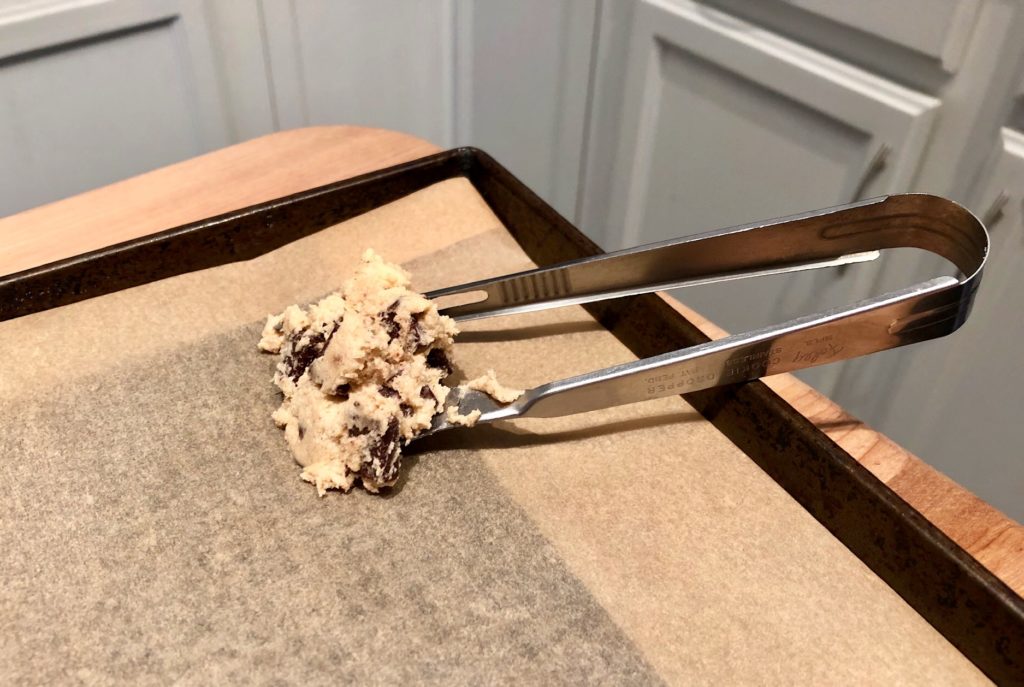
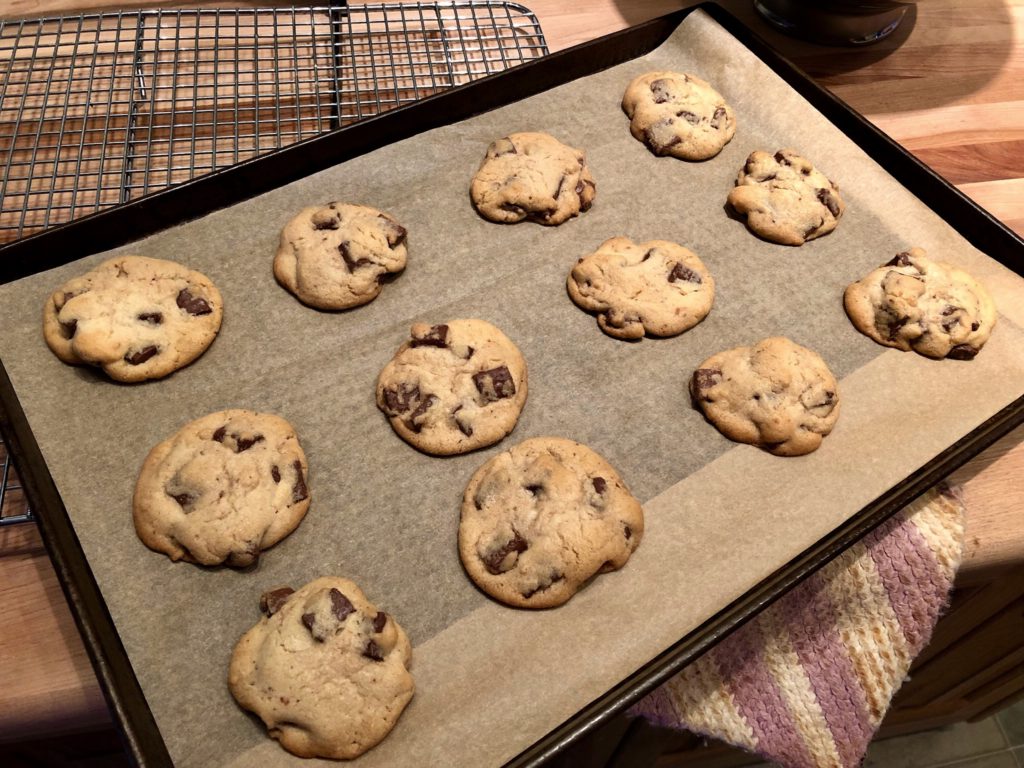
You should be able to fit a dozen cookies on a regular cookie sheet.
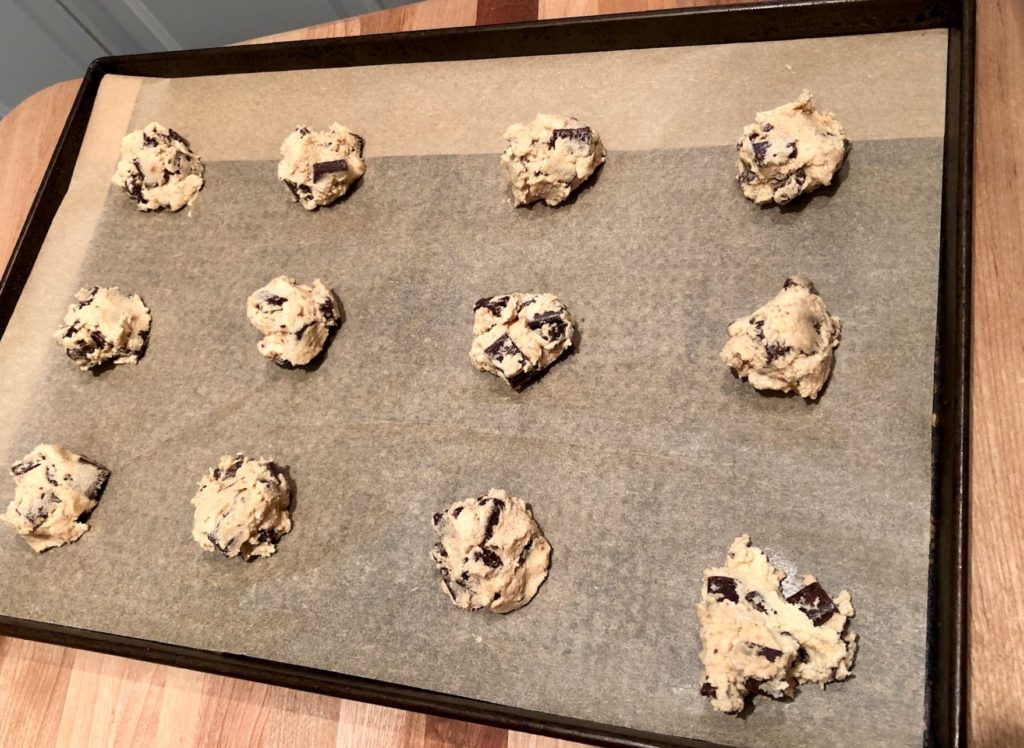
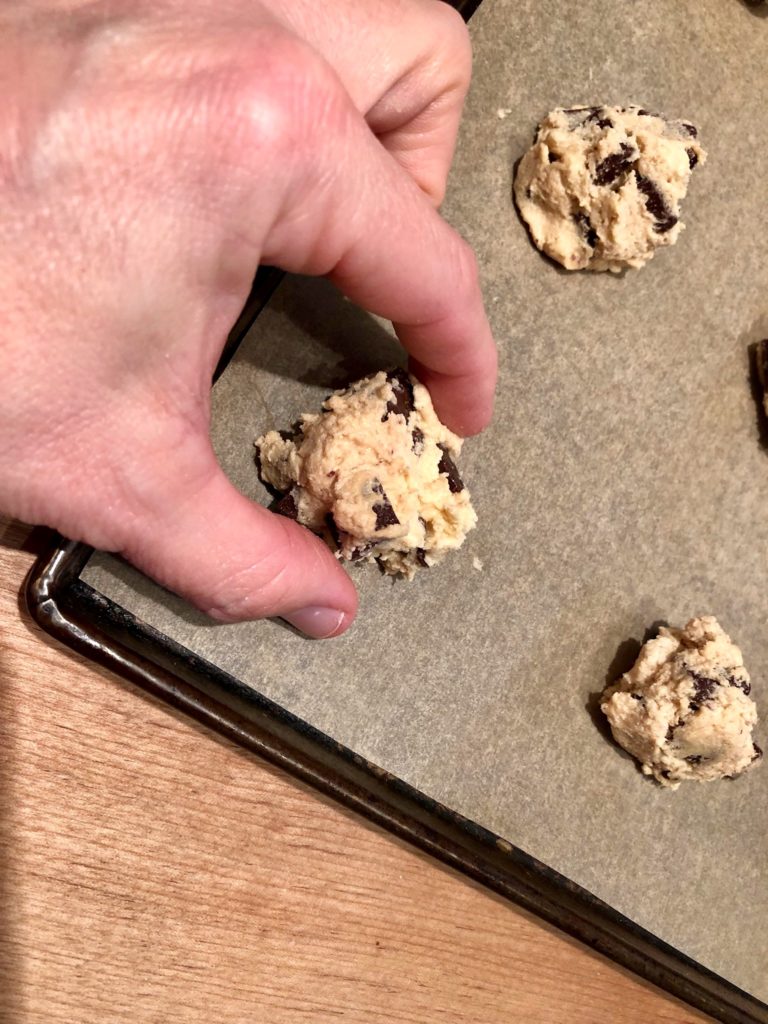
Once the dough is on the cookie sheets, take your fingers and shape the dough if necessary. The more compact the dough, the better shape the cookies will be once they spread in the oven.
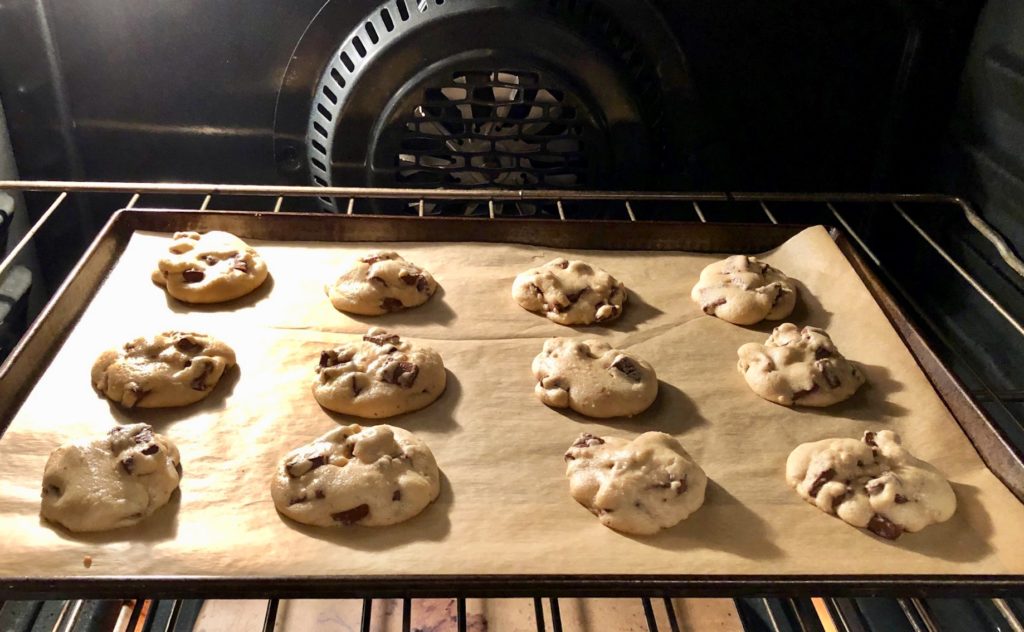
When you have a full cookie sheet, place it in the oven and set your timer. Bake for 10 – 12 minutes, depending on your desired crispiness. 10 minutes gives me nice slightly crisp, but still chewy cookies. For this texture, you should be pulling them out of the oven in a state that looks slightly under done, but not anemic. They will continue to bake slightly after you pull them out. If you like a crispier cookie, leave them in for the full 12 minutes or longer if you like them really crispy.
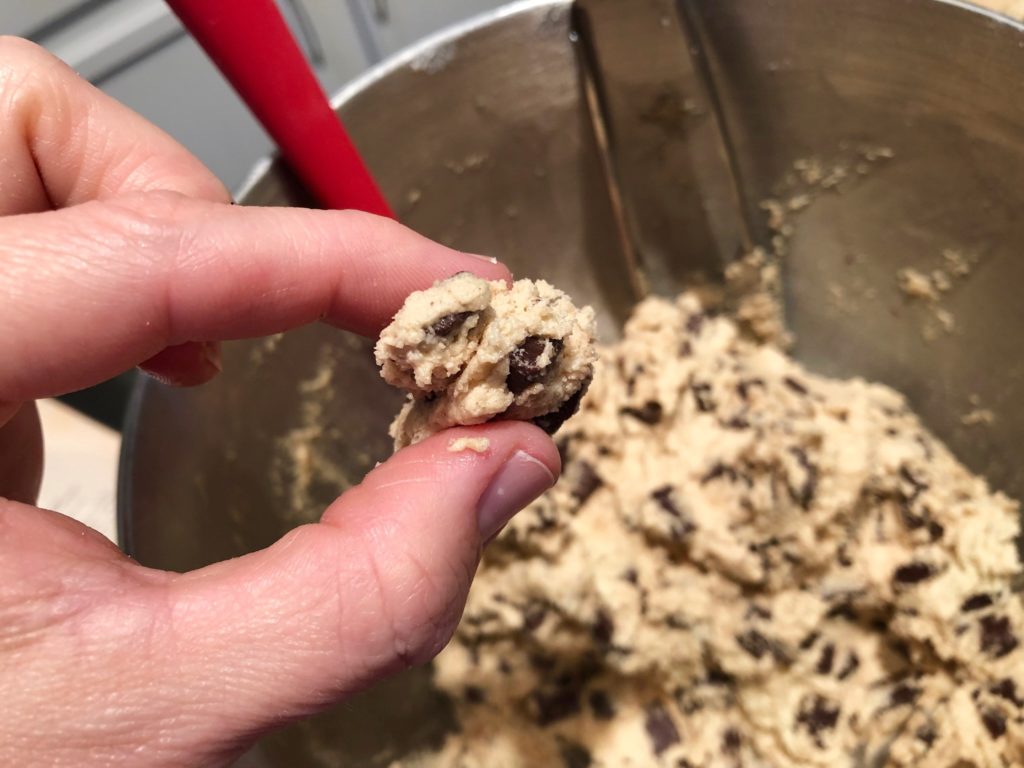
I always sample a little of the cookie dough for myself while they are in the oven. This is probably where I’m supposed to warn about the dangers of eating raw eggs or something like that. Sample at your own risk and to your heart’s desire.
While the first batch is in the oven, prepare the second tray (if you have more than one cookie sheet).
When they are done, pull the tray out and put the next one in the oven. Don’t forget to set the timer again!
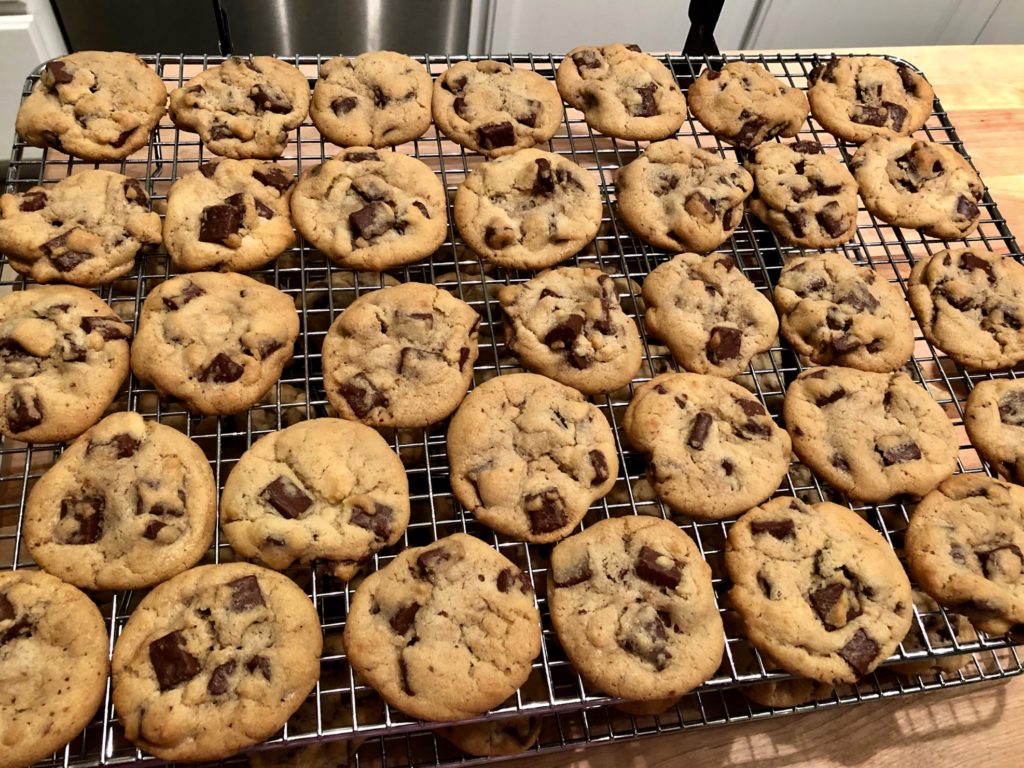
Using a metal spatula, transfer the cookies to a wire cooling rack. Or, if you want to go really old school, cut open a brown paper bag and lay it out on the counter to use as a cooling rack.
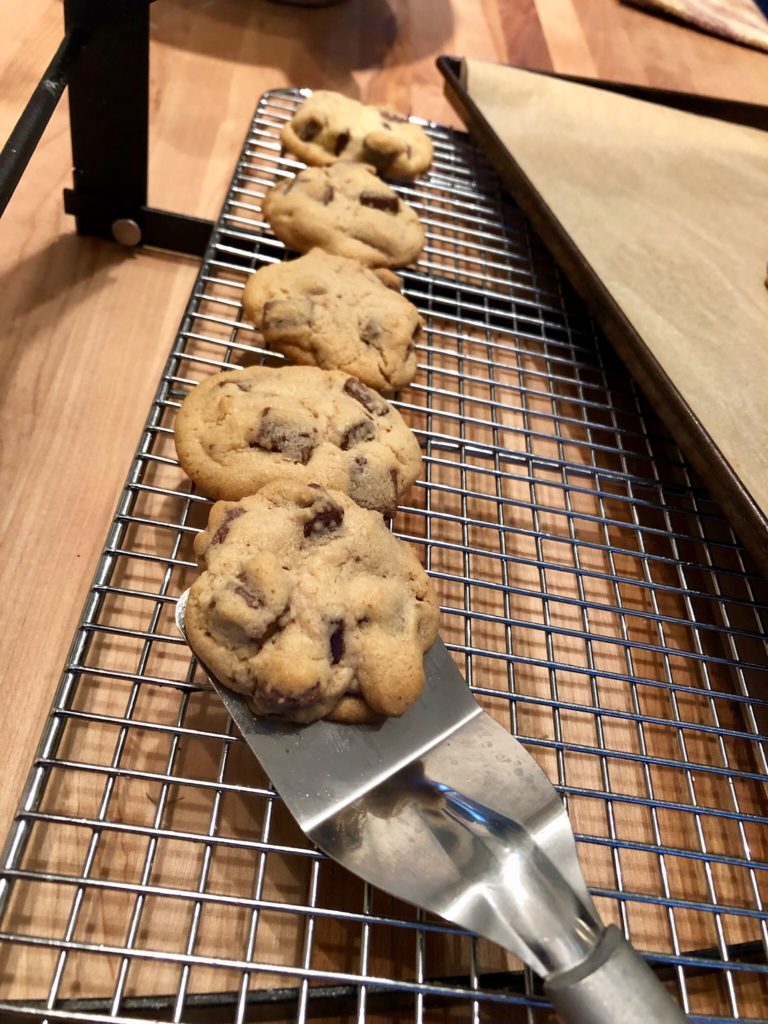
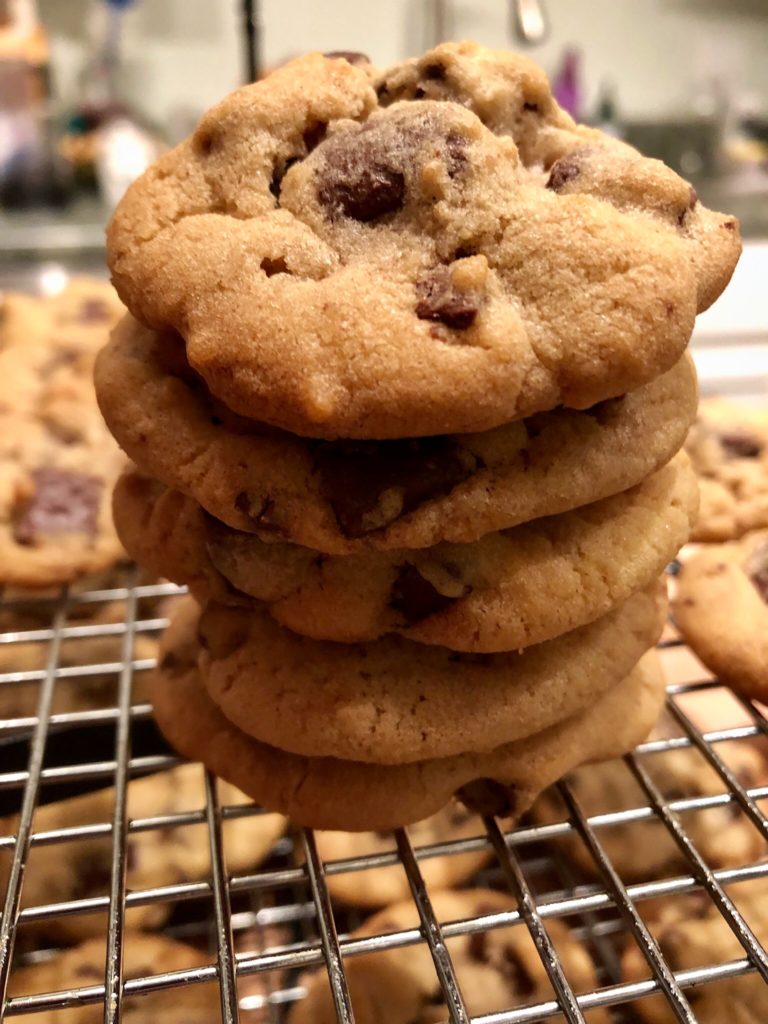
Speaking from personal experience here, be patient and let the cookies cool for a few minutes before you try one. They are very hot and will definitely burn your tongue. But, definitely sample them while they are still warm from the oven – they are at their most delicious then!

After the cookies are completely cool, package any that are left for storage. Store cookies in an airtight container or ziploc bag. The longer they are stored, the more crispy they will become.
I like to bag them up in batches of 4 or 6 and put them in the freezer. Then, when someone is in the mood for cookies, I pop them in the toaster oven on a low setting and it is like having fresh from the oven cookies again! The small bags also make it easy to just keep a few in the cookie jar so they do not get stale too quickly. Assuming that they last long enough to get stale!
I hope you enjoy these as much as we do!

Buy me some Yarn?
If you are enjoying the content I've created and would like to support with a tip, you've found the right place. Any amount is greatly appreciated!
I think I have that cookbook, will have to check. Will try this recipe next time, it has less sugar than the Toll House recipe.
I think you gave me this one!
Self-scraping beater?! What? Mind blown! Guess that’s going on my Christmas list!
It’s a game changer!
Beautiful photos and fun recipe. We can’t wait to try them! Thanks for your work. Looking forward to more posts!!!
Thanks, Helena!
Thank you for the tip about freezing cookies in small batches. I hadn’t thought of that! It does make a lot of sense as we are only two, and only one likes cookies!
So glad you like it!
Interesting that you mention greasing cookie sheets. I have never greased my cookie sheets for any cookies. But then, my pans are ancient (Ovenex), with a delightful bumpy finish that kind of acts like non-stick, love ’em.
Honestly, I never grease my sheets either. I always use either parchment or my silicone mats. I included the greasing instructions because they were part of the original recipe, just in case the cookies would stick. That would be a disaster!