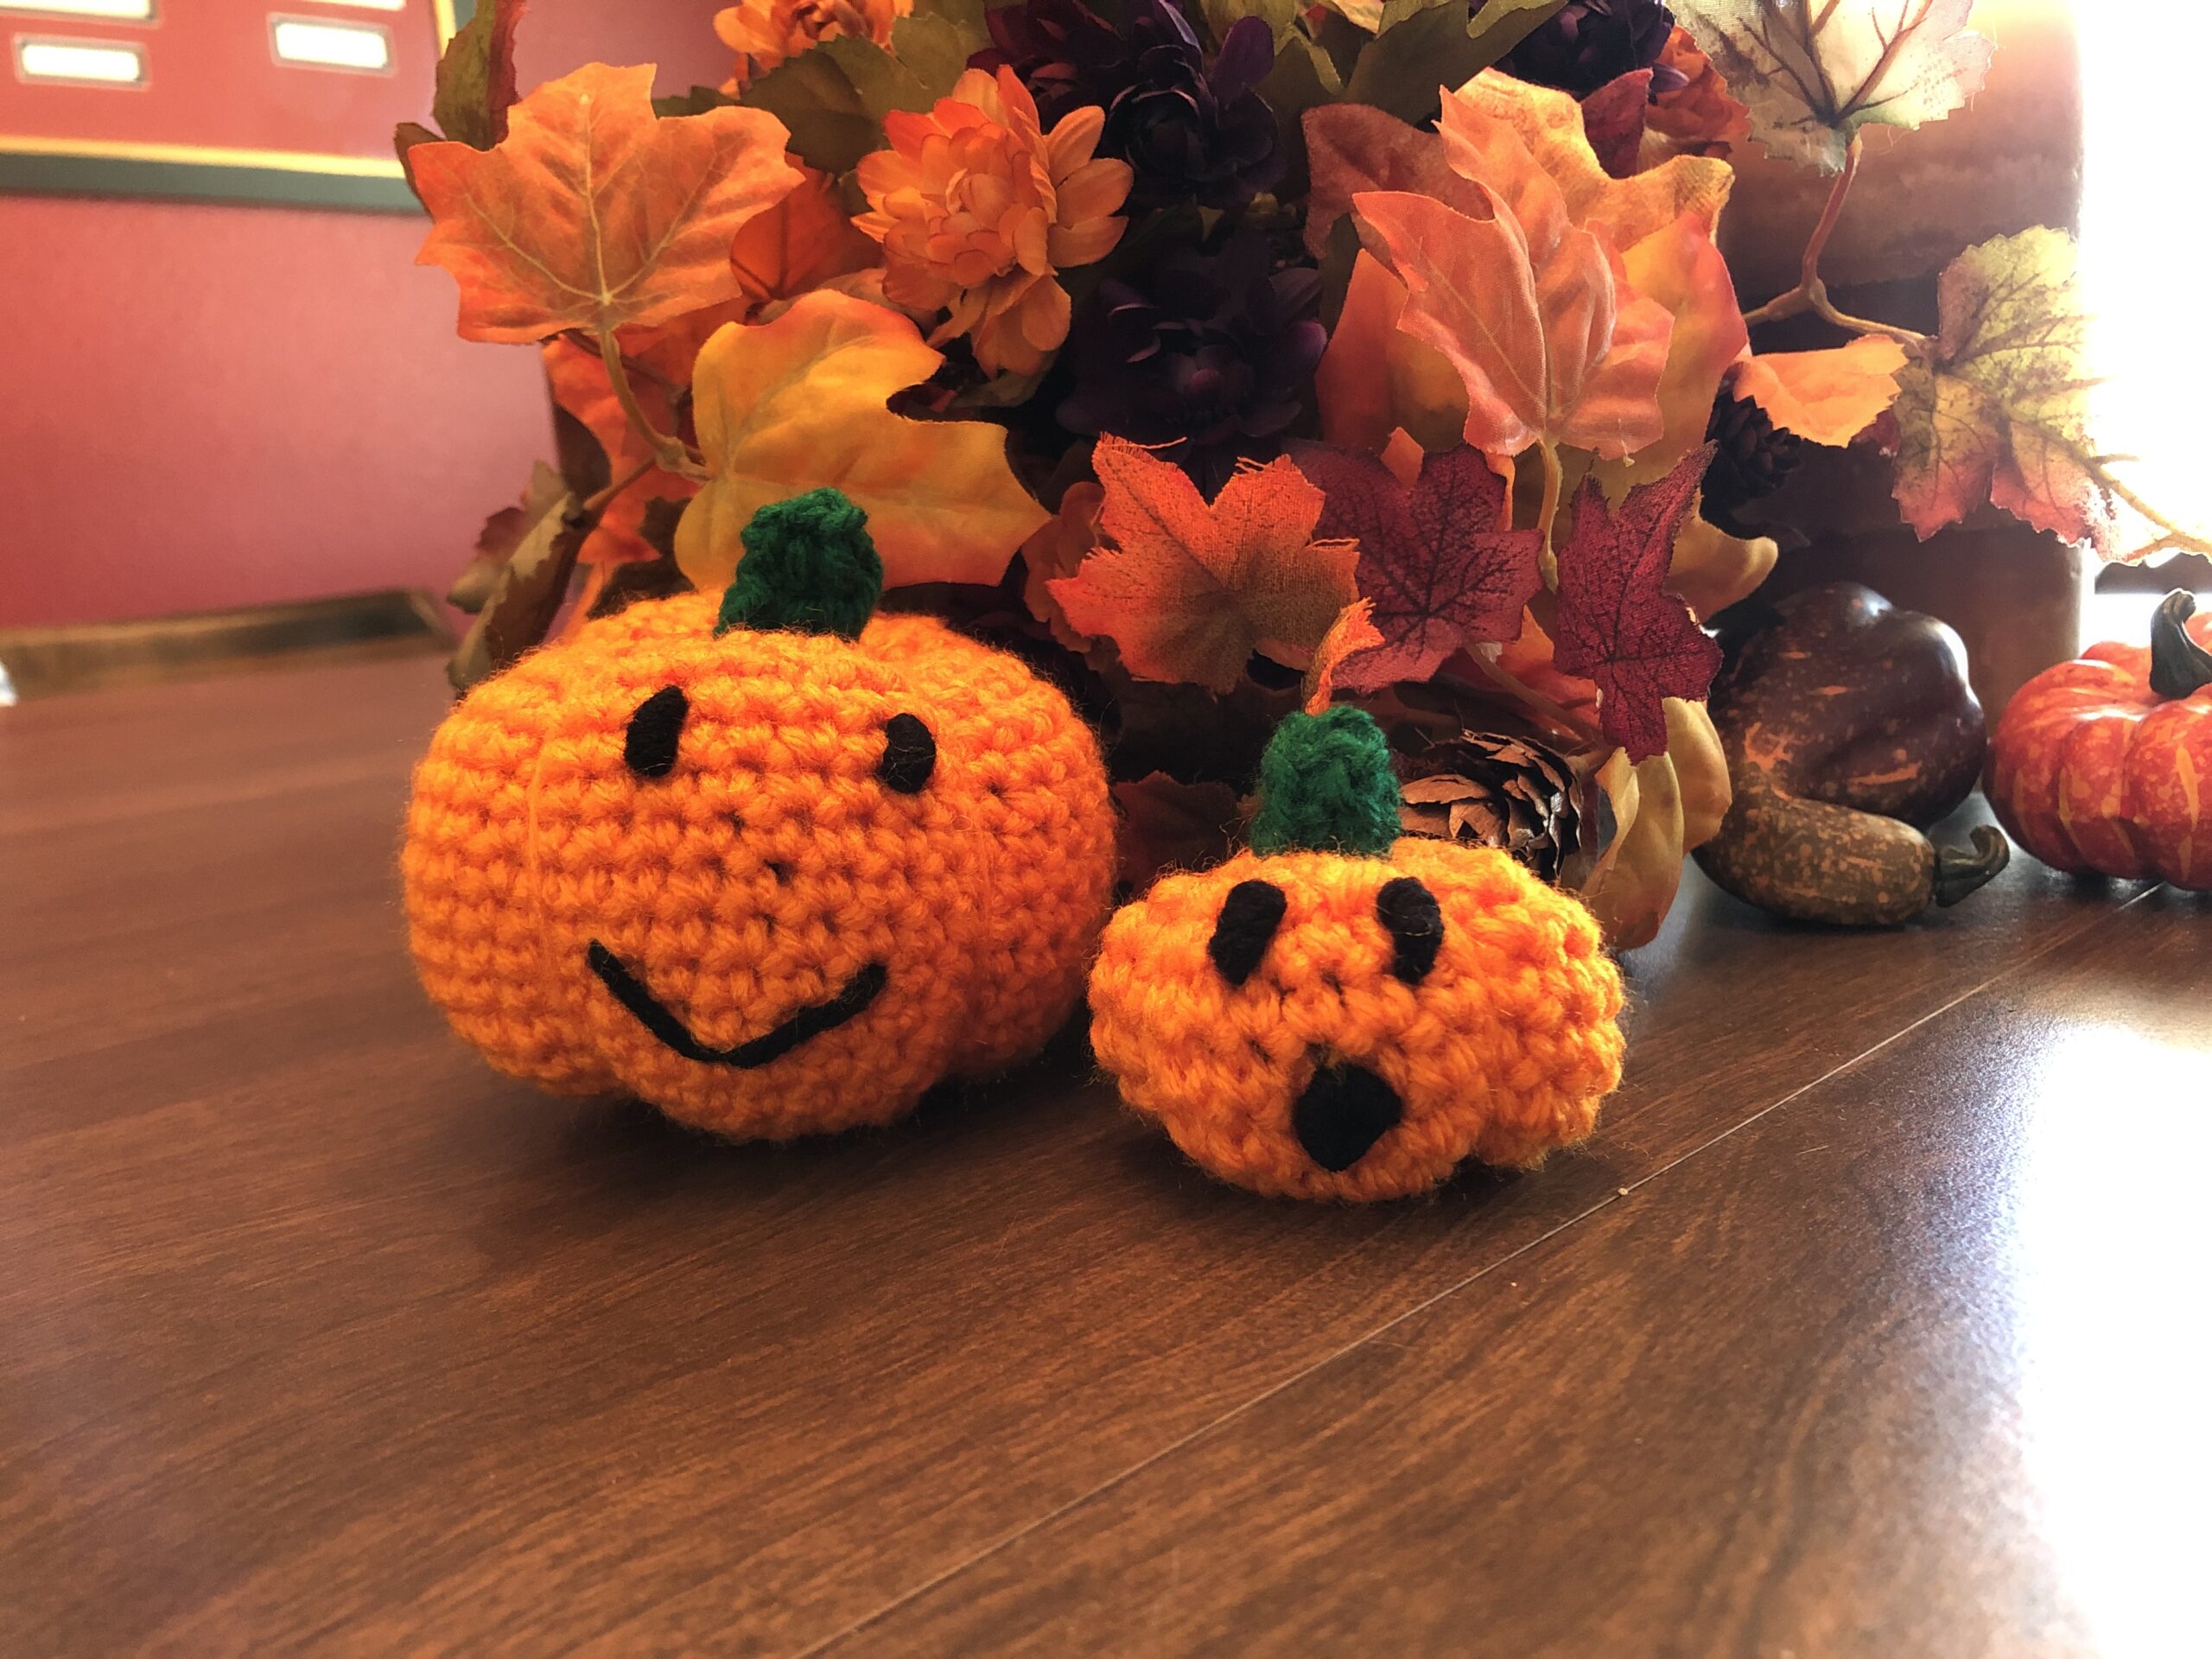
When the calendar flips to September, spooky season is officially just around the corner. In fact, my best friend’s little sis would argue that spooky season should be a year-round event! Some crochet Baby Jack-o-Lantern Pumpkins could be just the trick to help get you in the spooky spirit.
The original inspiration for these baby jack-o-lantern pumpkins came when I was designing “Winnie the Witch”. Being a witch, she just had to have a pop of color in a pumpkin by her side to complete her Halloween look. Isn’t she just the cutest?!? (Side note: she will be available in a future pattern collection of gnomes)
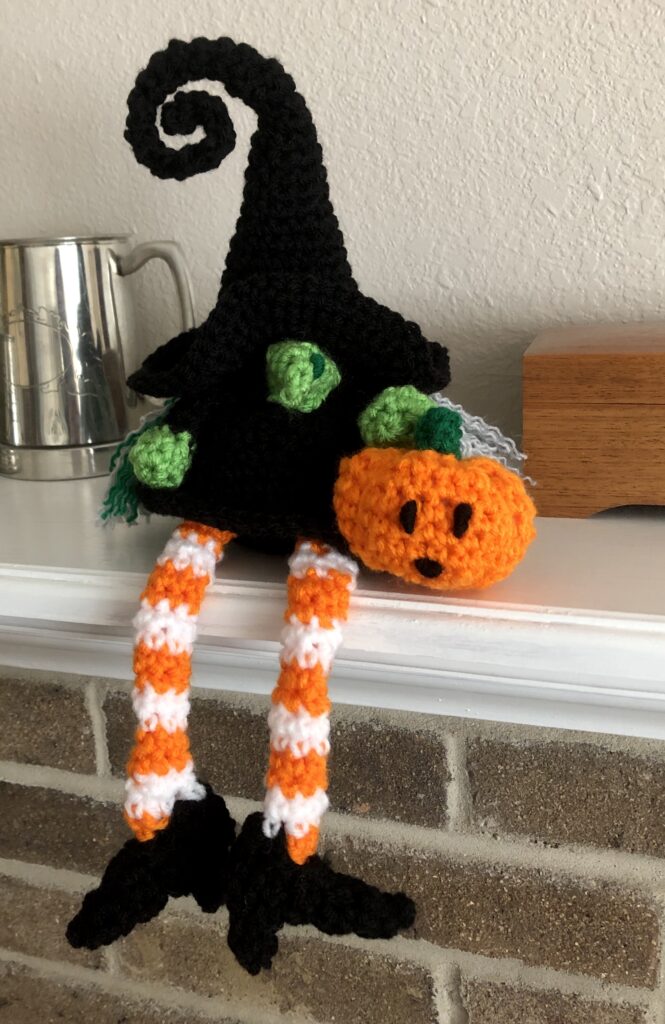
baby jack-o-lantern pumpkin!
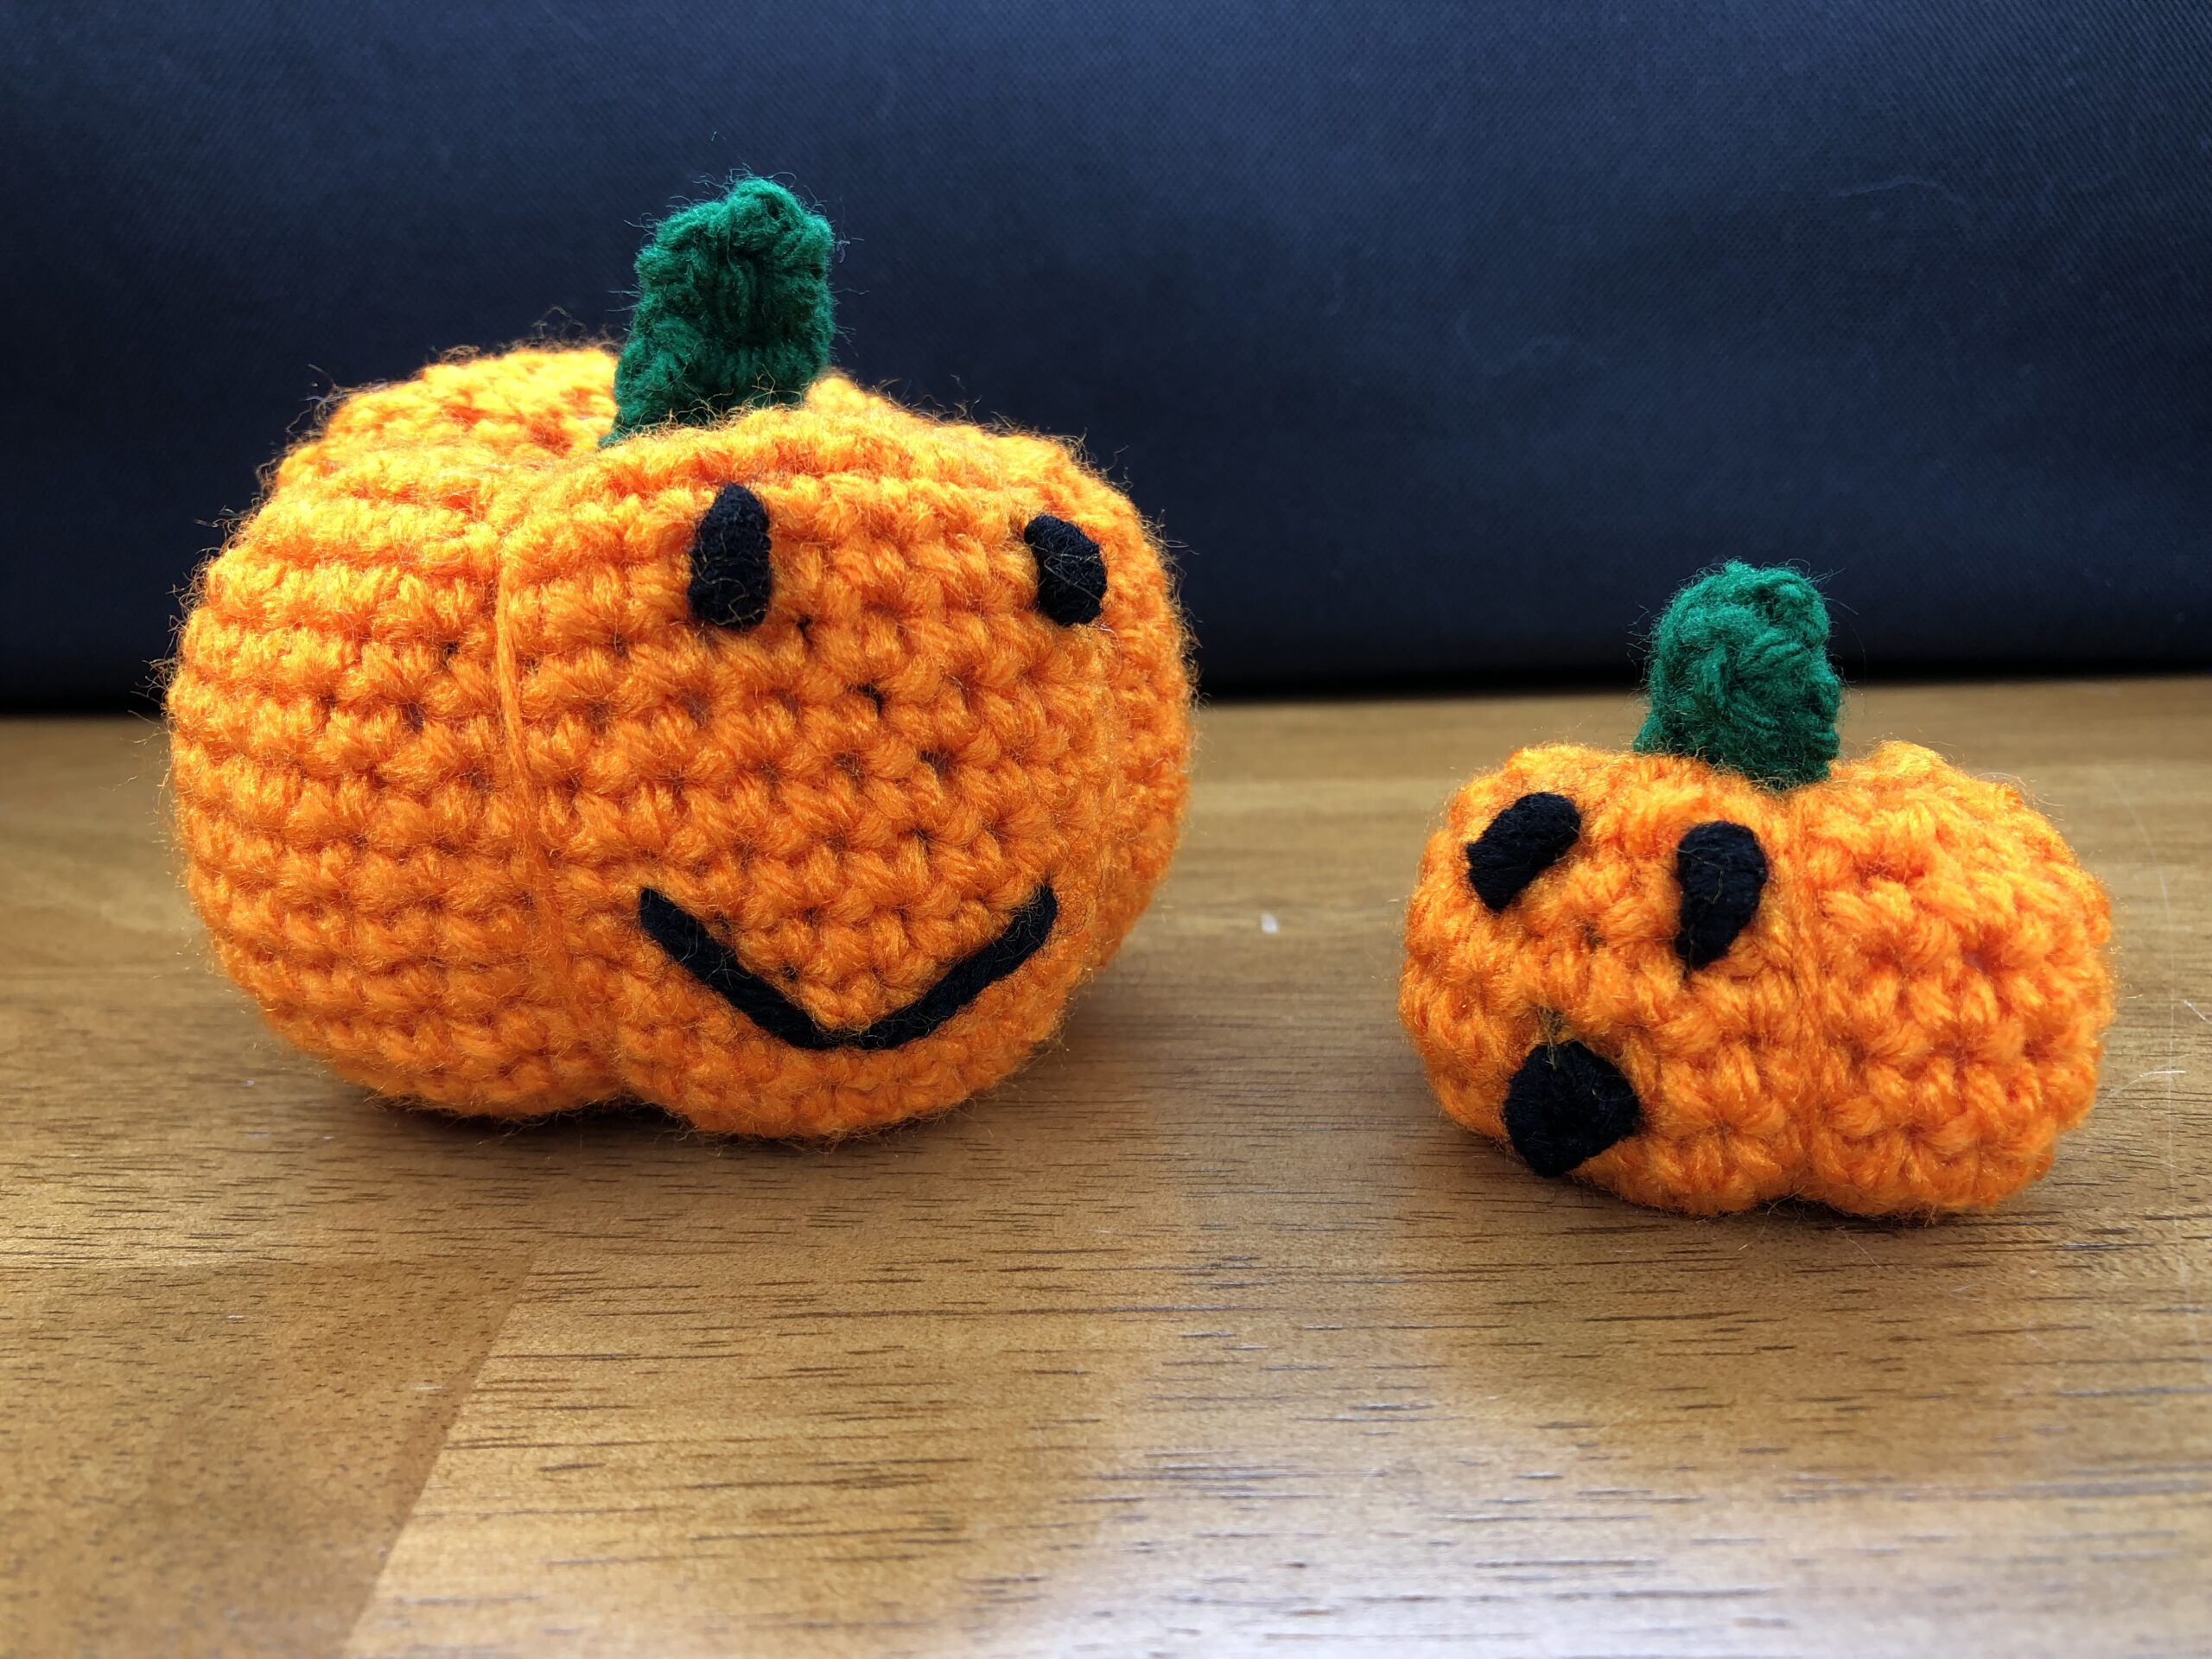
Since then, I’ve revamped the pattern to include two different sizes of jack-o-lantern pumpkins. The baby is about 6.5 inches in circumference and the larger pumpkin is about 11.5 inches around. Let’s learn how to crochet baby jack-o-lantern pumpkins!
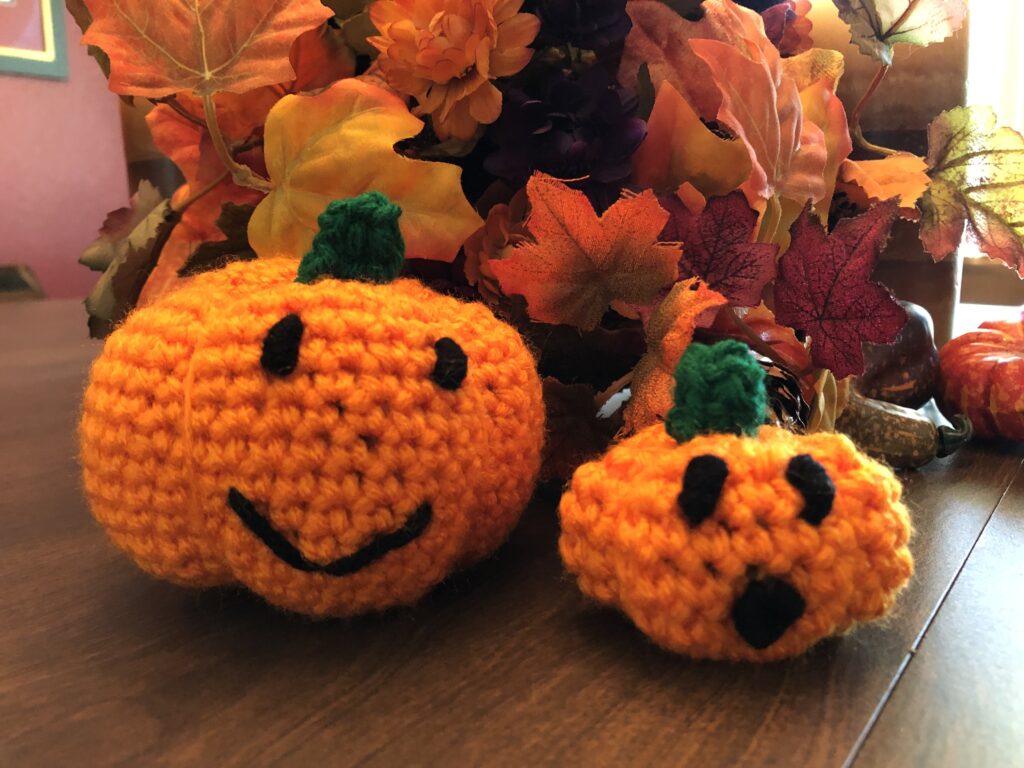
Want to skip straight to the PDF pattern – click here!
Do you find watching videos easier? Click here to jump to the video links.
What do I need to make Baby Jack-o-Lanterns?
To make your very own baby Jack-o-Lantern pumpkin, you’ll need the following items:
What crochet skills are involved?
Let’s get started!
Begin with the main color for your pumpkin. Work a Magic Circle with 8 single crochet (sc) stitches in the loop. (Right Hand Demo or Left Hand Demo) Pull tight and close with a slip stitch in the first sc.
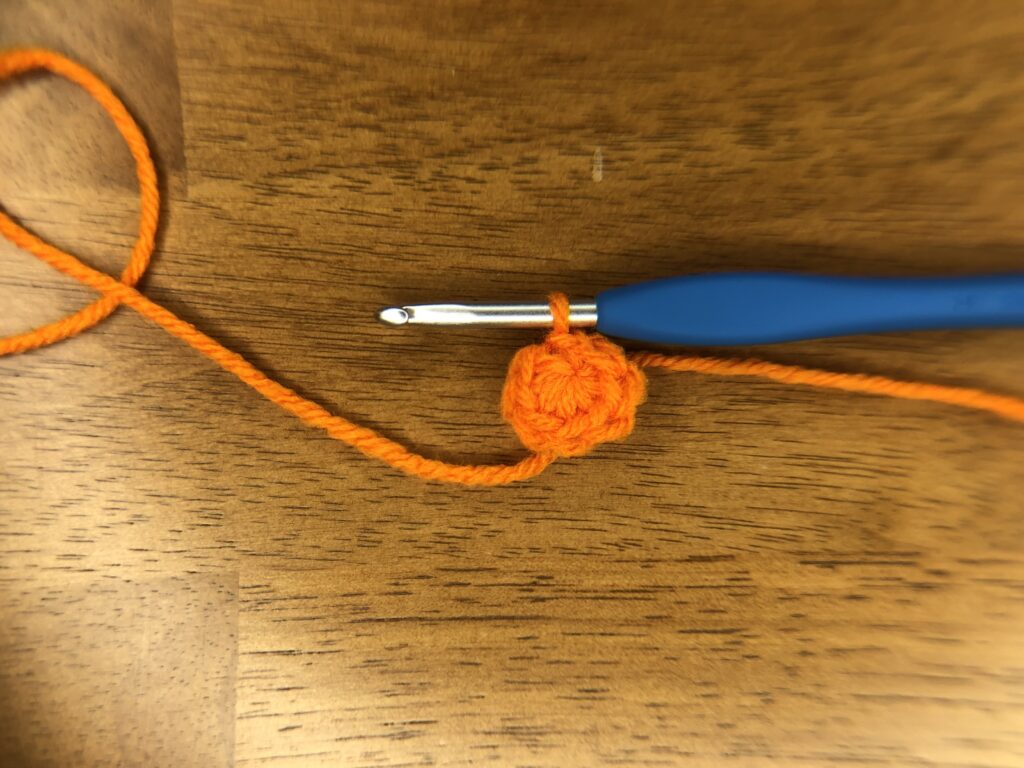
Work 2 sc in each stitch around so you have 16 sc in your round.
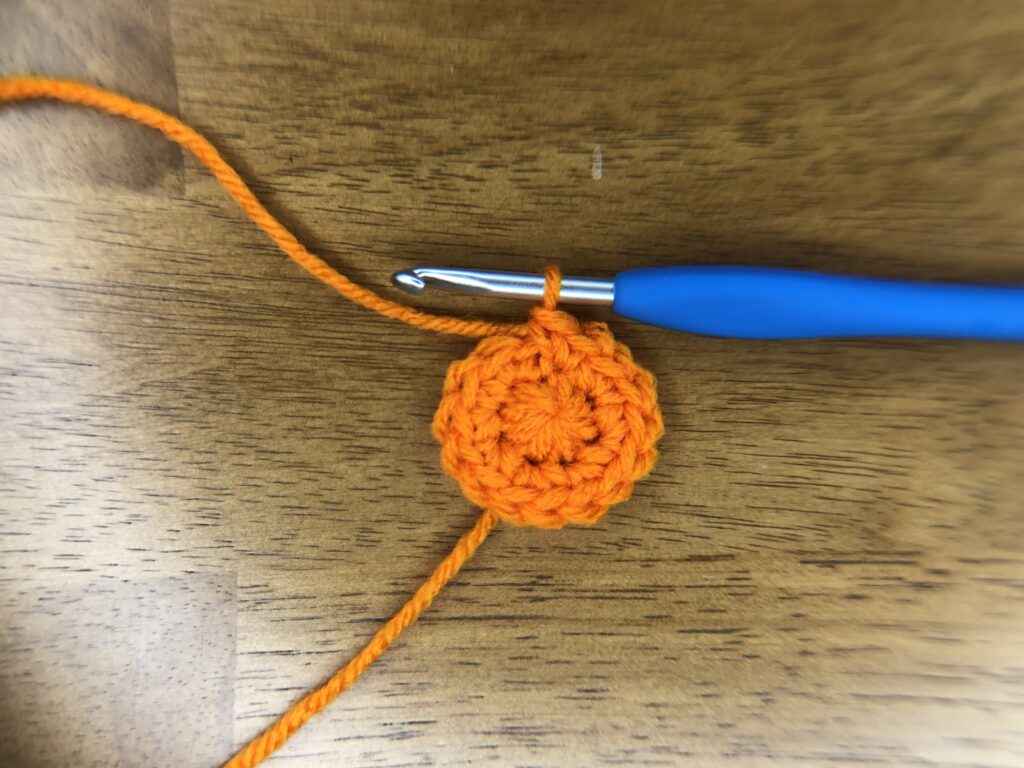
Now, increase another round by working 2 sc in the first stitch, then 1 sc in the next st. Repeat this pattern around (2 sc in one stitch, 1 sc in the next) so you have 24 sc in your round.
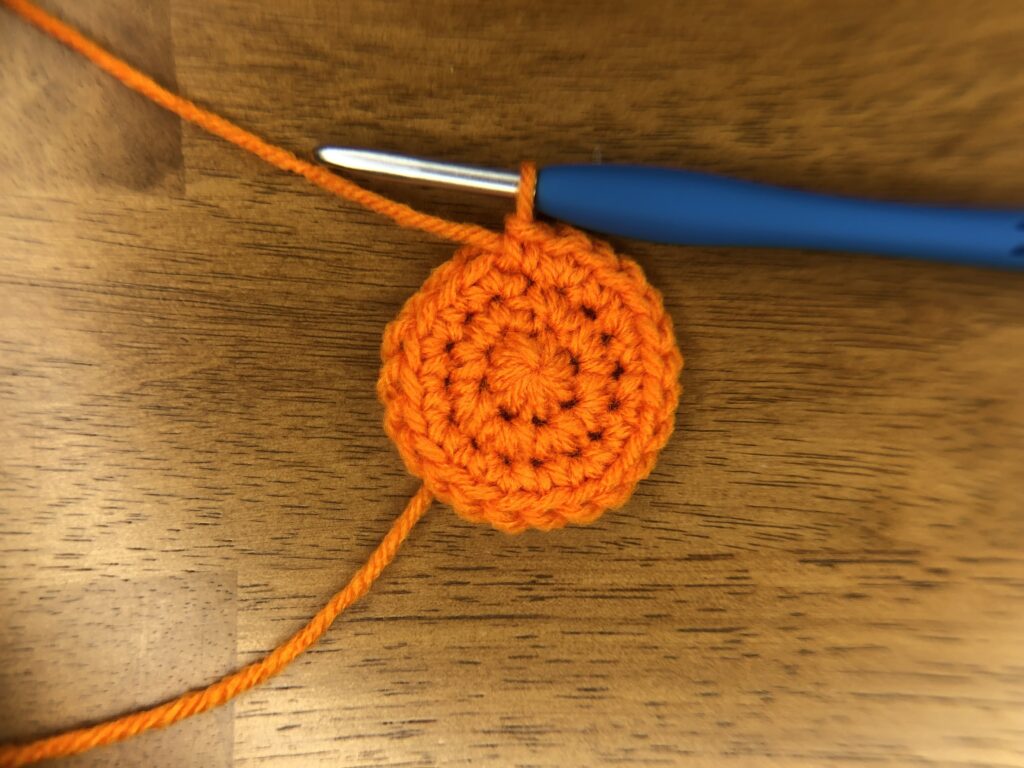
For the next 4 rows, work 1 sc in each stitch. Your pumpkin will start growing up instead of being a flat circle.
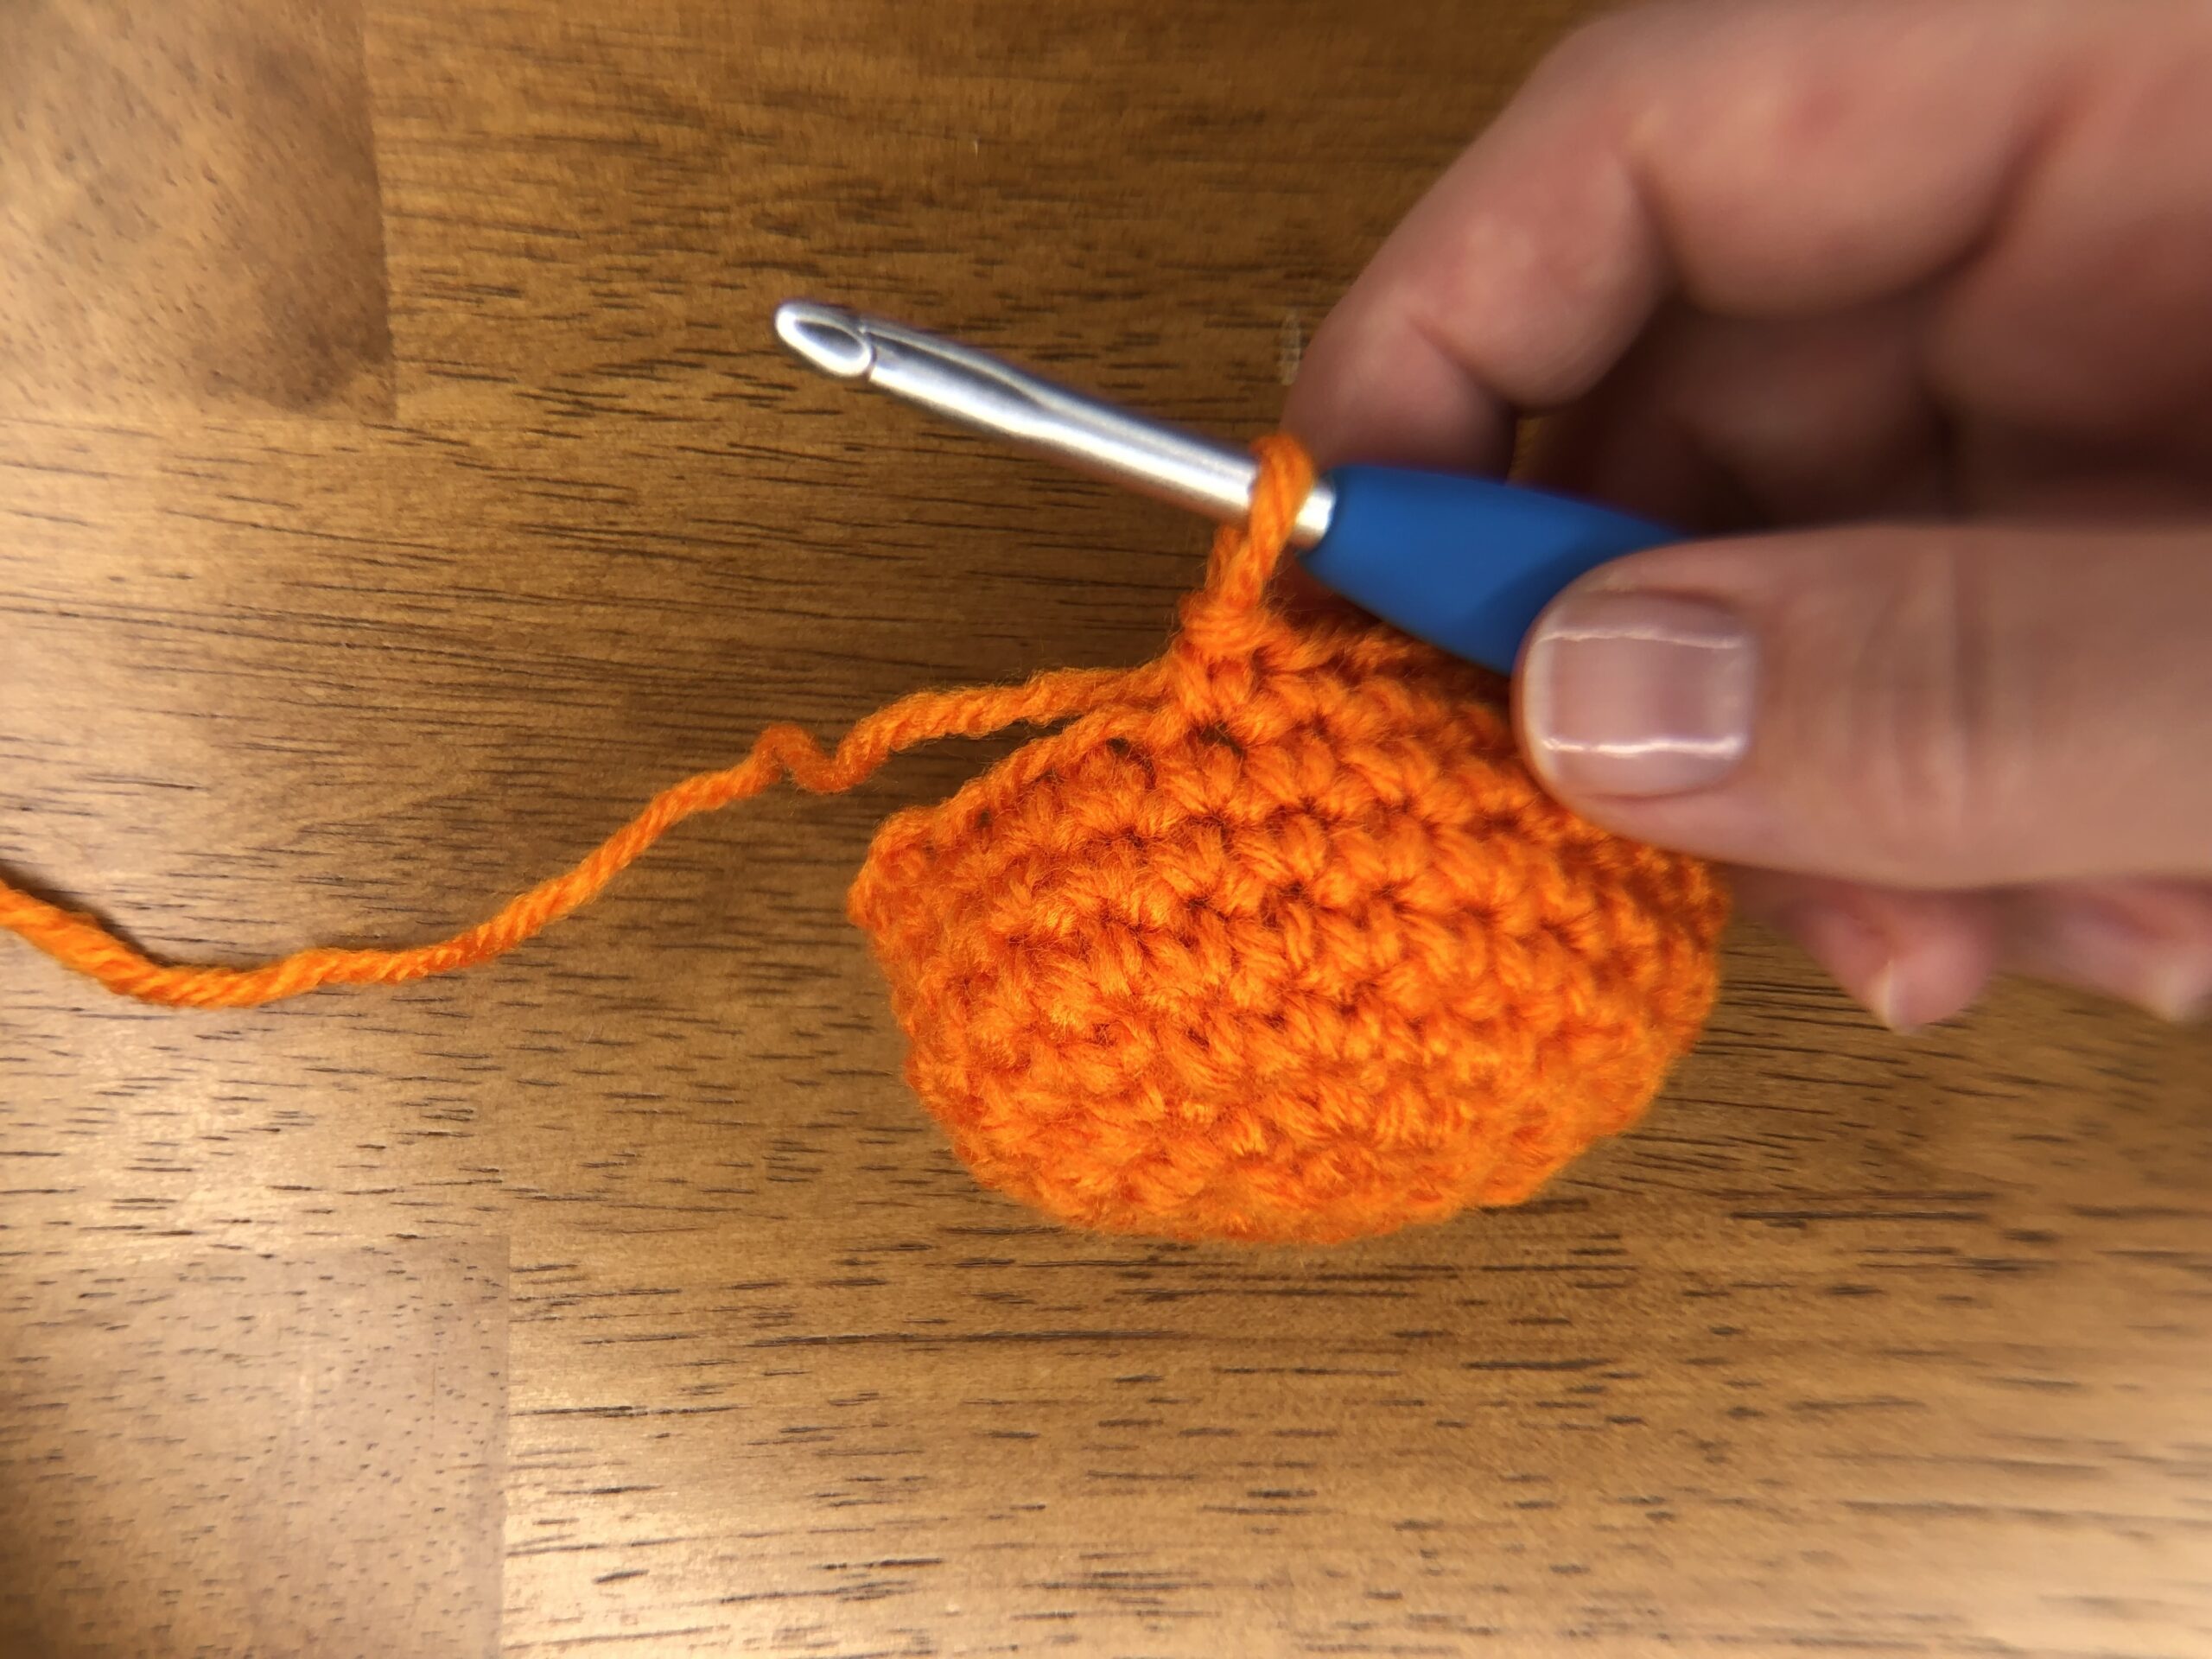
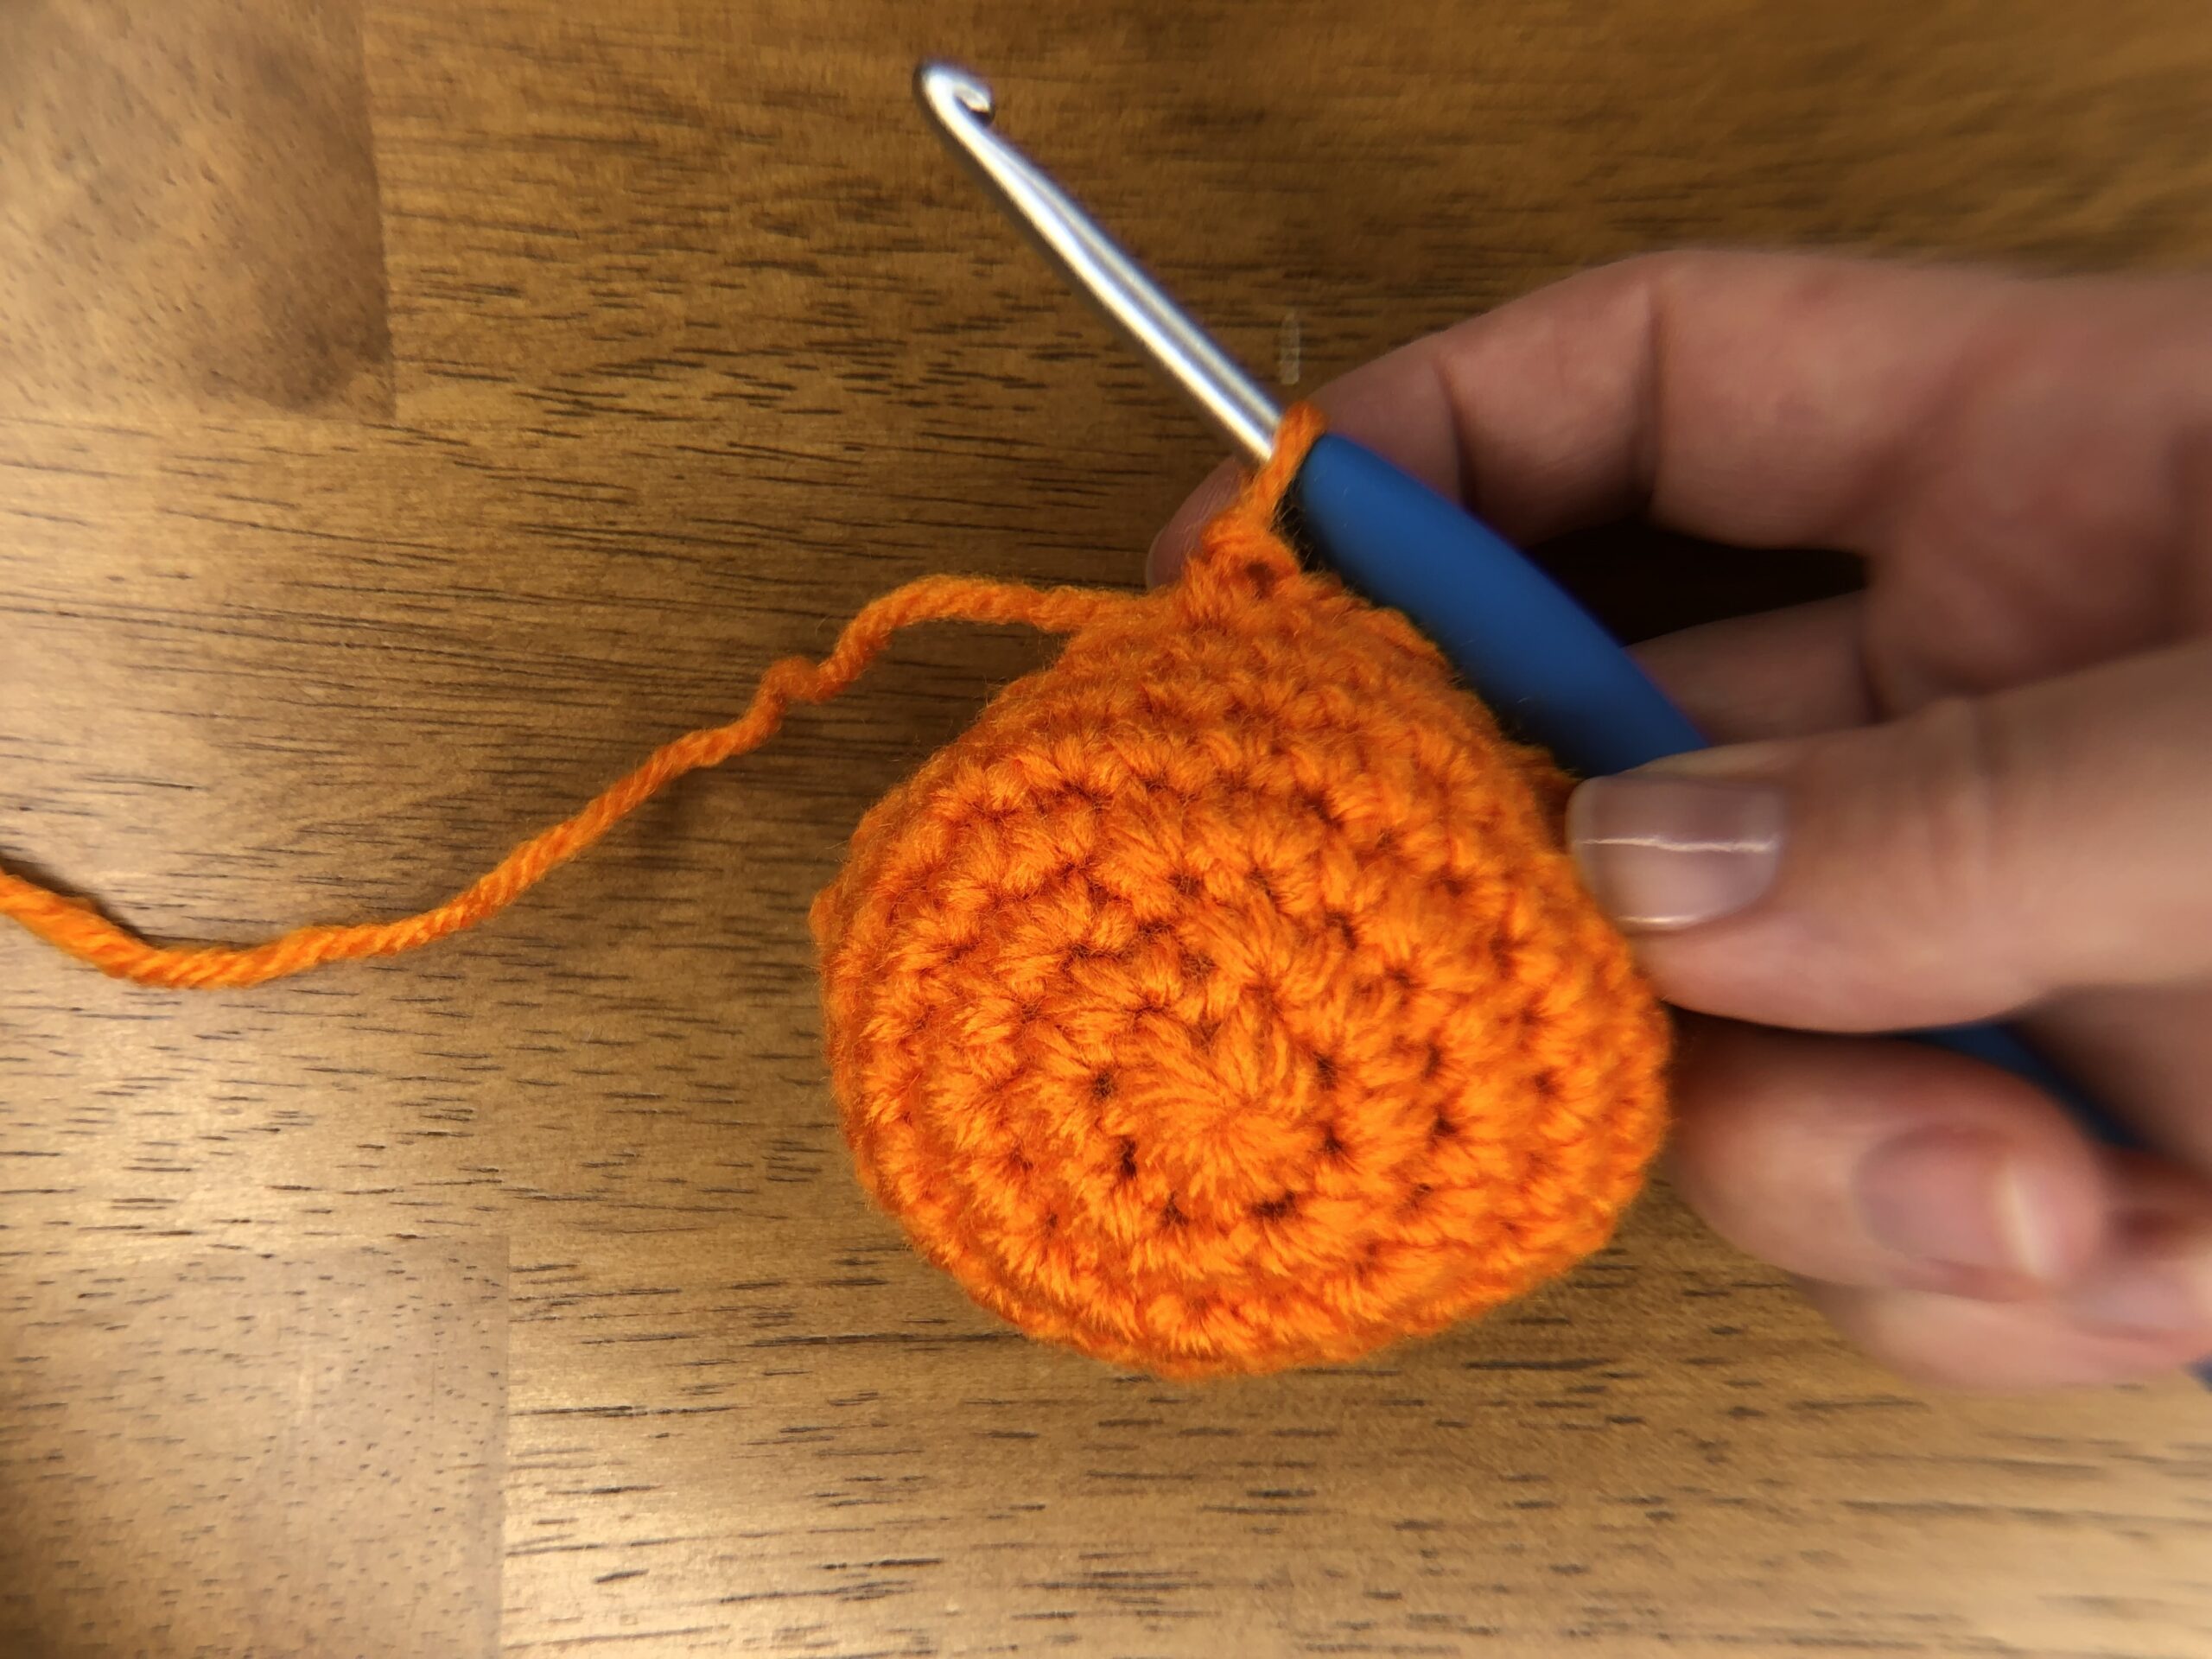
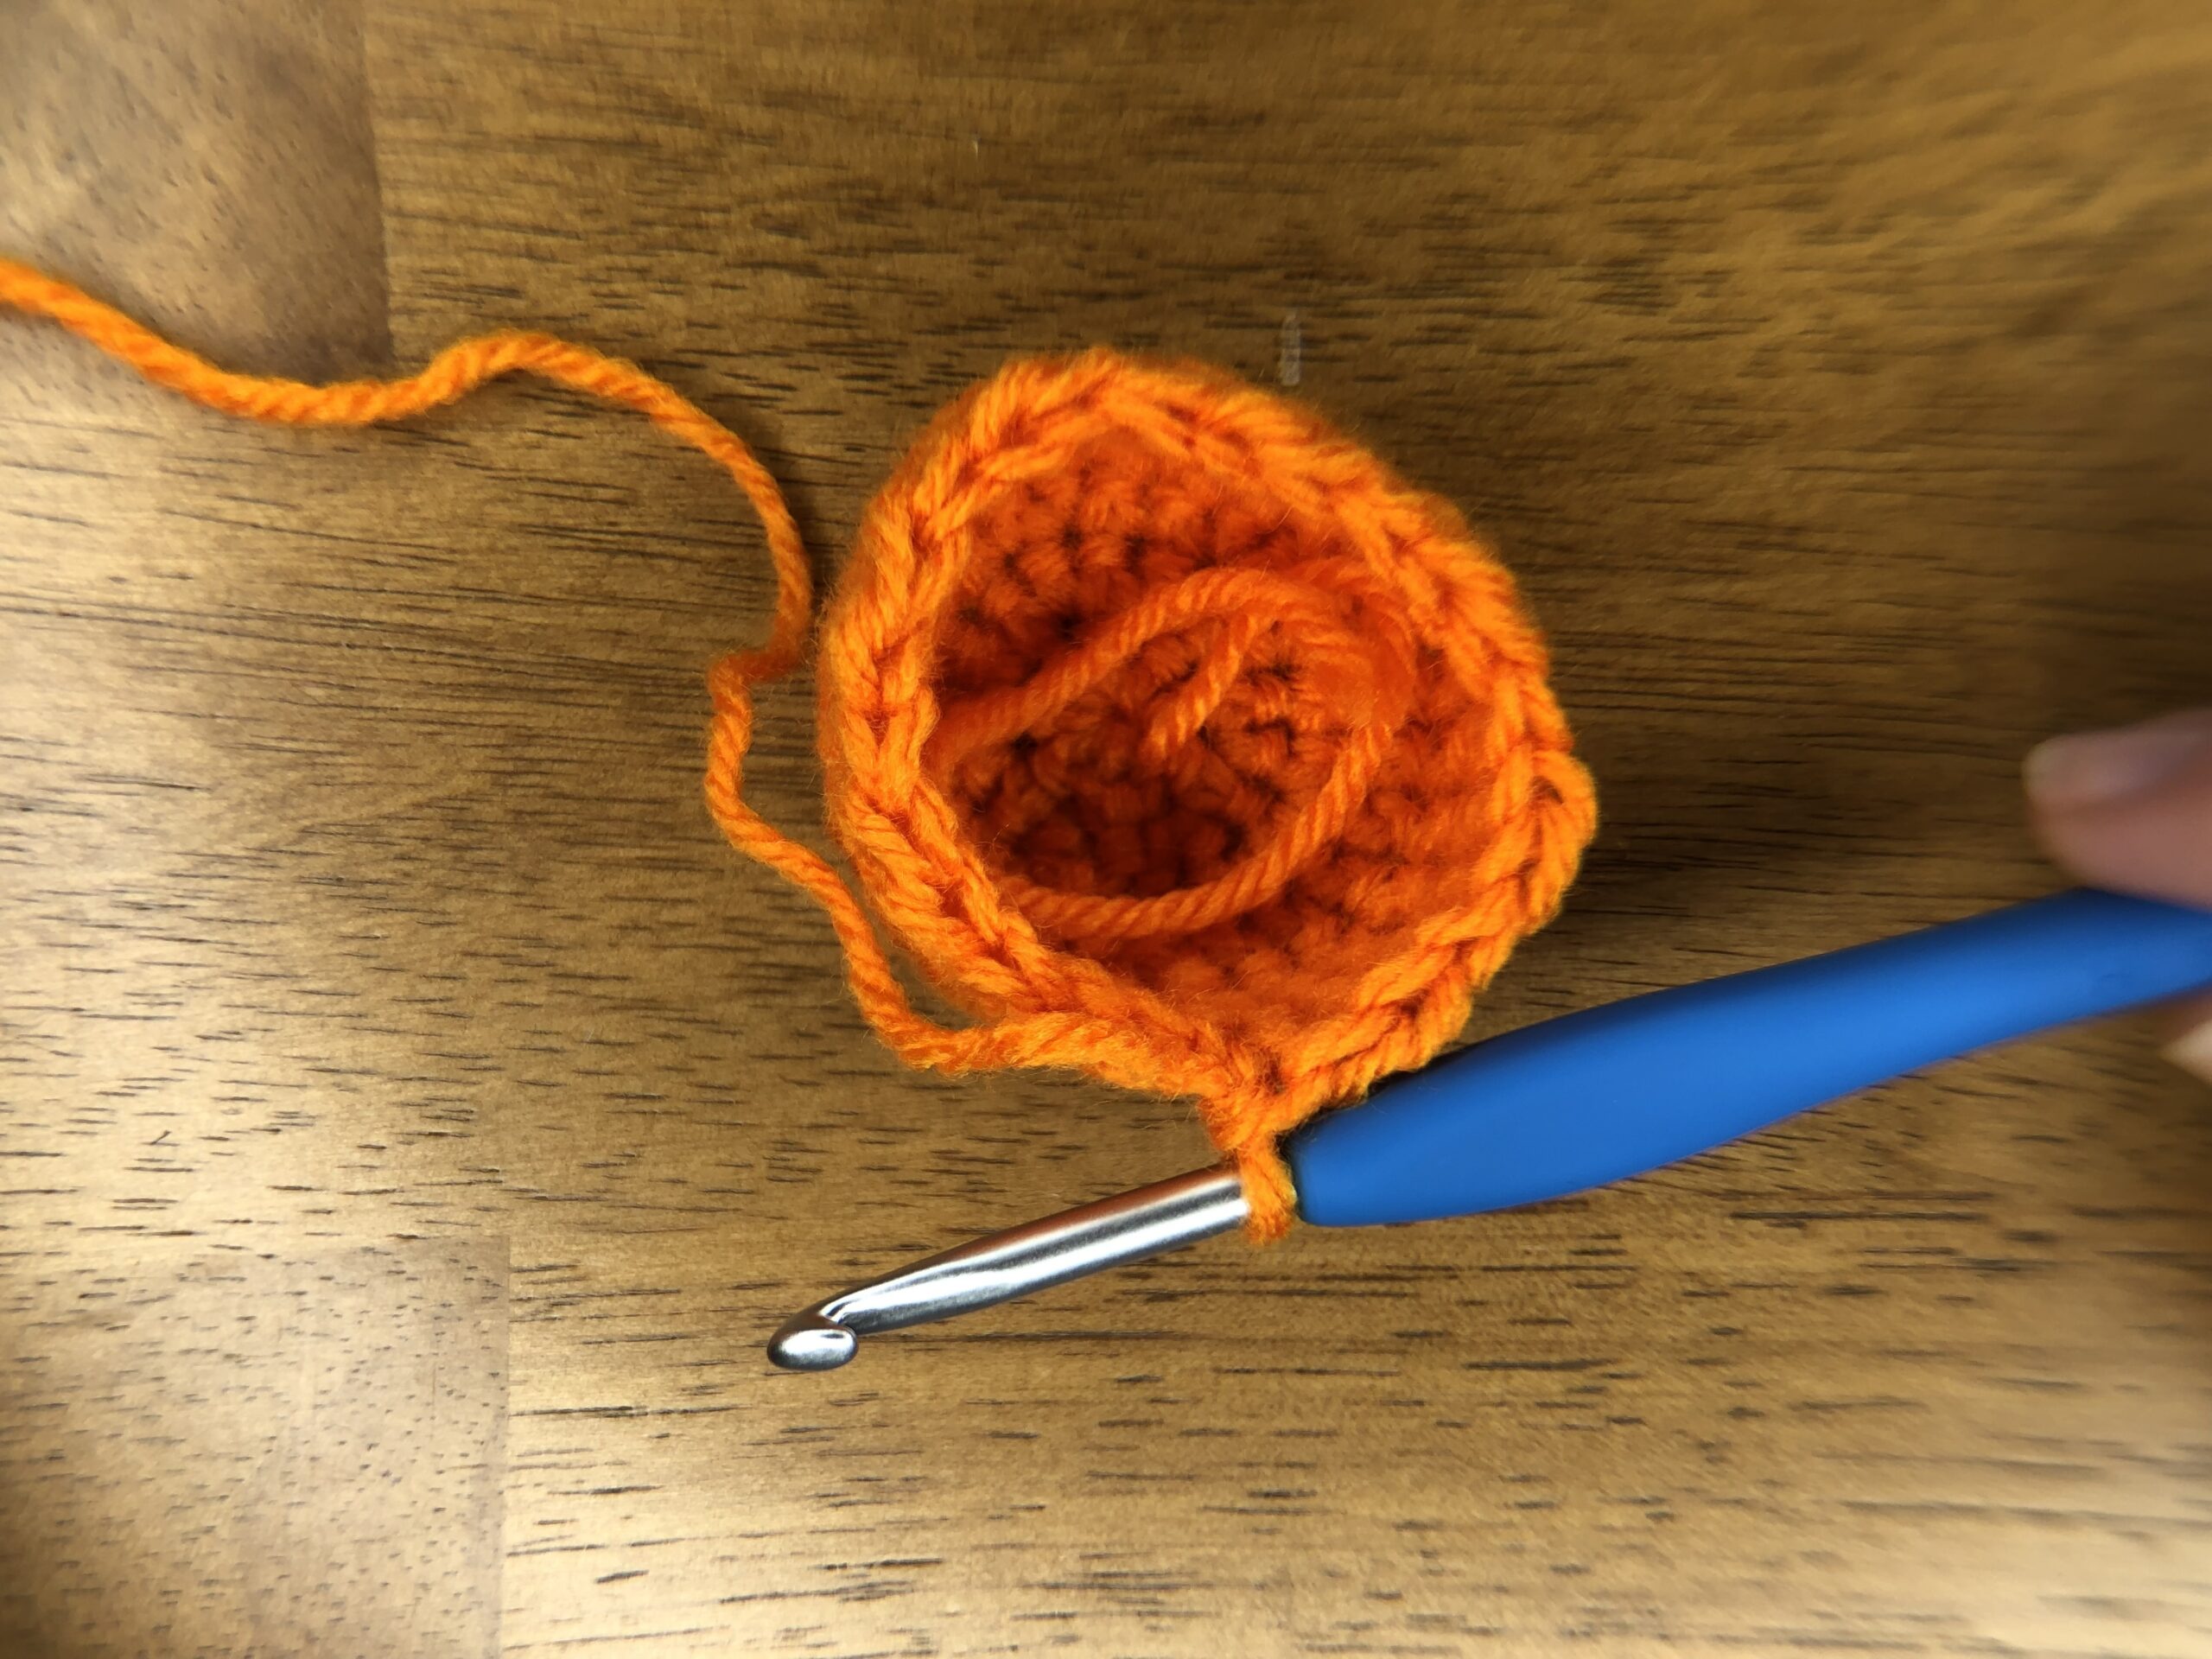
Now it is time to start closing the top of our pumpkin! To do this, we need to decrease back down to our original 8 stitches. Start by working 2 sc stitches together (sc2tog). To make an invisible decrease, insert your hook into the front loop only of the first stitch.
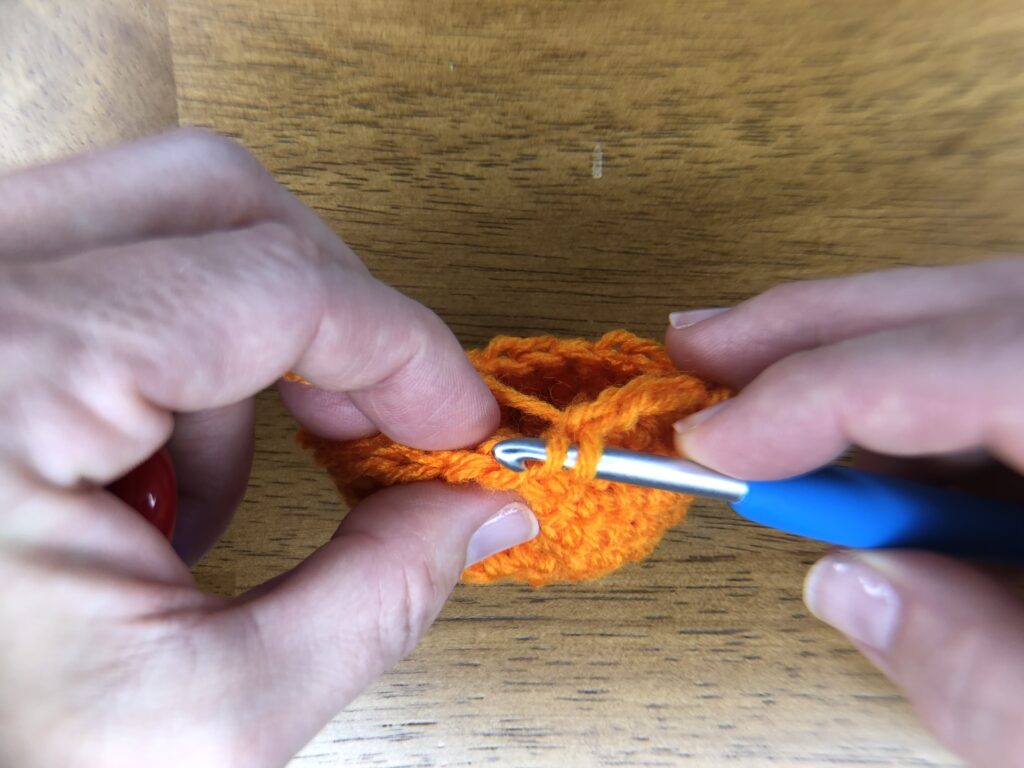
Next insert your hook into the front loop only of the next stitch.
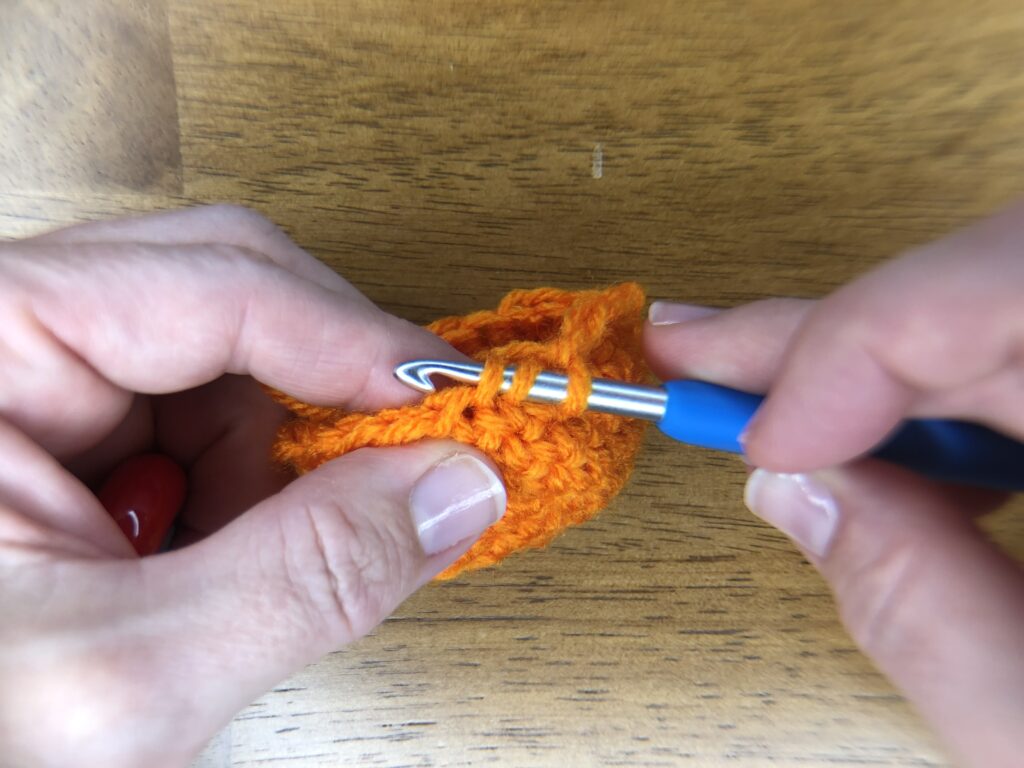
Yarn over (YO) and pull a loop through the first two loops on your hook. Finally, YO and finish the sc by pulling through the remaining two loops on your hook.
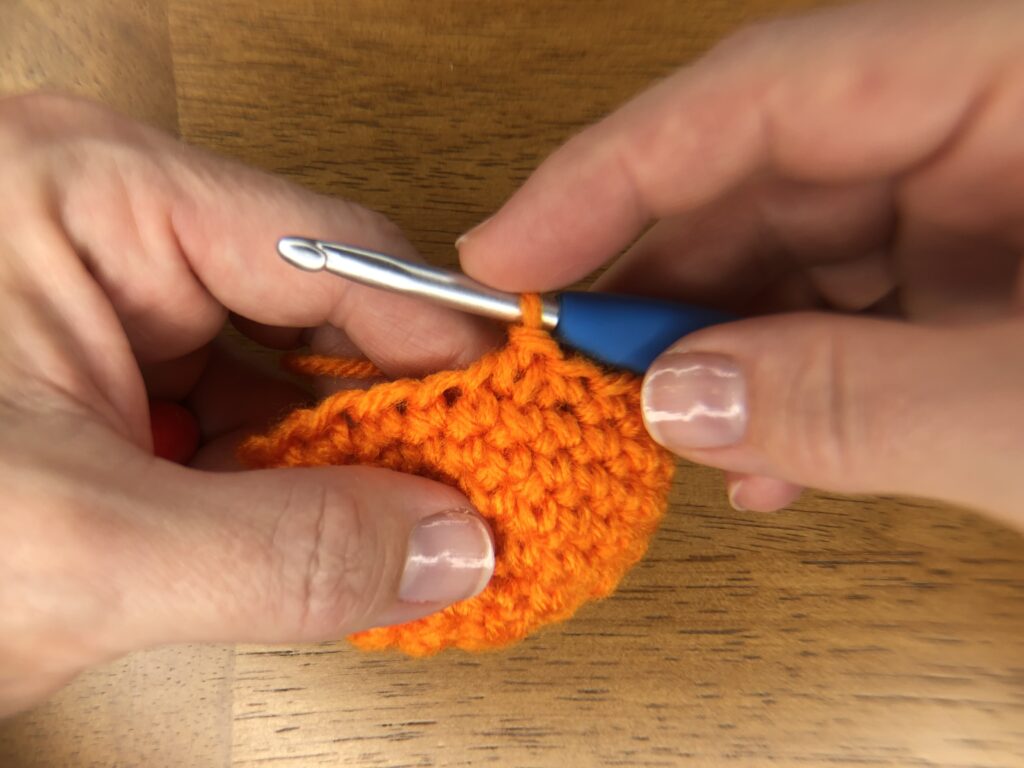
like a traditional sc2tog!
For this first decrease round, alternate sc2tog and sc around so that you have 16 stitches in your round.
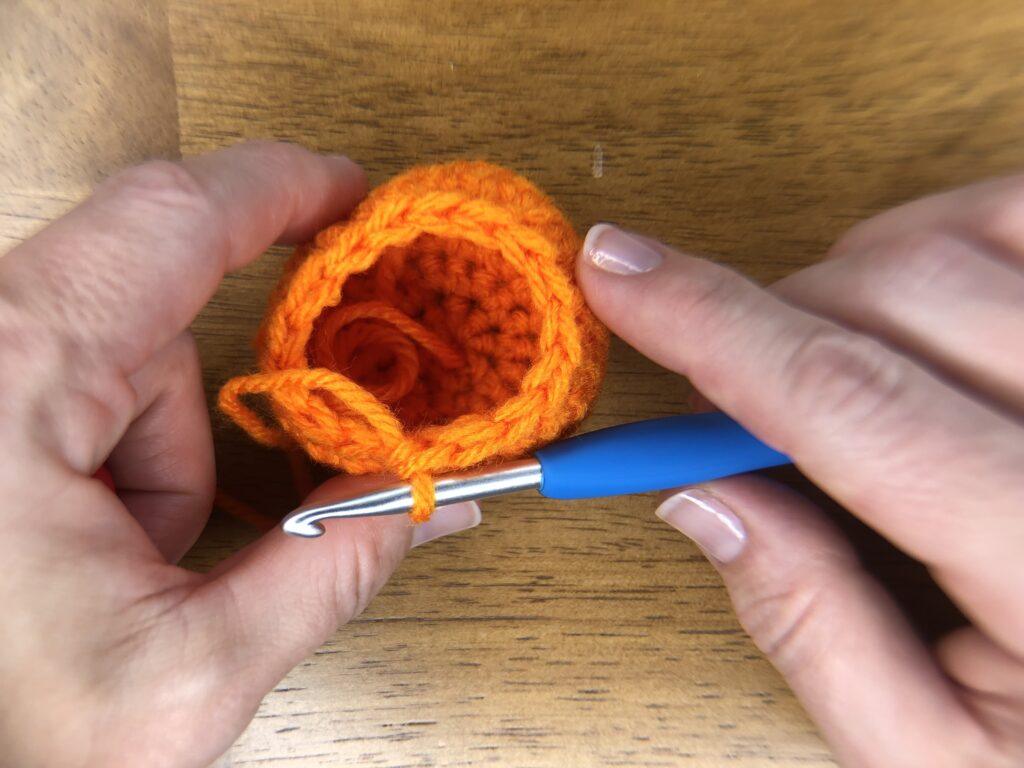
Now we need another decrease round. This time, sc2tog for the entire round, leaving you with 8 stitches. Cut a very long tail so that you have enough yarn to create the lines down the sides of your pumpkin. Pull the tail through the loop on your hook so your jack-o-lantern does not unravel.
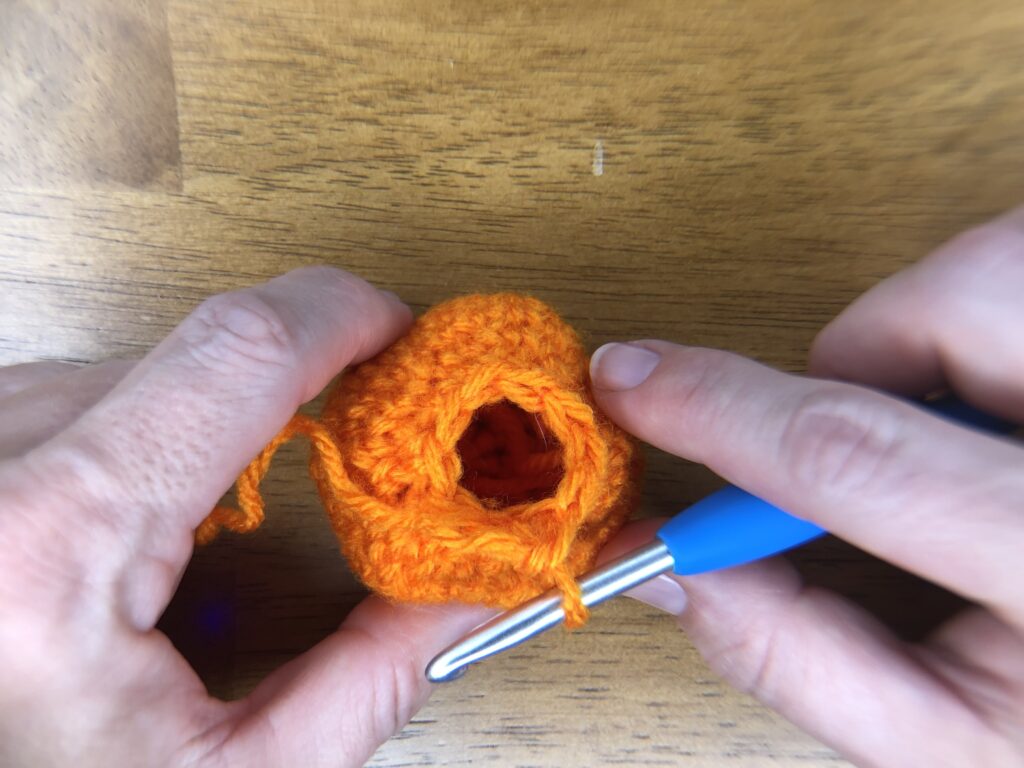
Give your jack-o-lantern a face
First, he needs a couple of eyes. For these pumpkins, I used basic knot eyes. To begin, cut a couple of pieces of black yarn about 5 inches long.
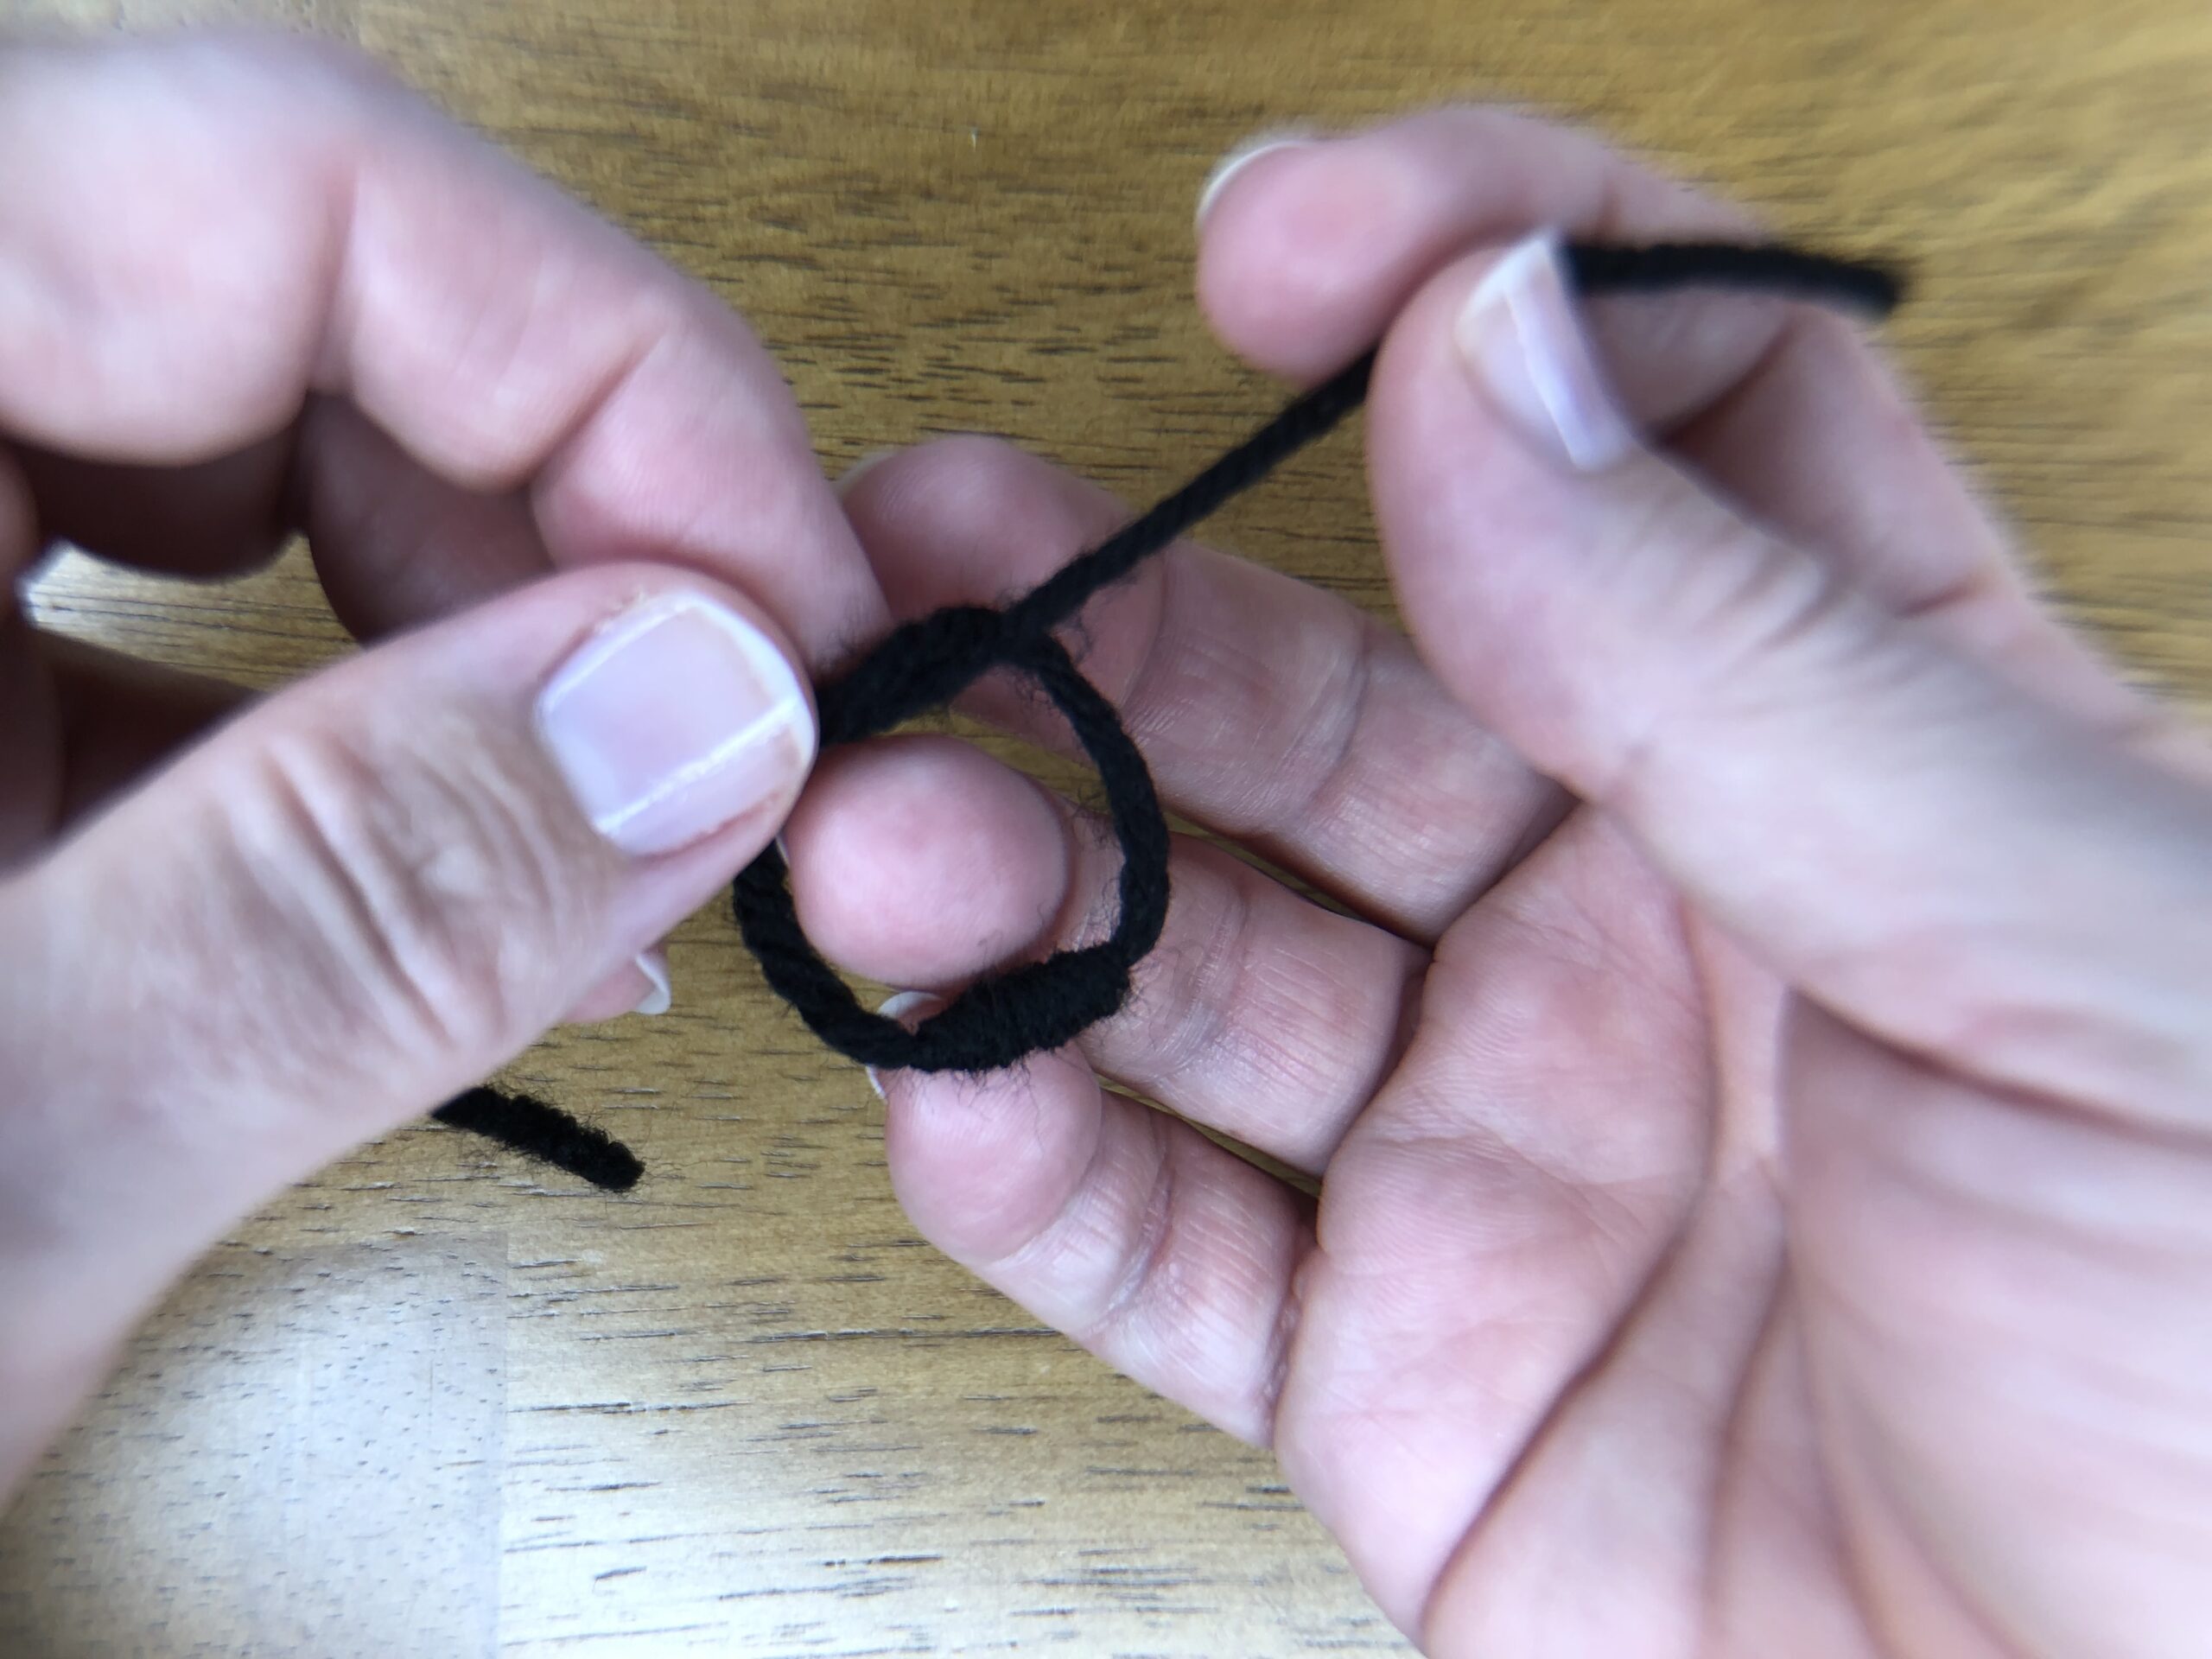
Begin tying a knot in the center, just like you are tying your shoes. But, do not pull it tight.
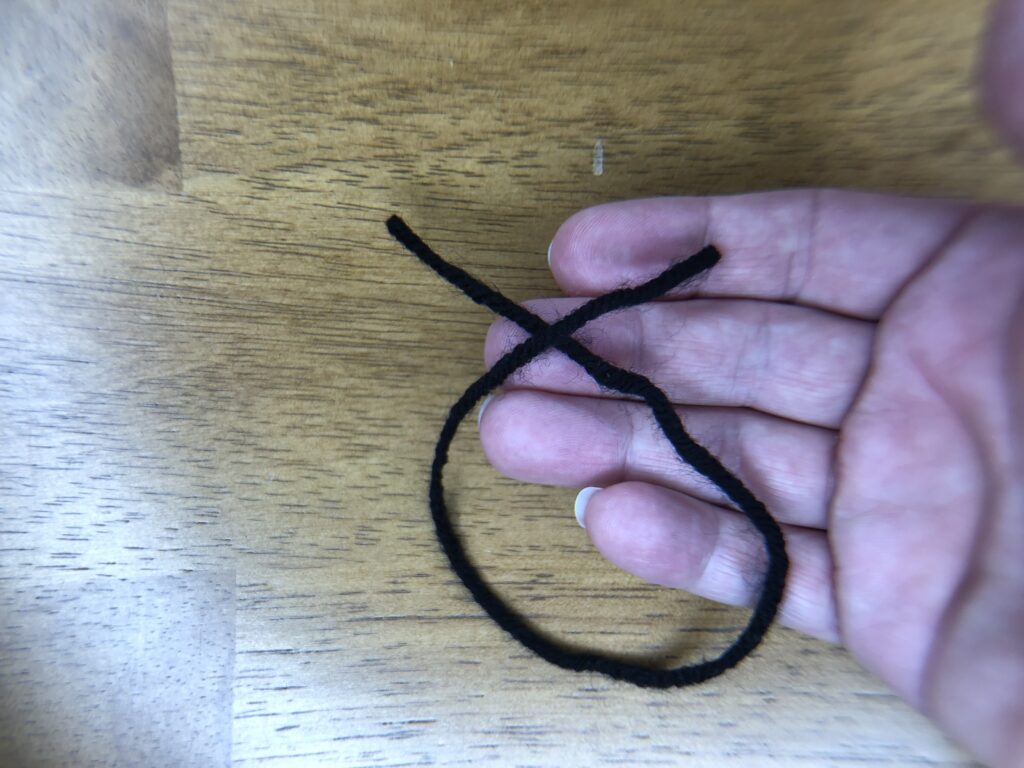
Continue wrapping one of the ends around until you have 6 loops in your knot.
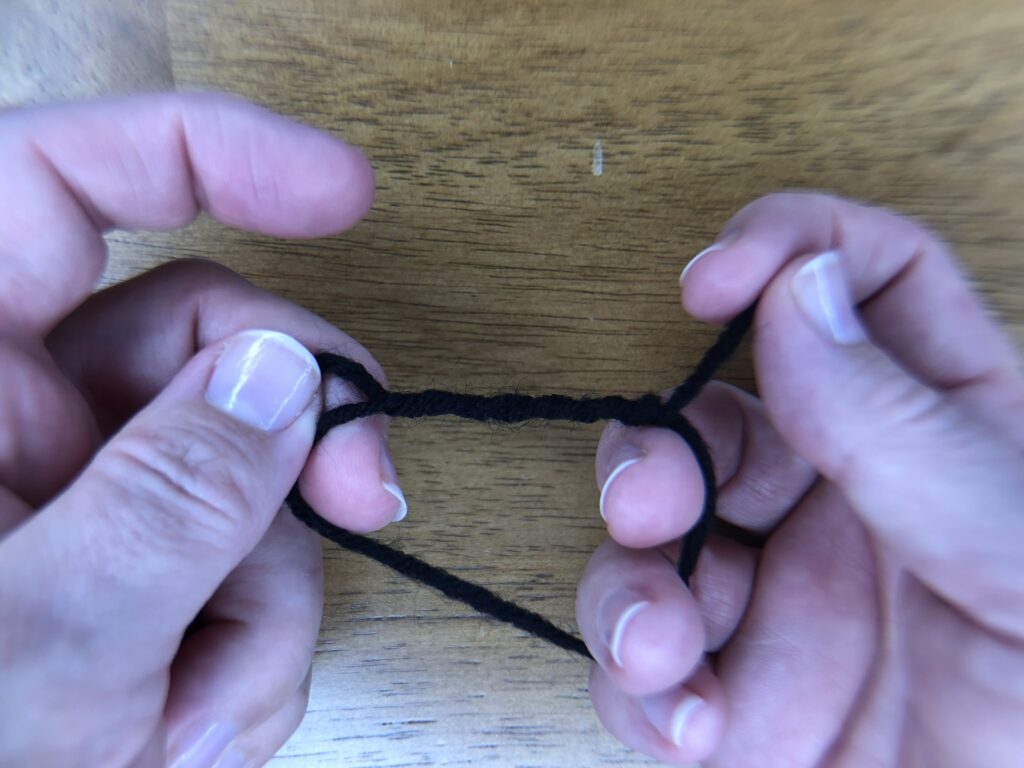
Carefully pull the ends tight, guiding the loops as needed to create a knot in the middle of the strand. You now have one eye! Make another one to match.
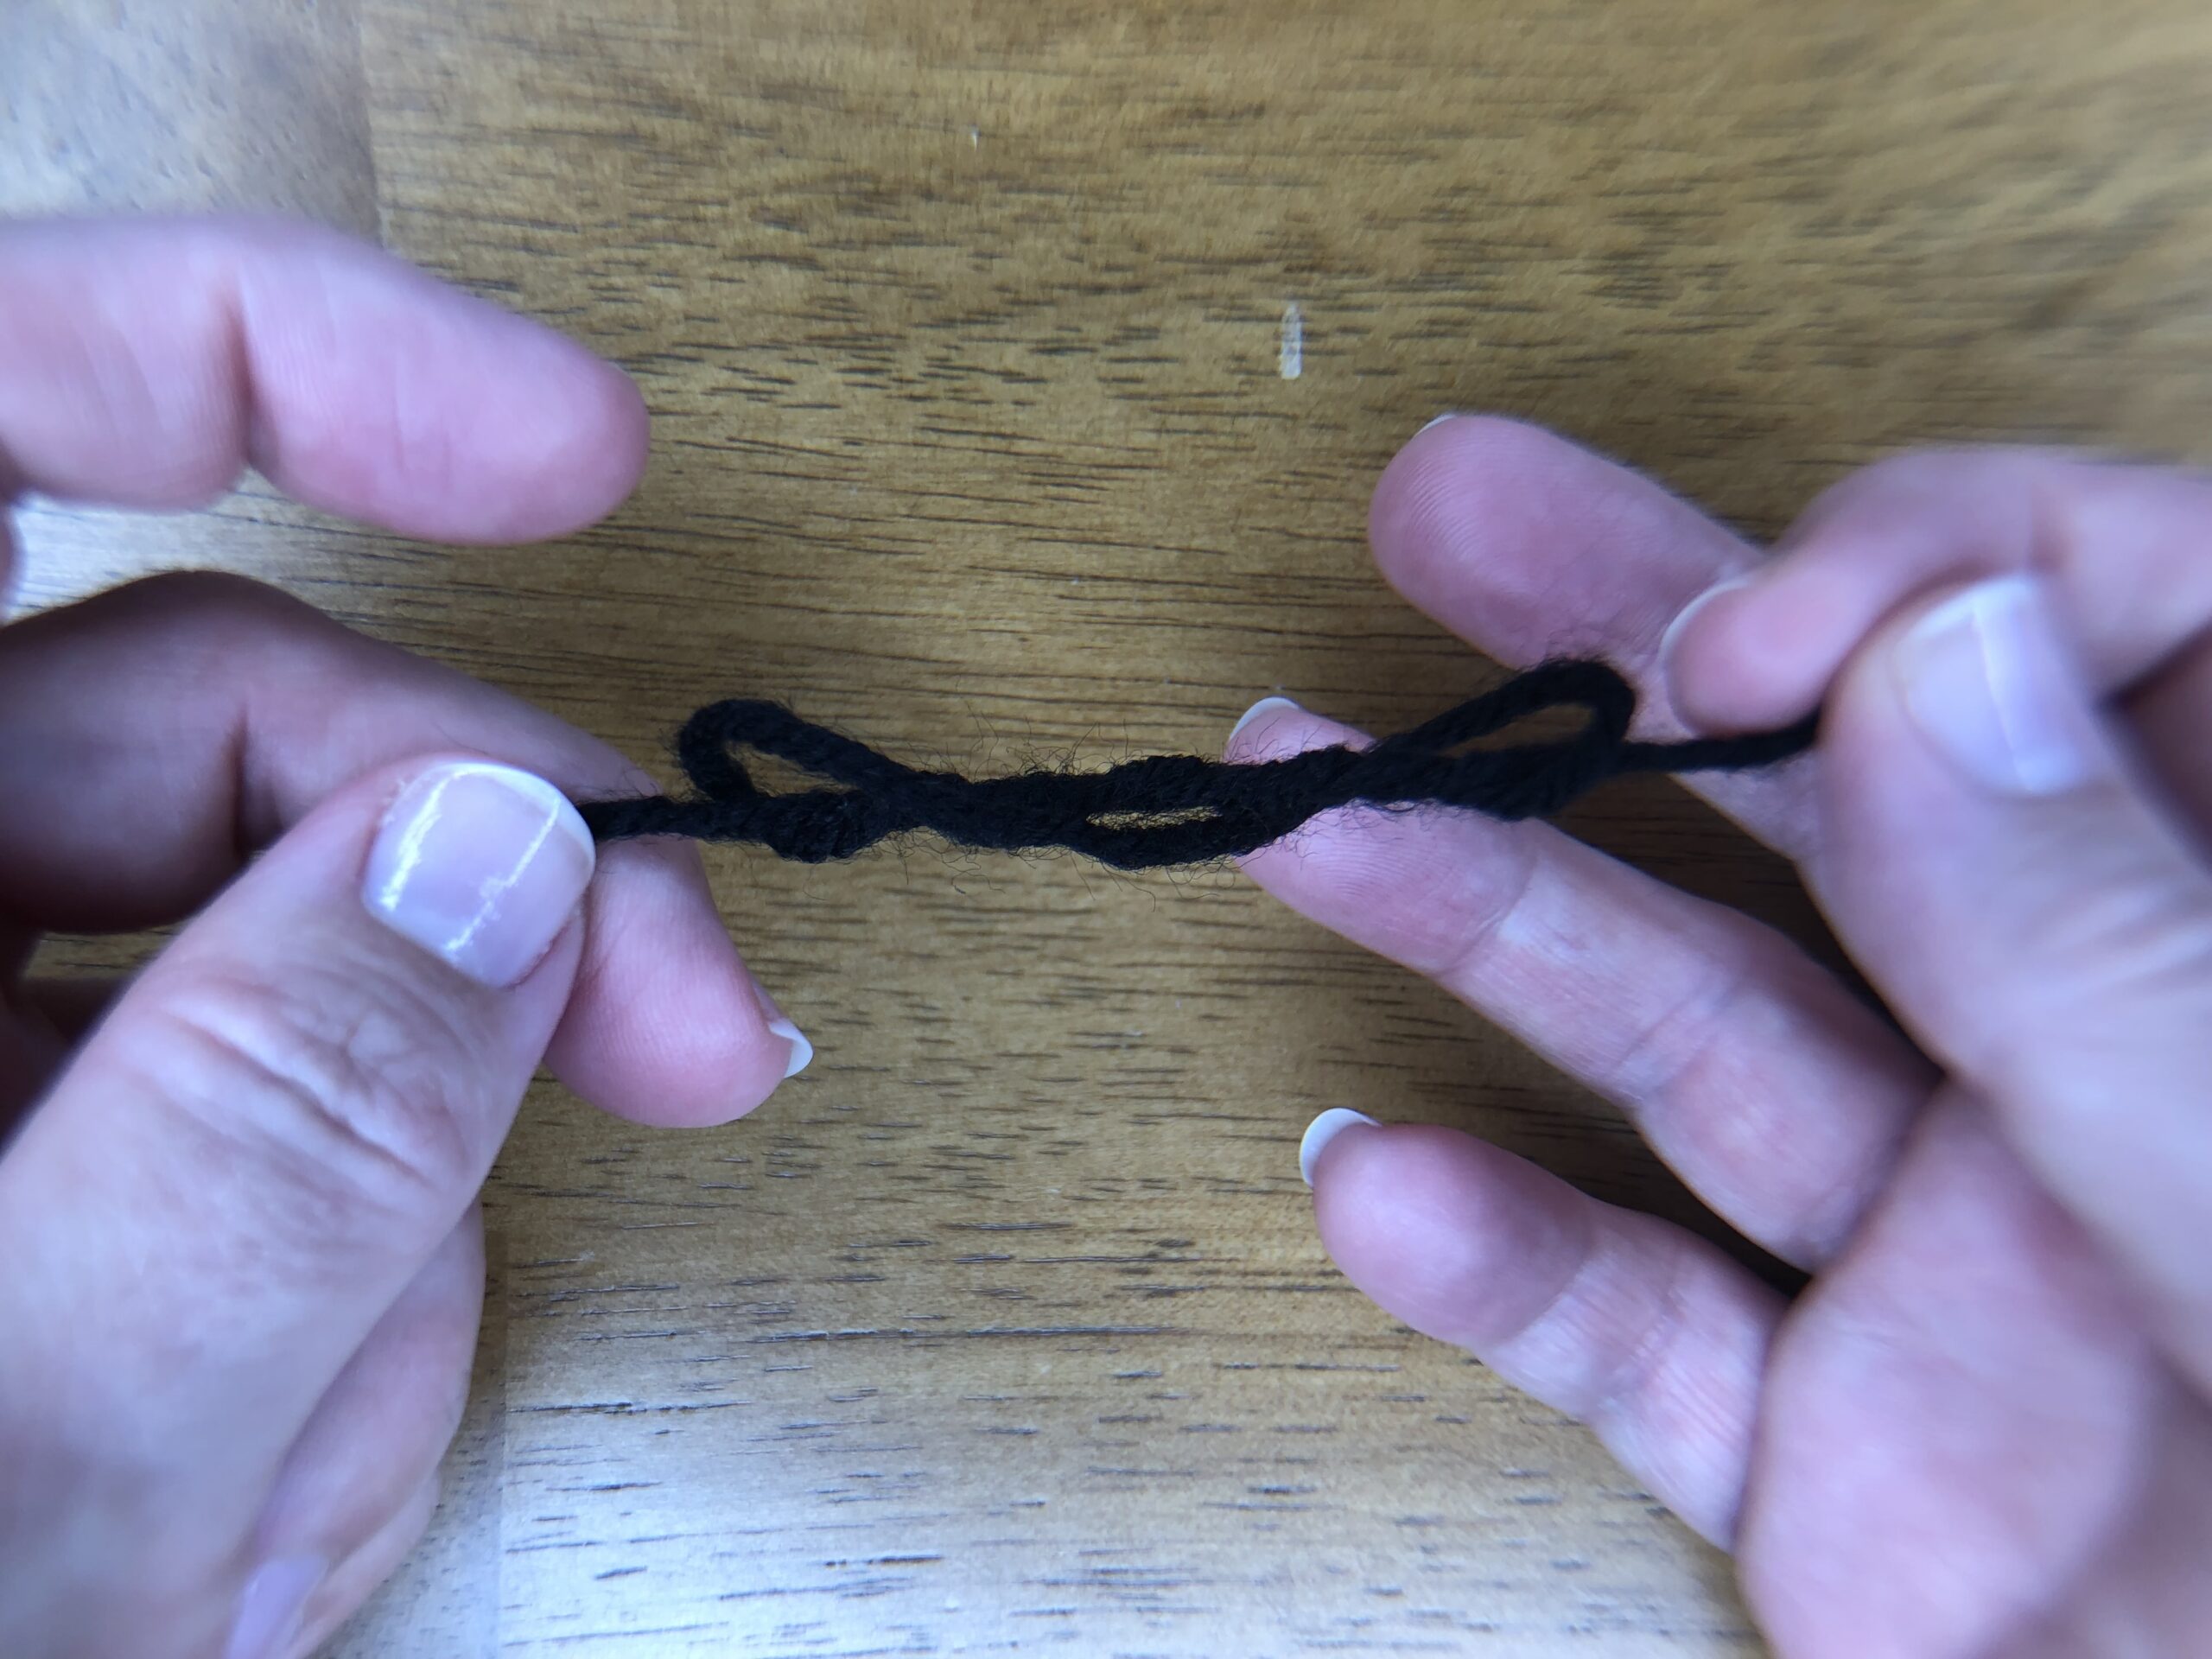
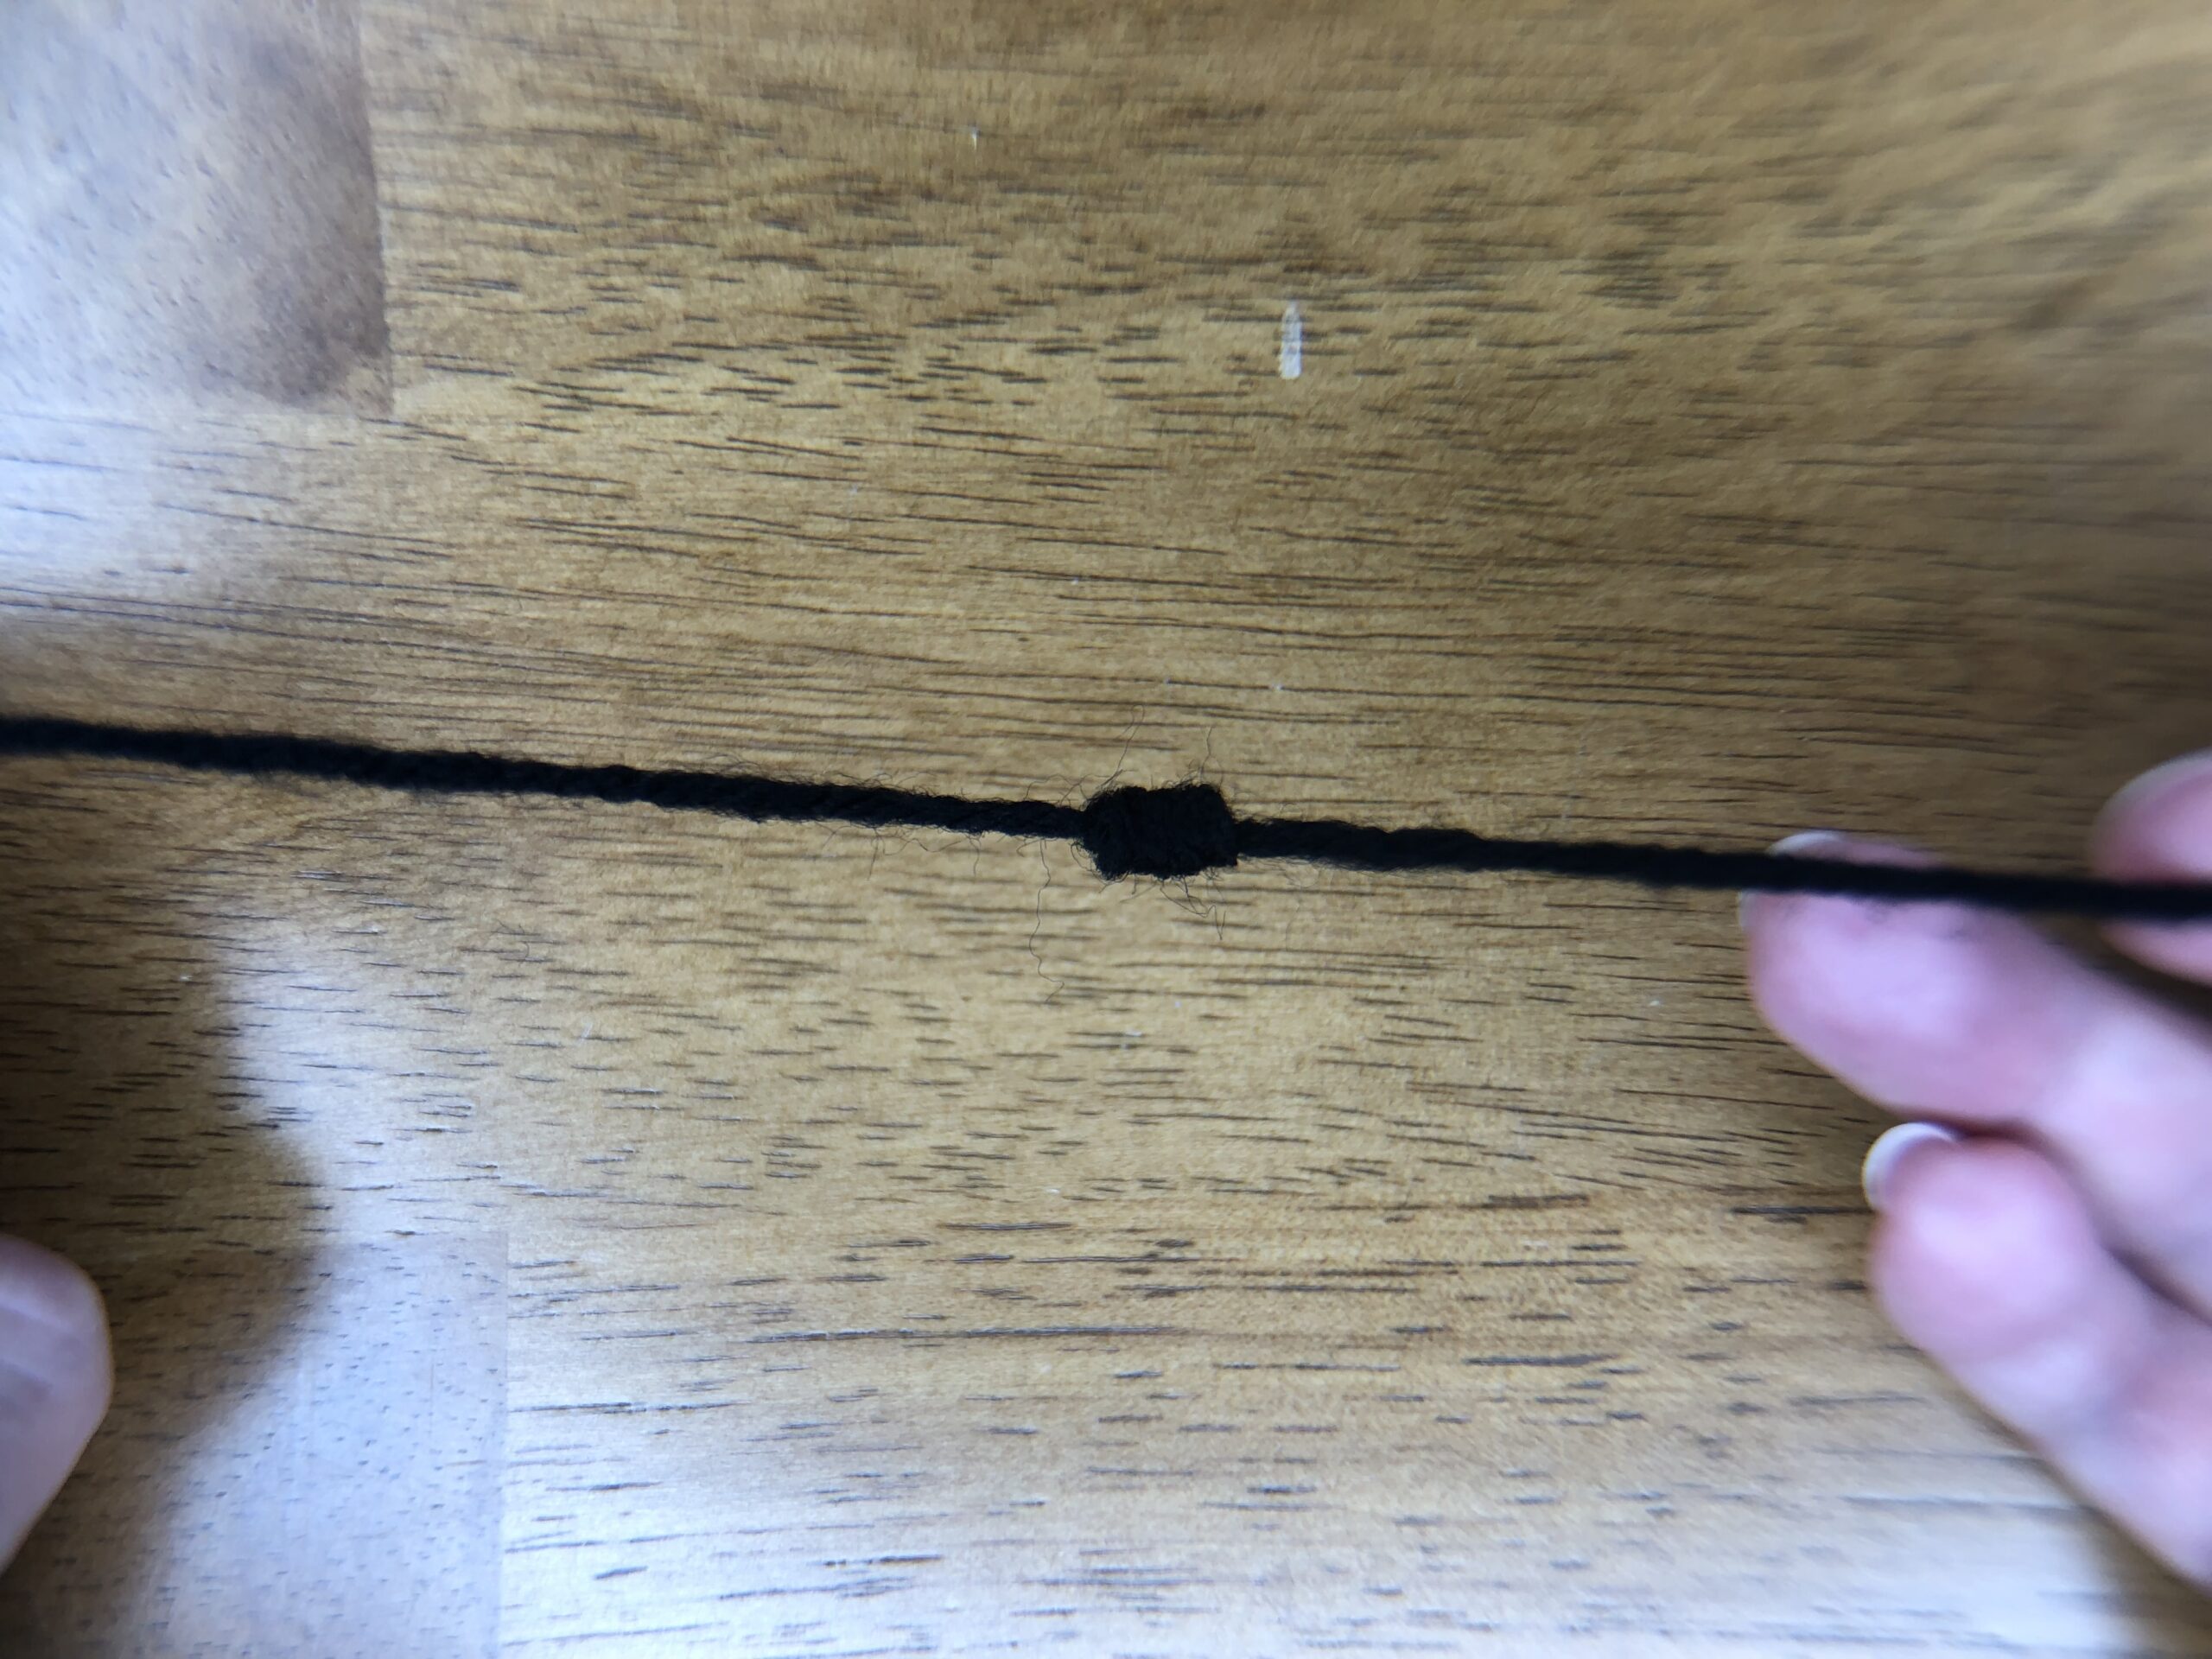
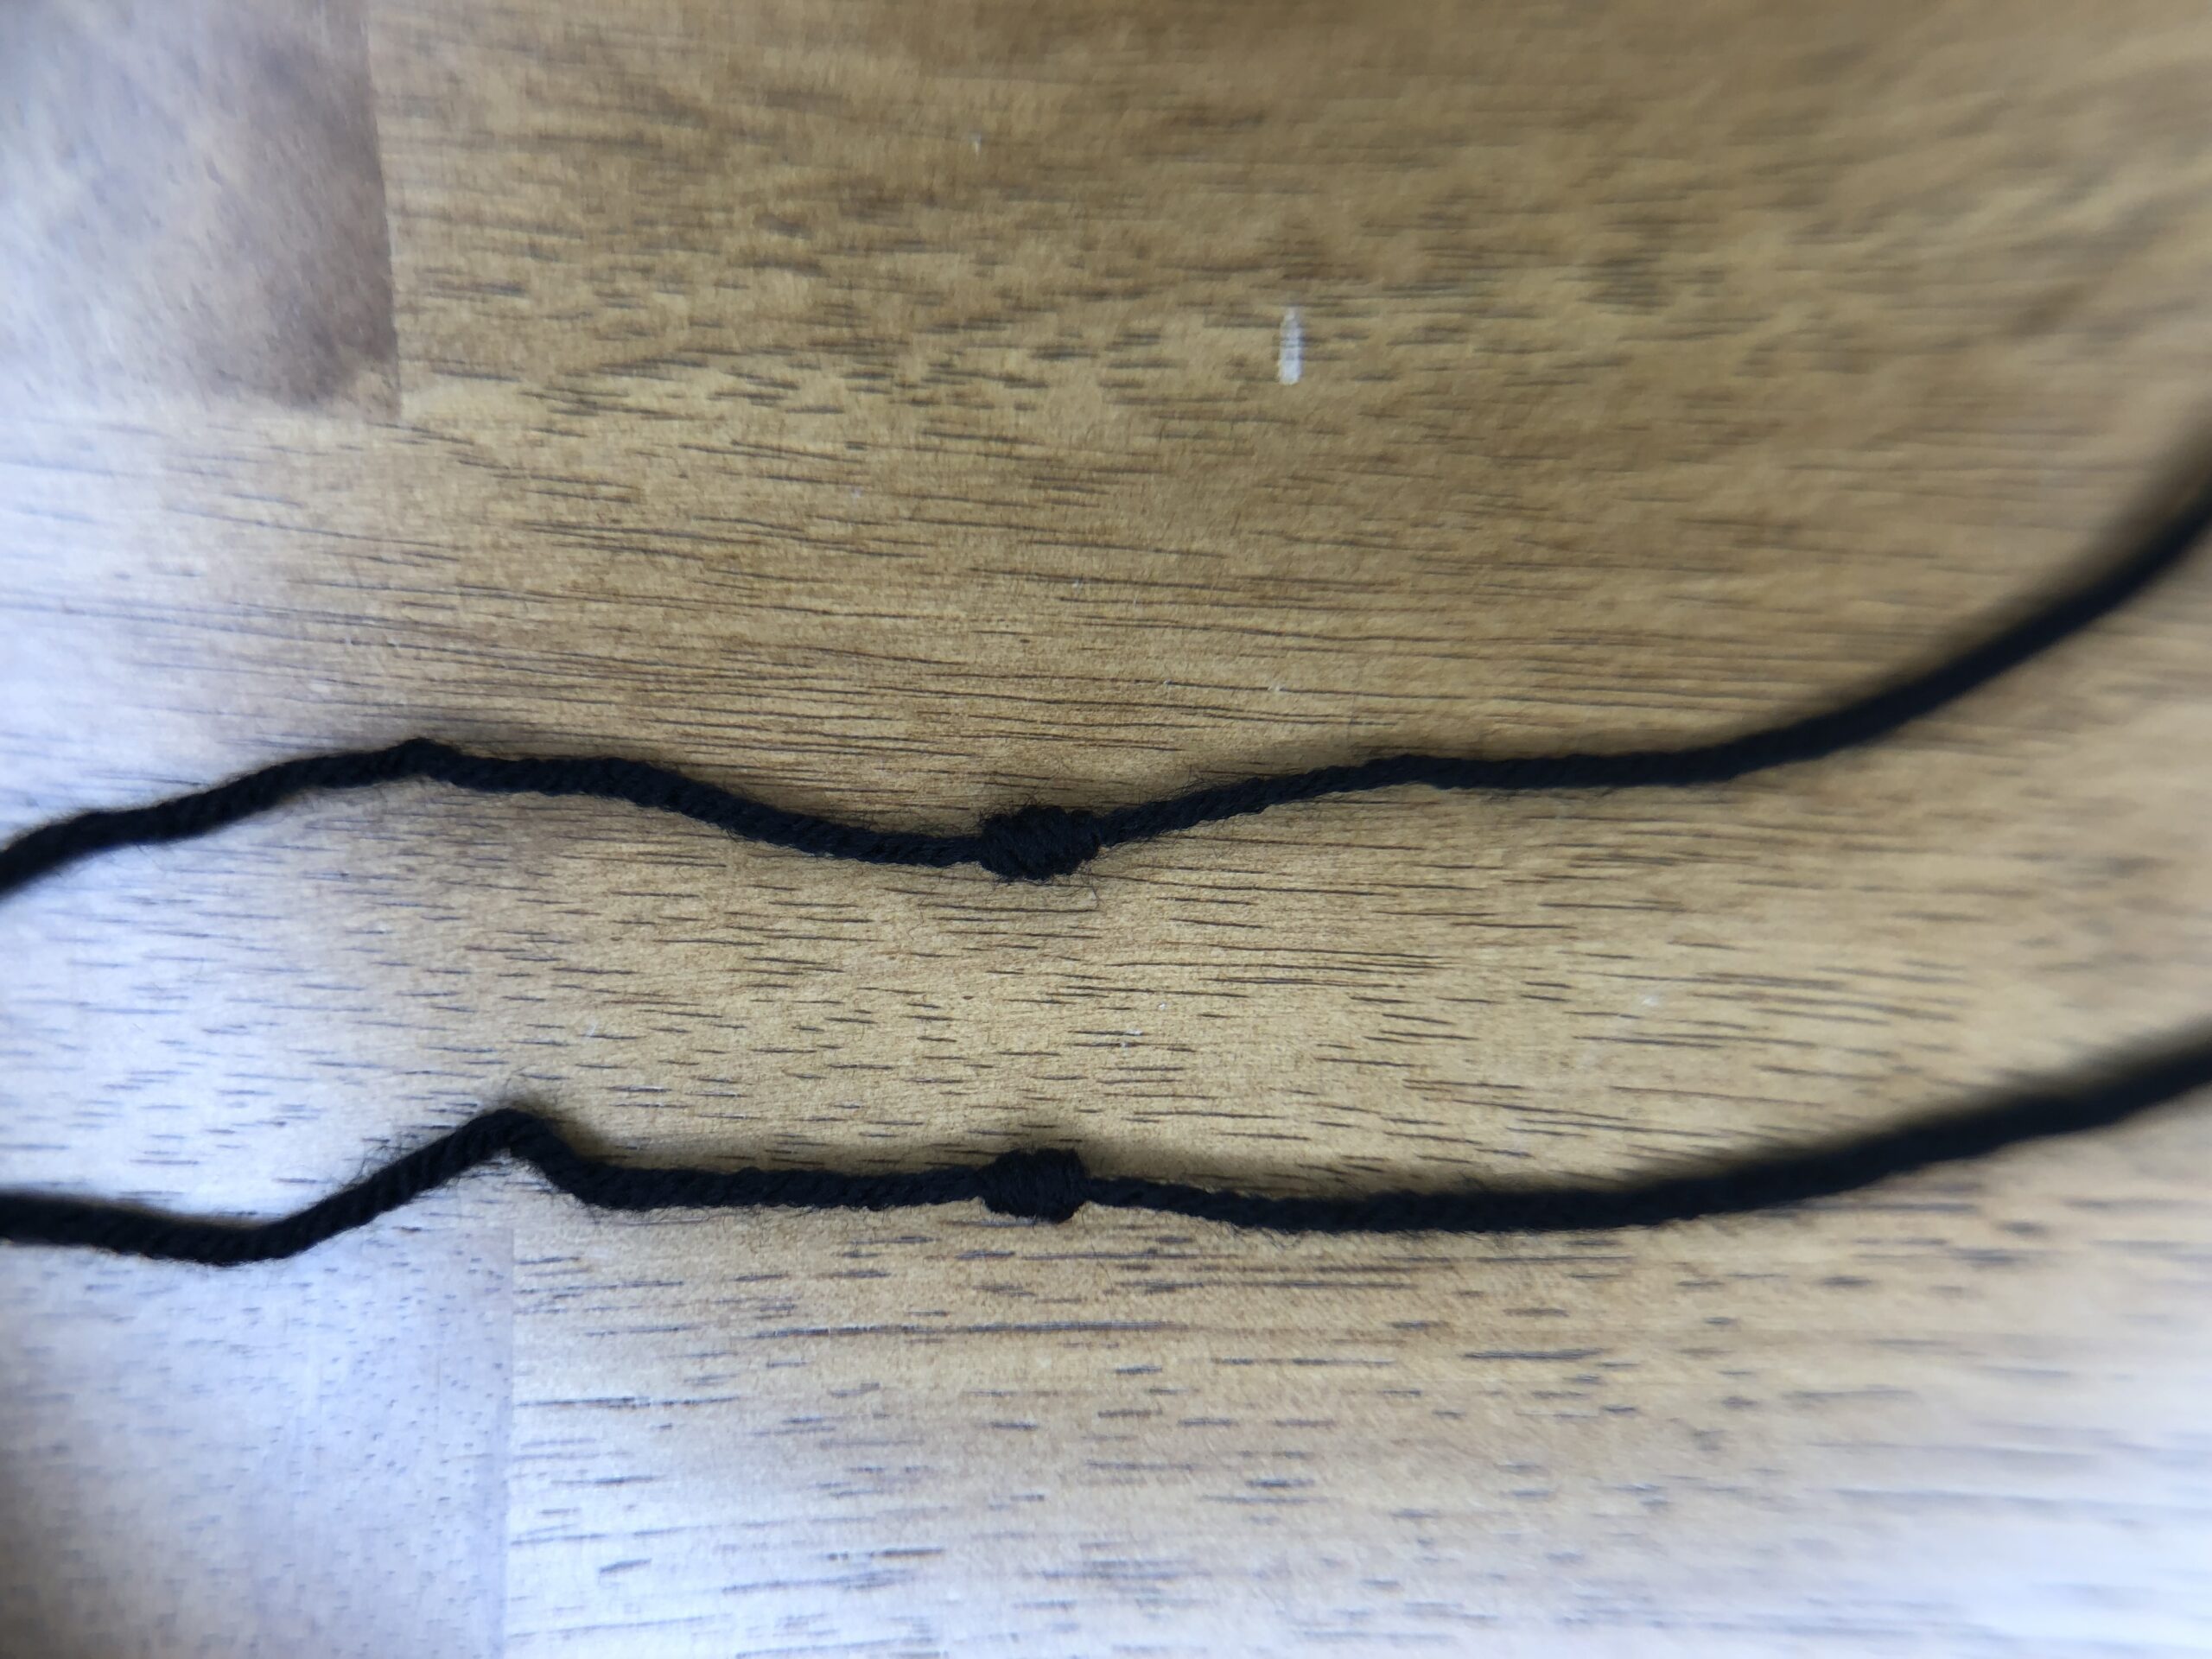
The mouth is made in the same manner as the eyes. Start with a little longer strand of yarn – about 7 inches will work. Wrap the yarn around 12 times to make a larger knot for the mouth. Pull the loops tight and then tie the ends together to form the knot into a circle.
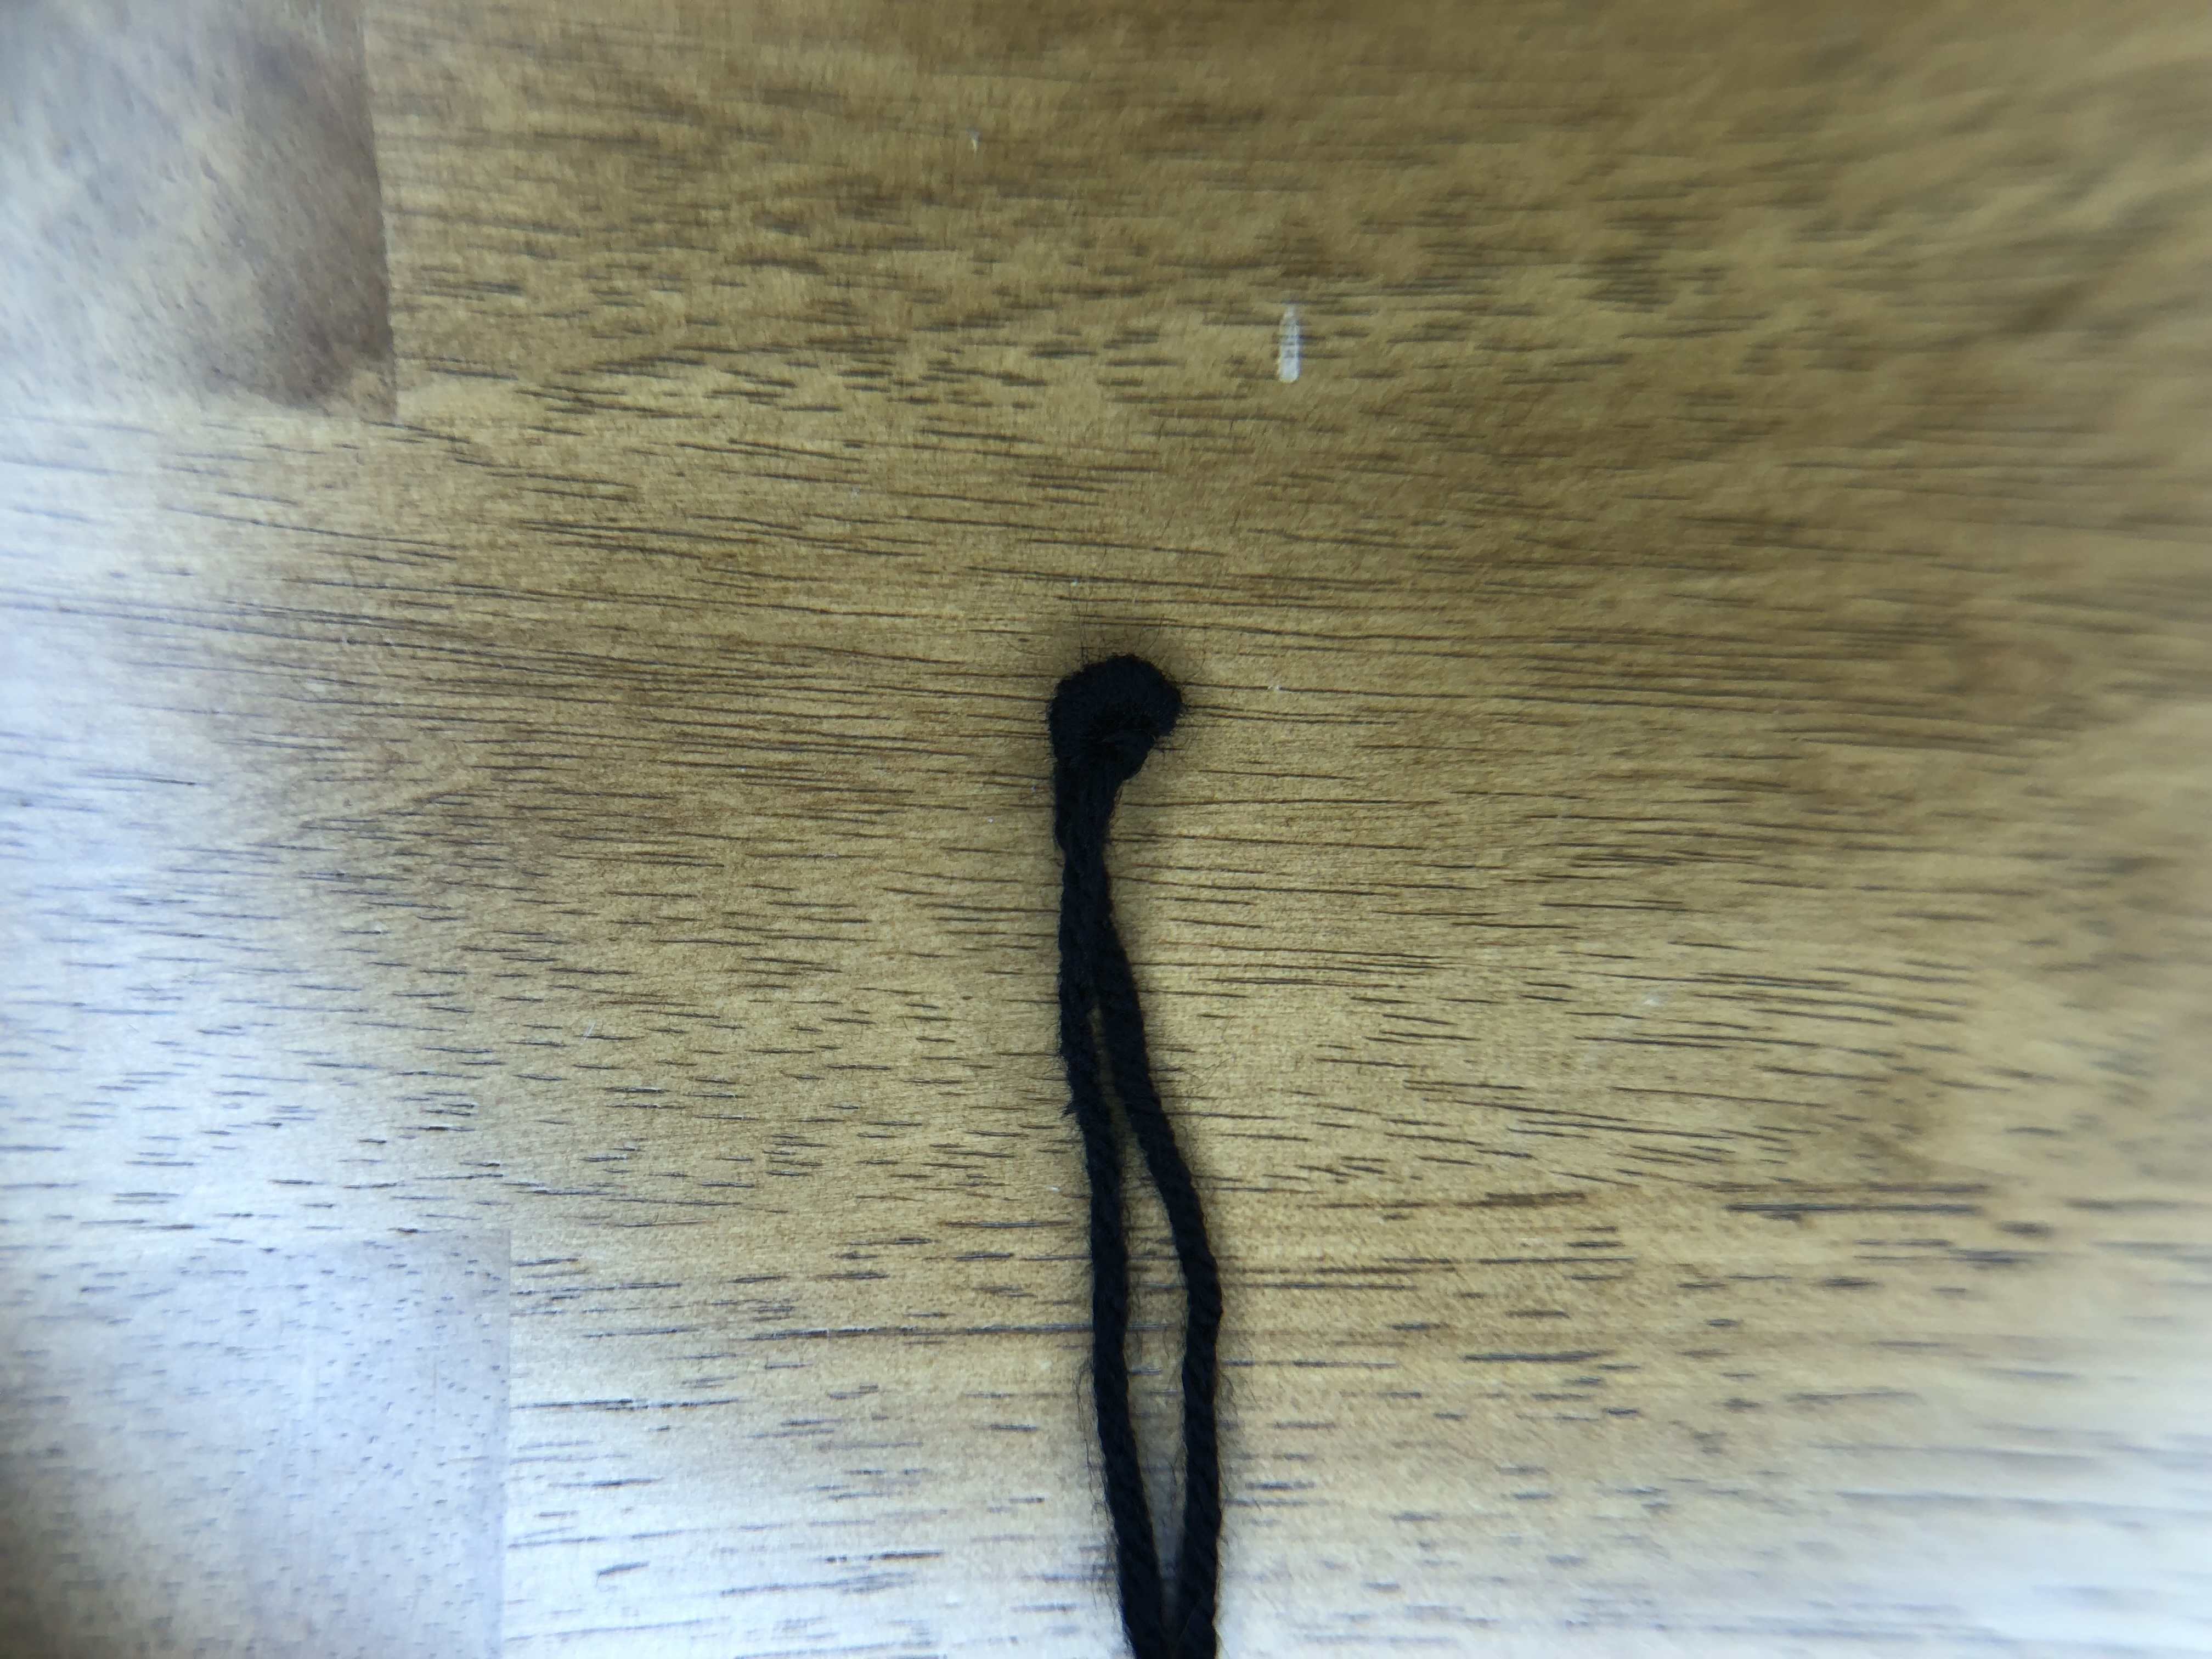
Now, let’s attach the face to the pumpkin!
Start with the eyes and find the last row of even crochet stitches, before you started decreasing. Thread one tail from an eye onto your needle and insert it into a stitch on the last even crochet row. Pull the tail completely through to the inside of the pumpkin.
Thread the other tail on the needle and insert into the stitch directly below where you inserted the first tail. Pull this tail to the inside. Tie the two tails together inside the pumpkin. Pull this knot really tight to make sure the eye stays flush with the side of the pumpkin when the stuffing is added.
Repeat the process with the second eye, leaving 2 – 3 stitches between eyes.
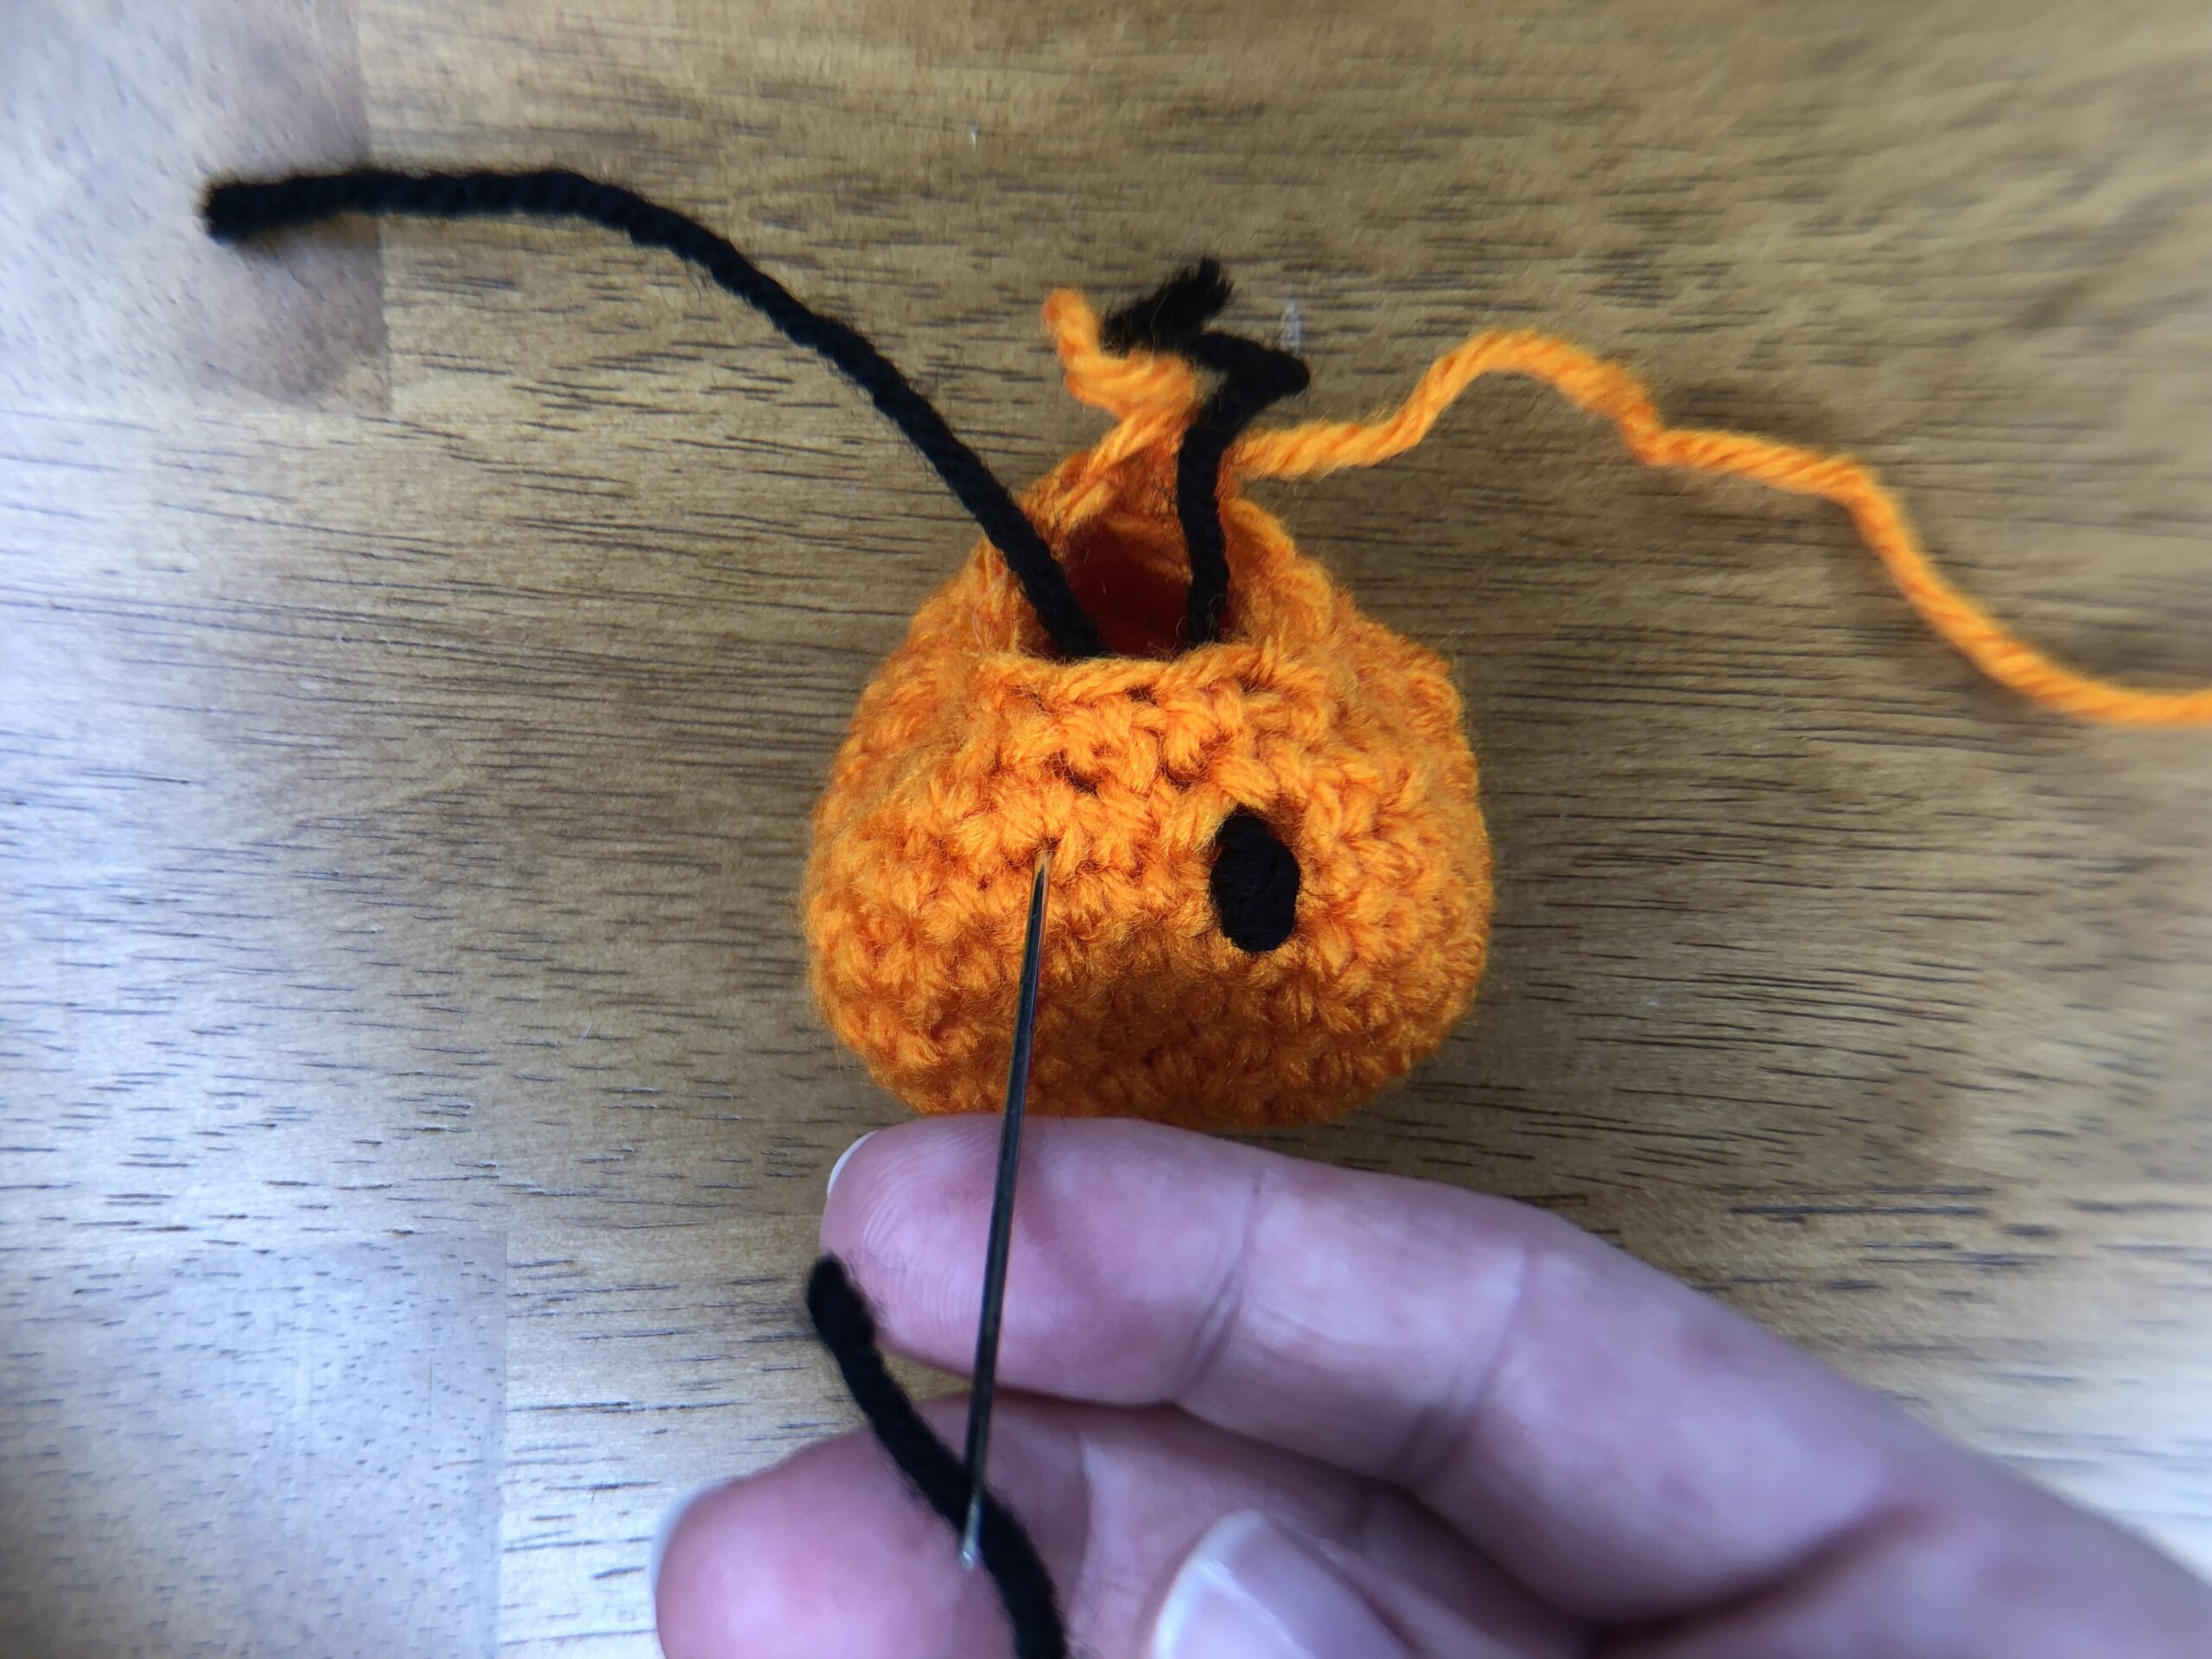
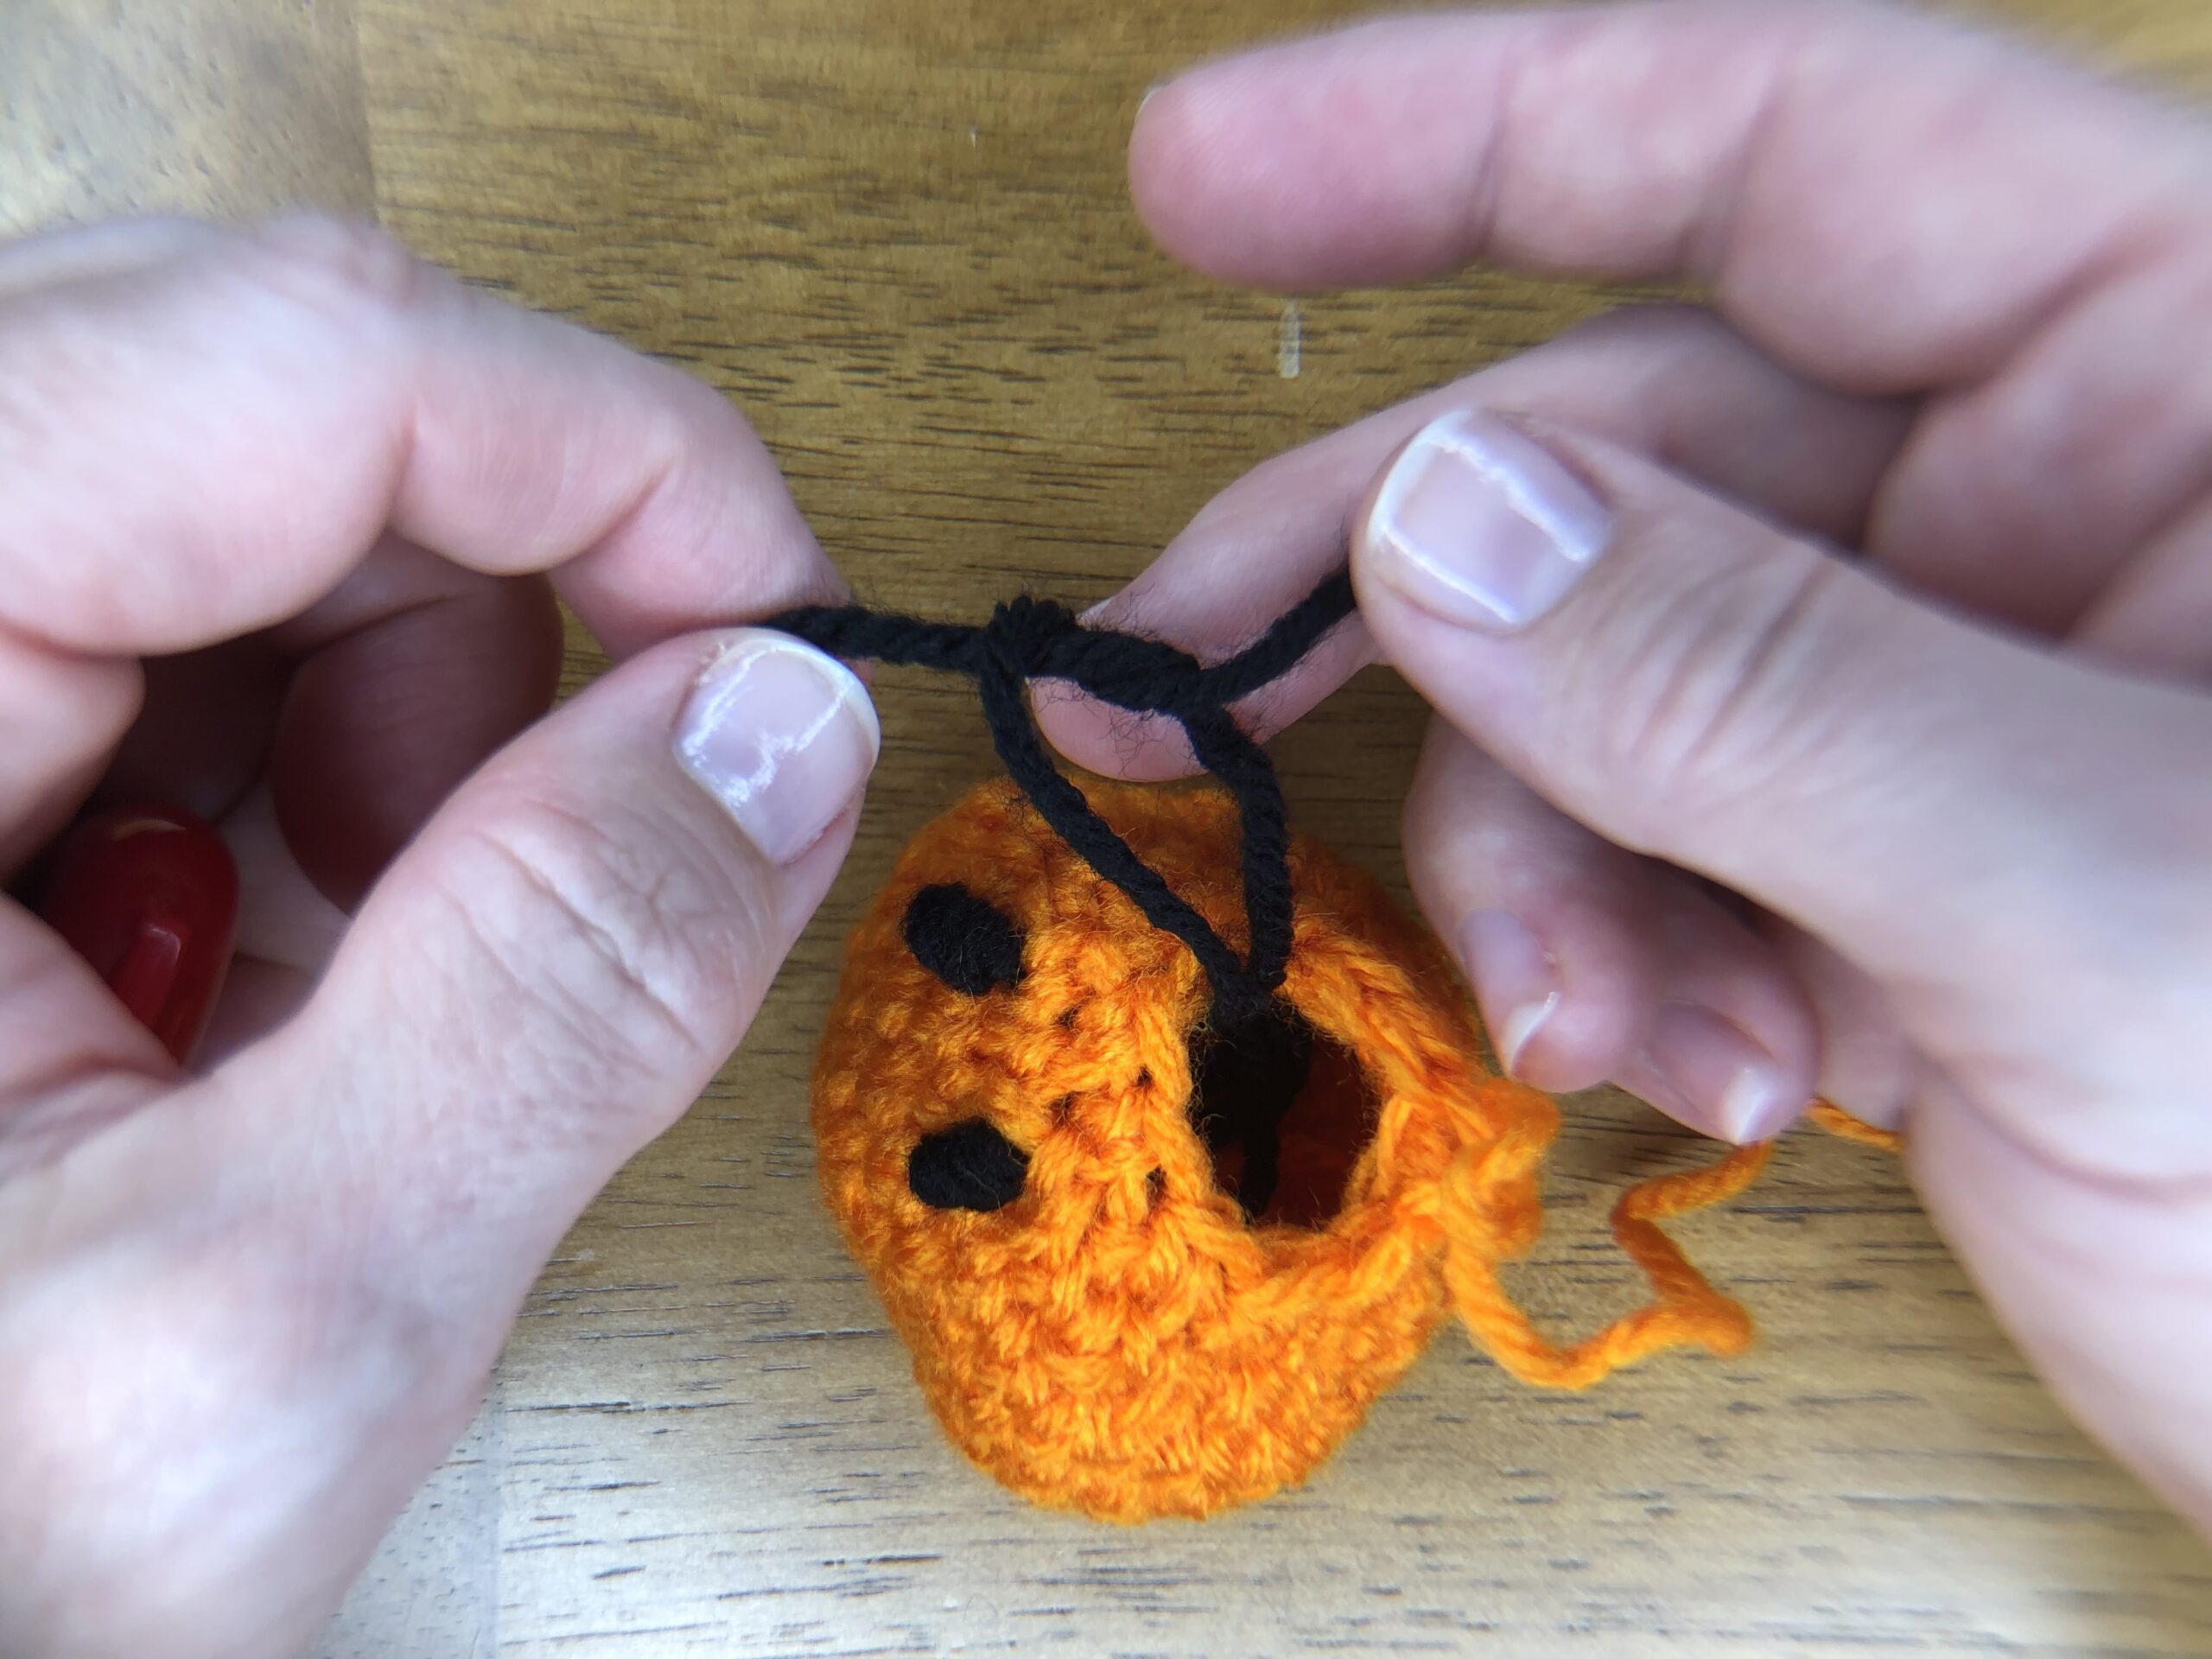
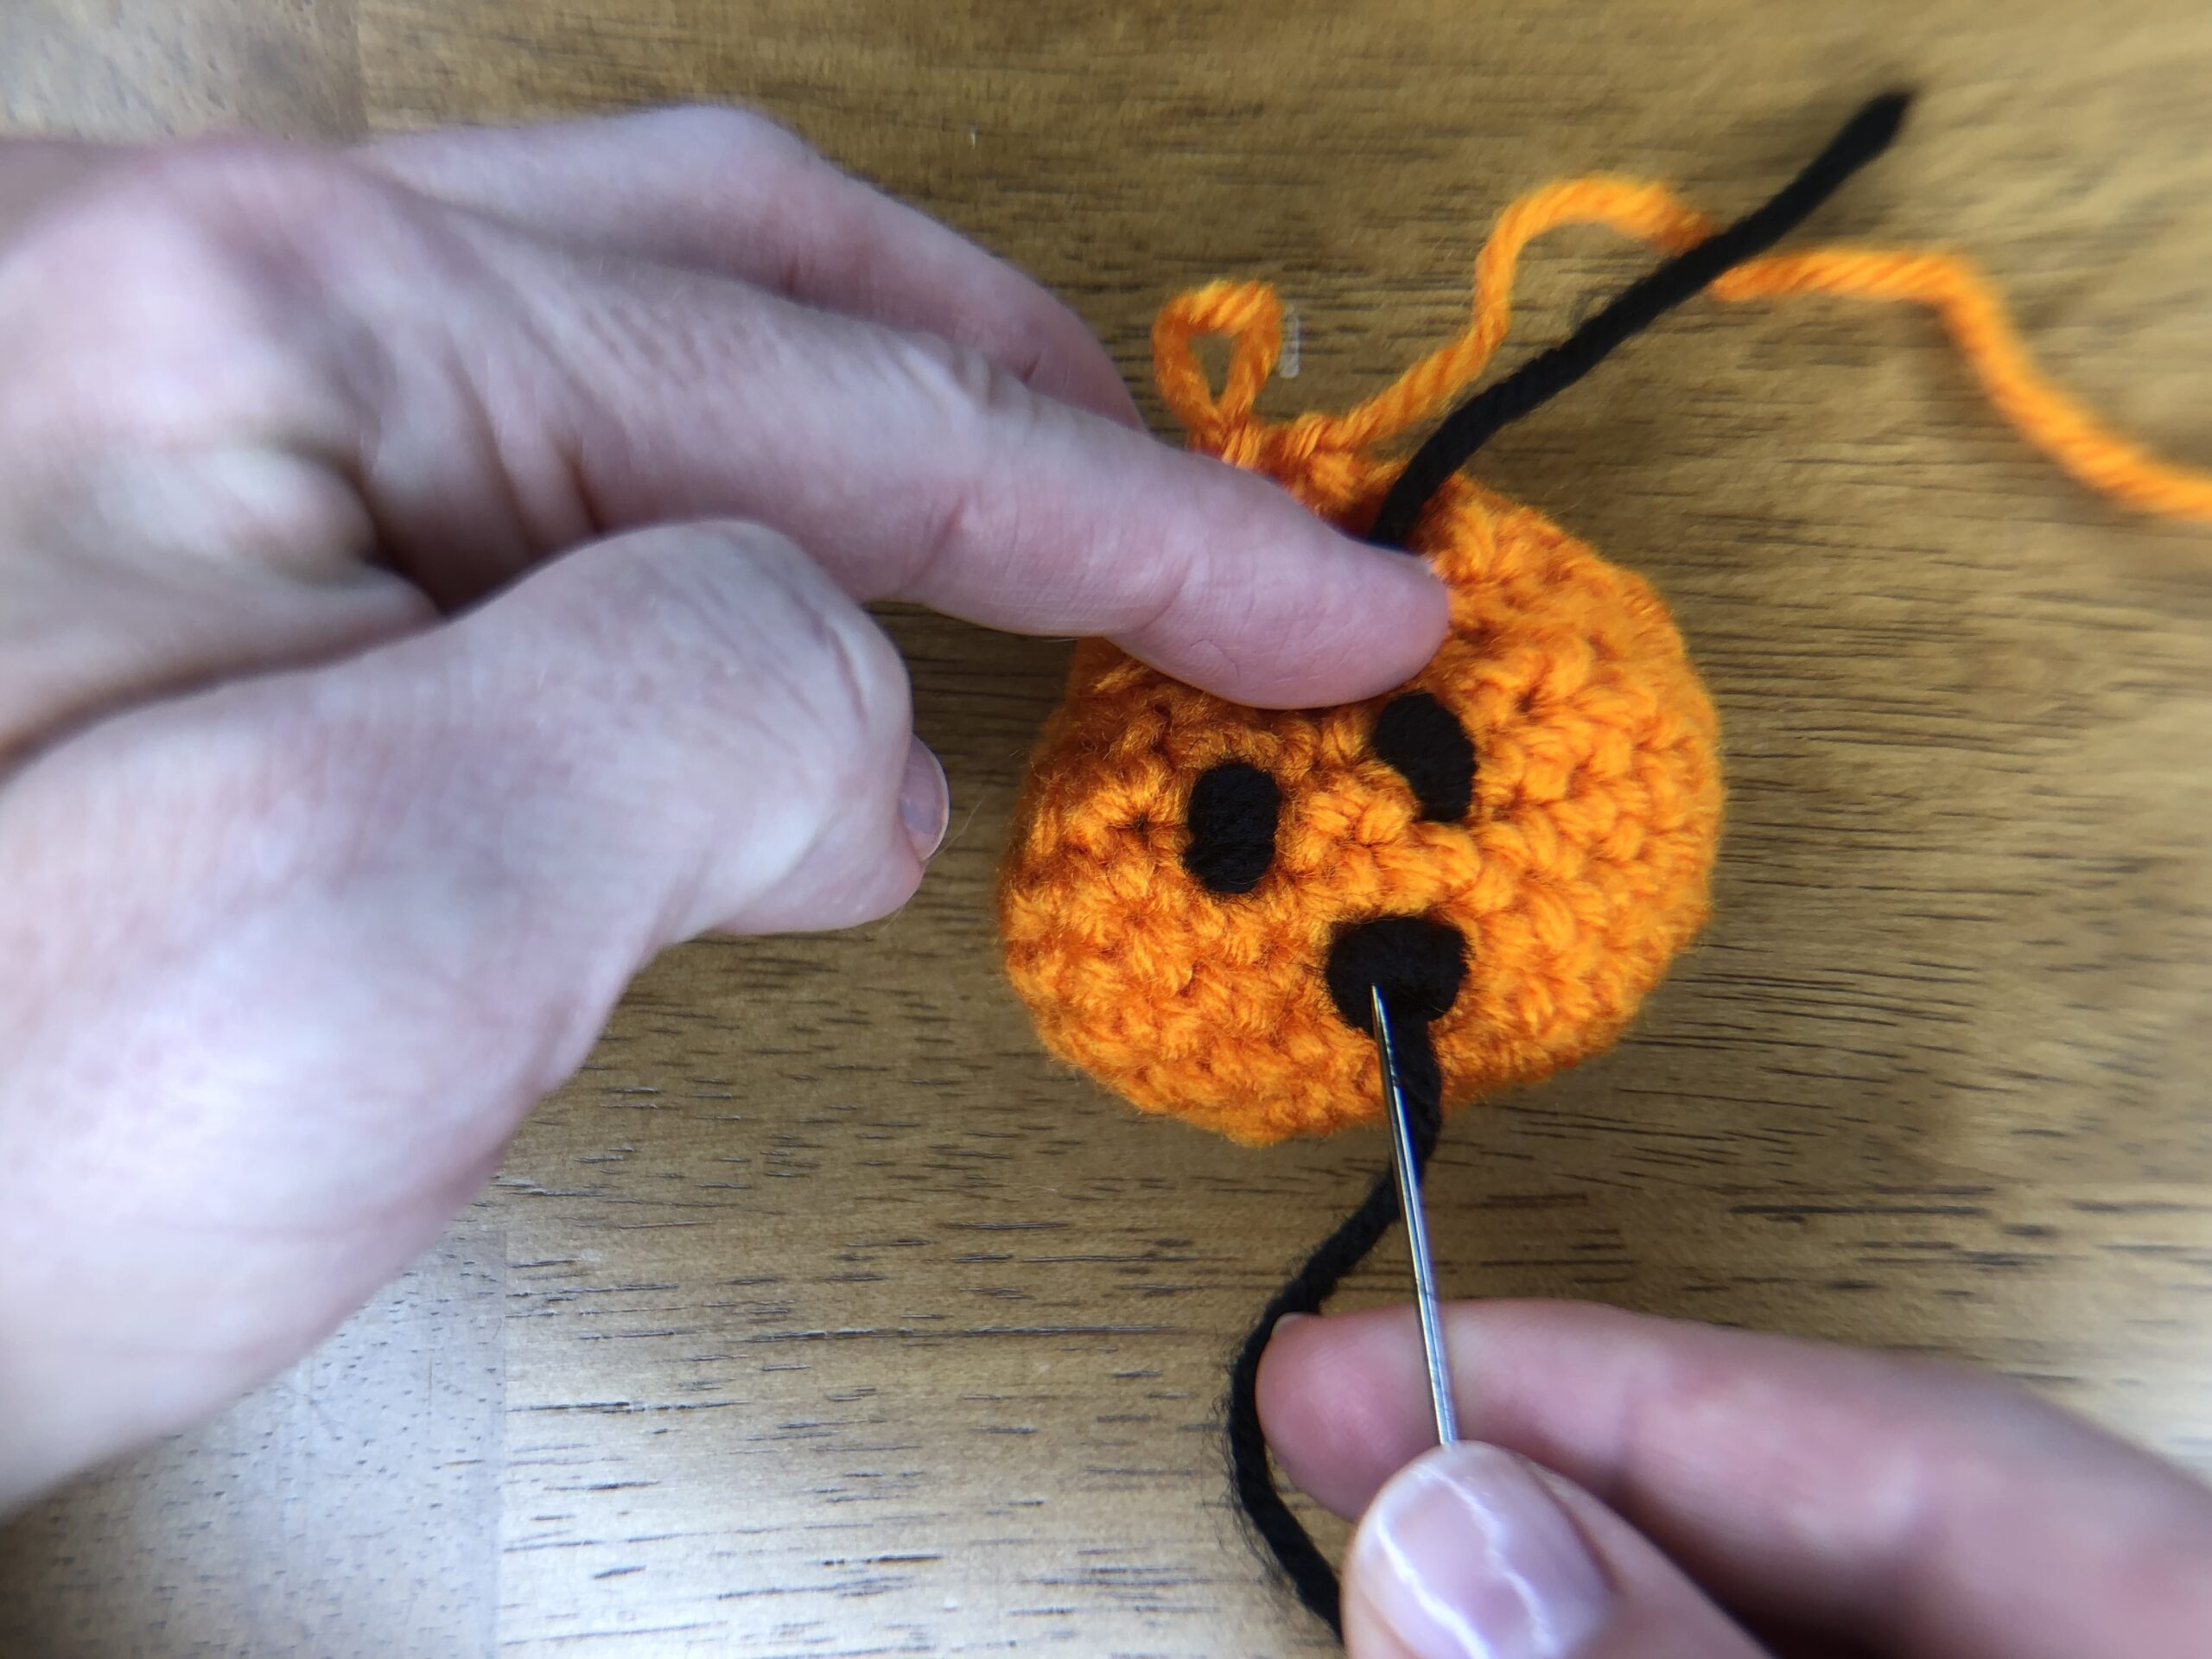
To attach the mouth, find the first row of even crochet stitches and the stitch centered between the two eyes. Insert one tail as above. For the second tail, insert the needle through the mouth before going into the pumpkin to help the mouth lie flat against the pumpkin. Tie the ends together tightly, just like we did for the eyes.
Finishing Touches
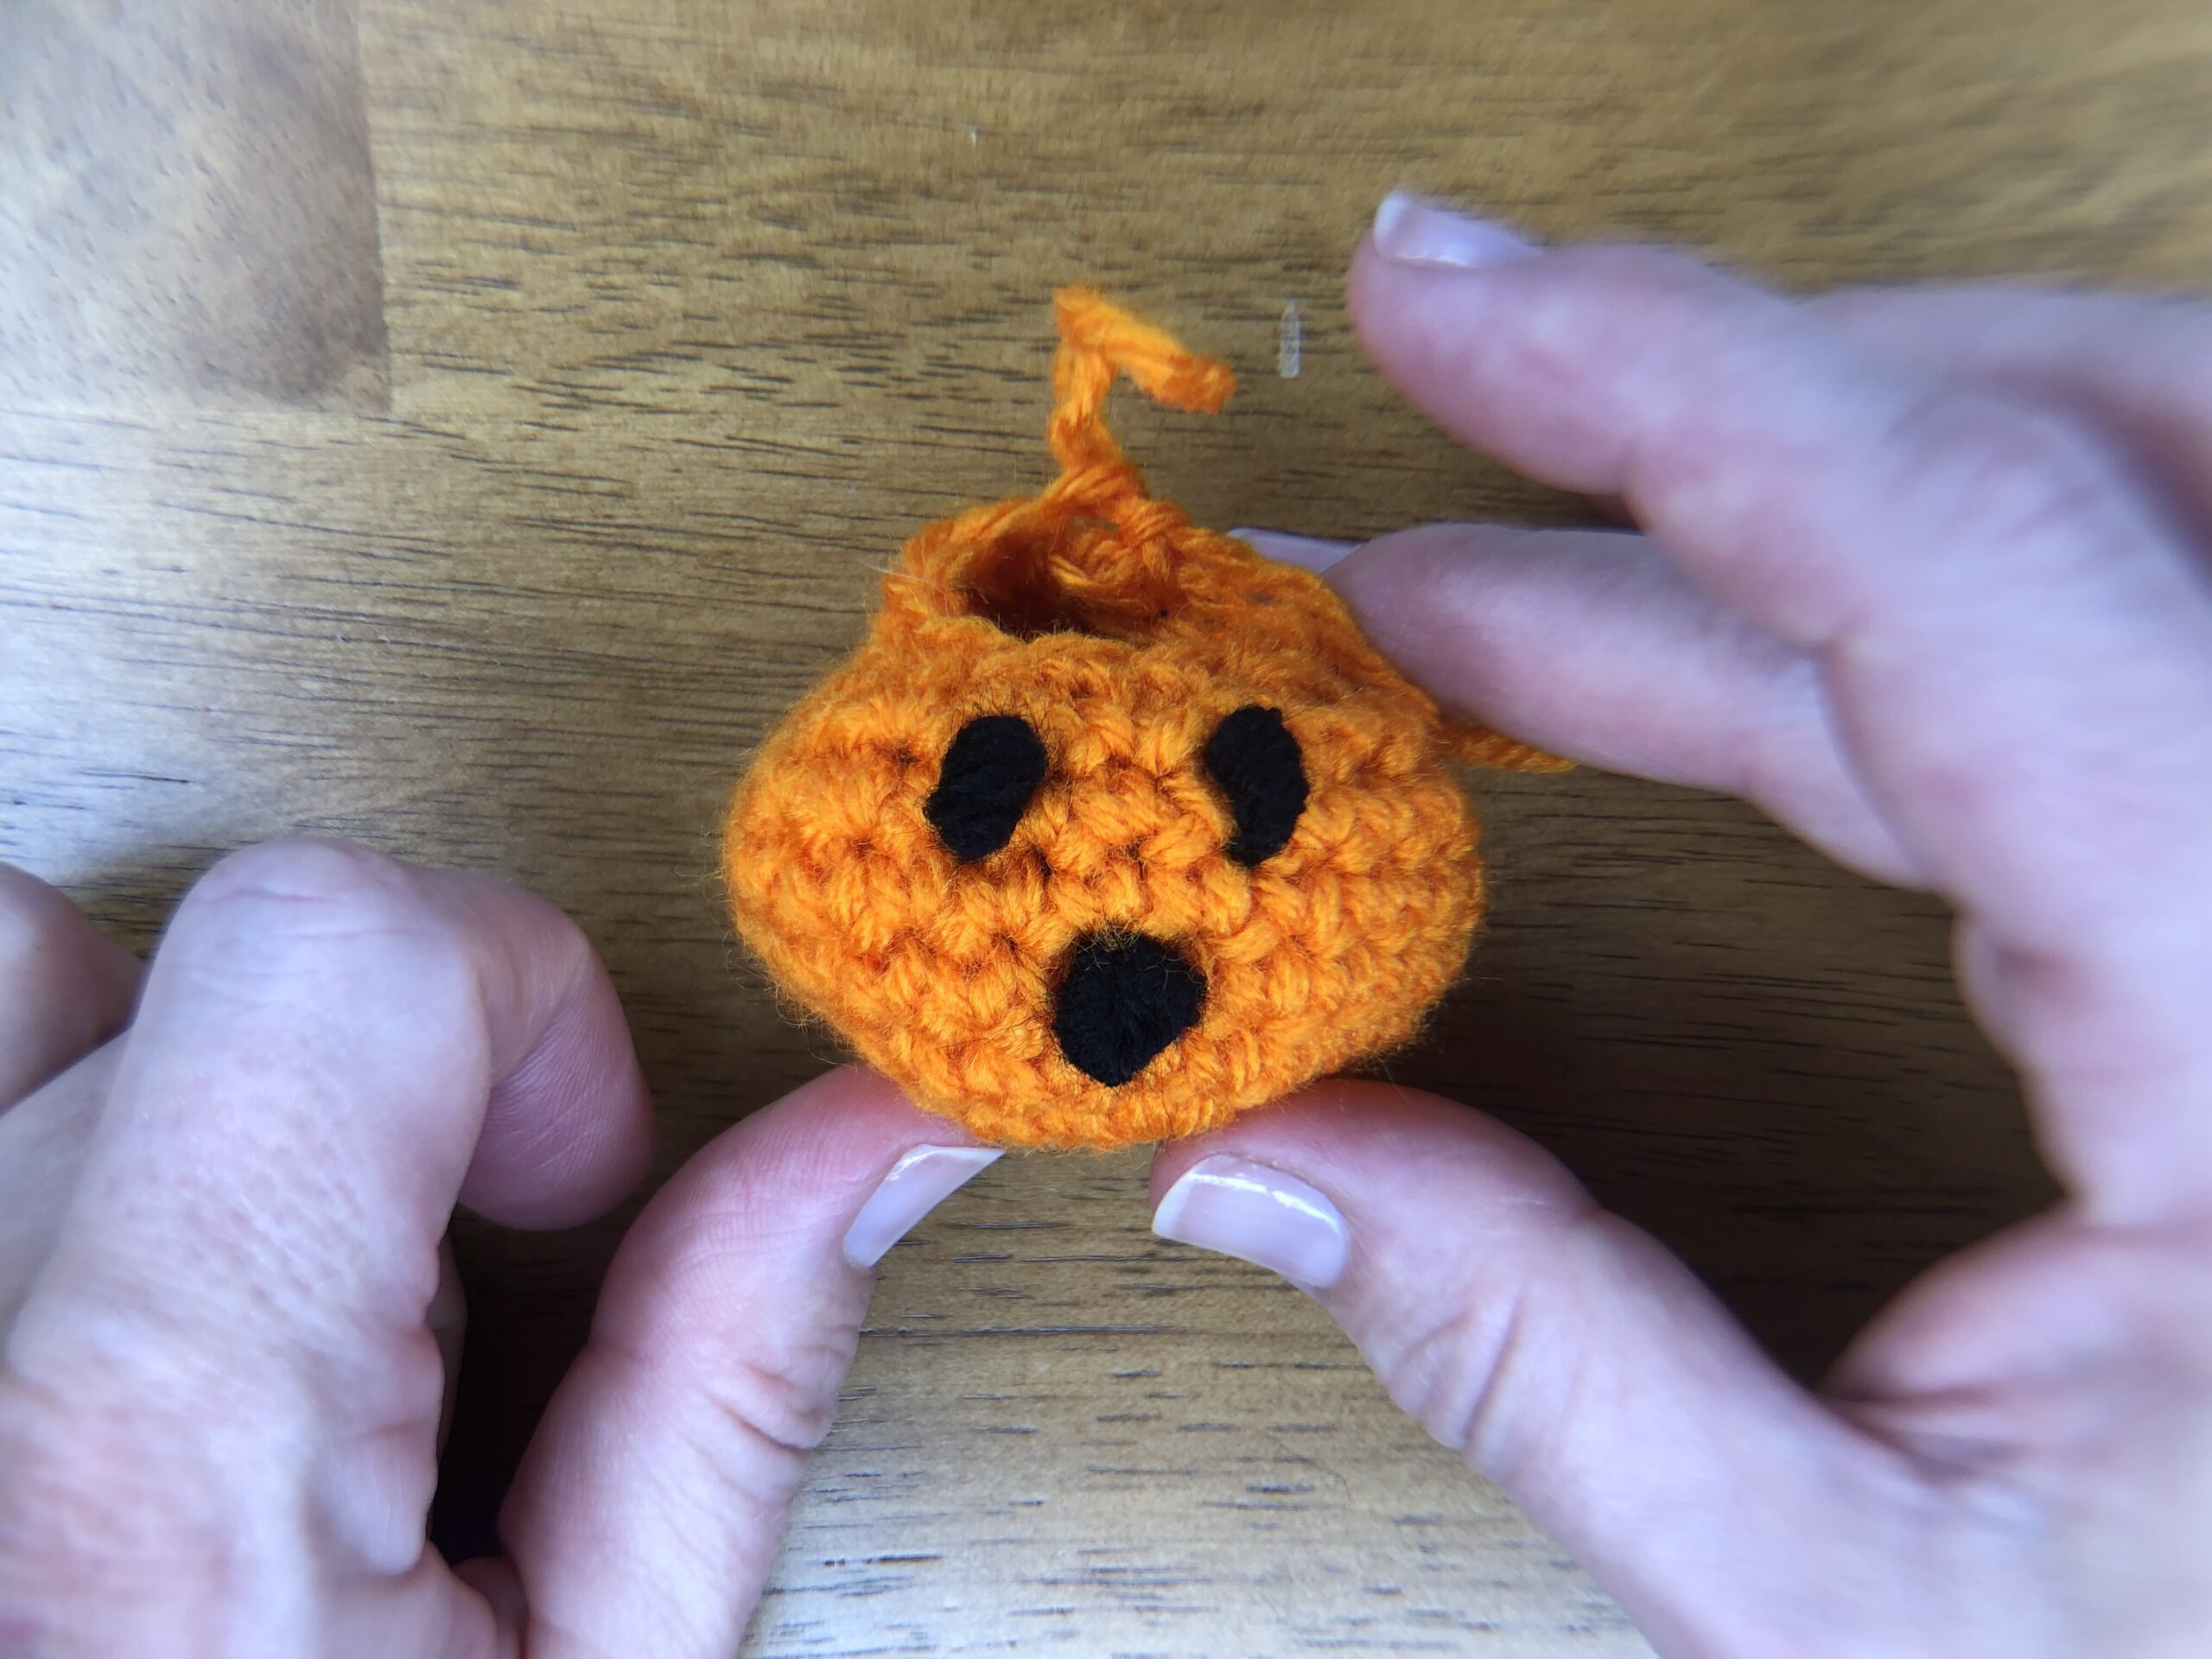
Now that the eyes and mouth are in place, stuff the pumpkin firmly with fiber fill. You want the pumpkin to be firm enough to hold shape, but not so firm that it will not still squish a little.
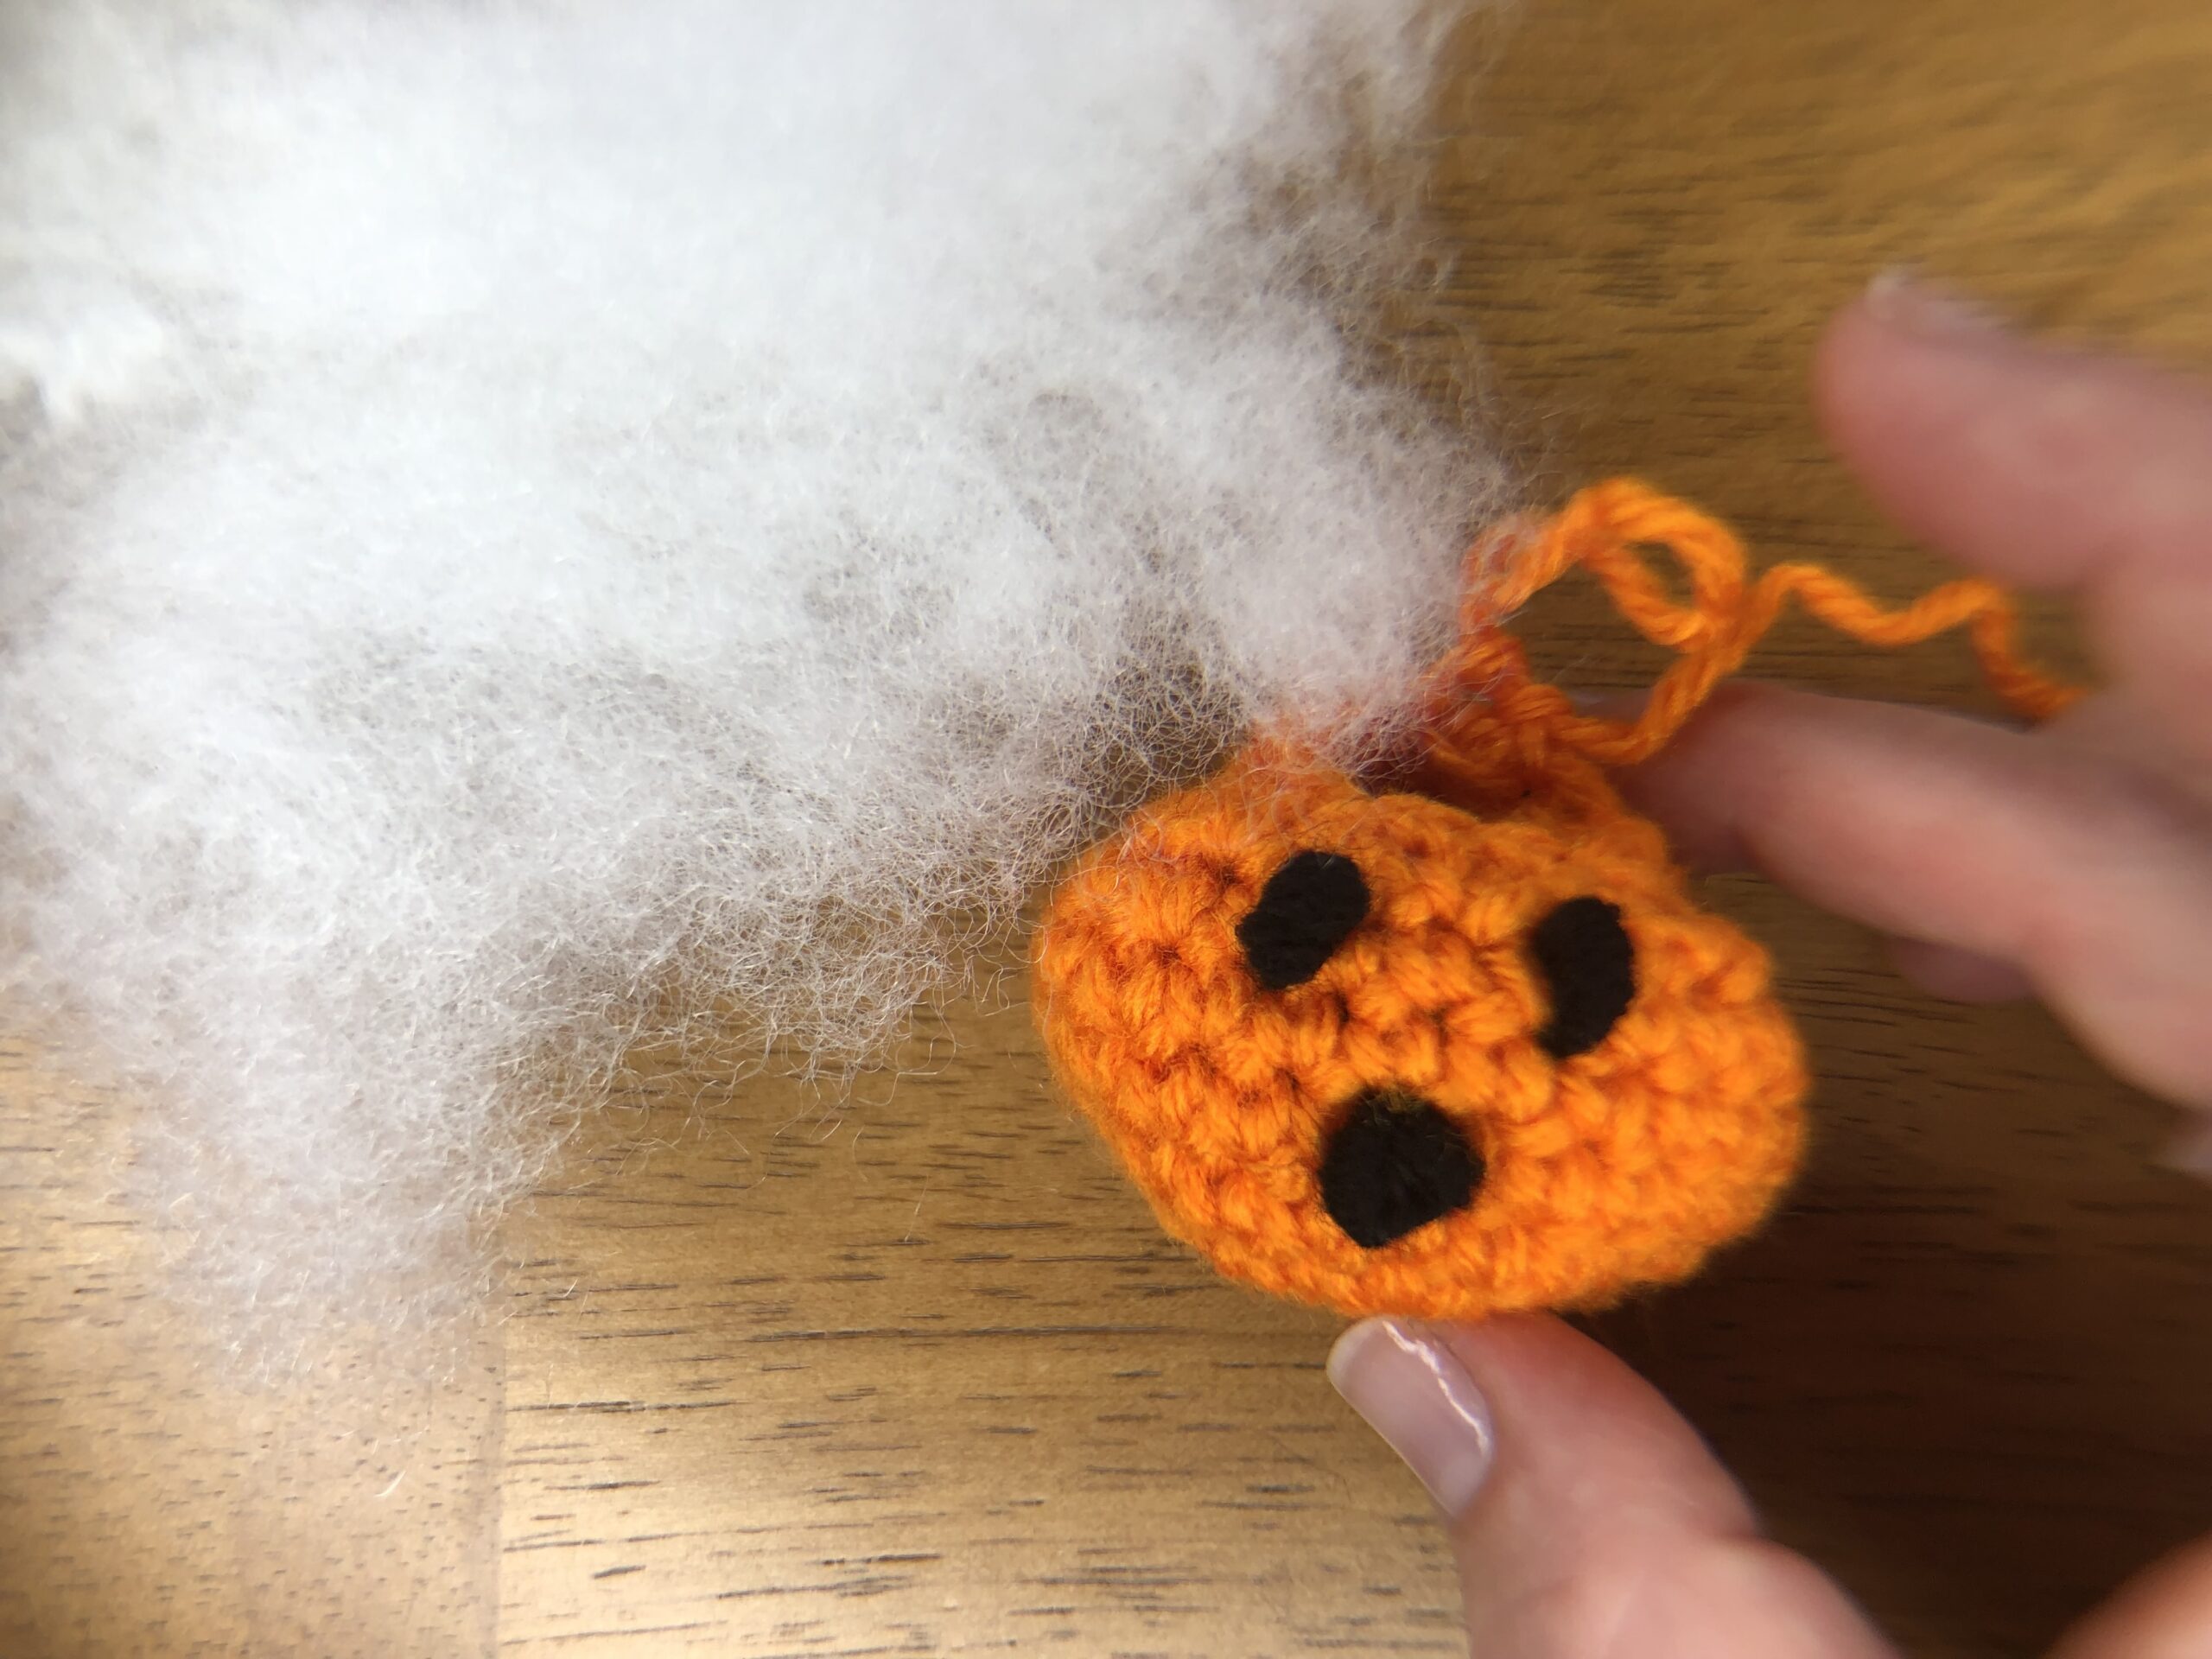
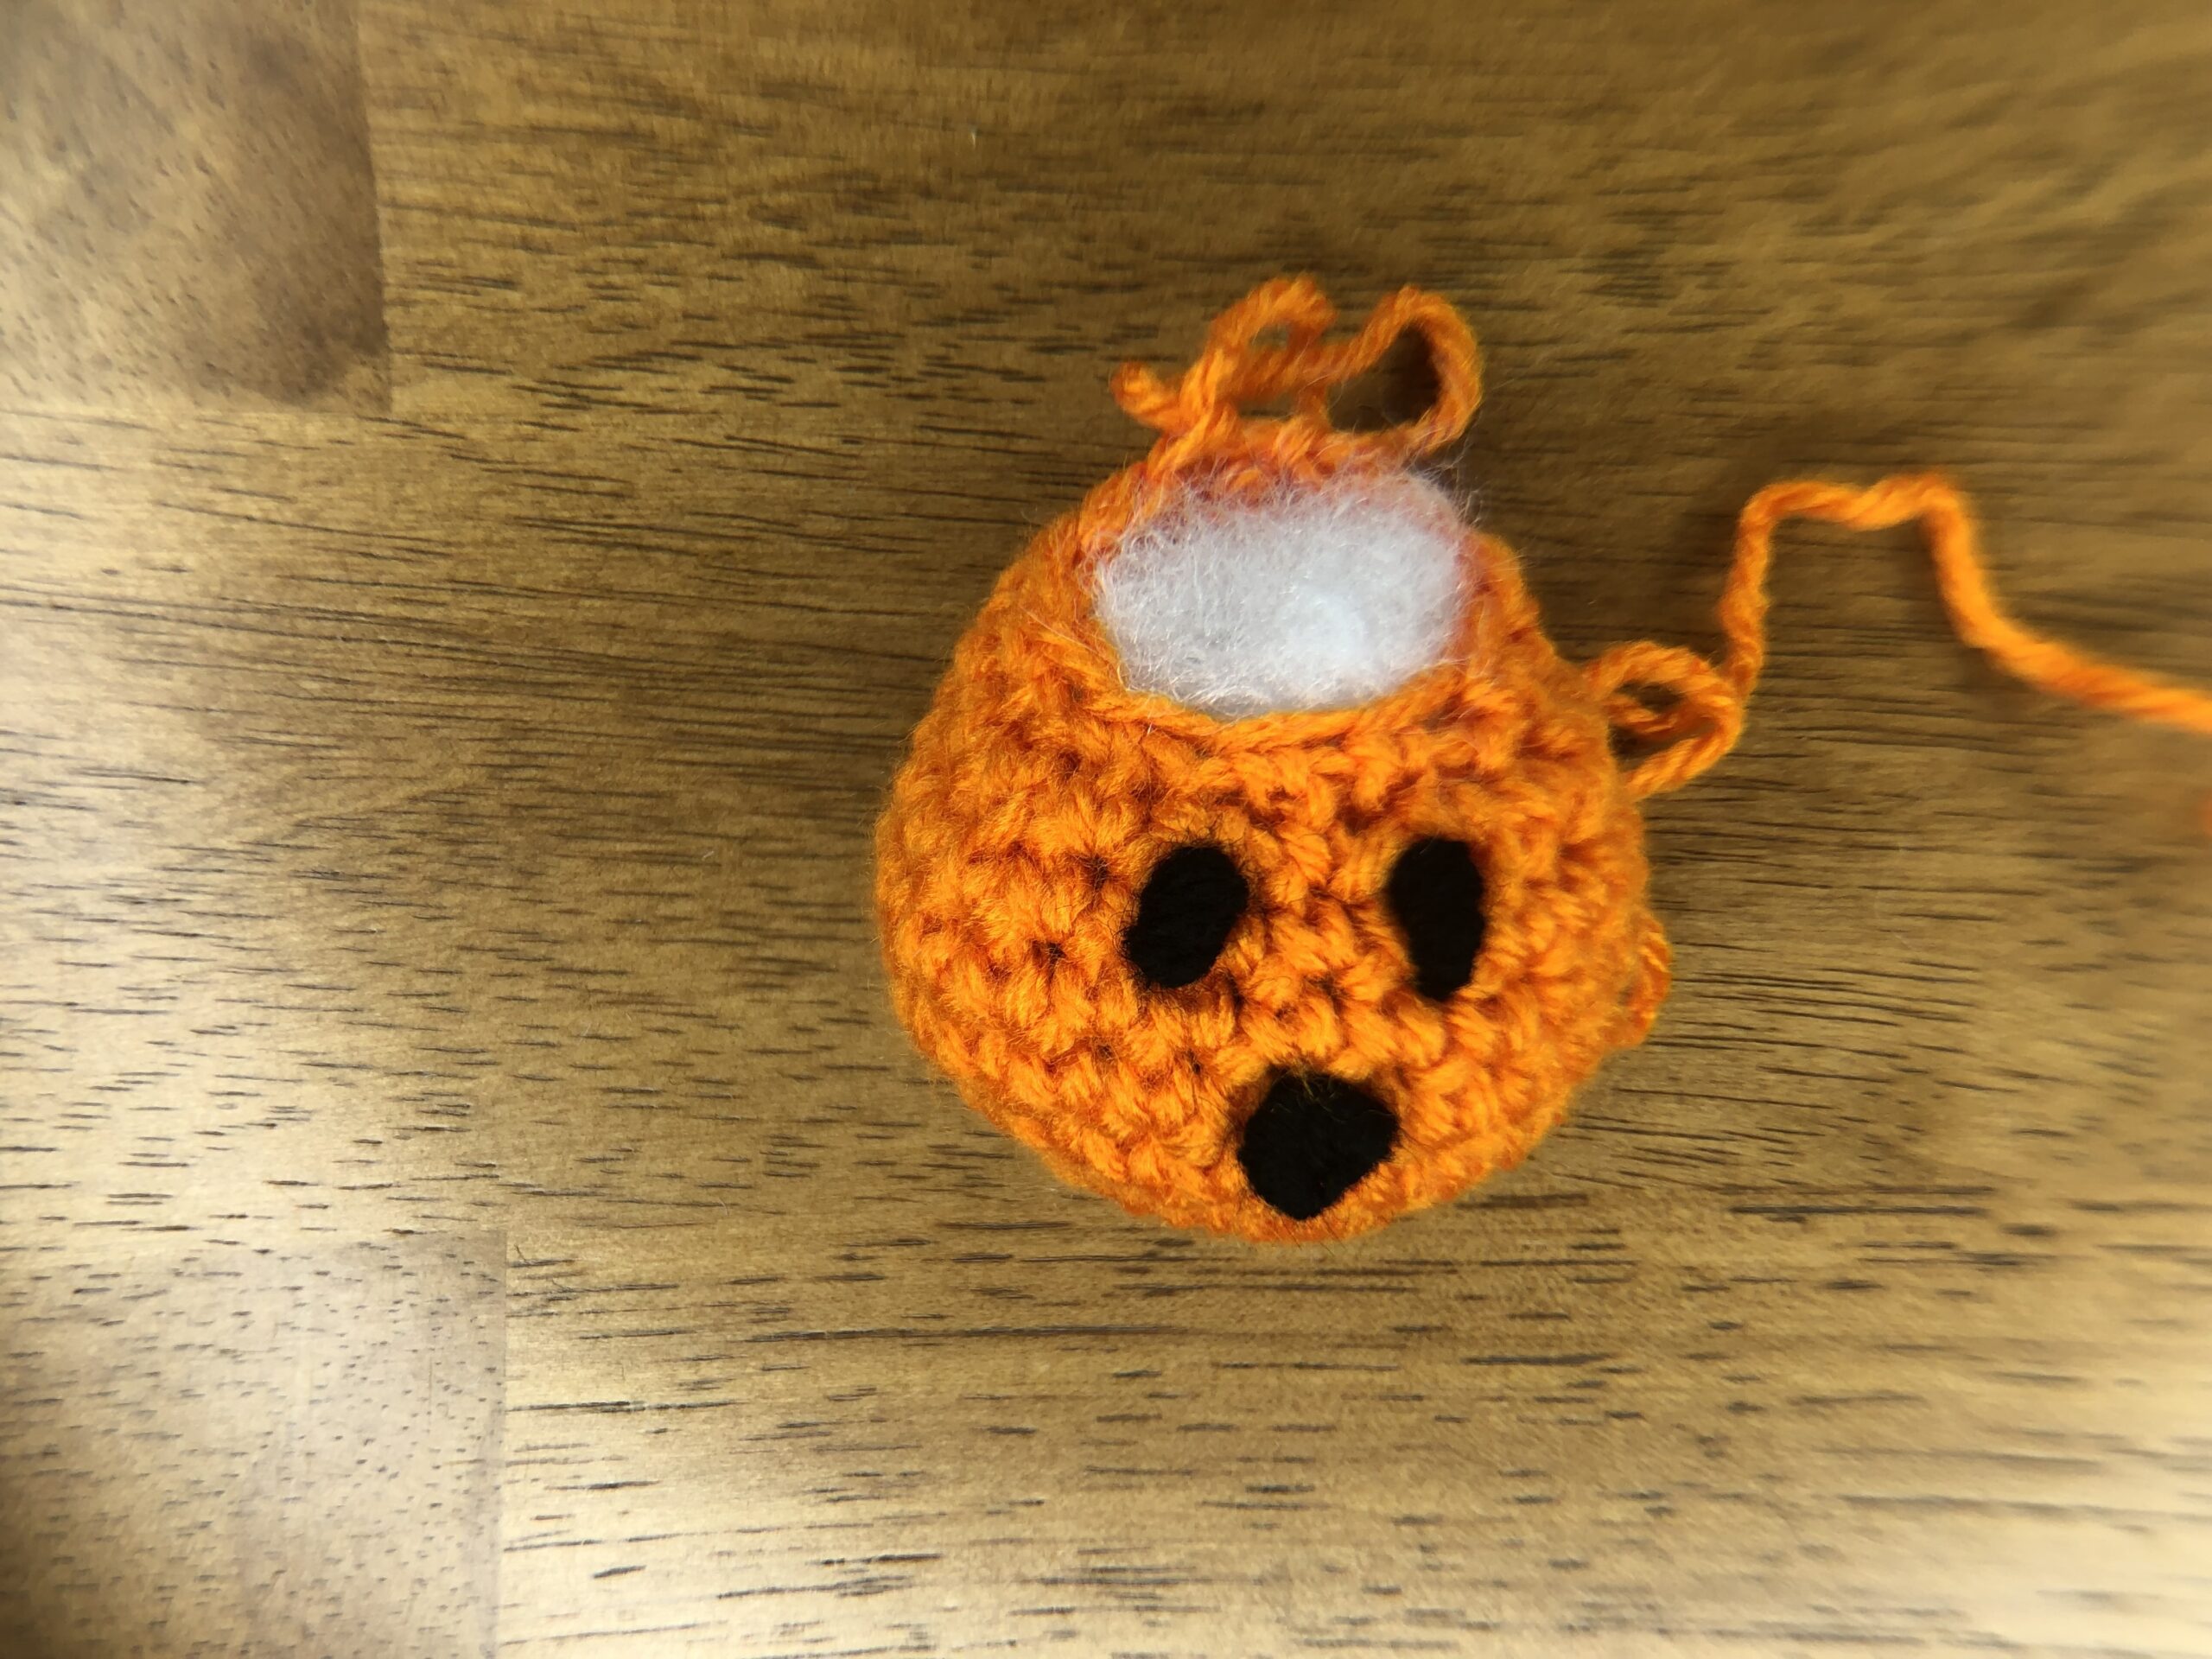
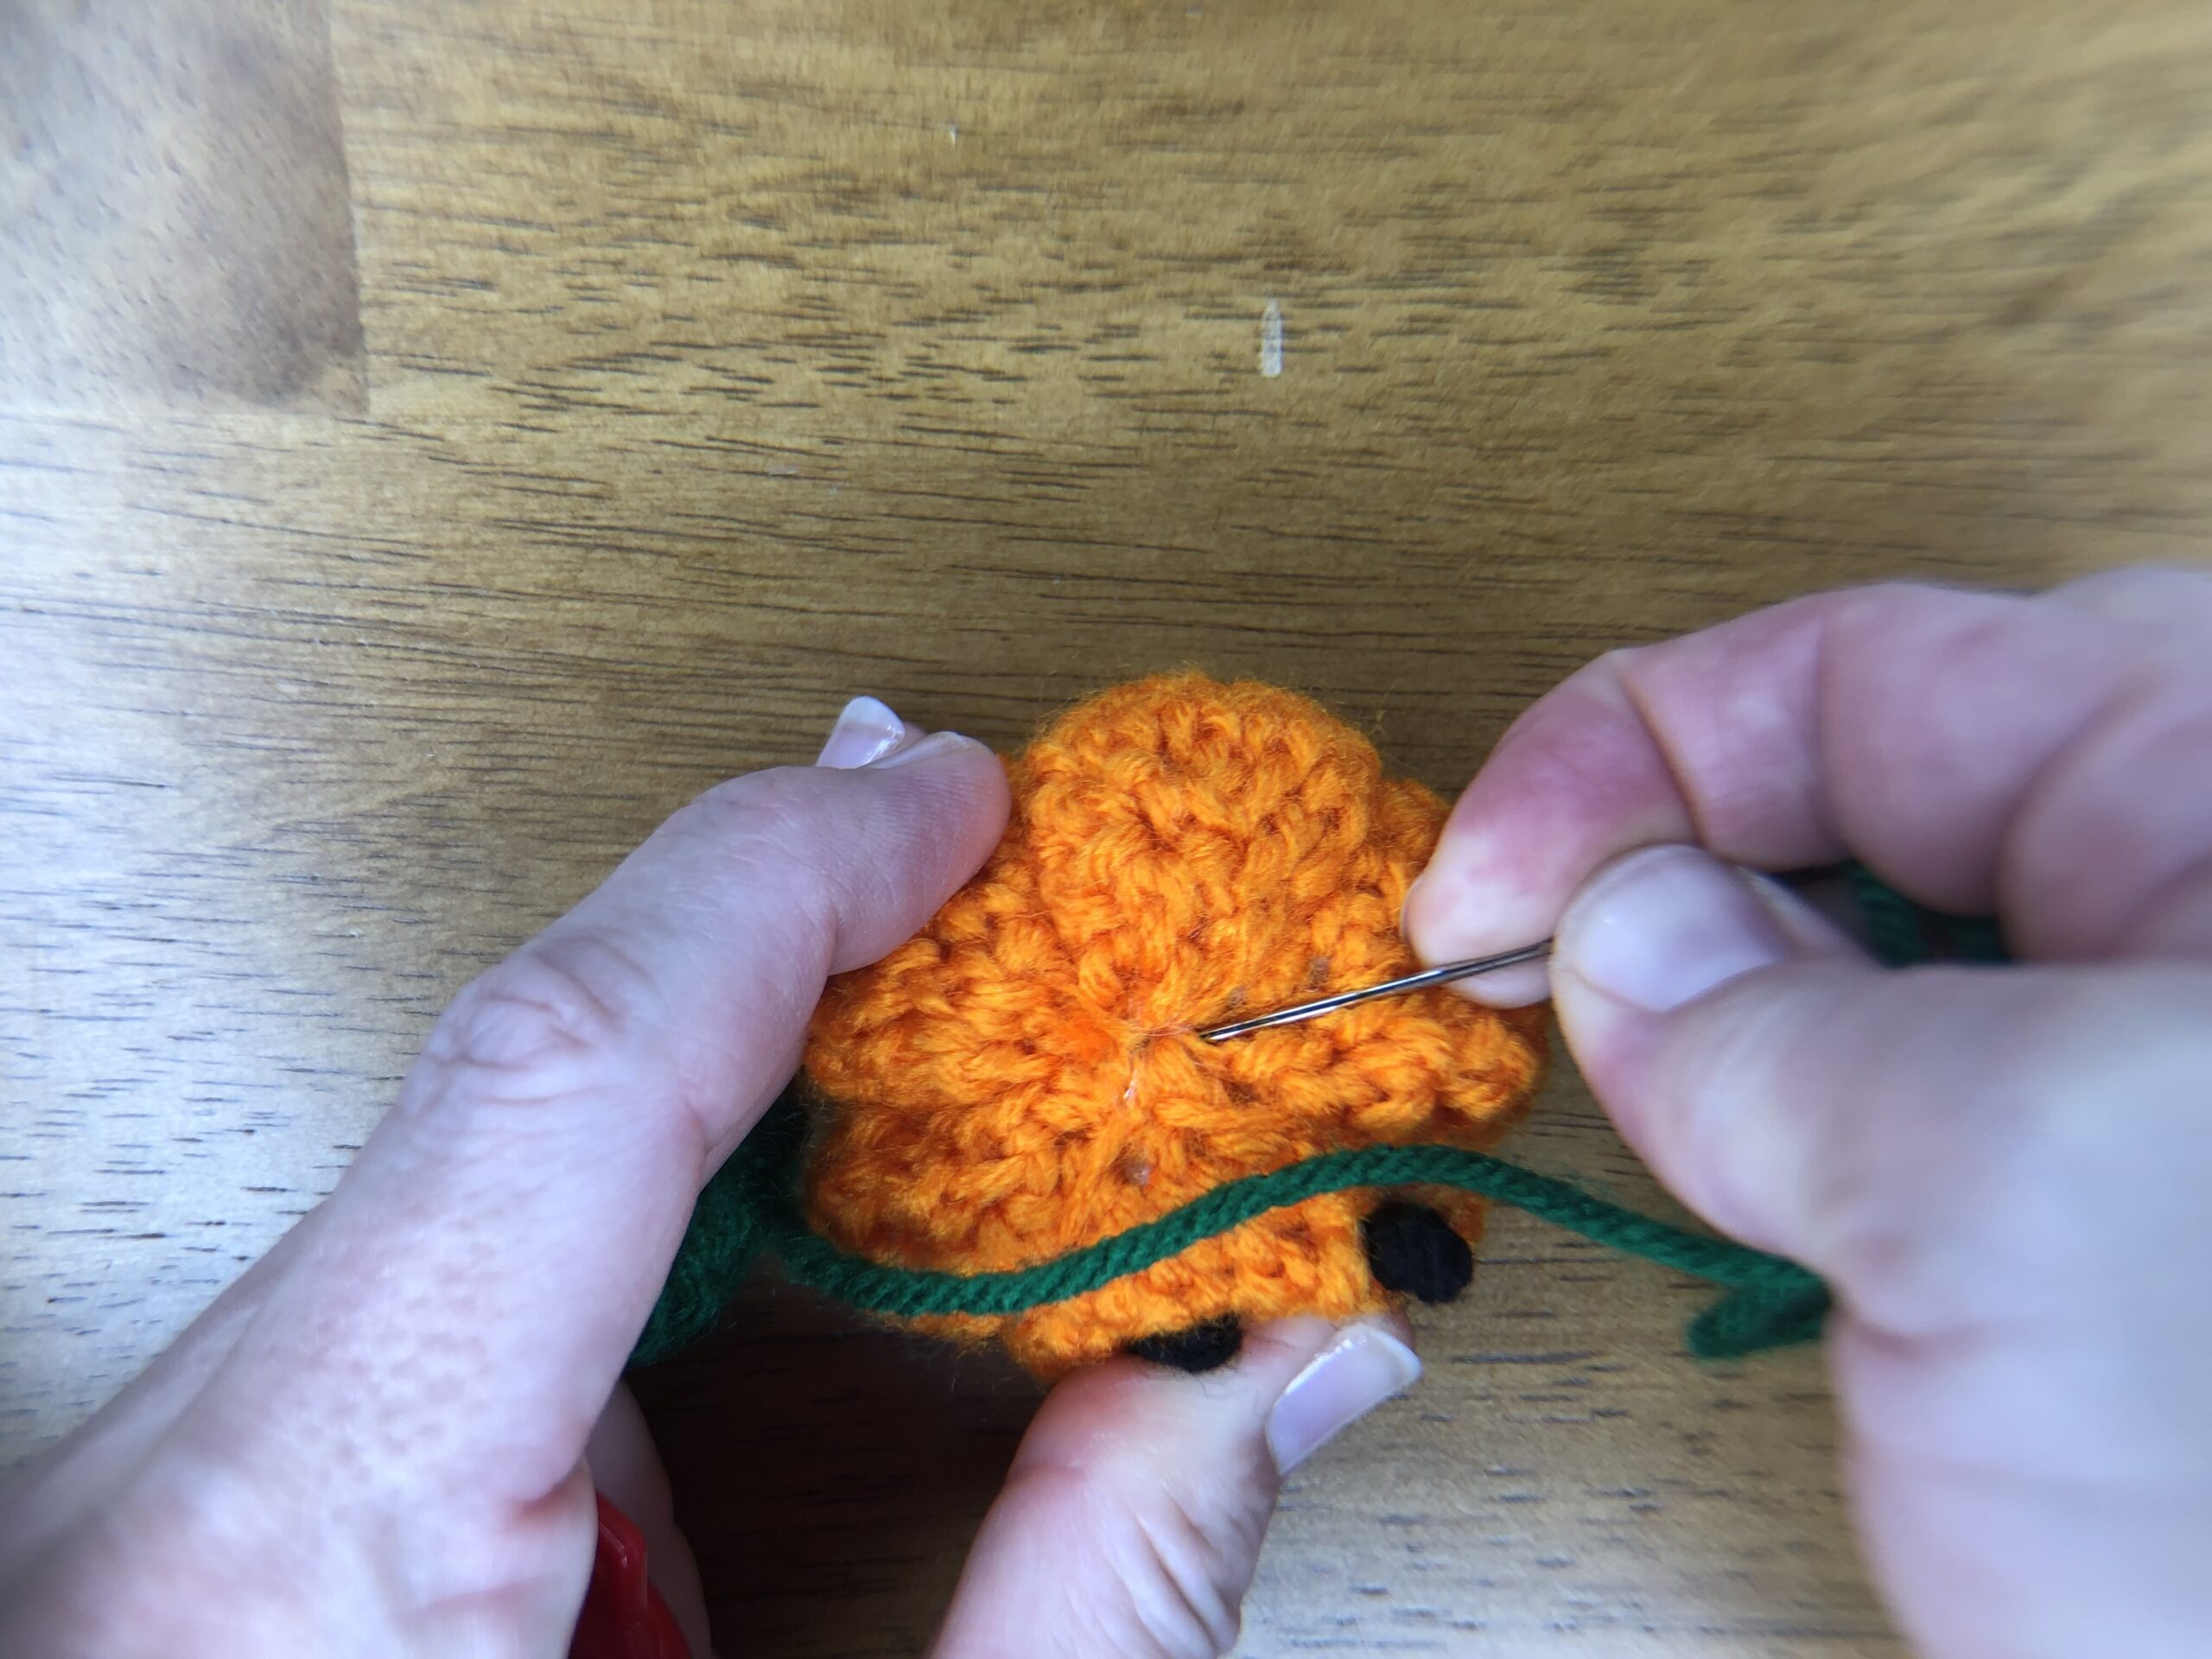
Time to close the top of the pumpkin! Thread the long tail onto your needle. Insert the needle into the front loop of each stitch around the final round of crochet. Pull the yarn tight to gather the stitches and close the hole.
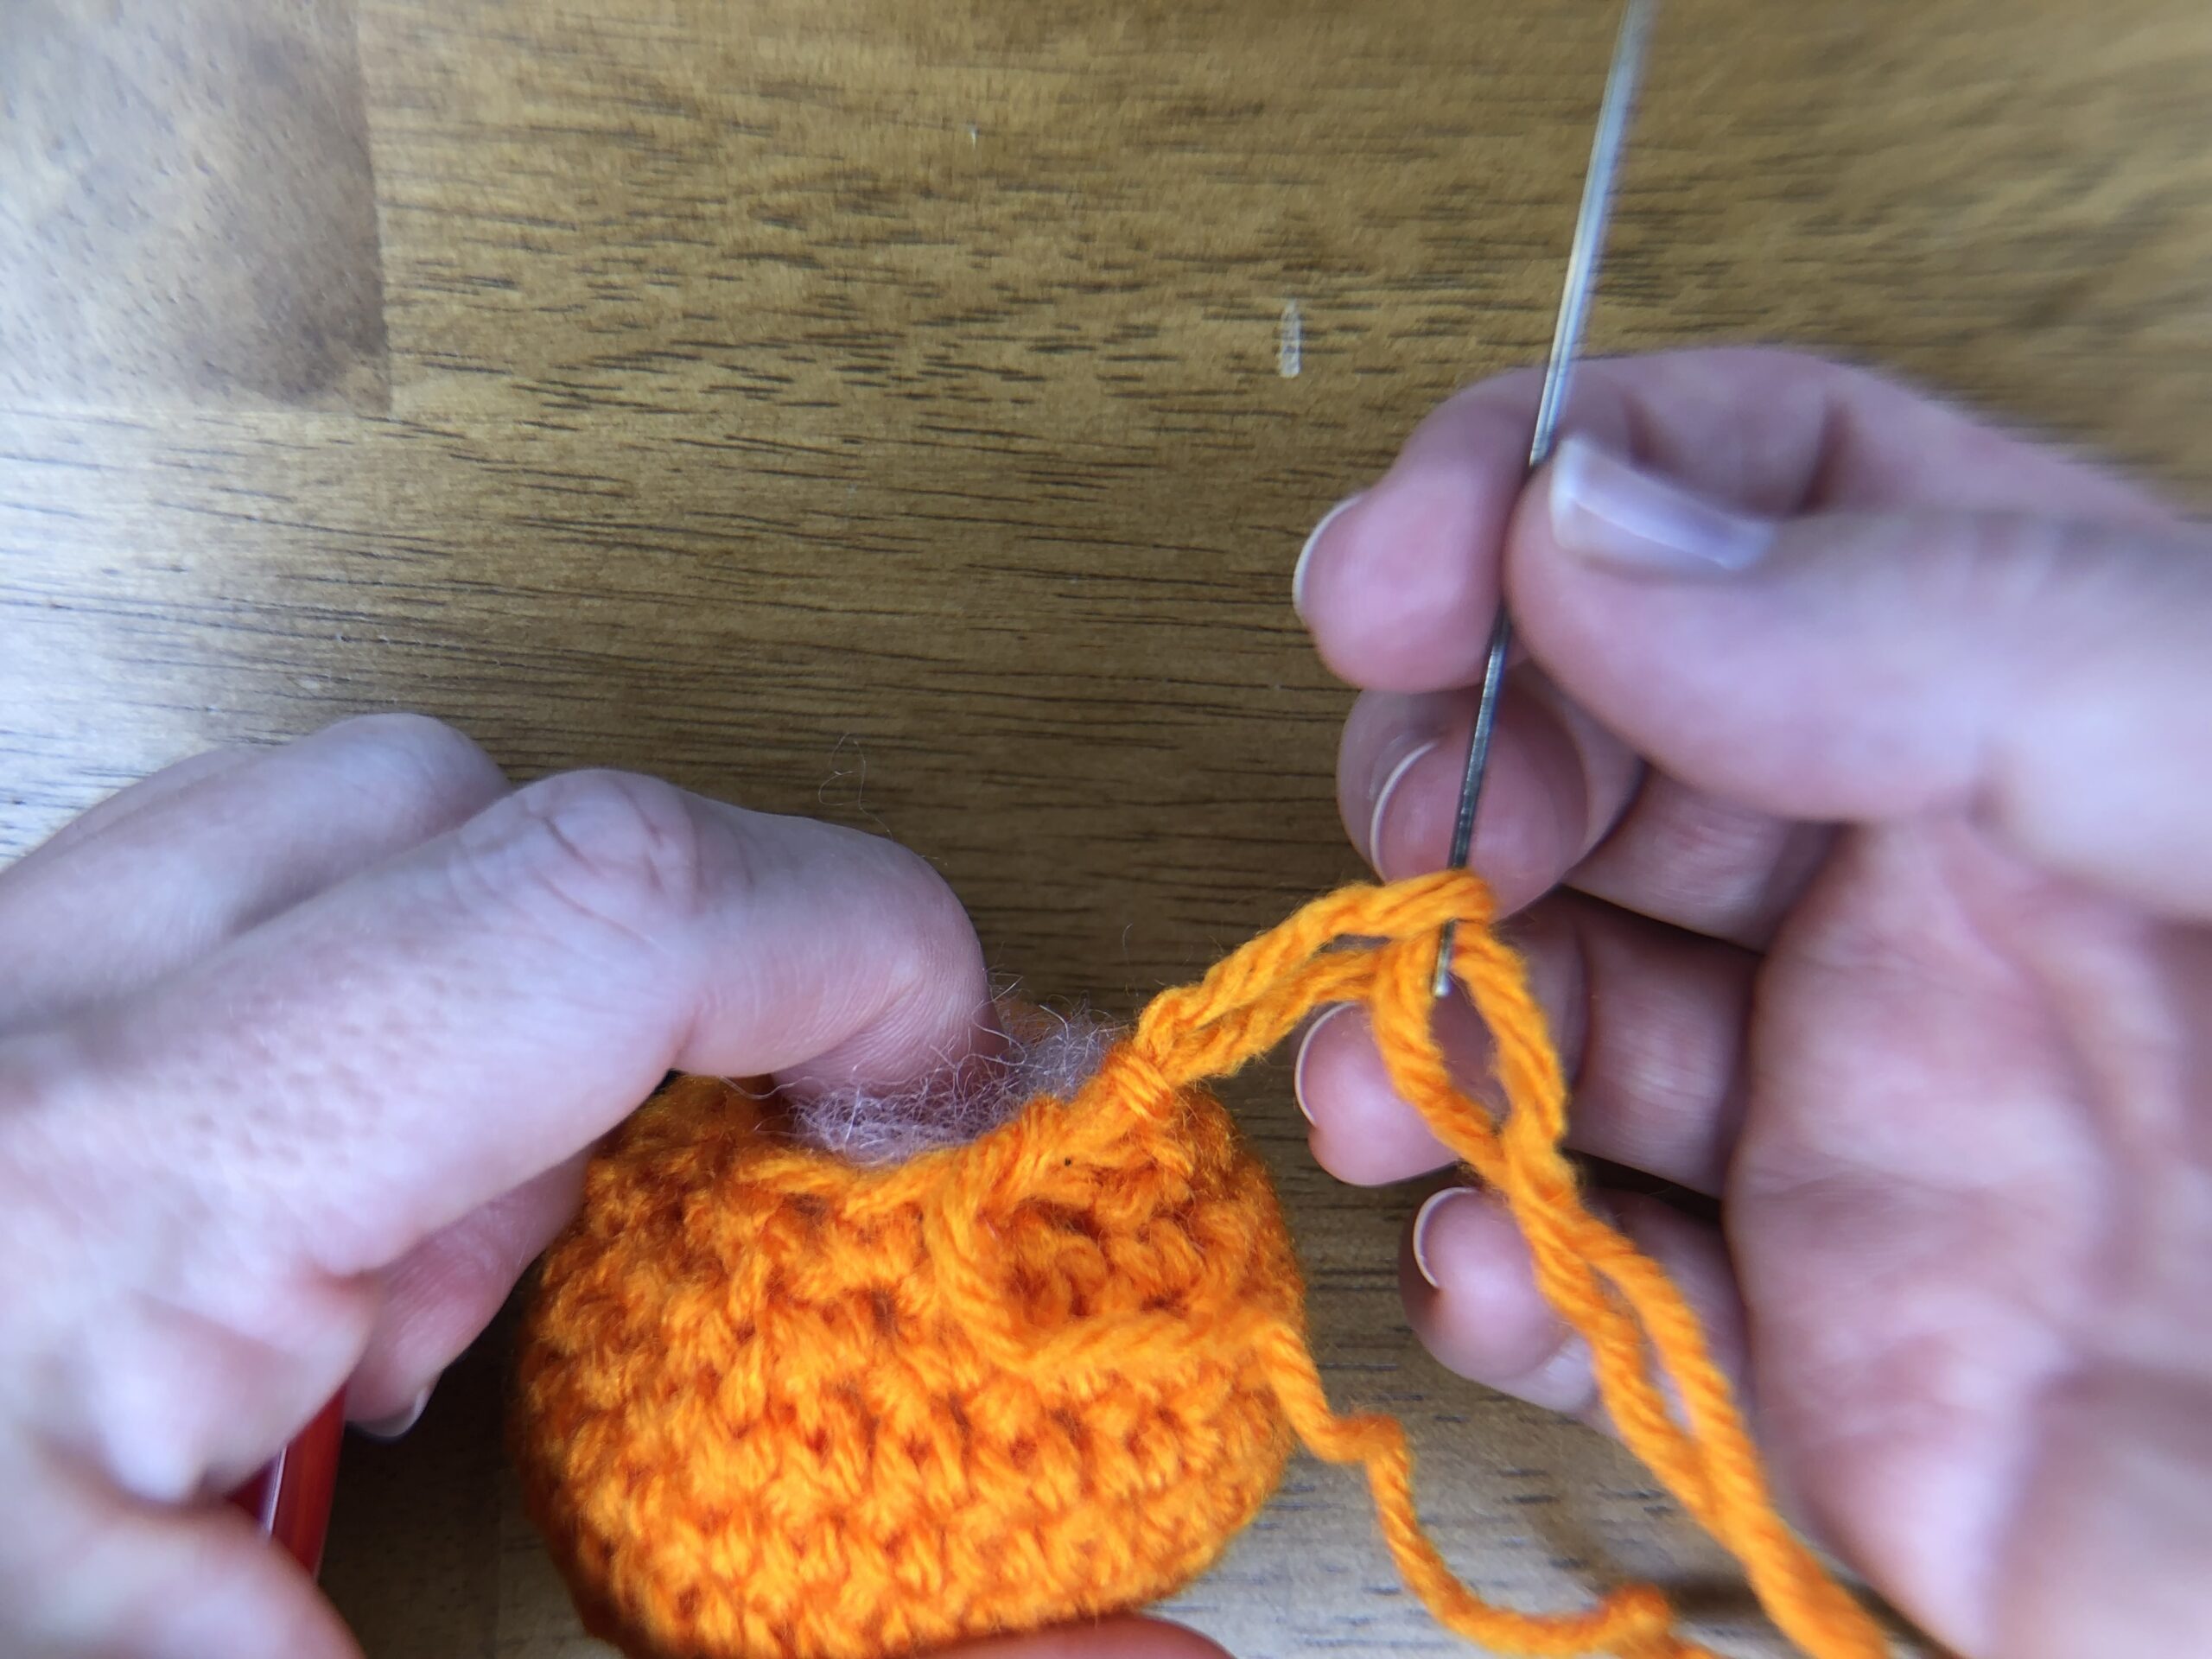
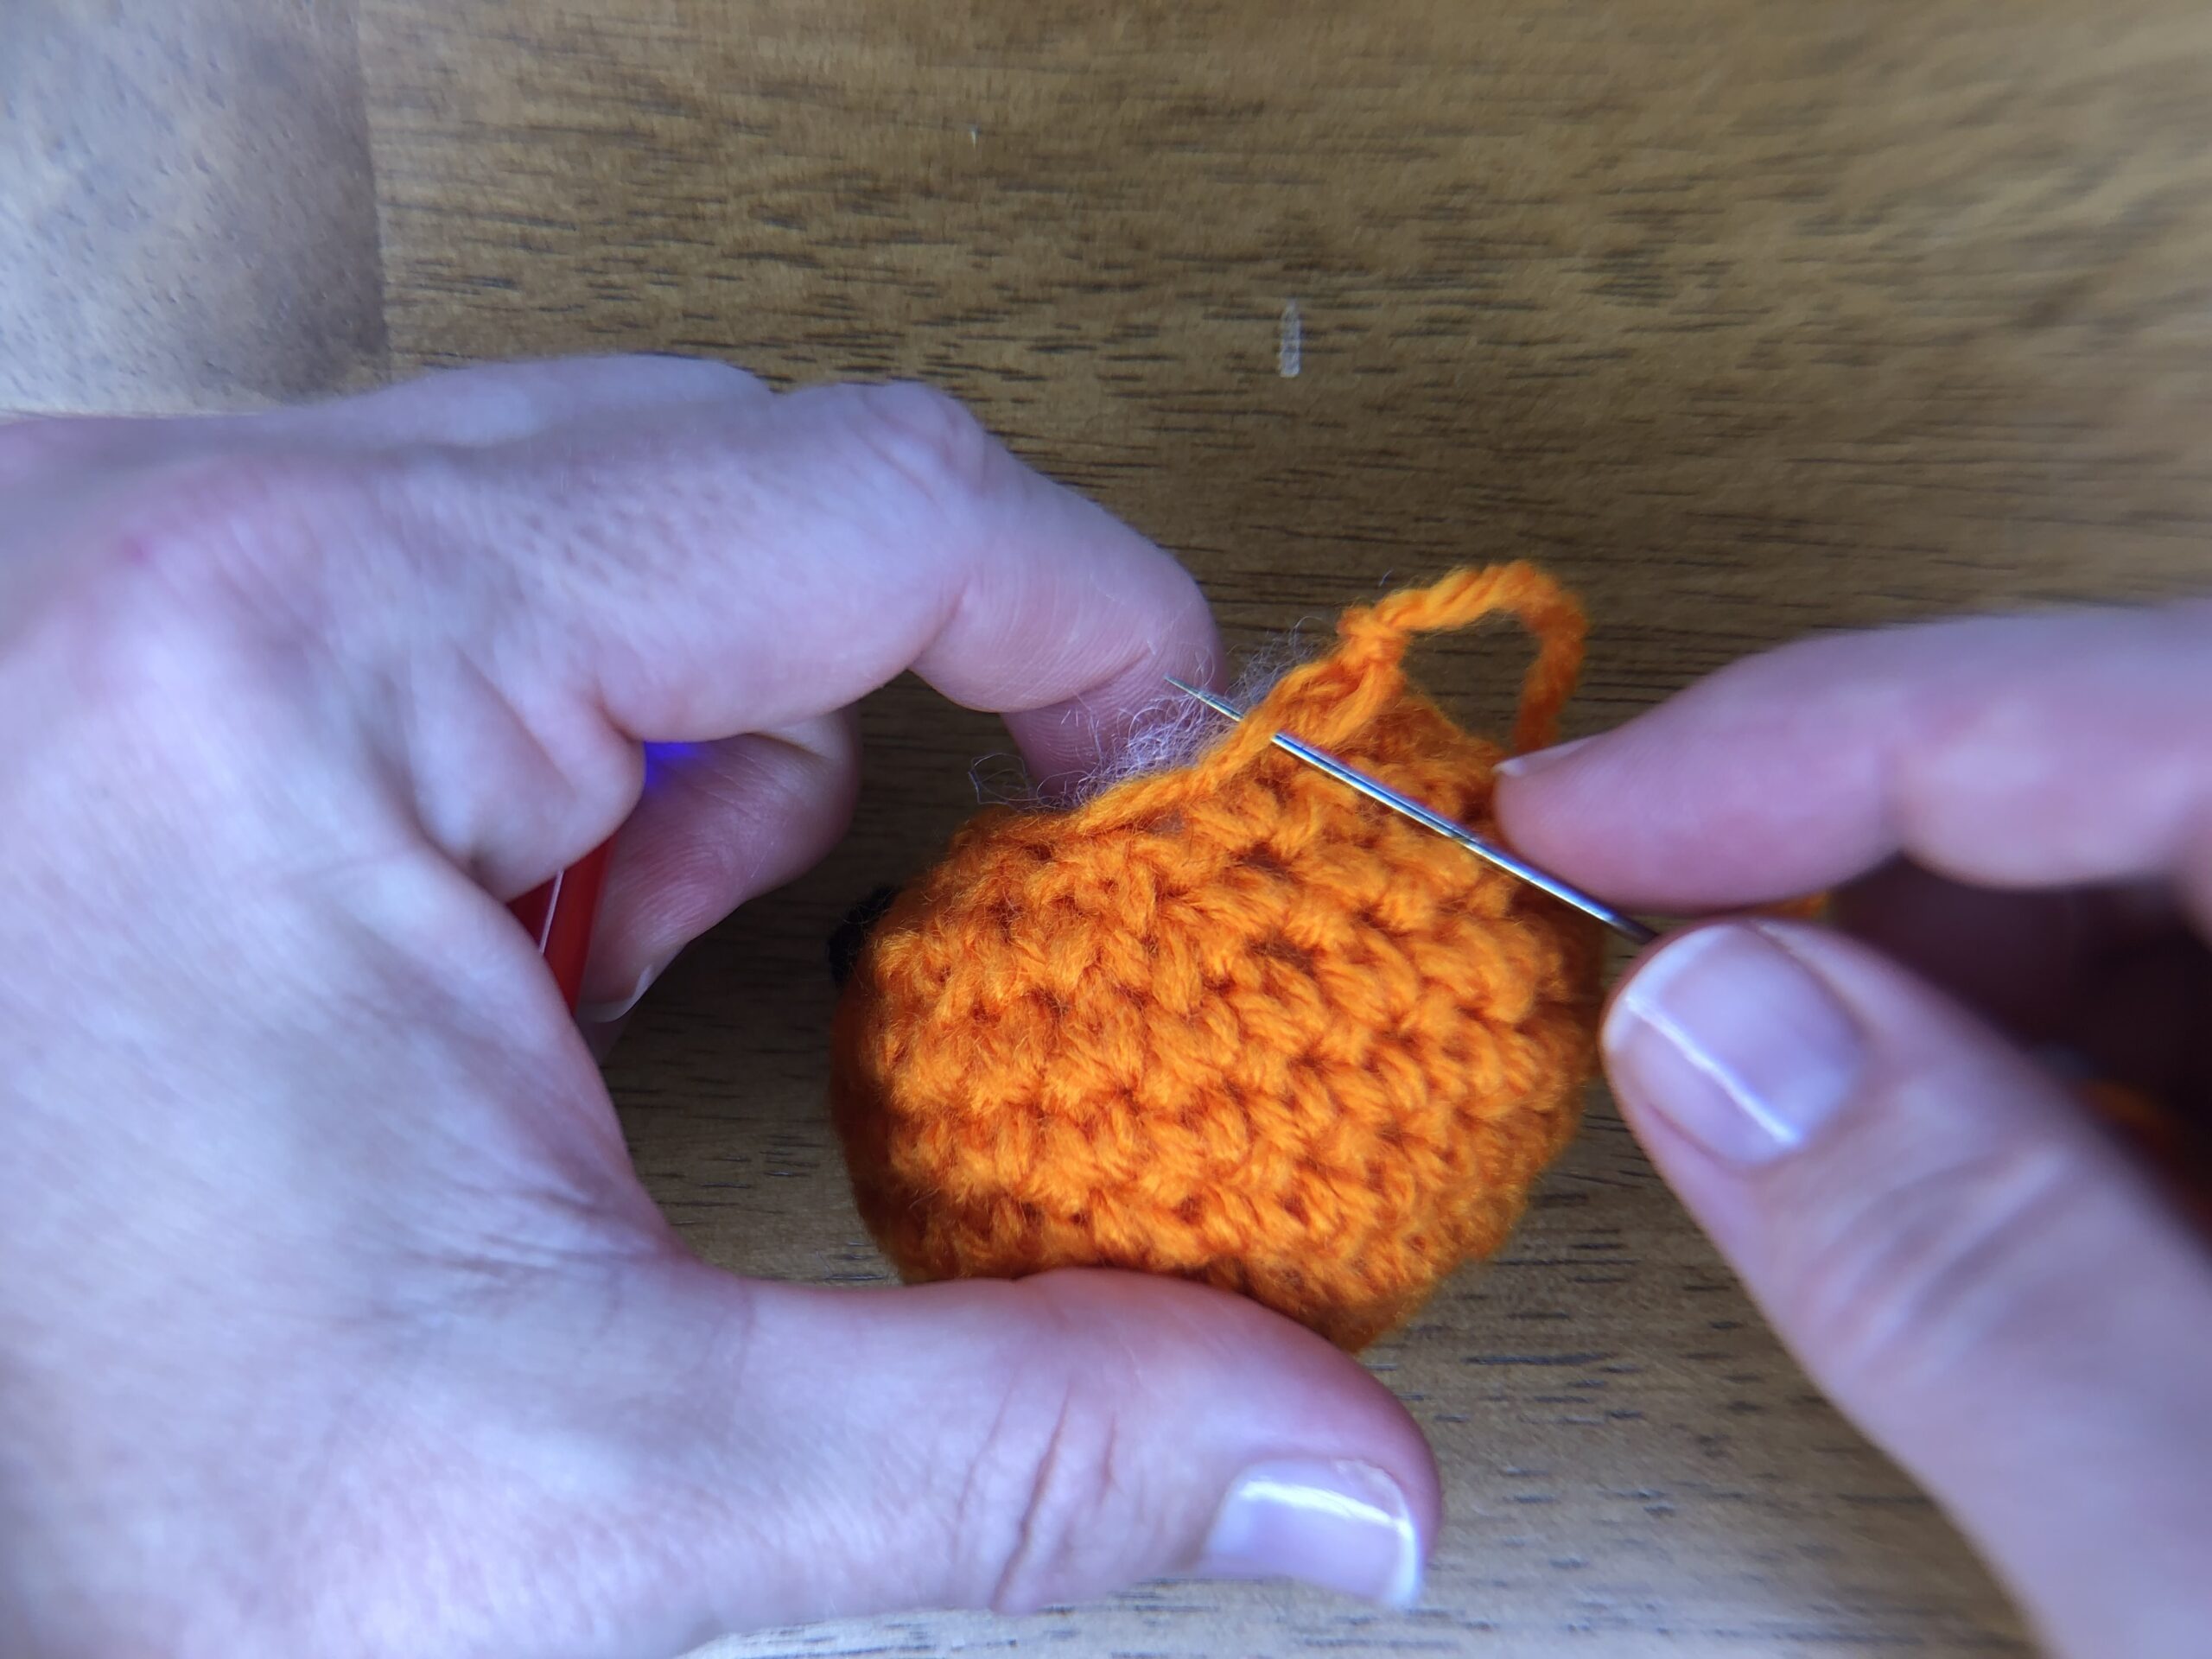
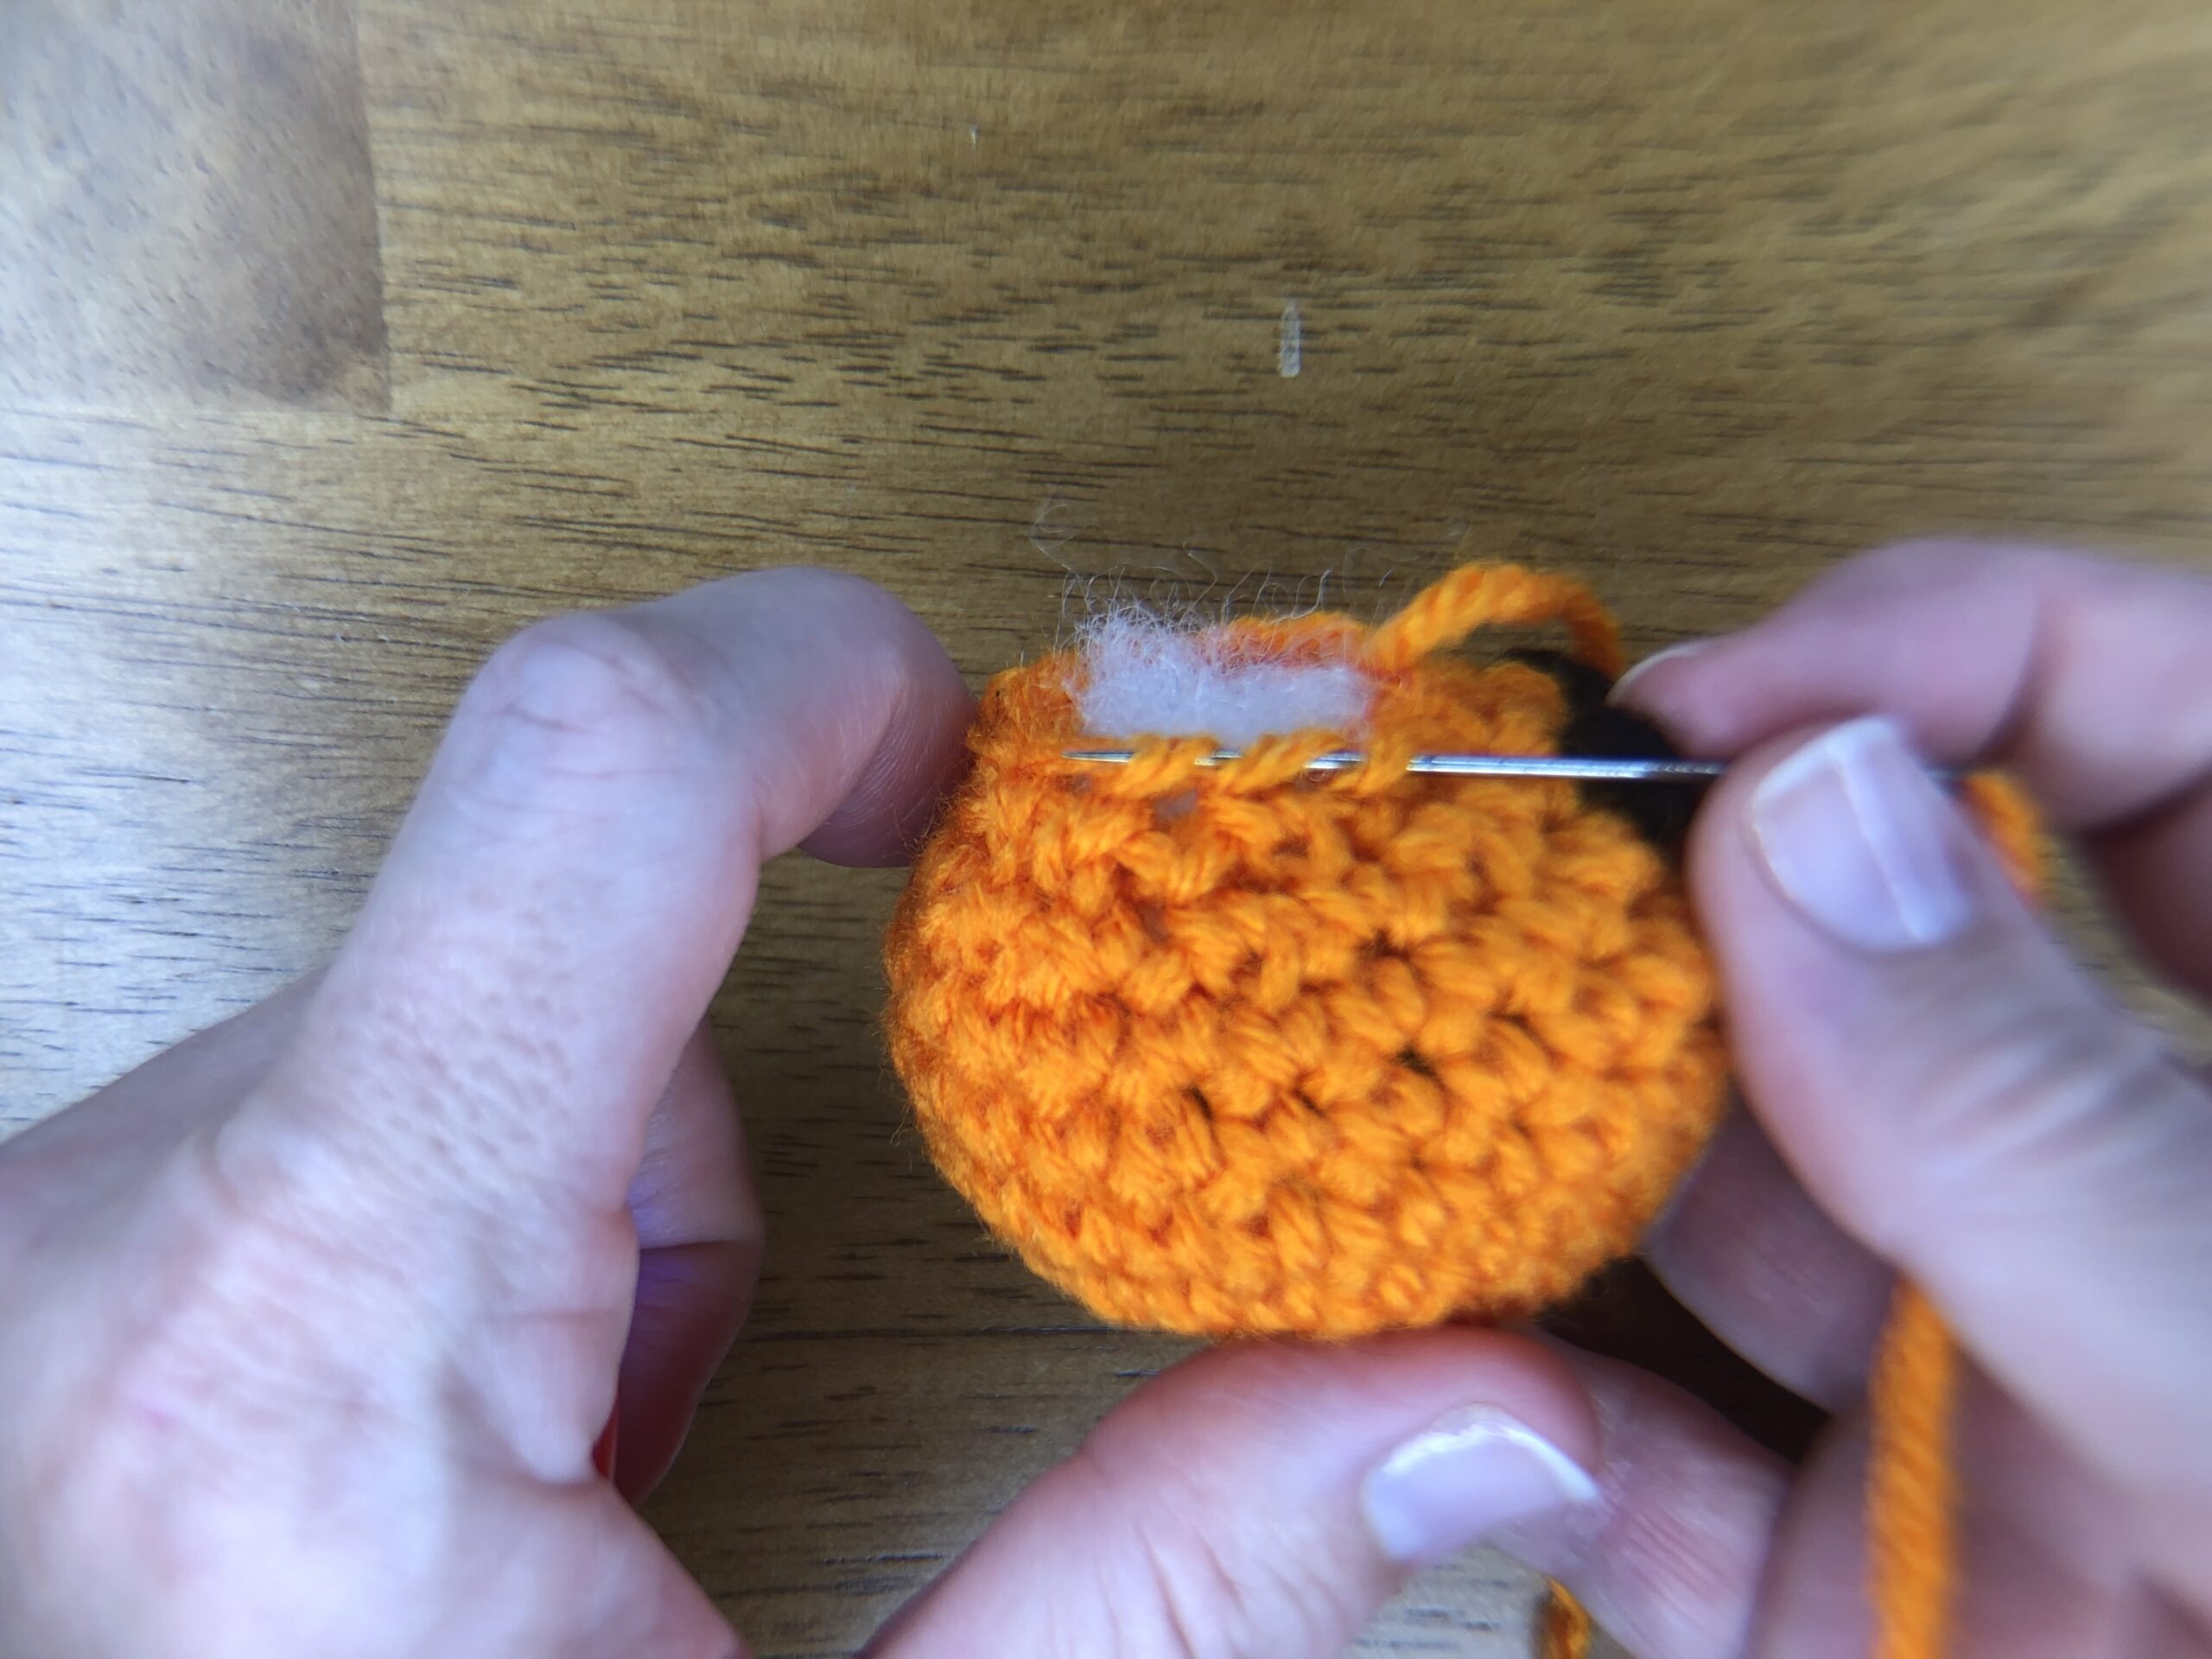
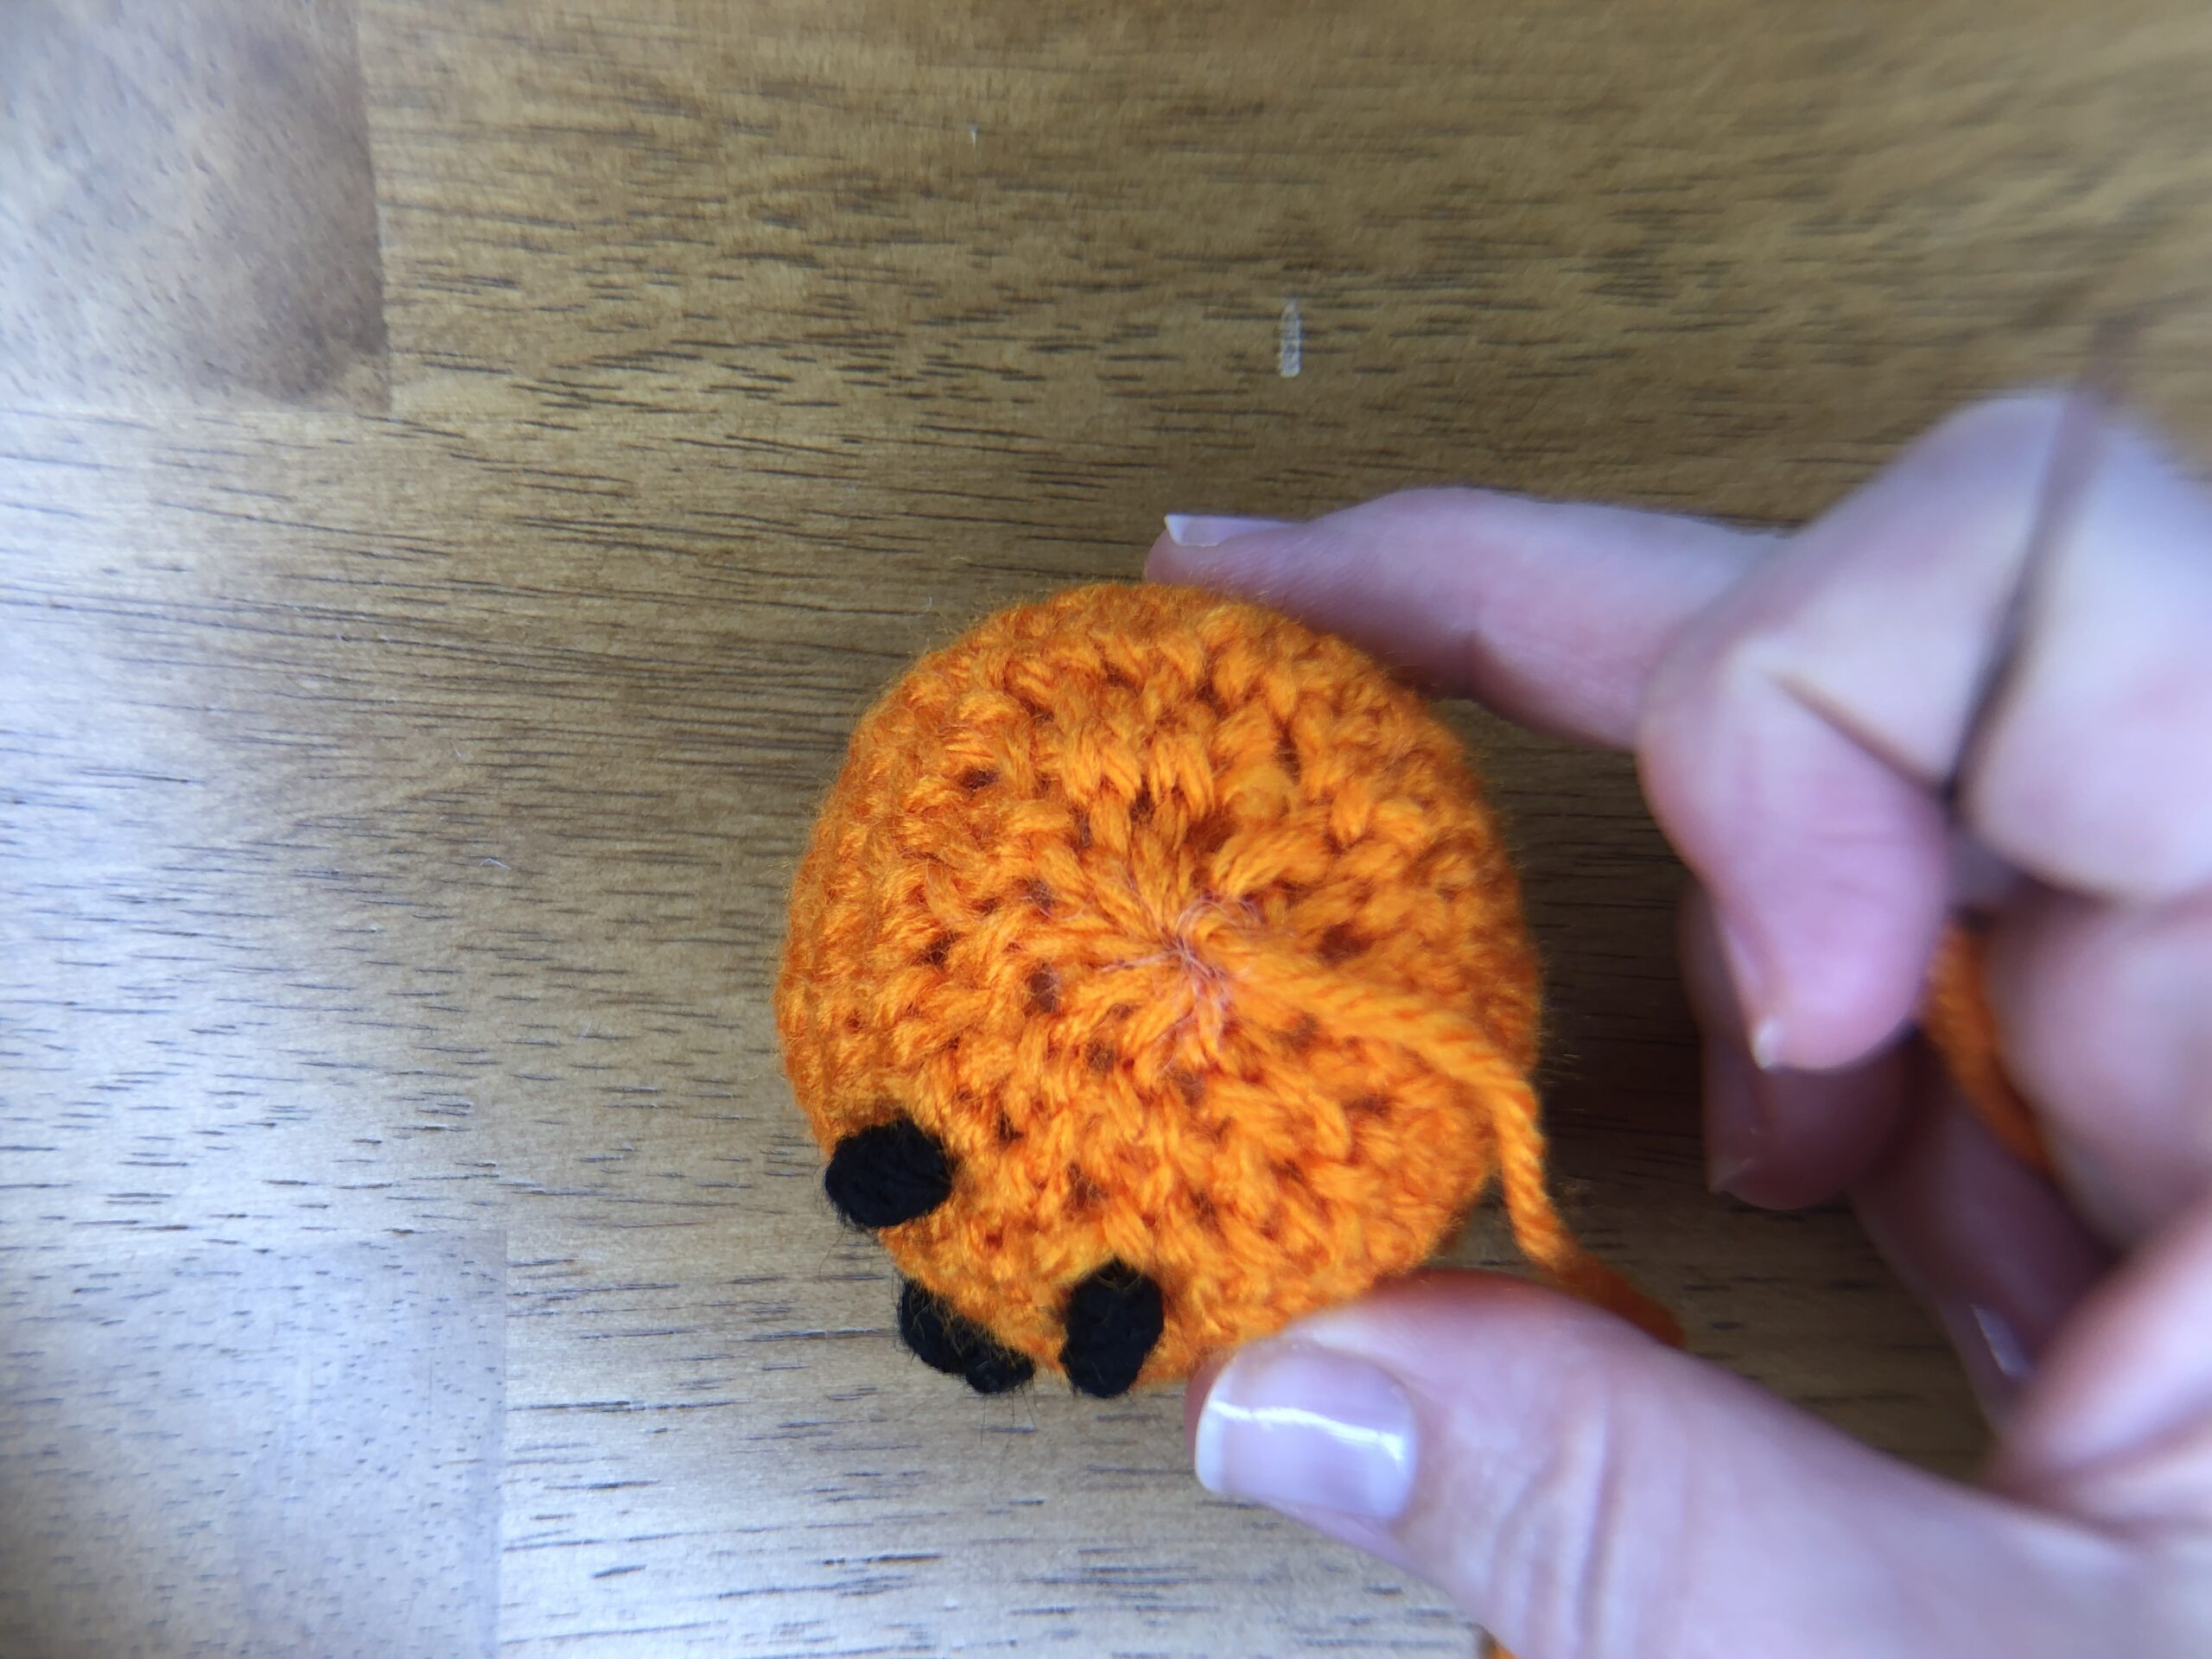
To make the lines down the sides, insert your needle into the top of the pumpkin and push all the way through to the bottom. Pull the needle out the bottom and pull tight. This will squish the pumpkin down and help it start to take shape.
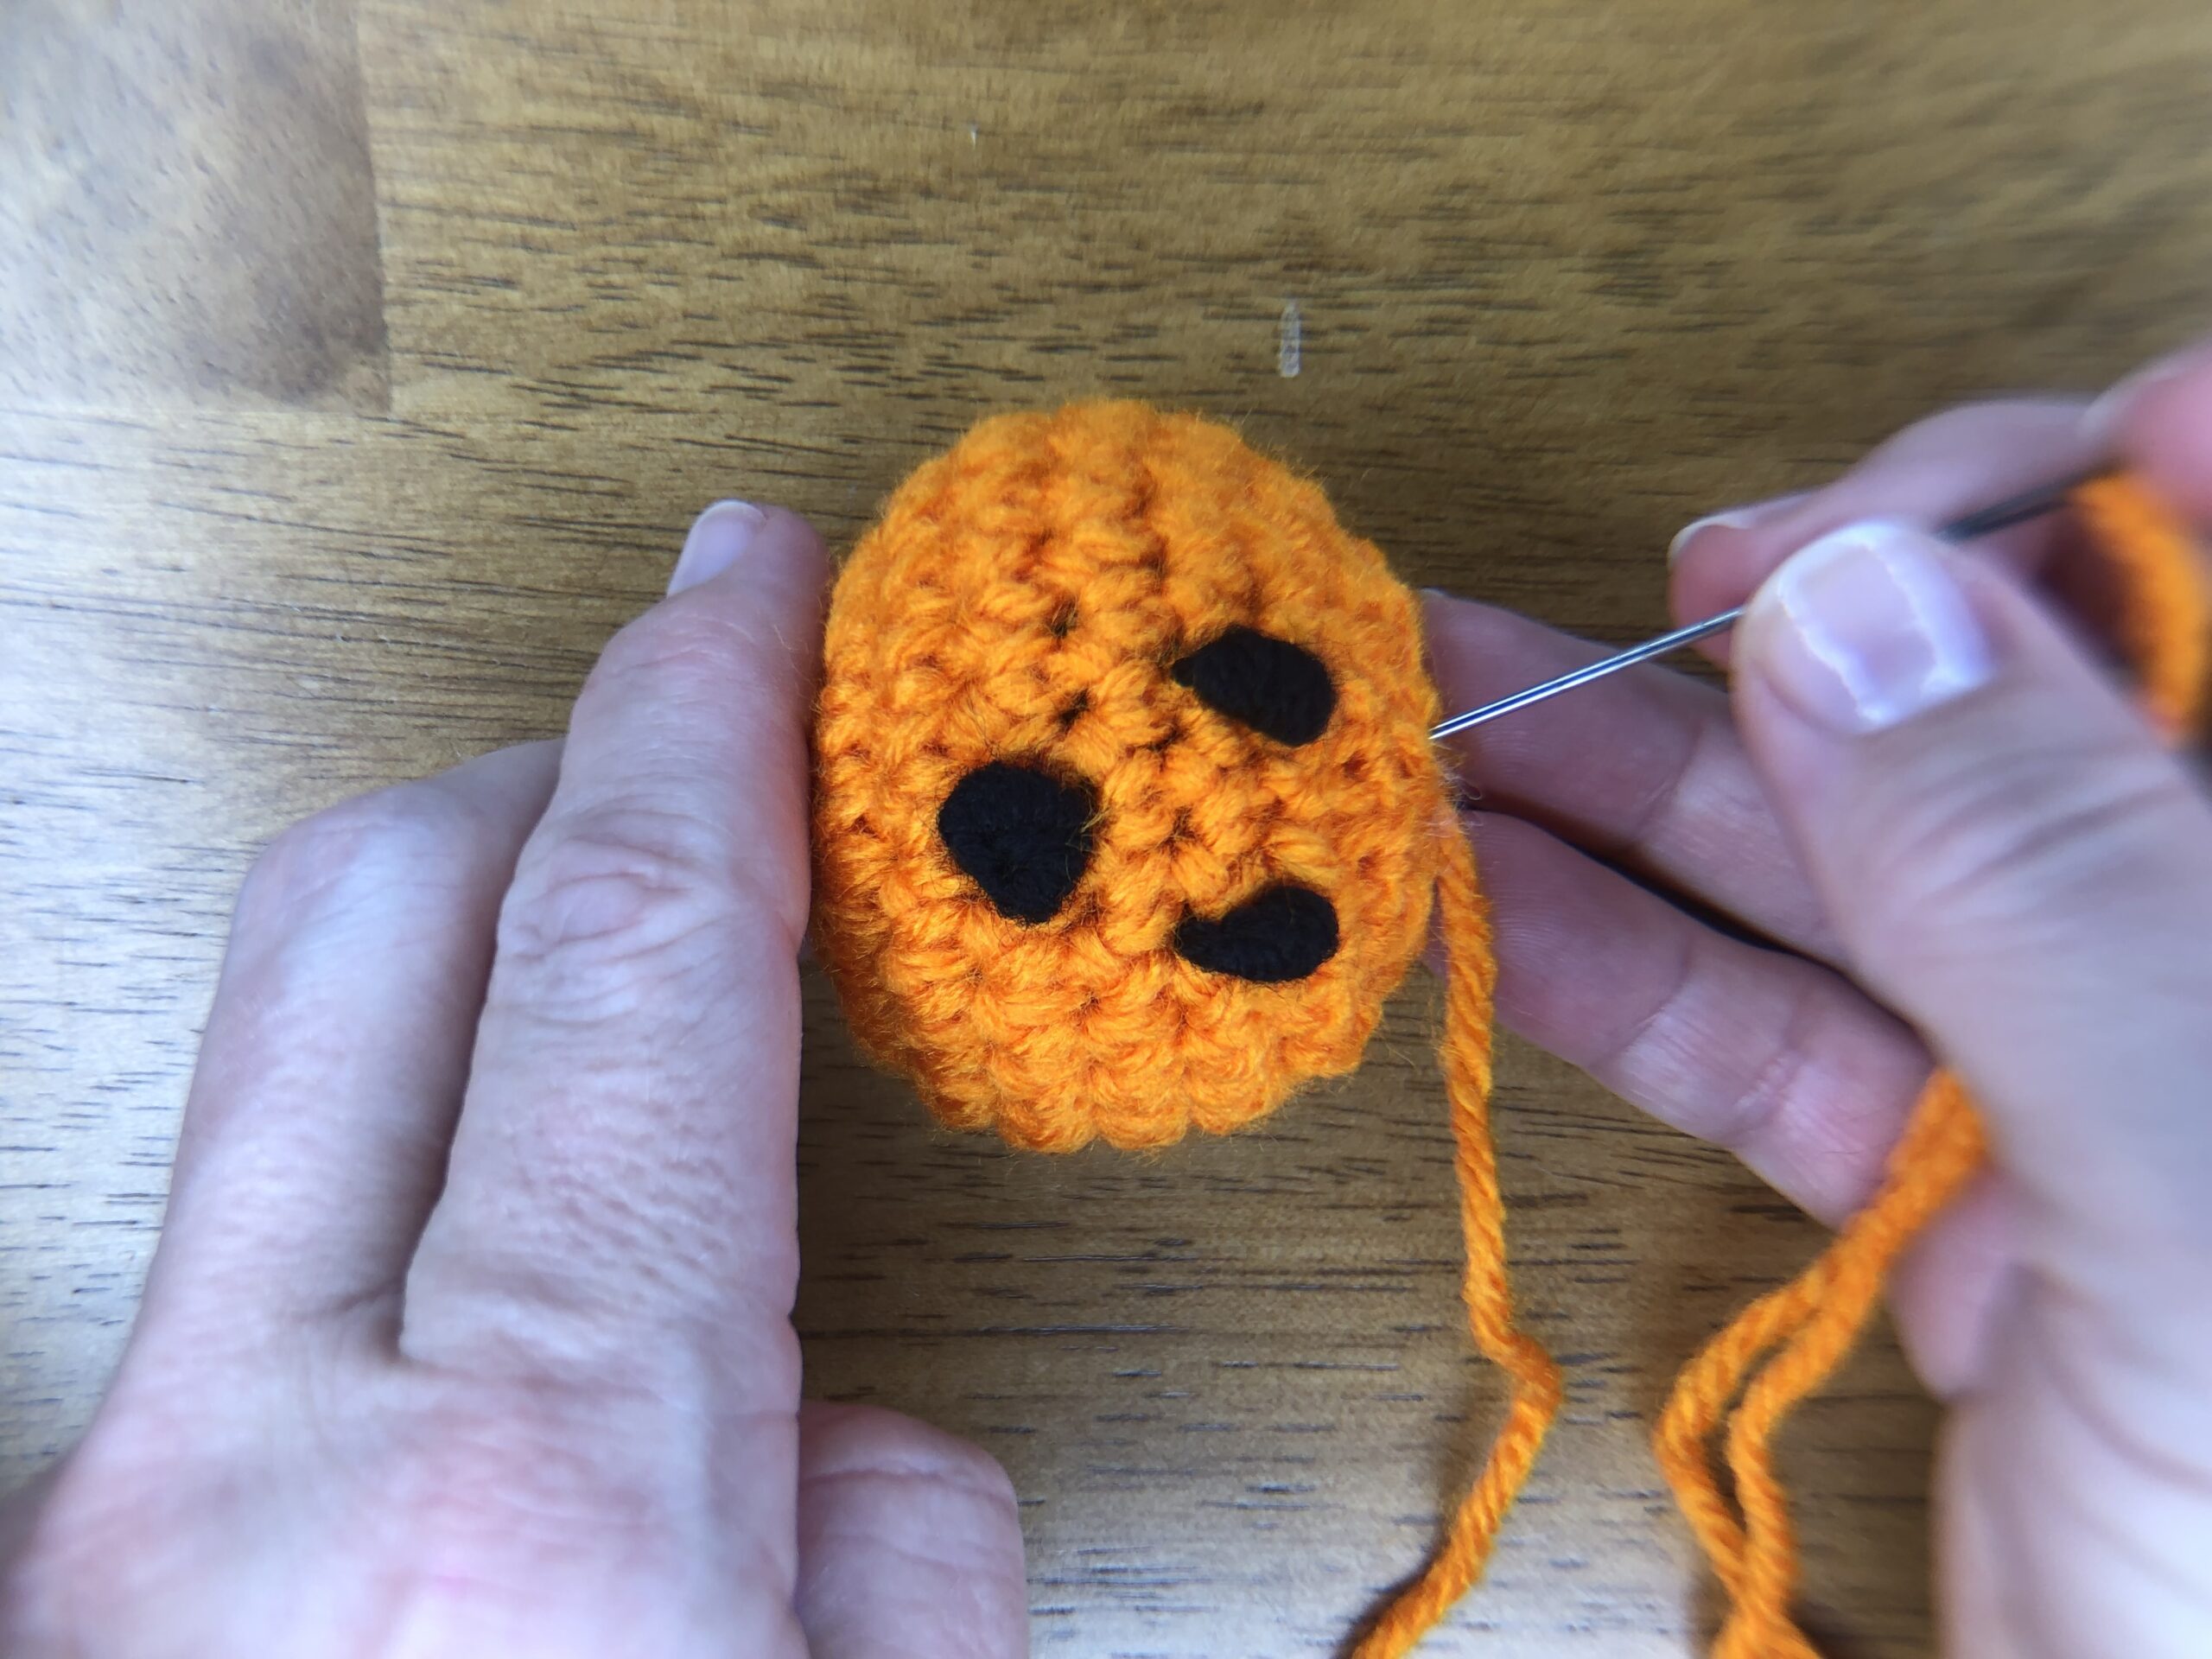
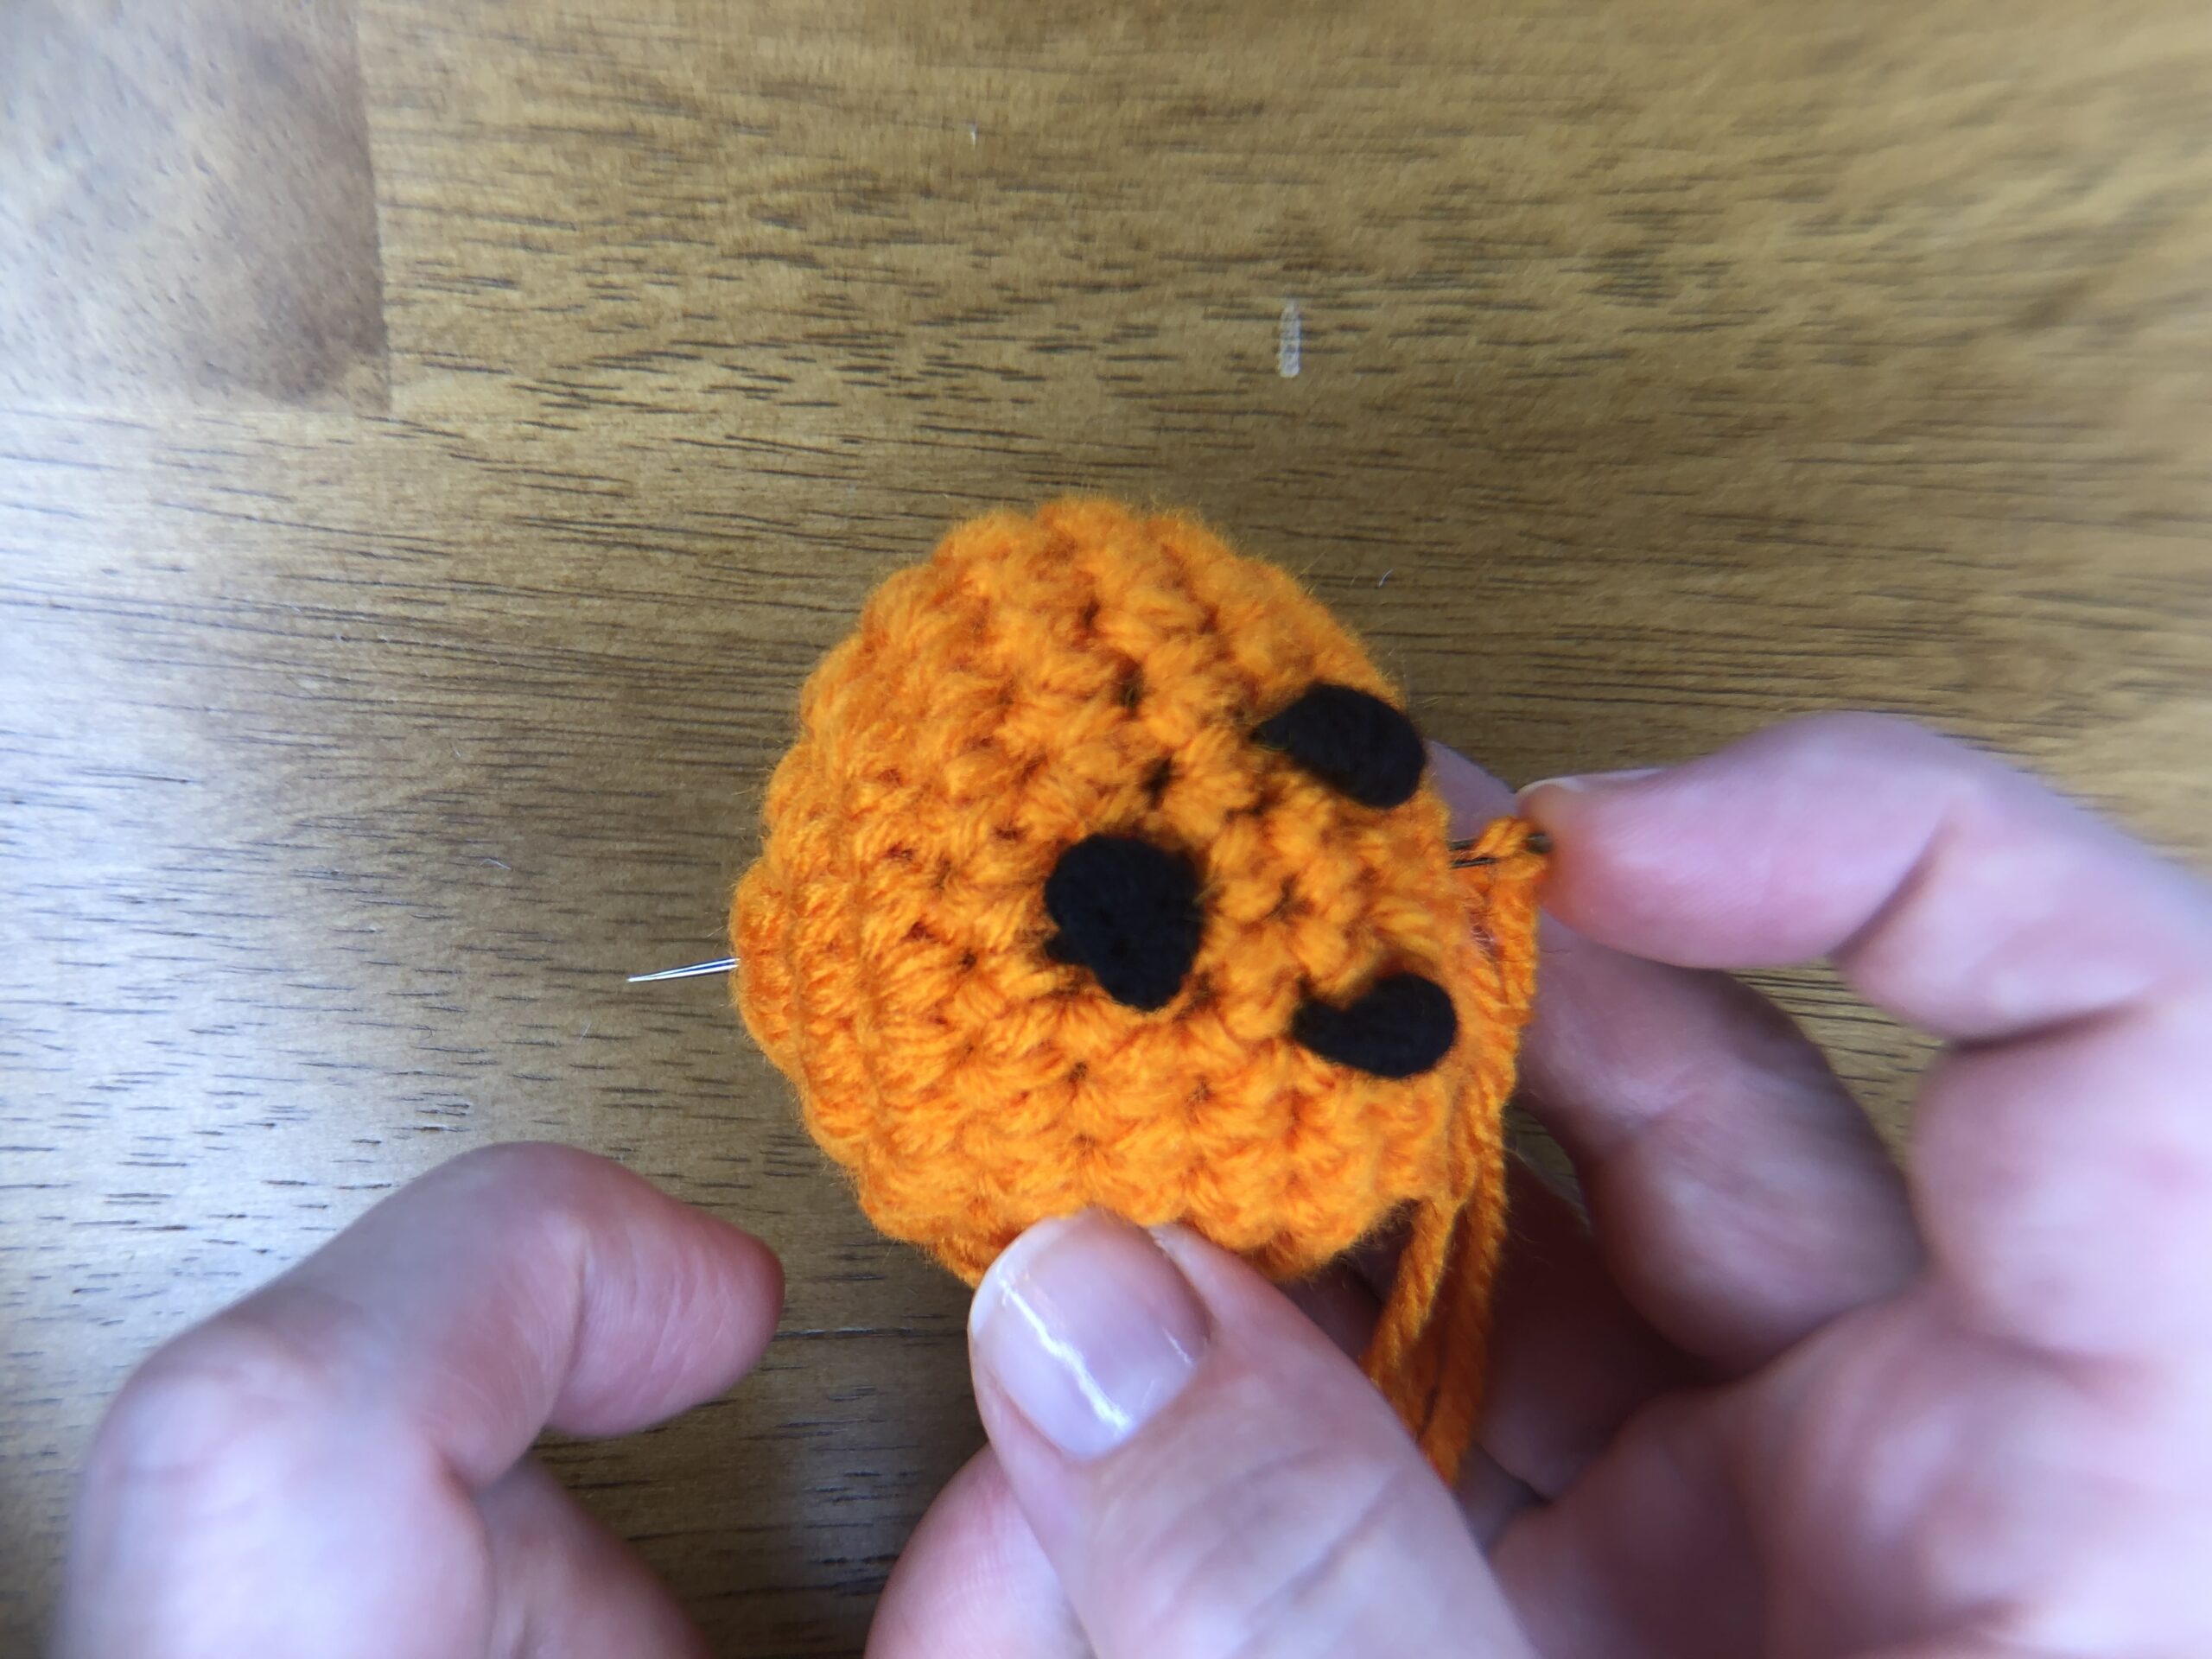
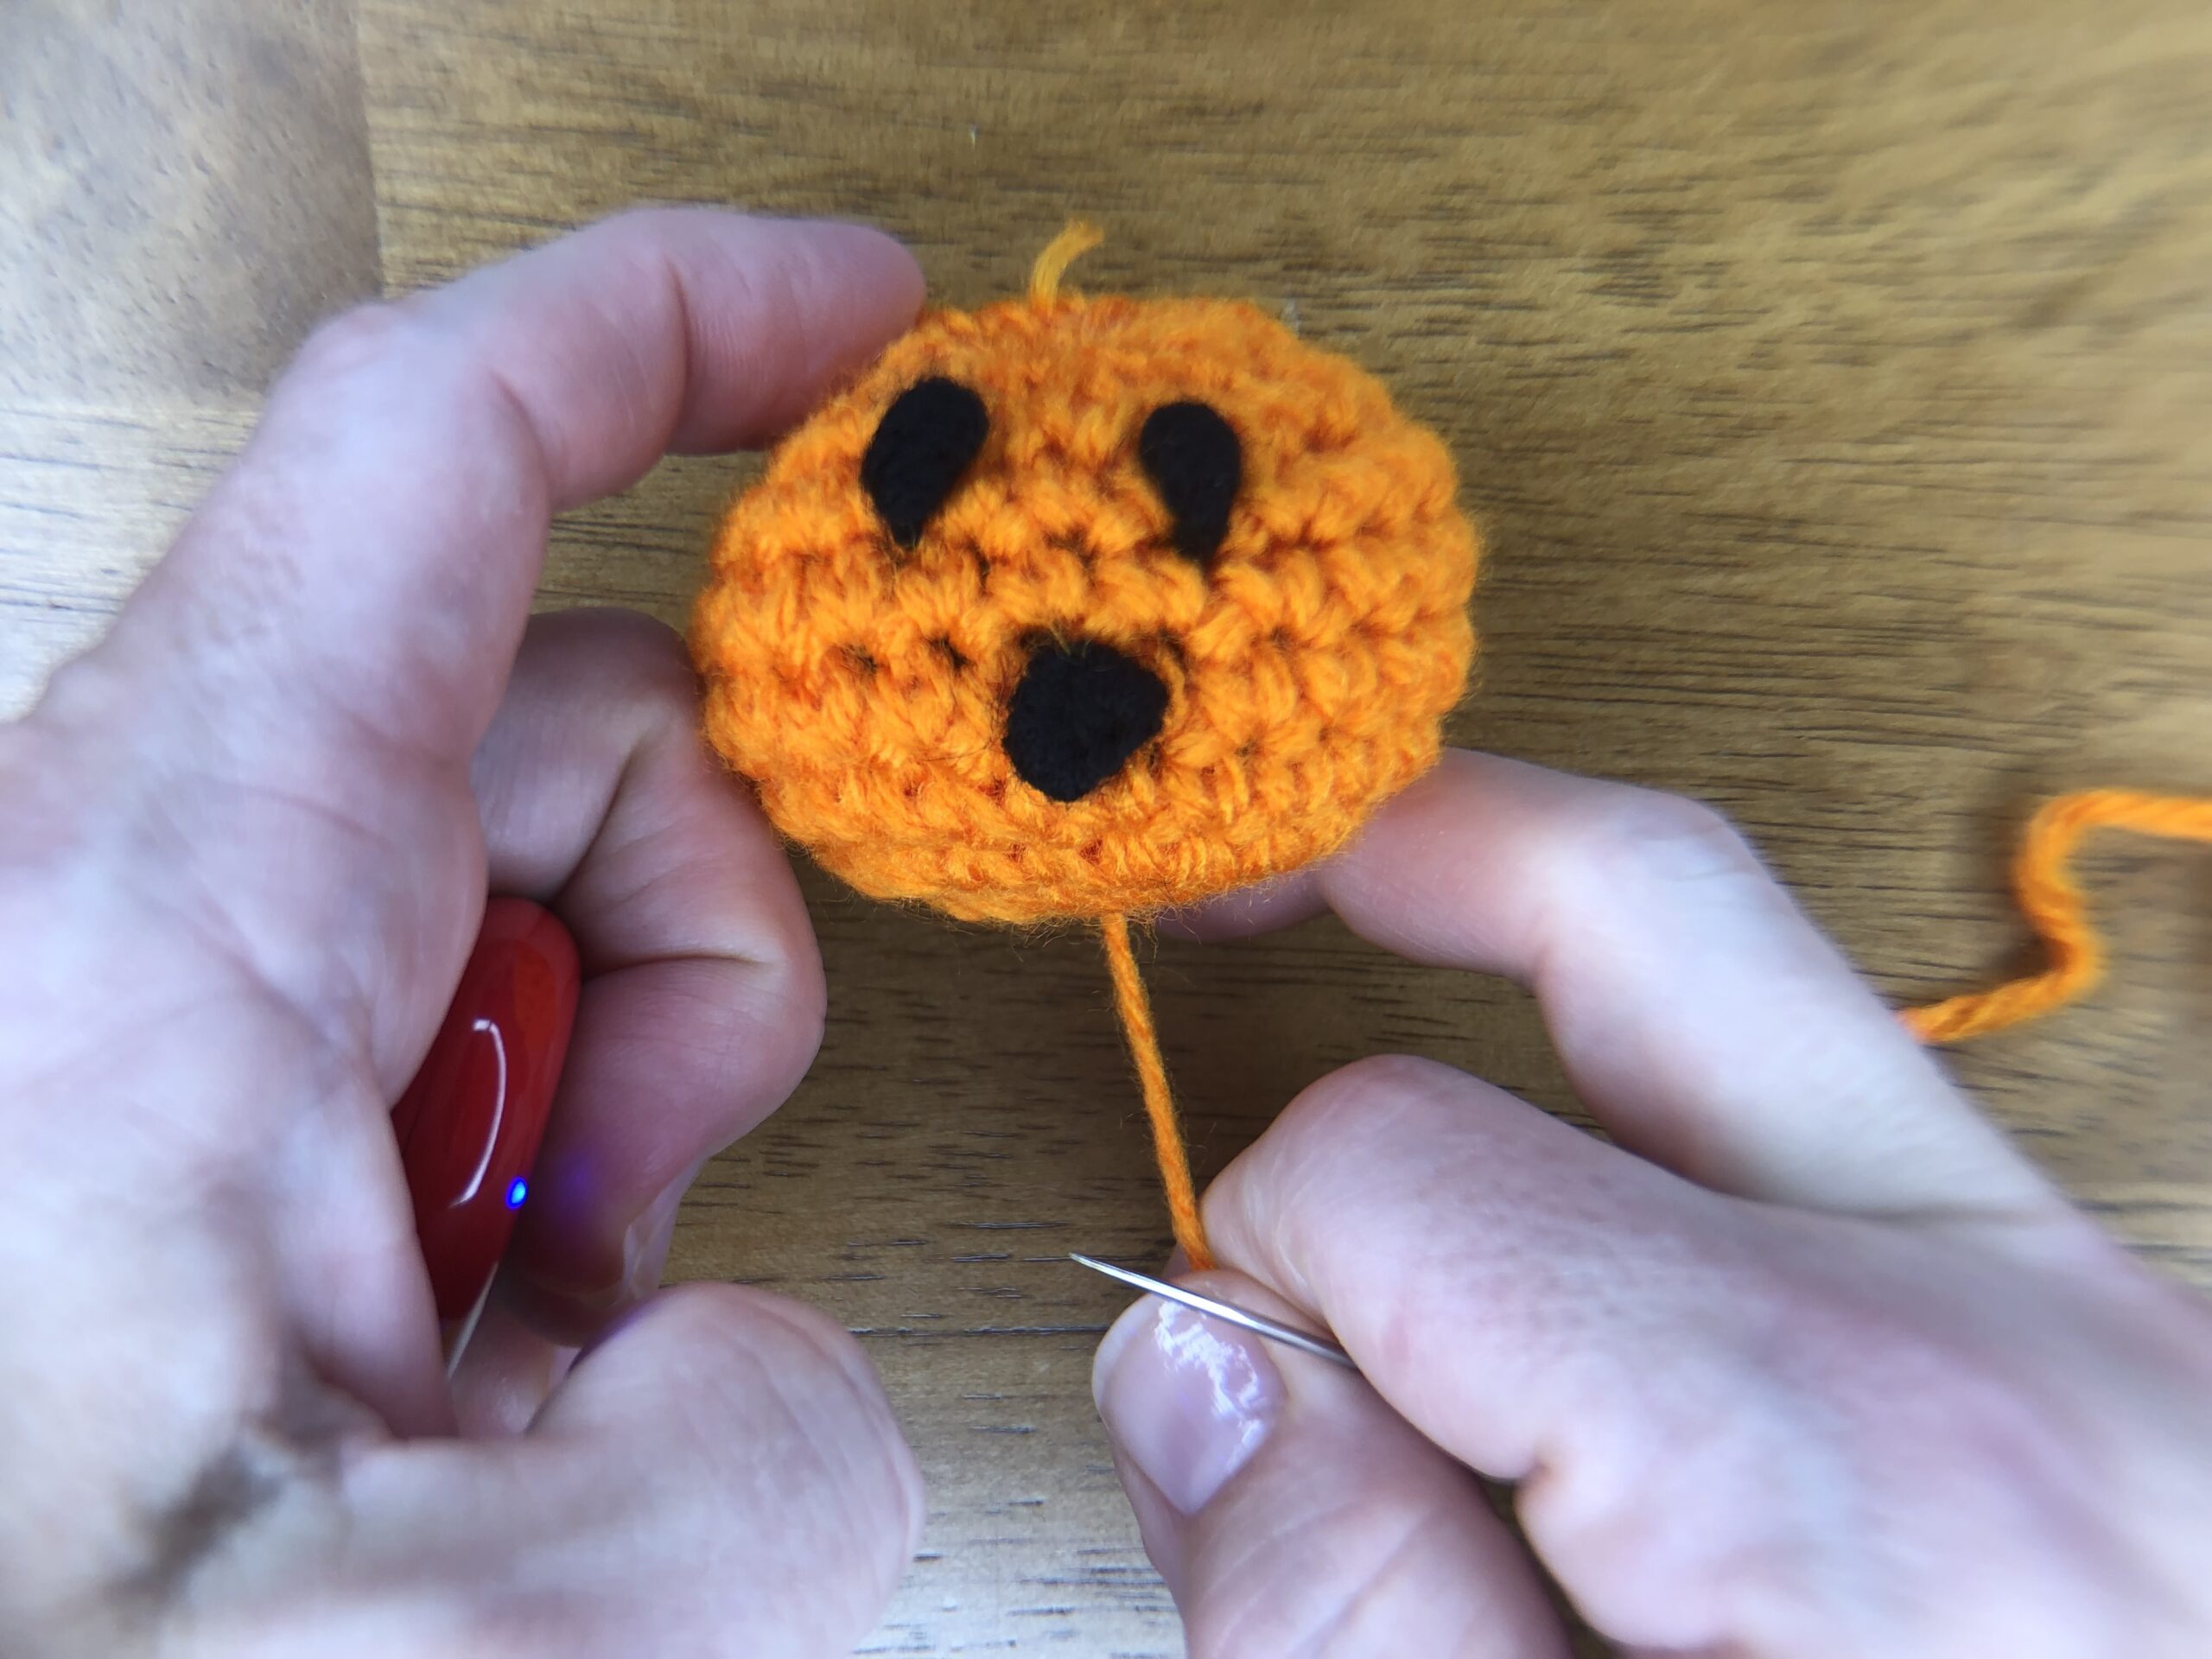
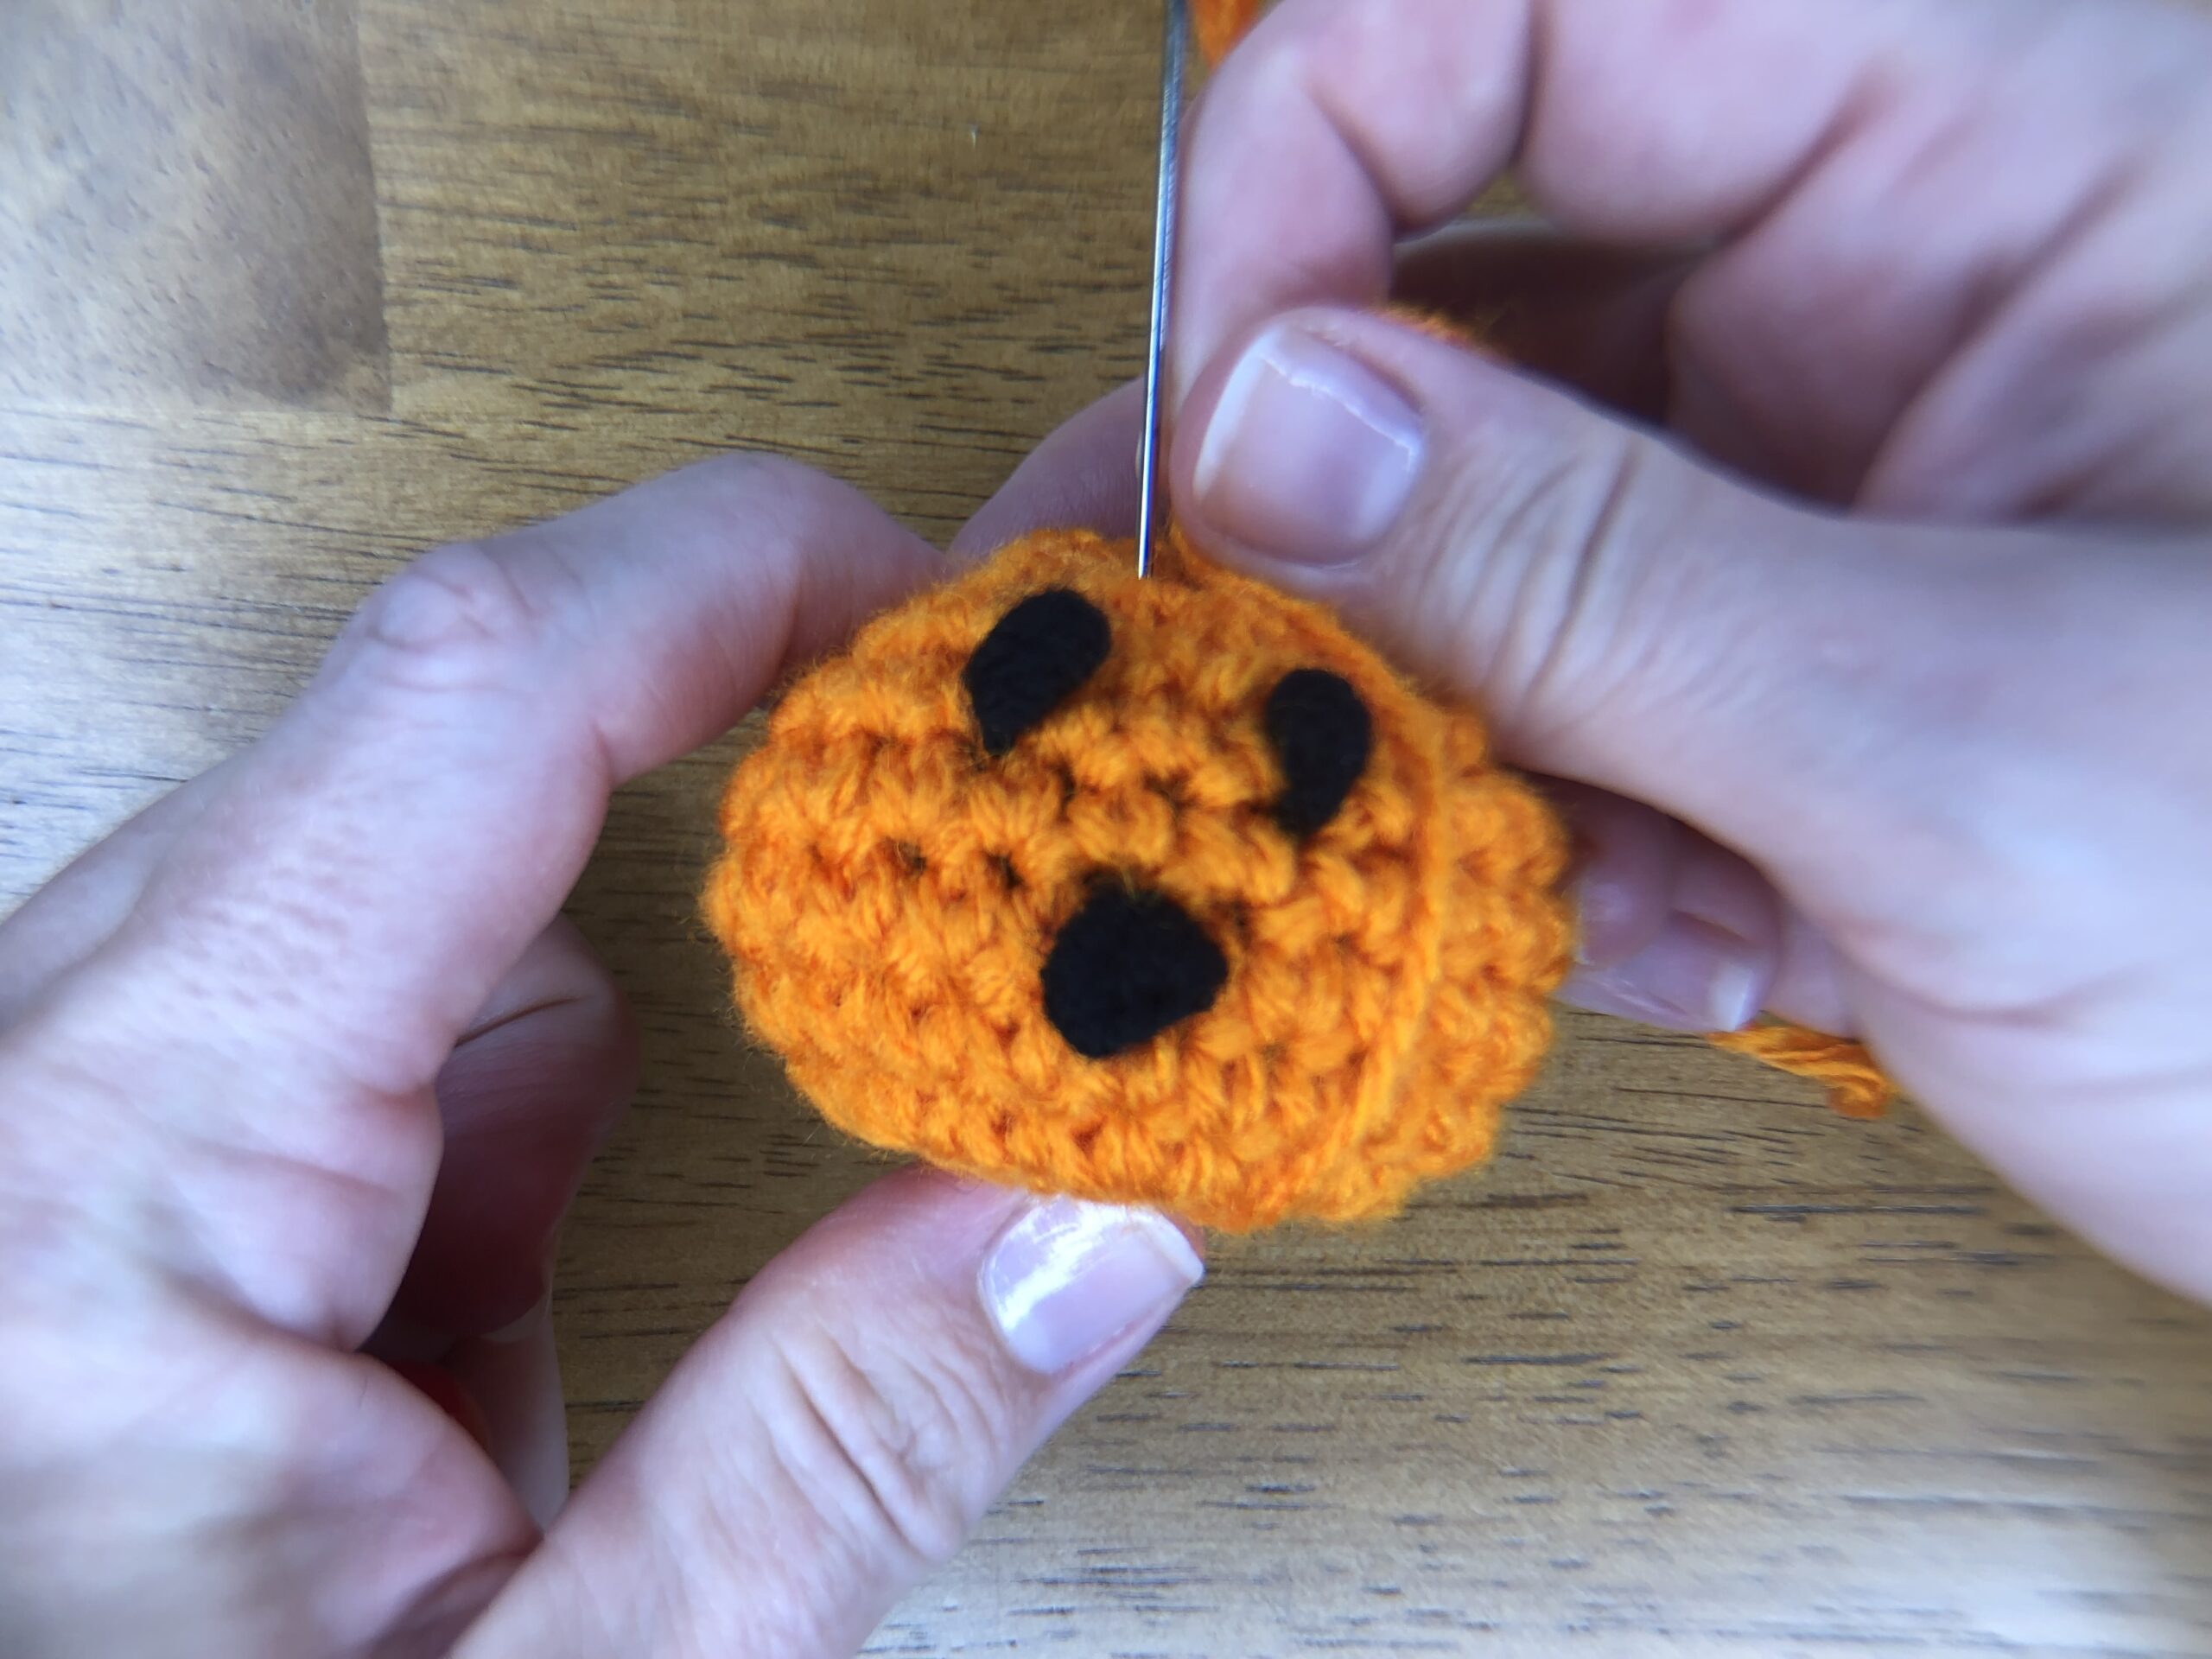
Bring the yarn up the side of the pumpkin where you would like a line. Hold the yarn in place with your thumb and insert the needle in the top of the pumpkin again. Pull through the bottom and pull until the line starts to dig into the side of the pumpkin and make that characteristic pumpkin shape.
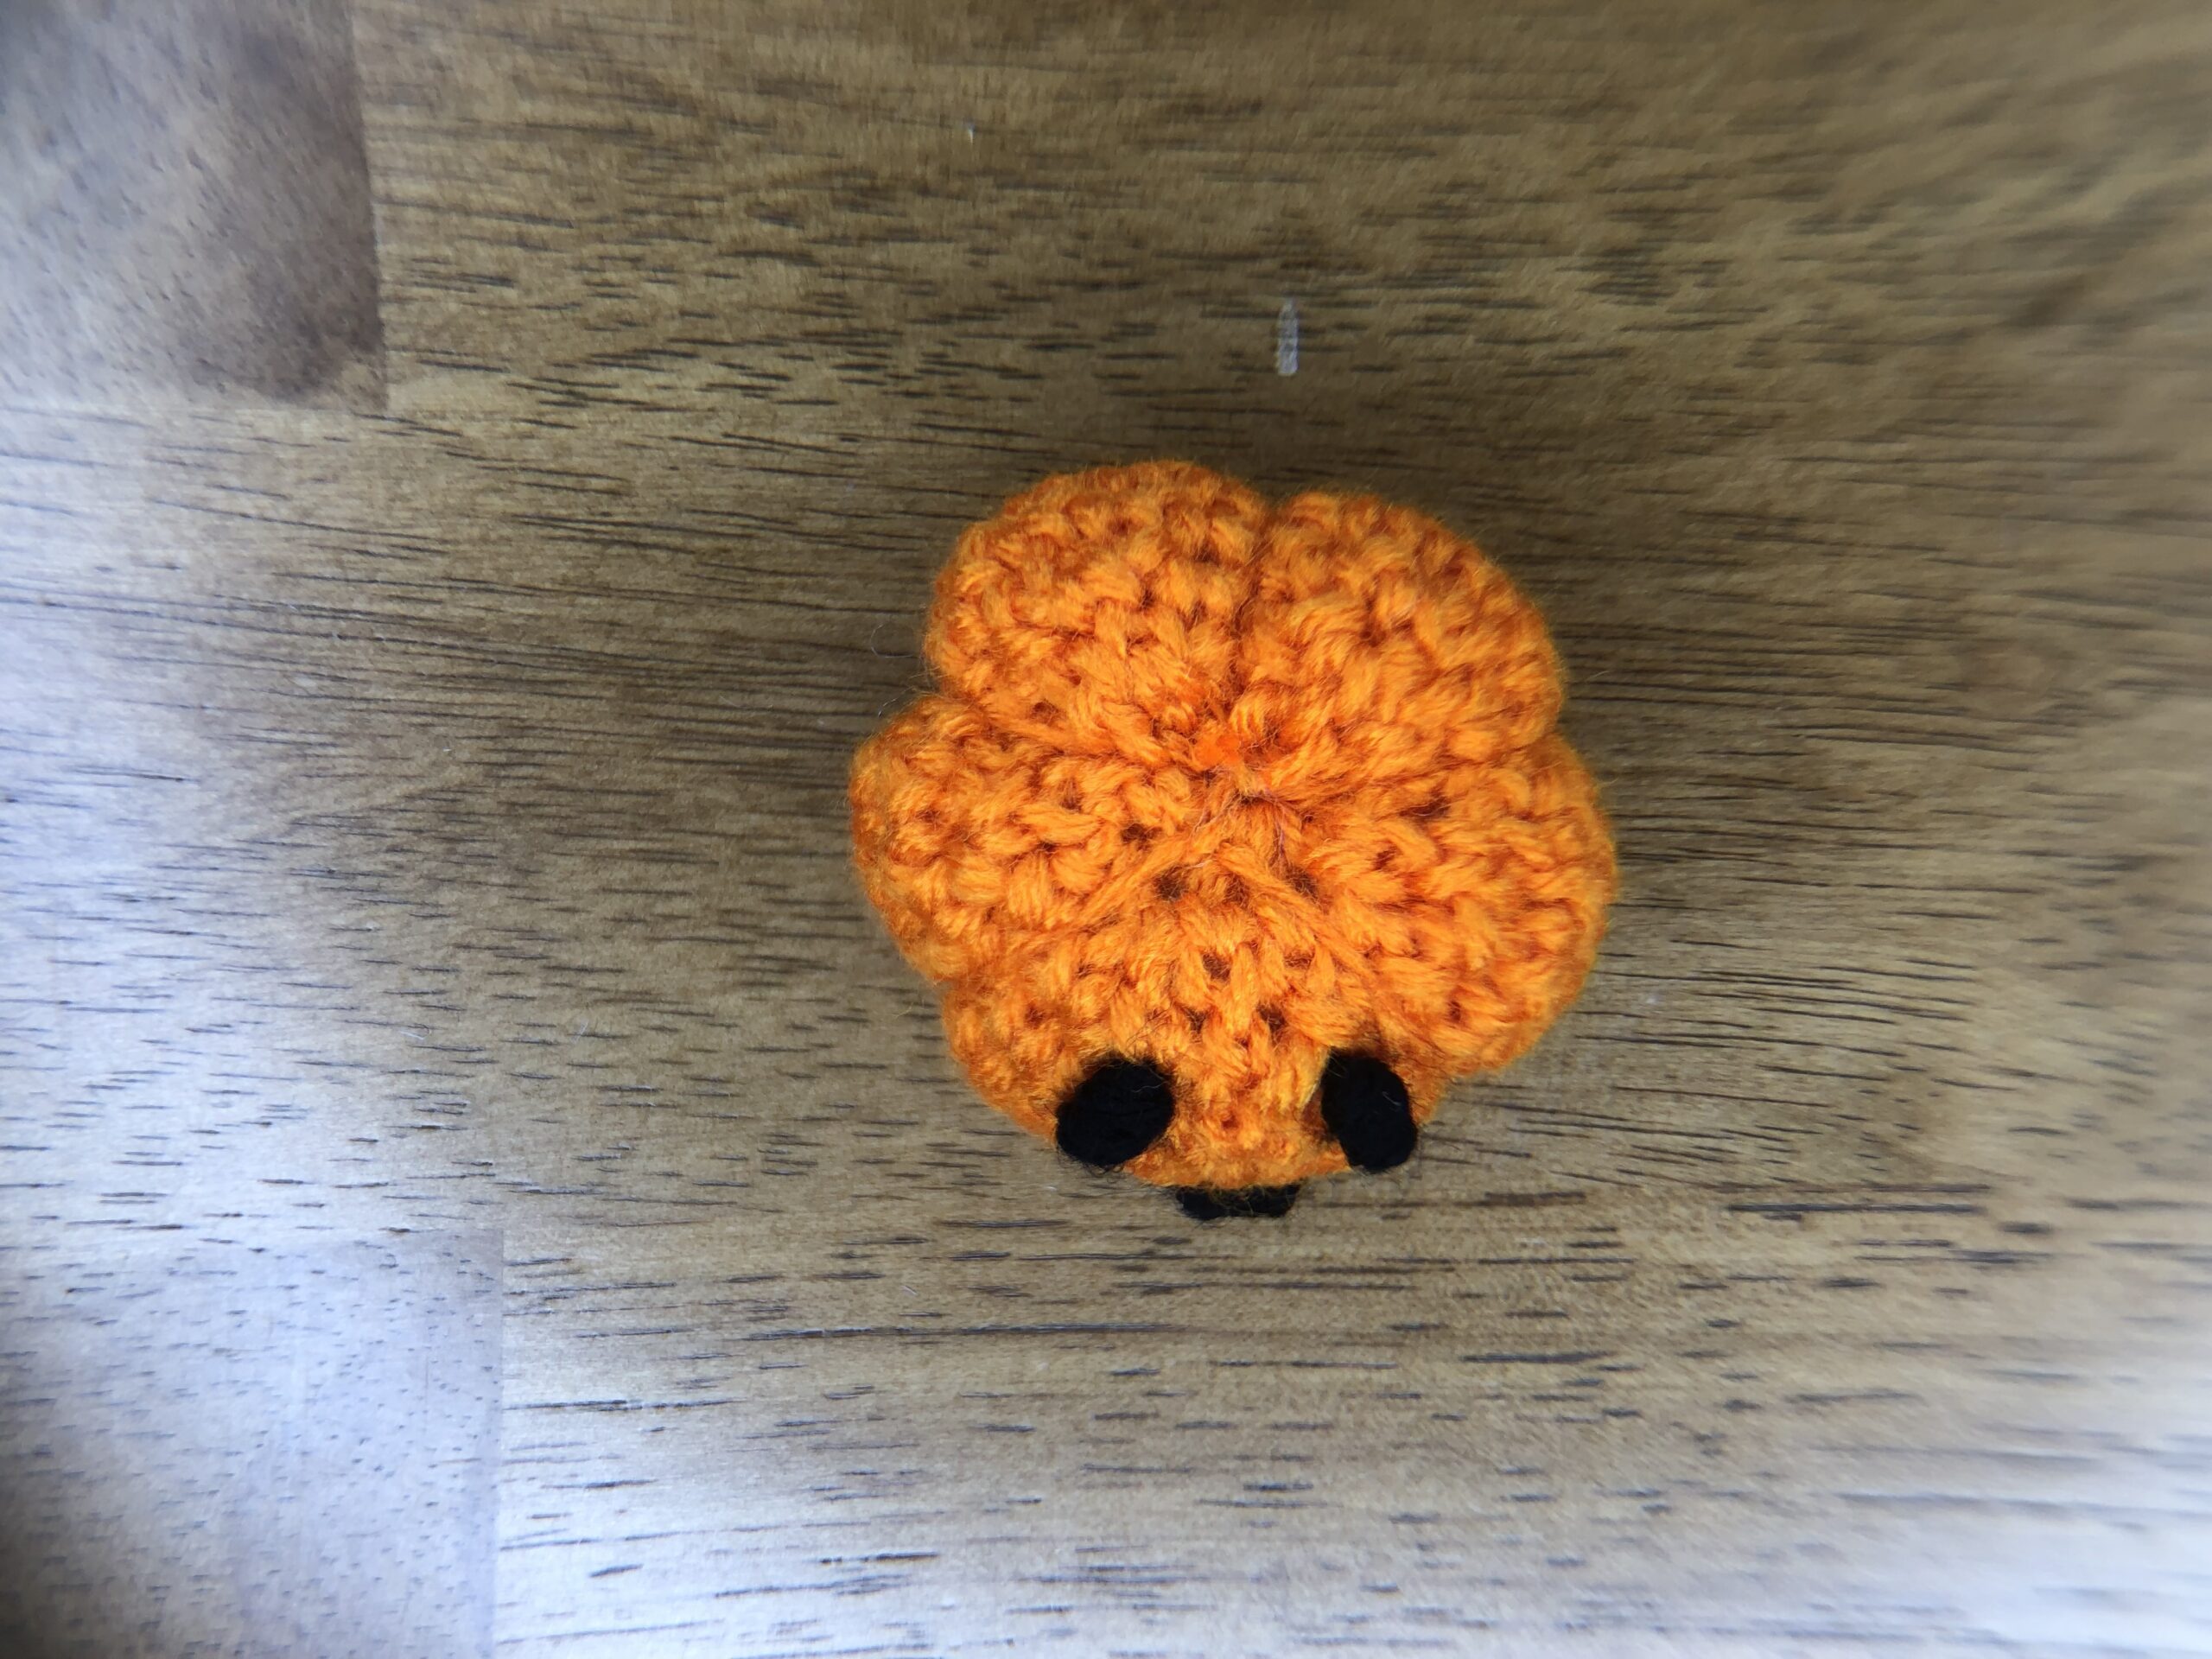
Repeat this process to create as many lines as you would like for your pumpkin.
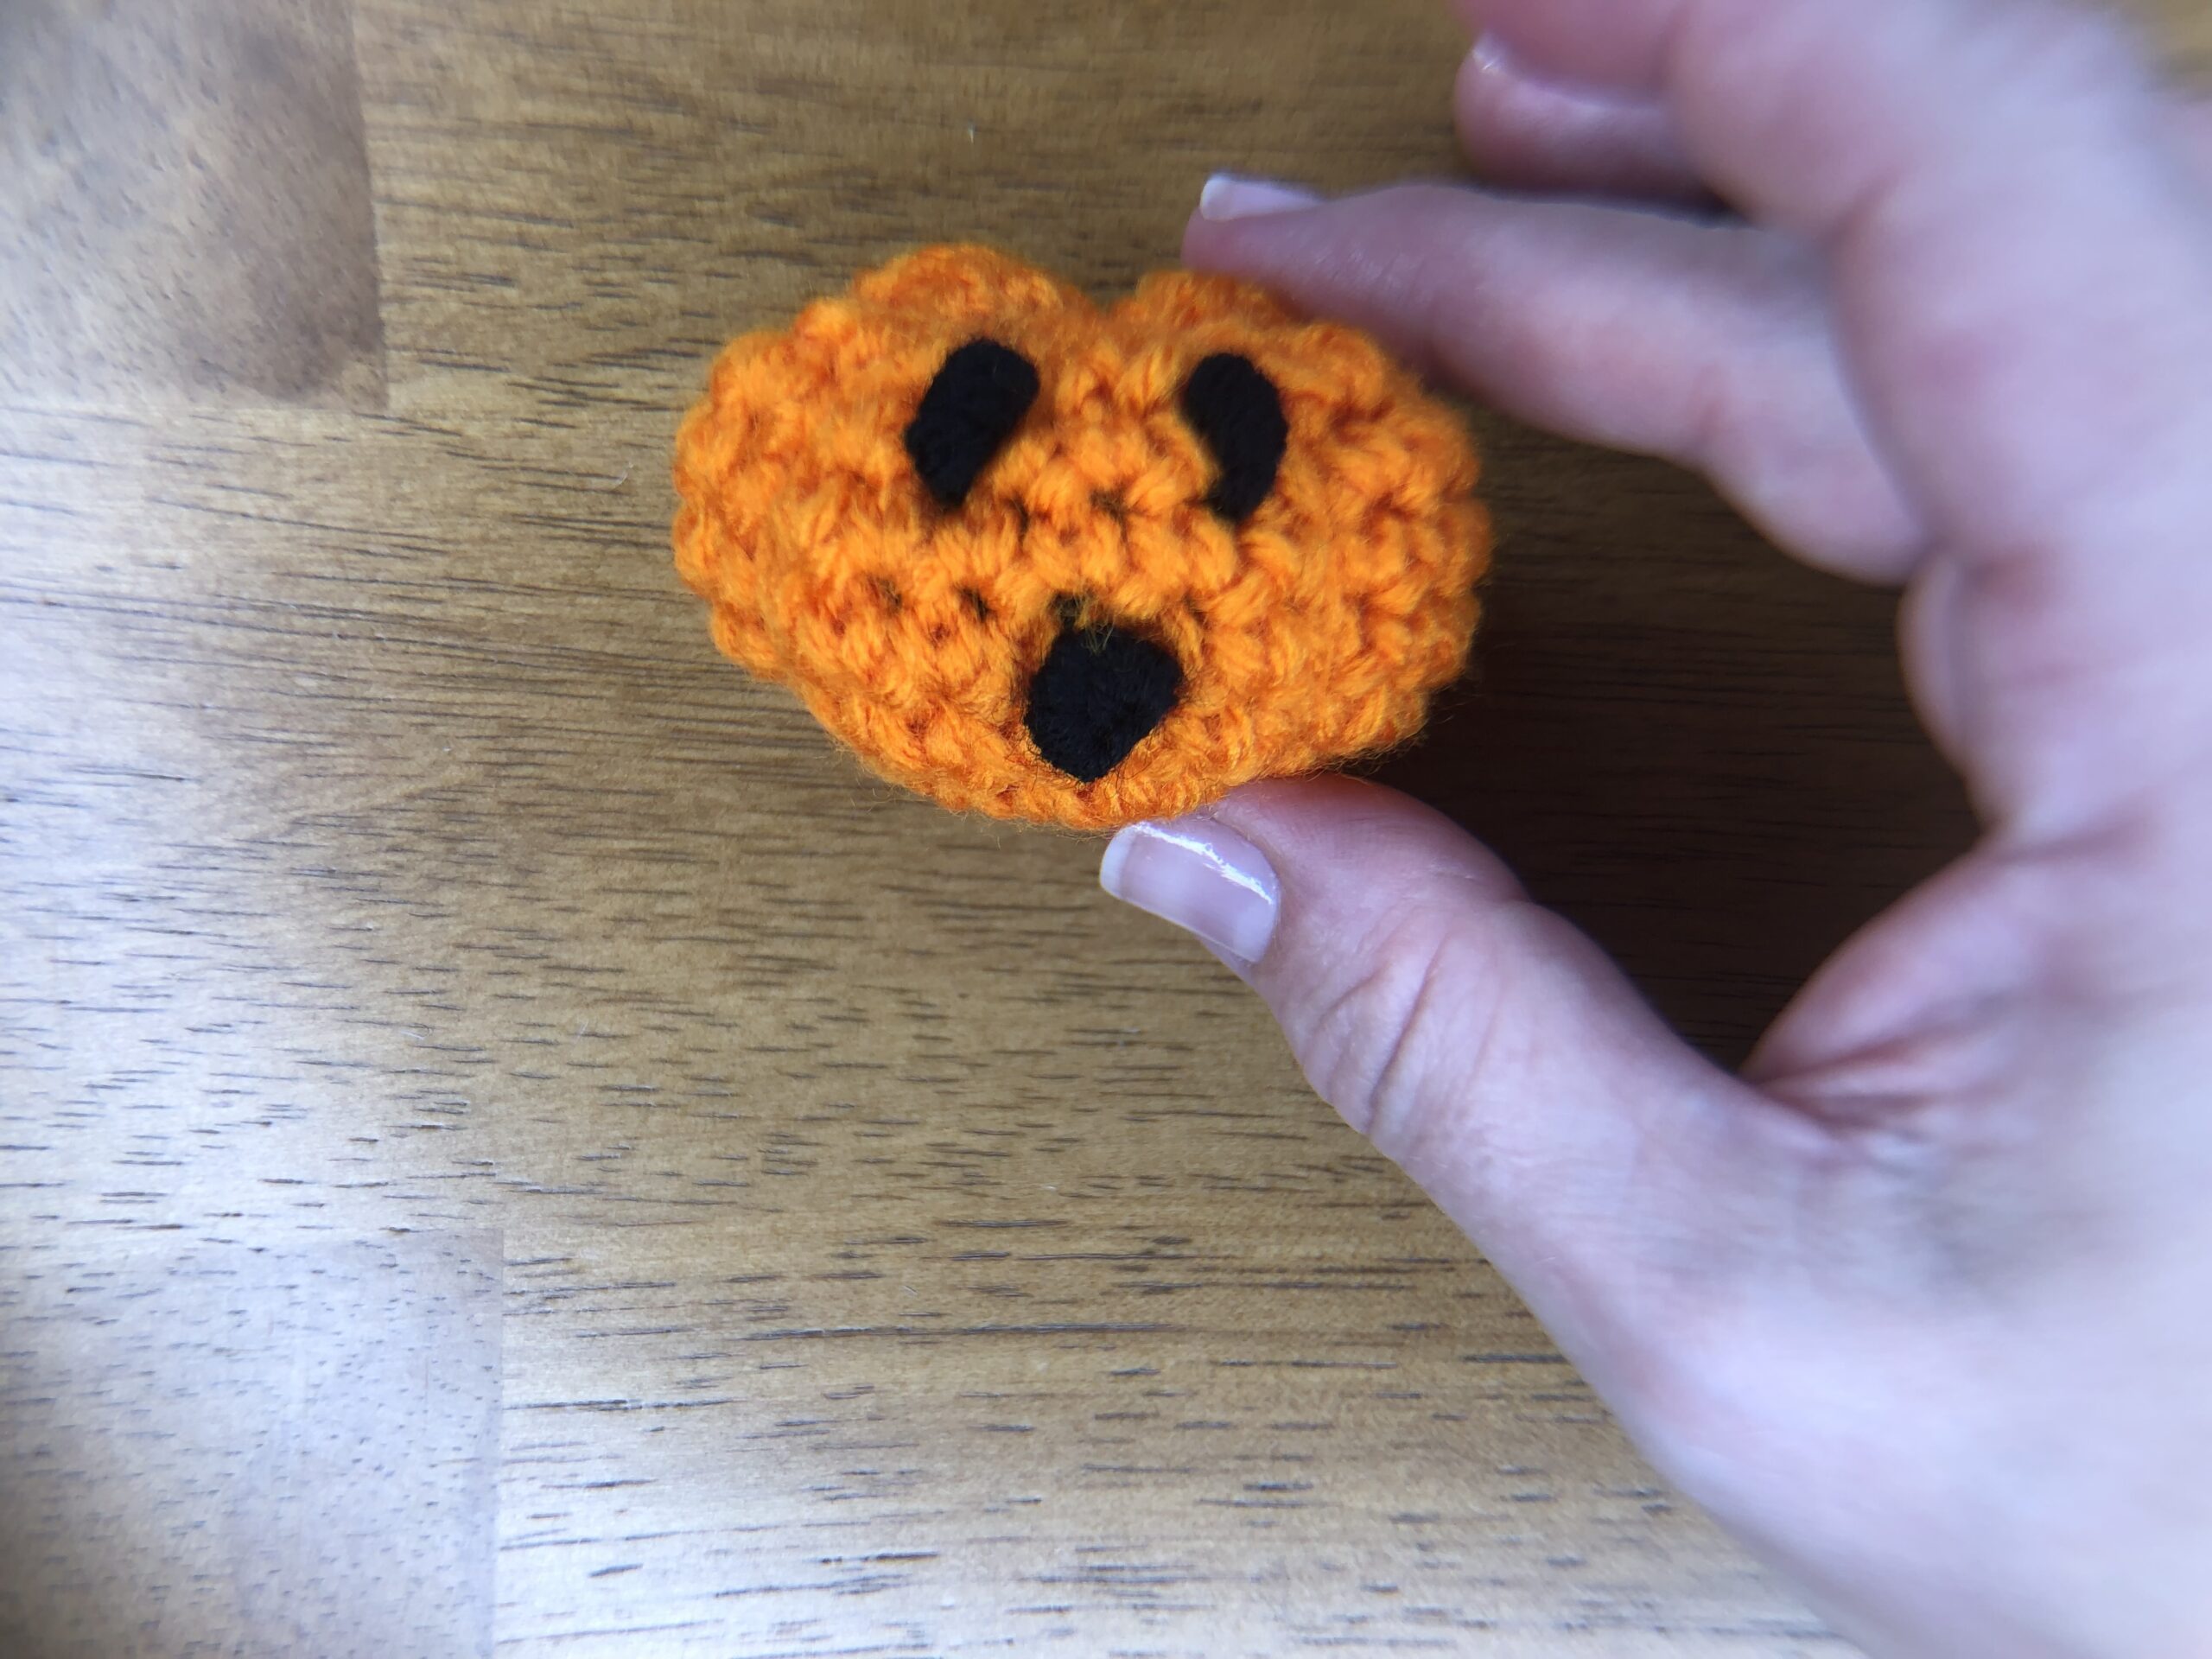
To make the stem, grab the green yarn and chain 7. Skip the first chain and sc across the remaining 6 chains. Cut yarn, leaving a long tail for attaching the stem to the pumpkin. Tie off.
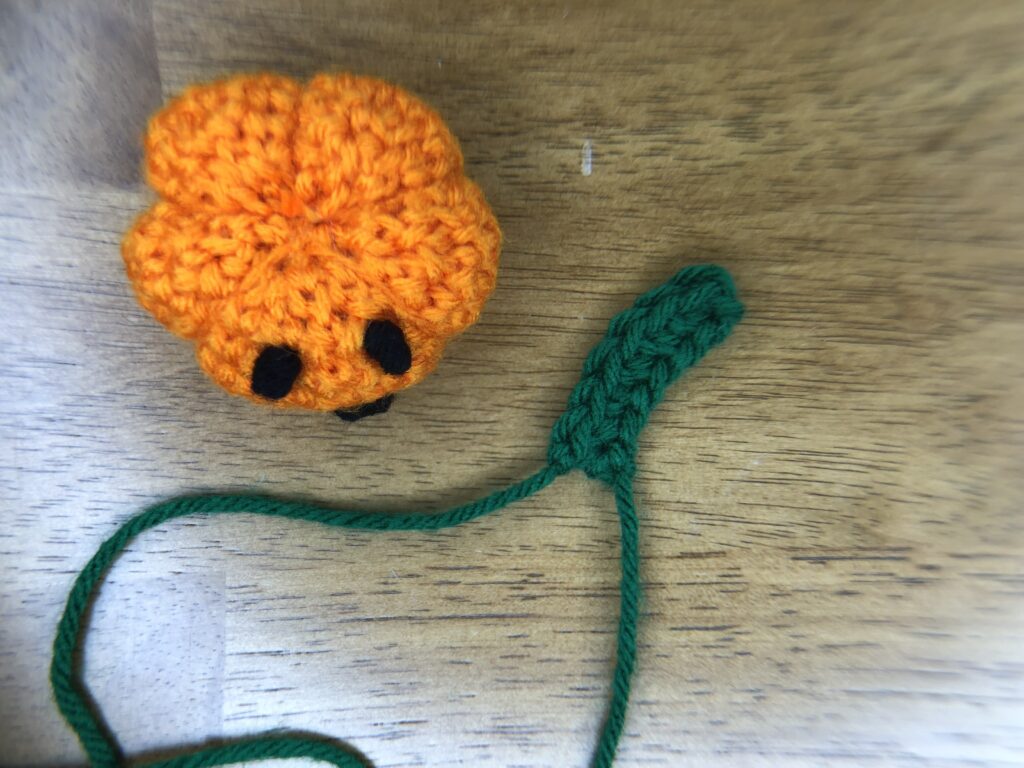
Fold the stem in half and use the short tail from the beginning chain to make a couple of stitches to hold the stem together.
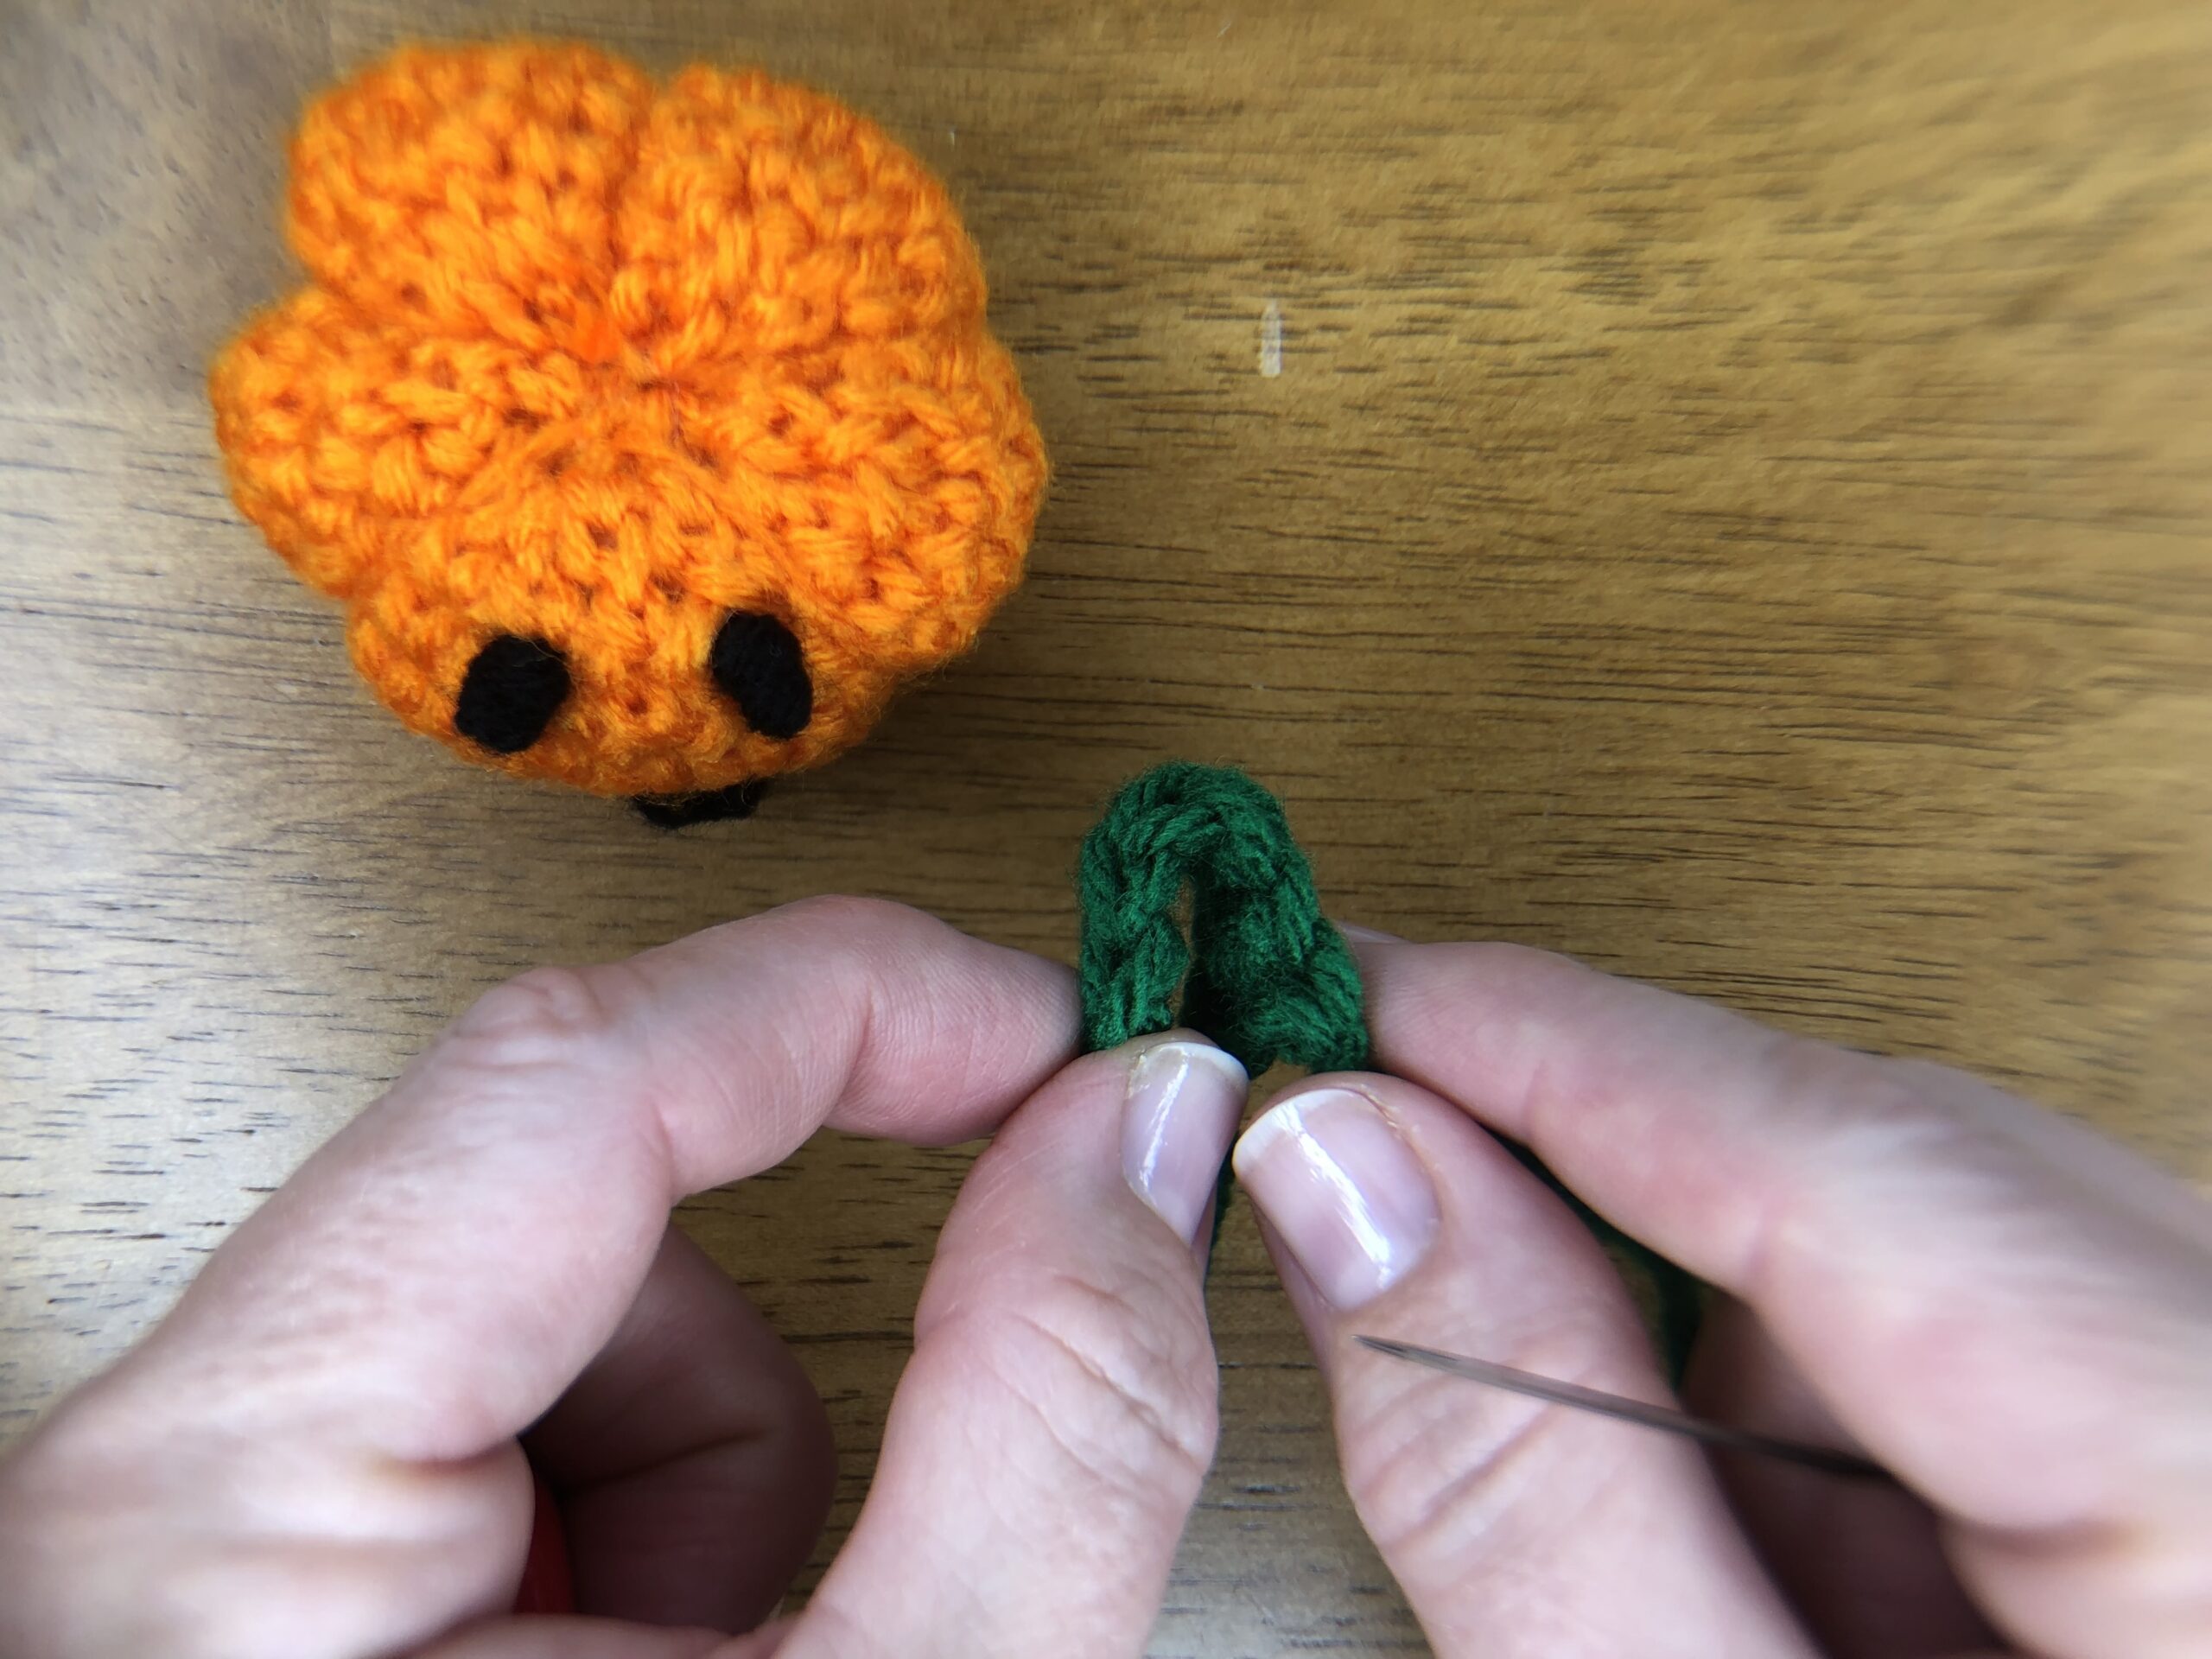
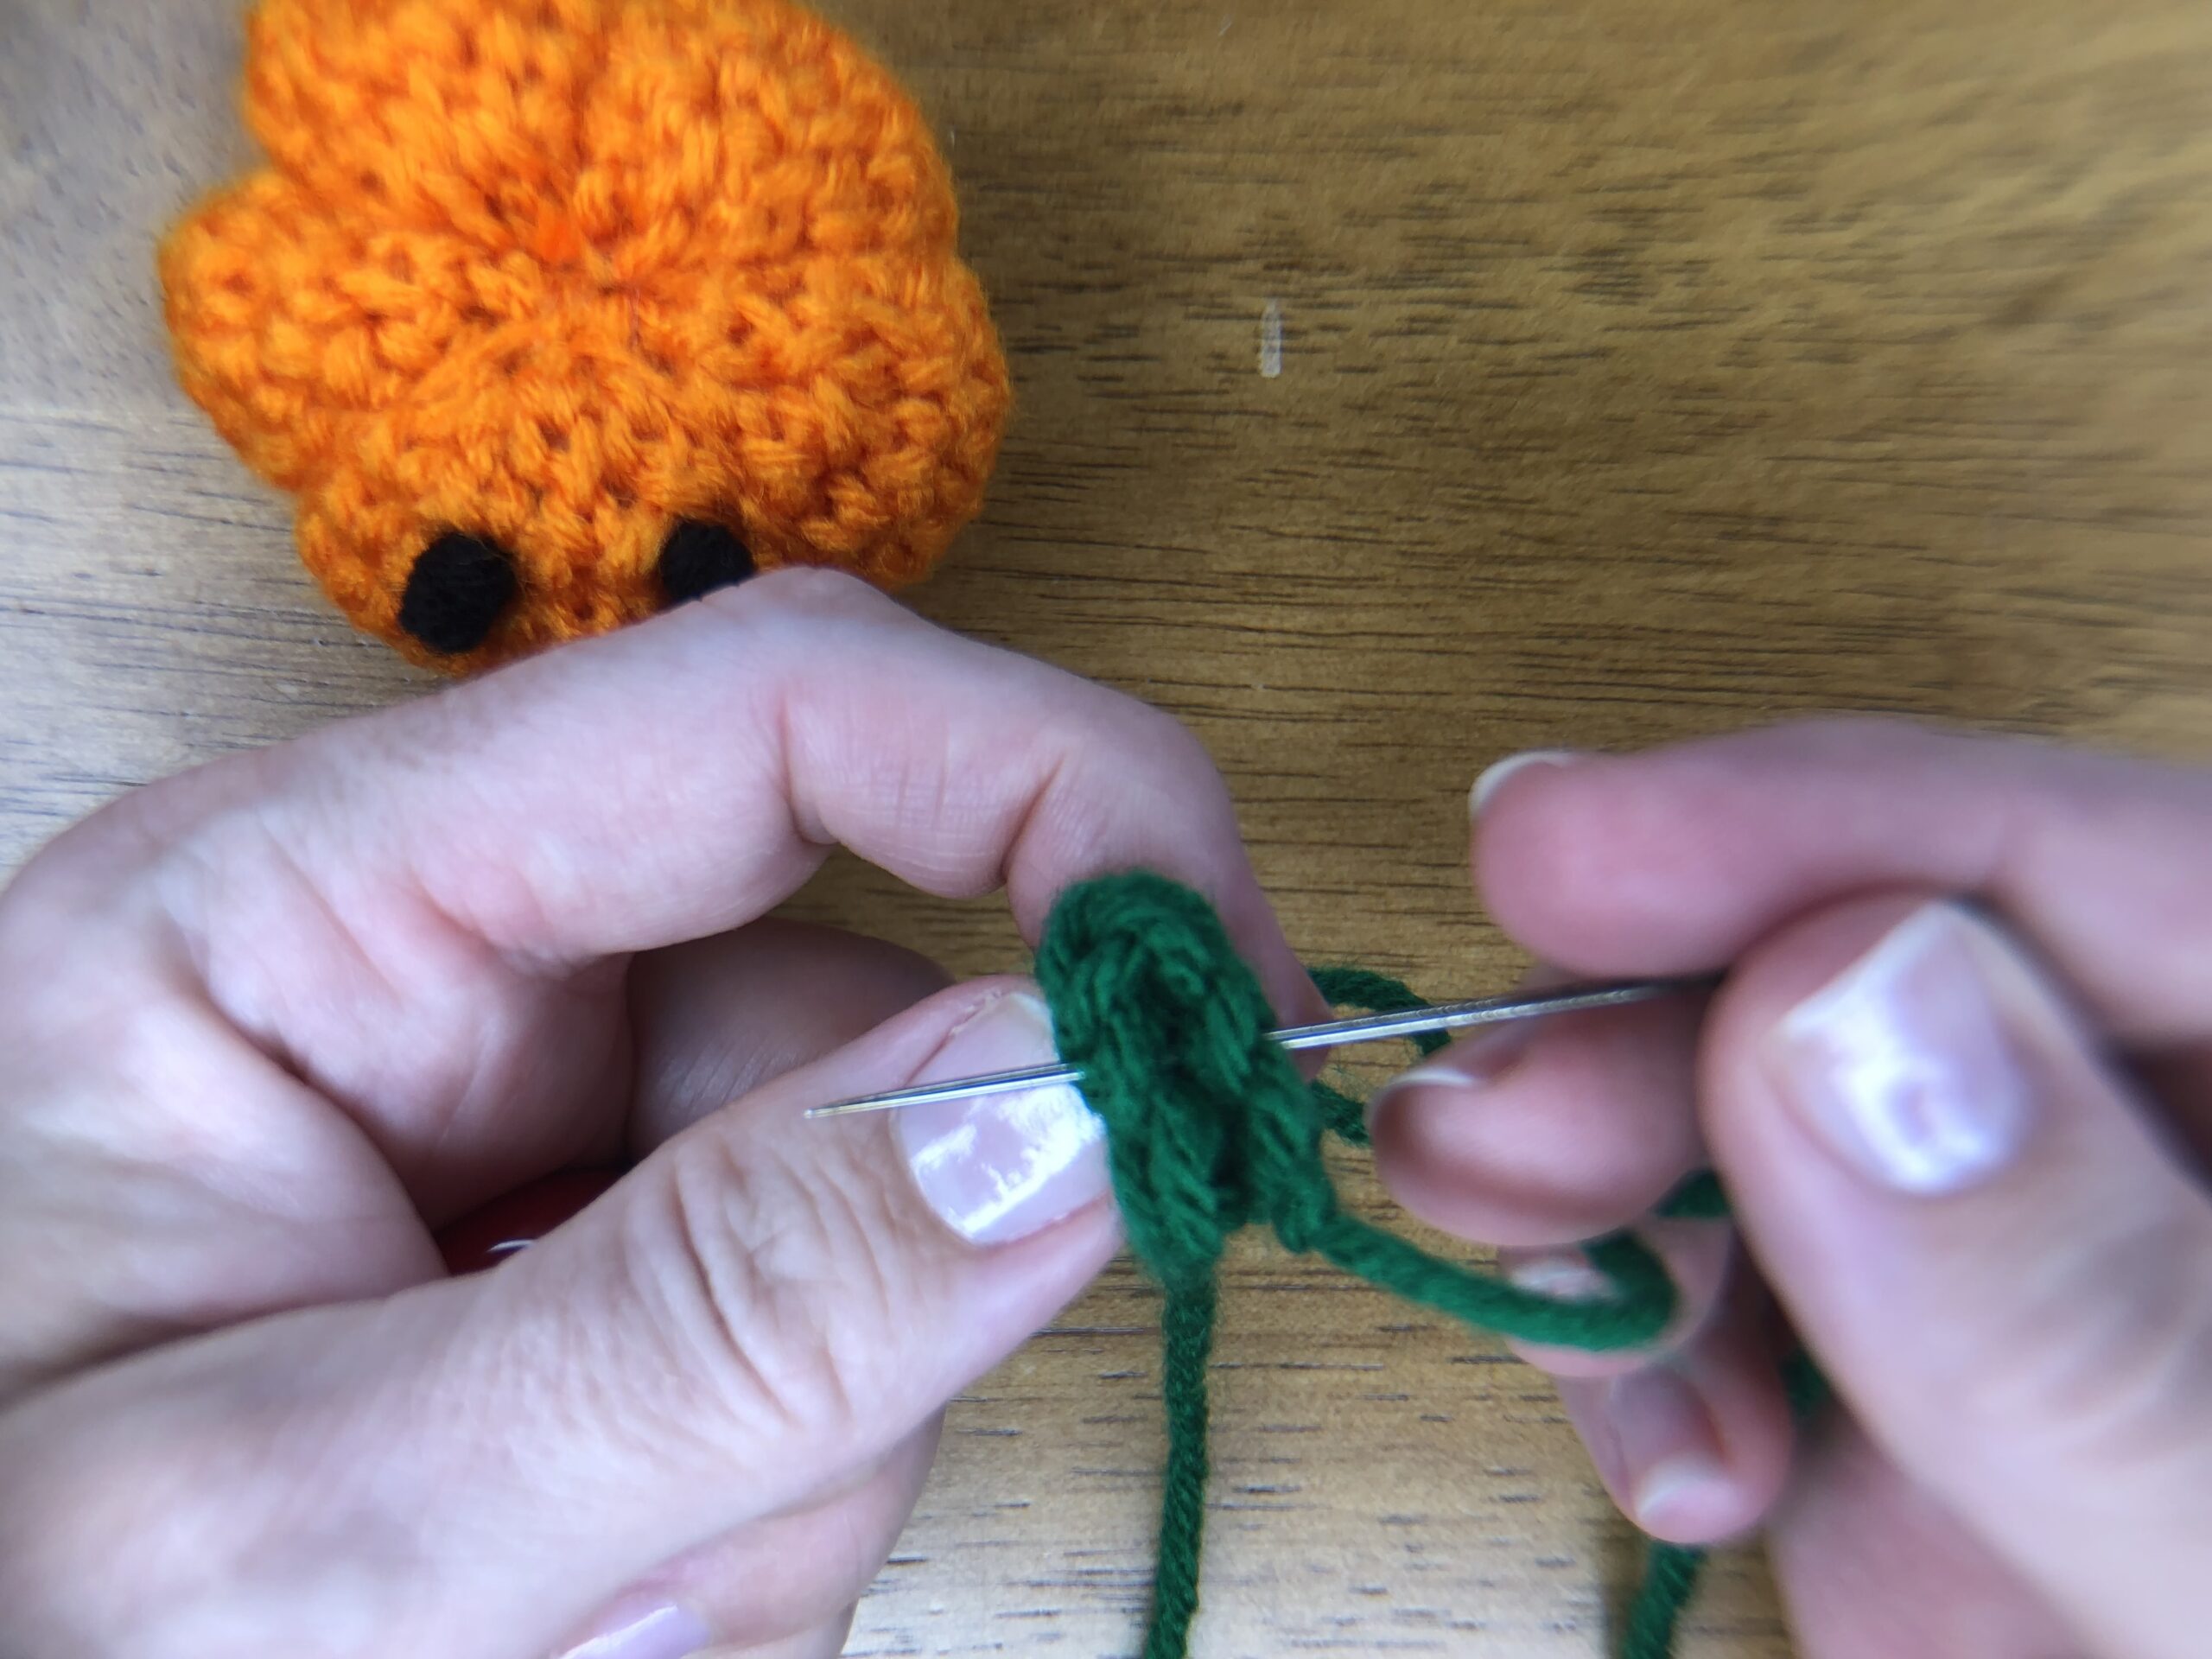
Thread the long tail on your needle and sew the stem to the top center of the jack-o-lantern. Tie off and weave in ends.
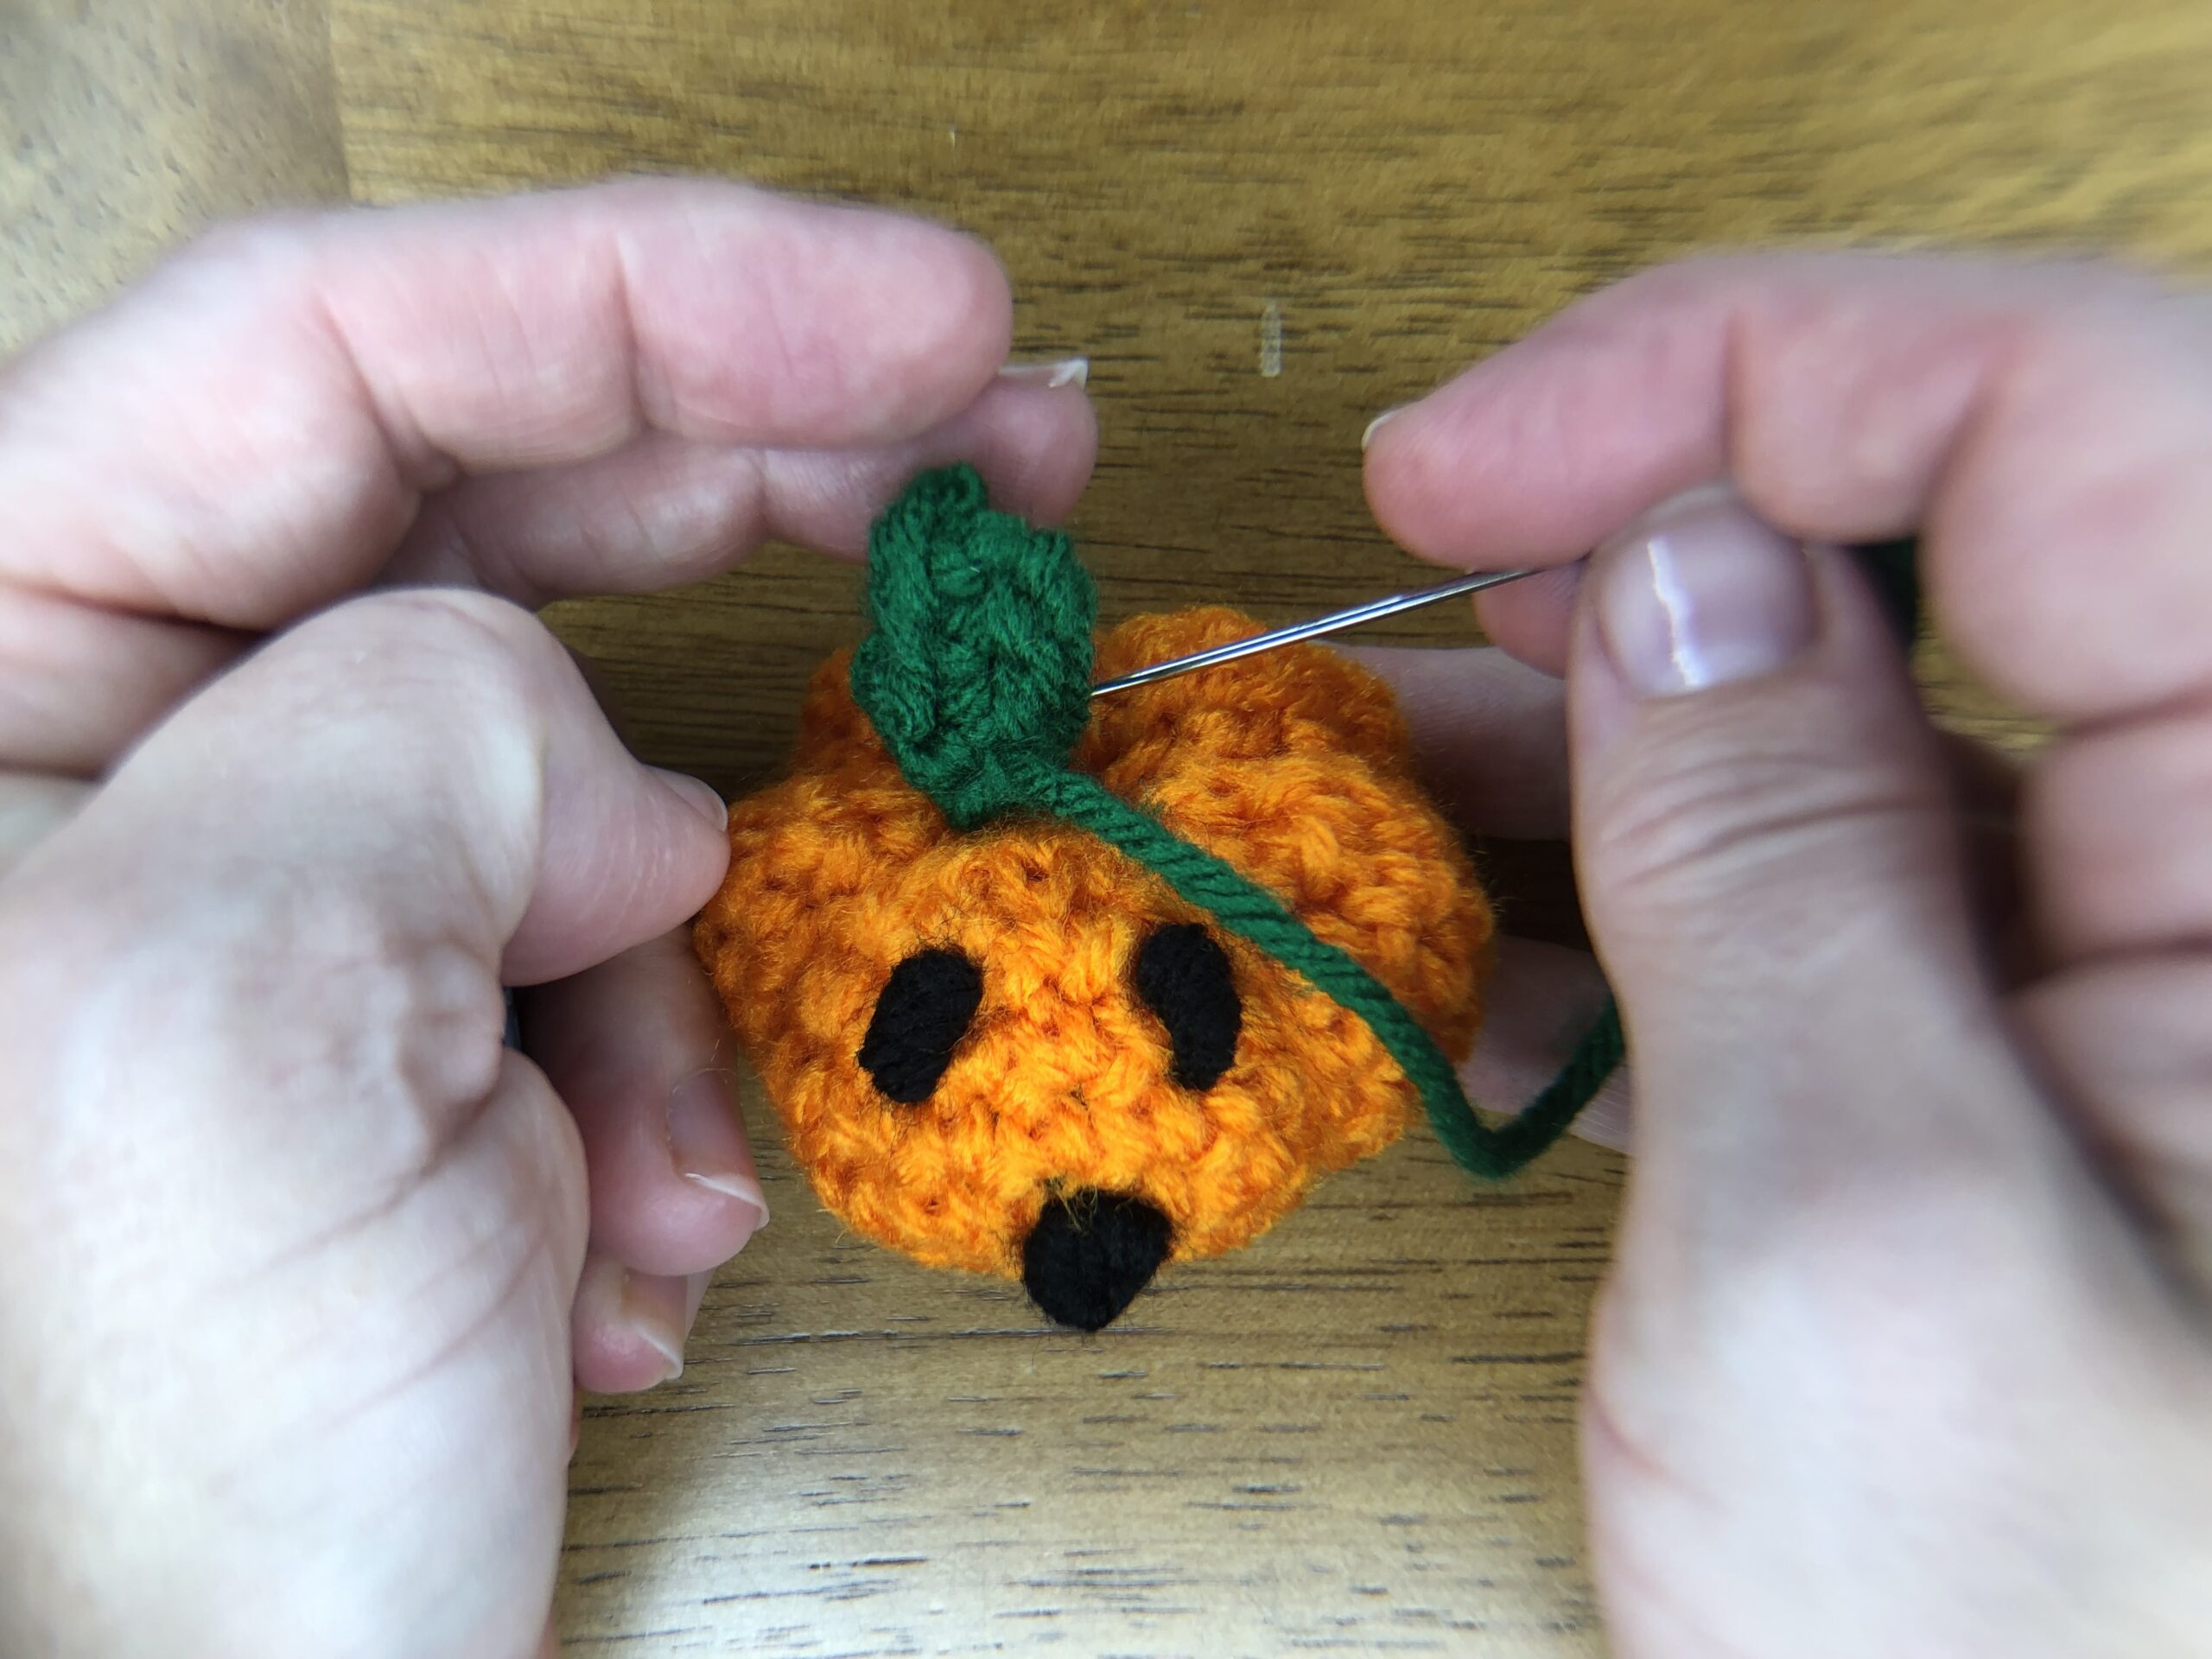
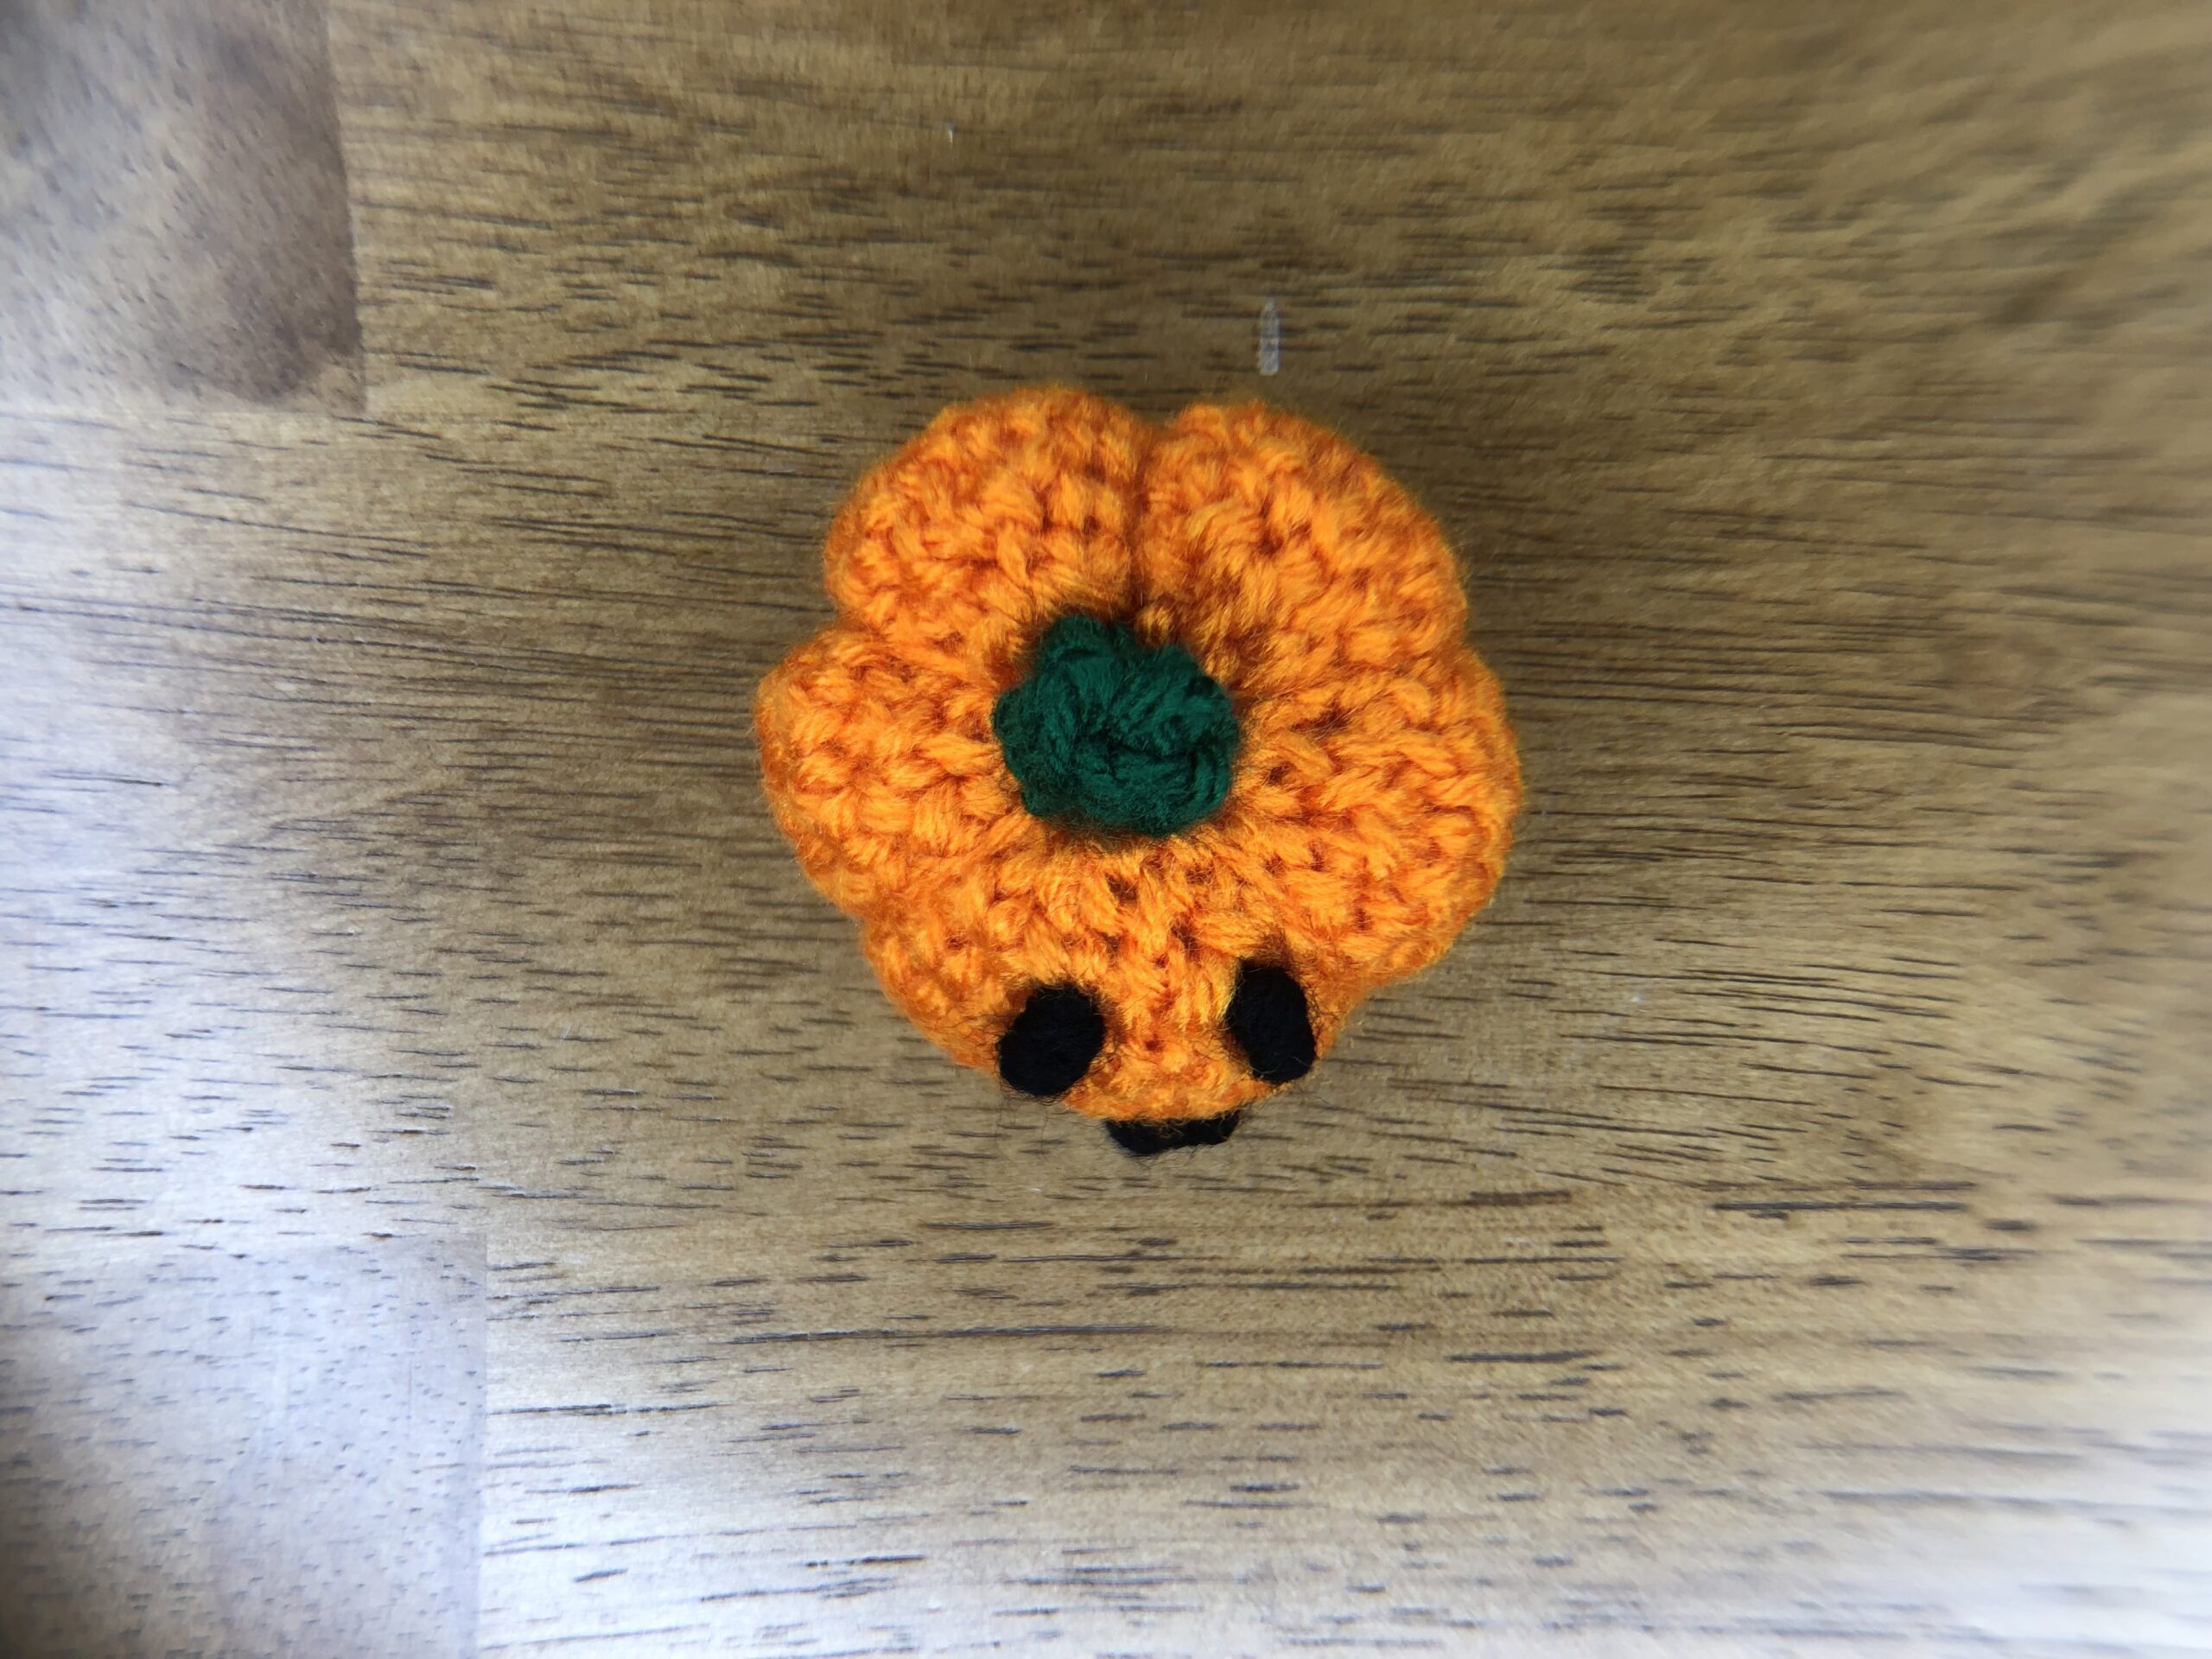
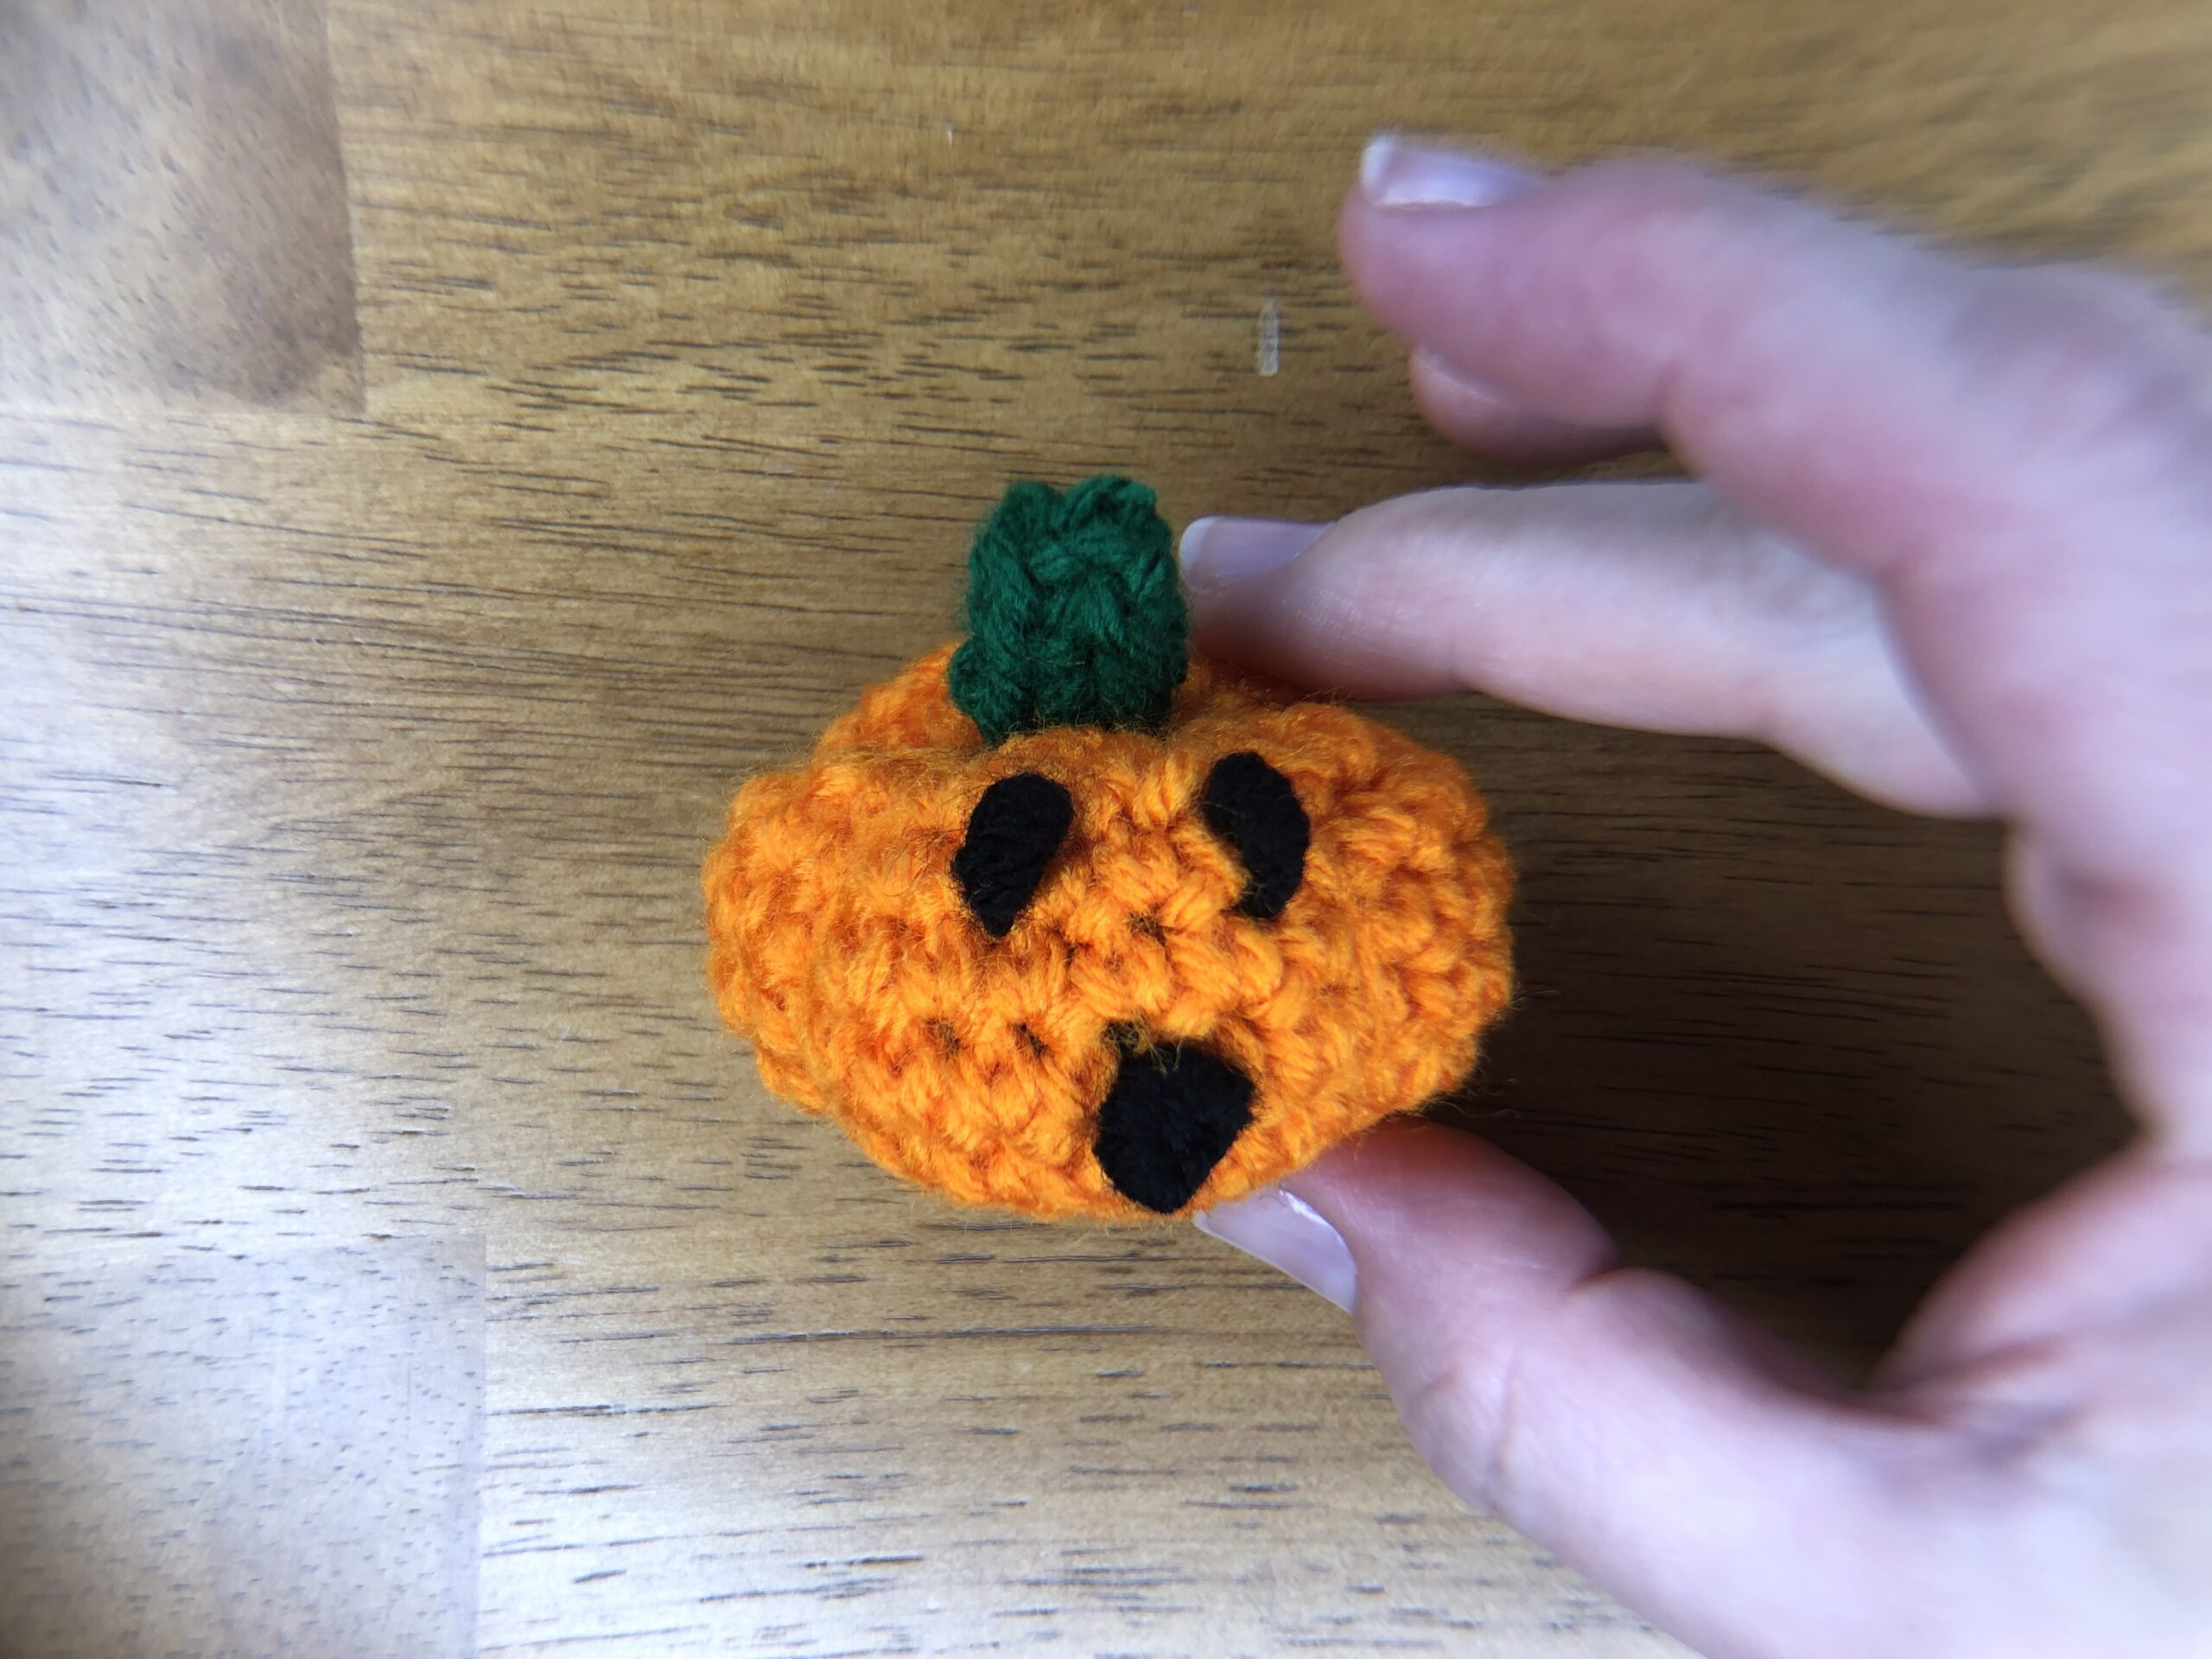
Viola! You have your very own baby jack-o-lantern pumpkin!
Making a larger jack-o-lantern pumpkin
To make the larger version, continue making increase rounds by adding an additional sc between the increases, until you reach 3 sc between each increase. You will have 40 stitches after the final increase round.
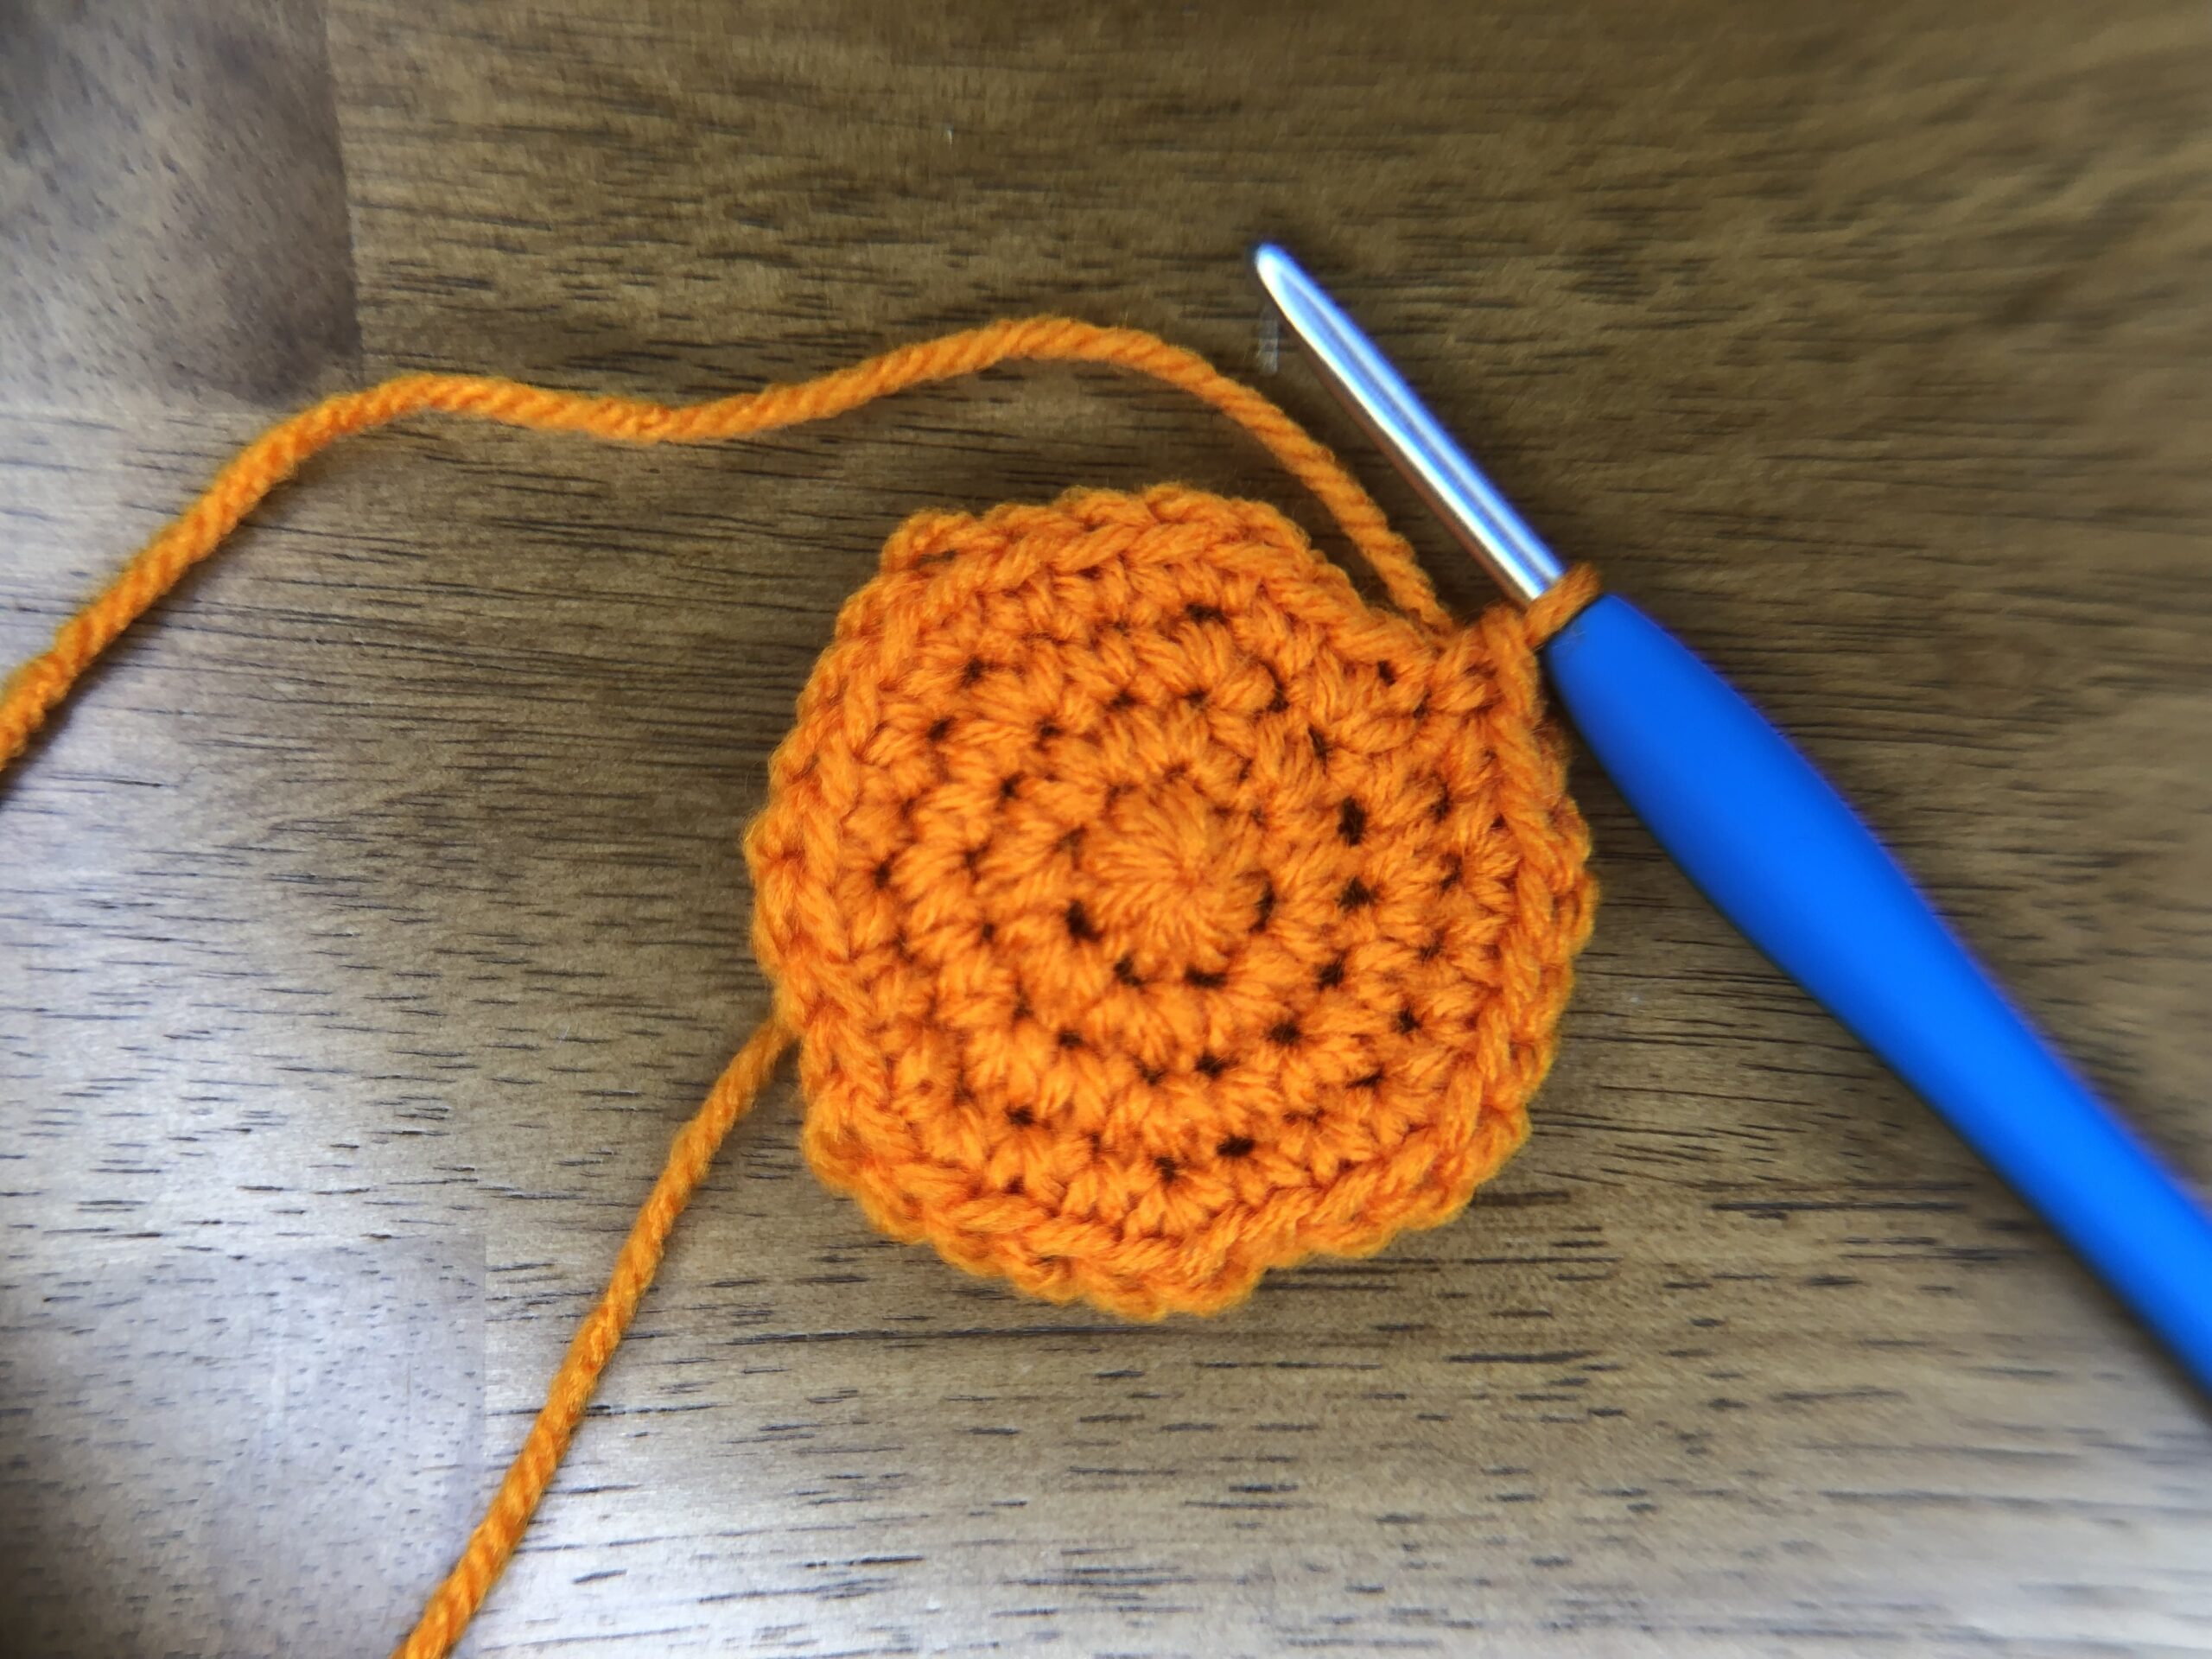
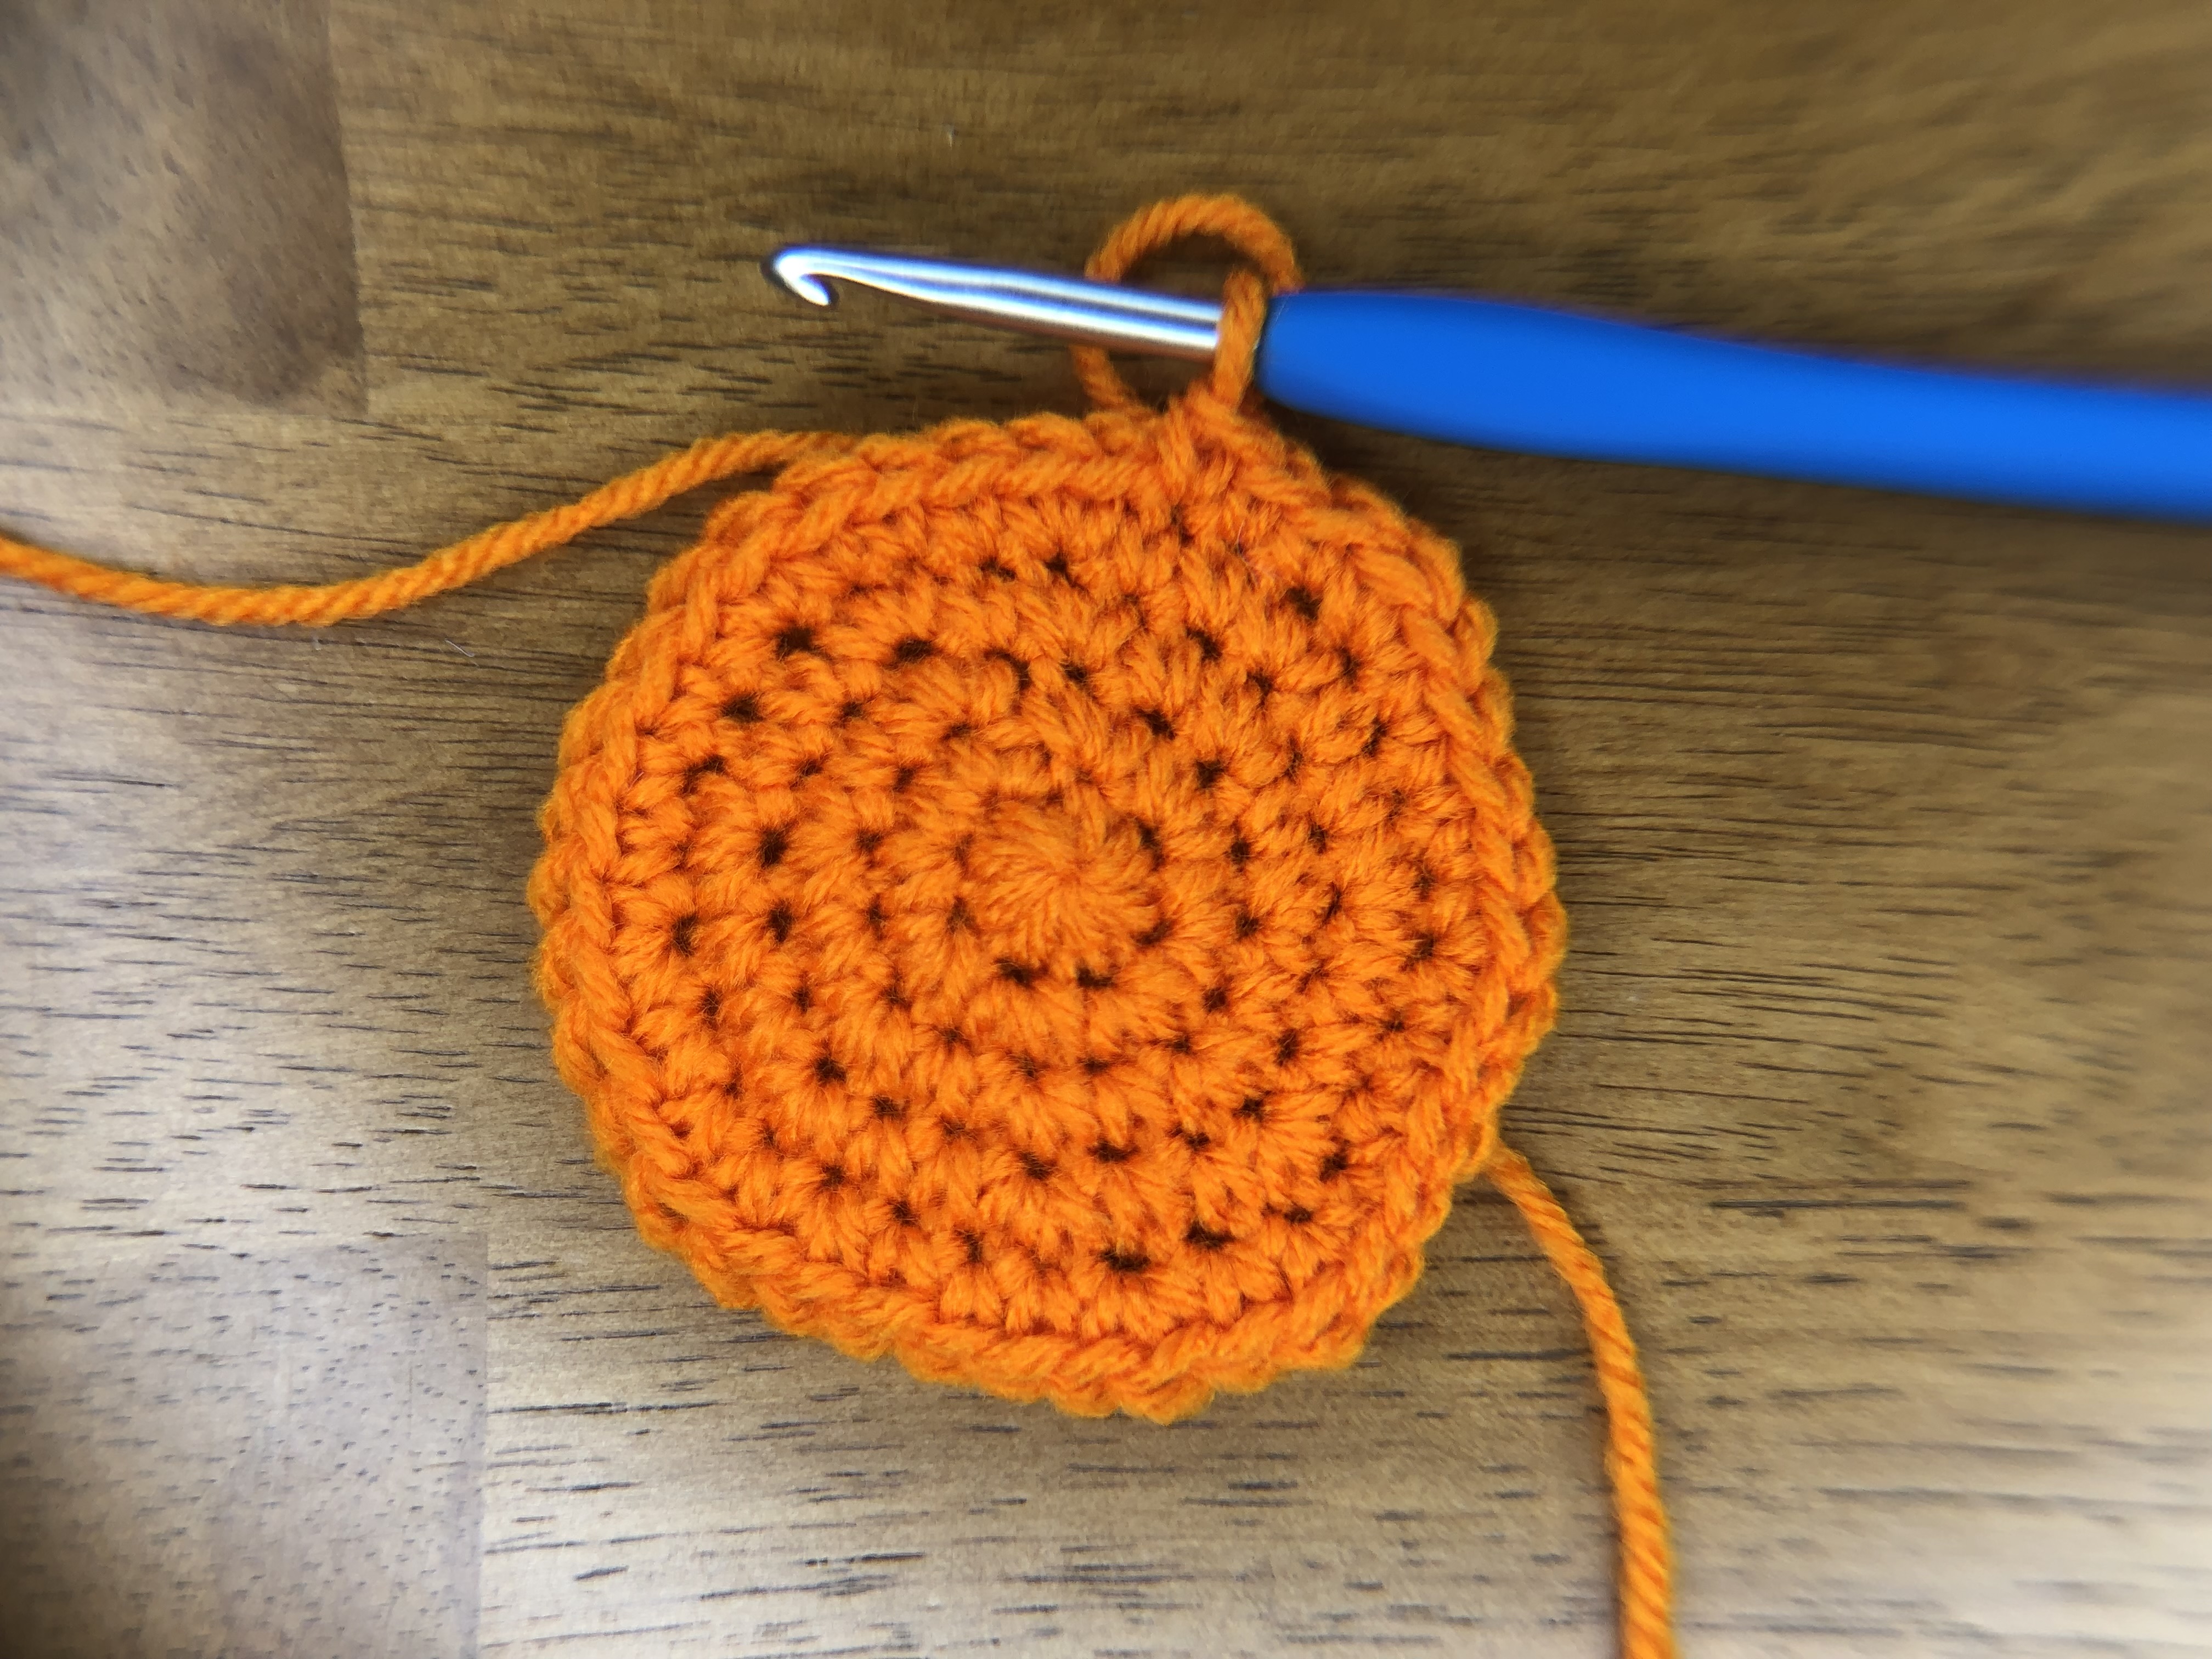
Work 10 rows of even sc stitches. Then work the decrease rounds in reverse order of the increases, starting with sc2tog followed by sc in the next 3 stithces and ending with sc2tog around, leaving you with 8 stitches.
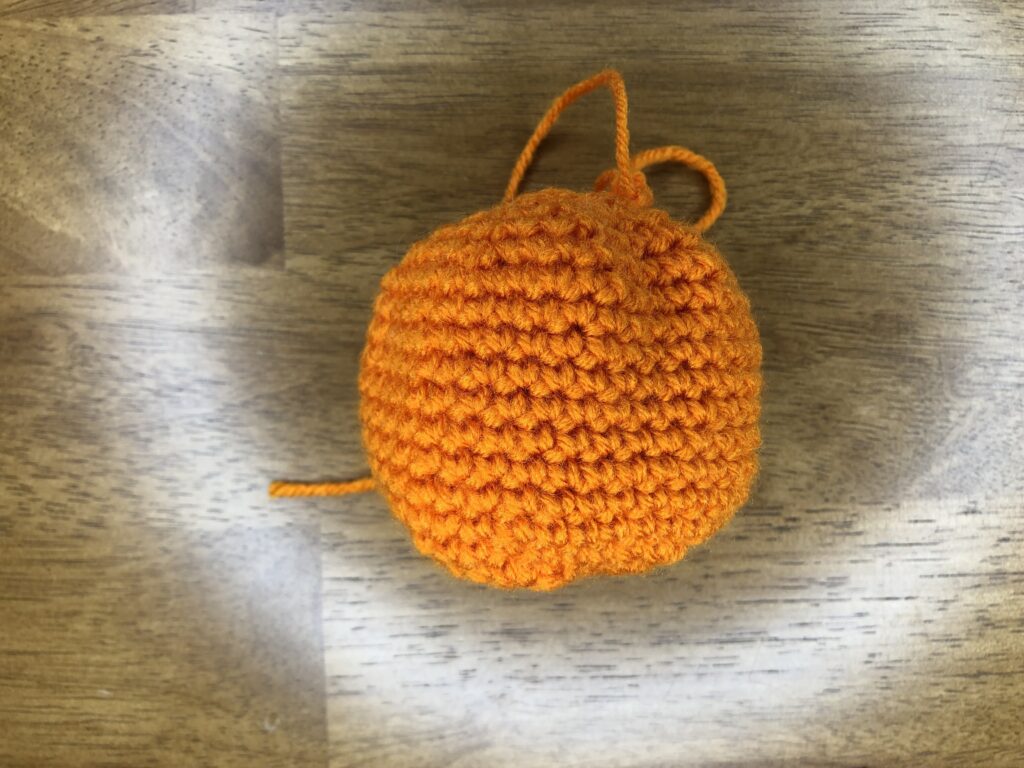
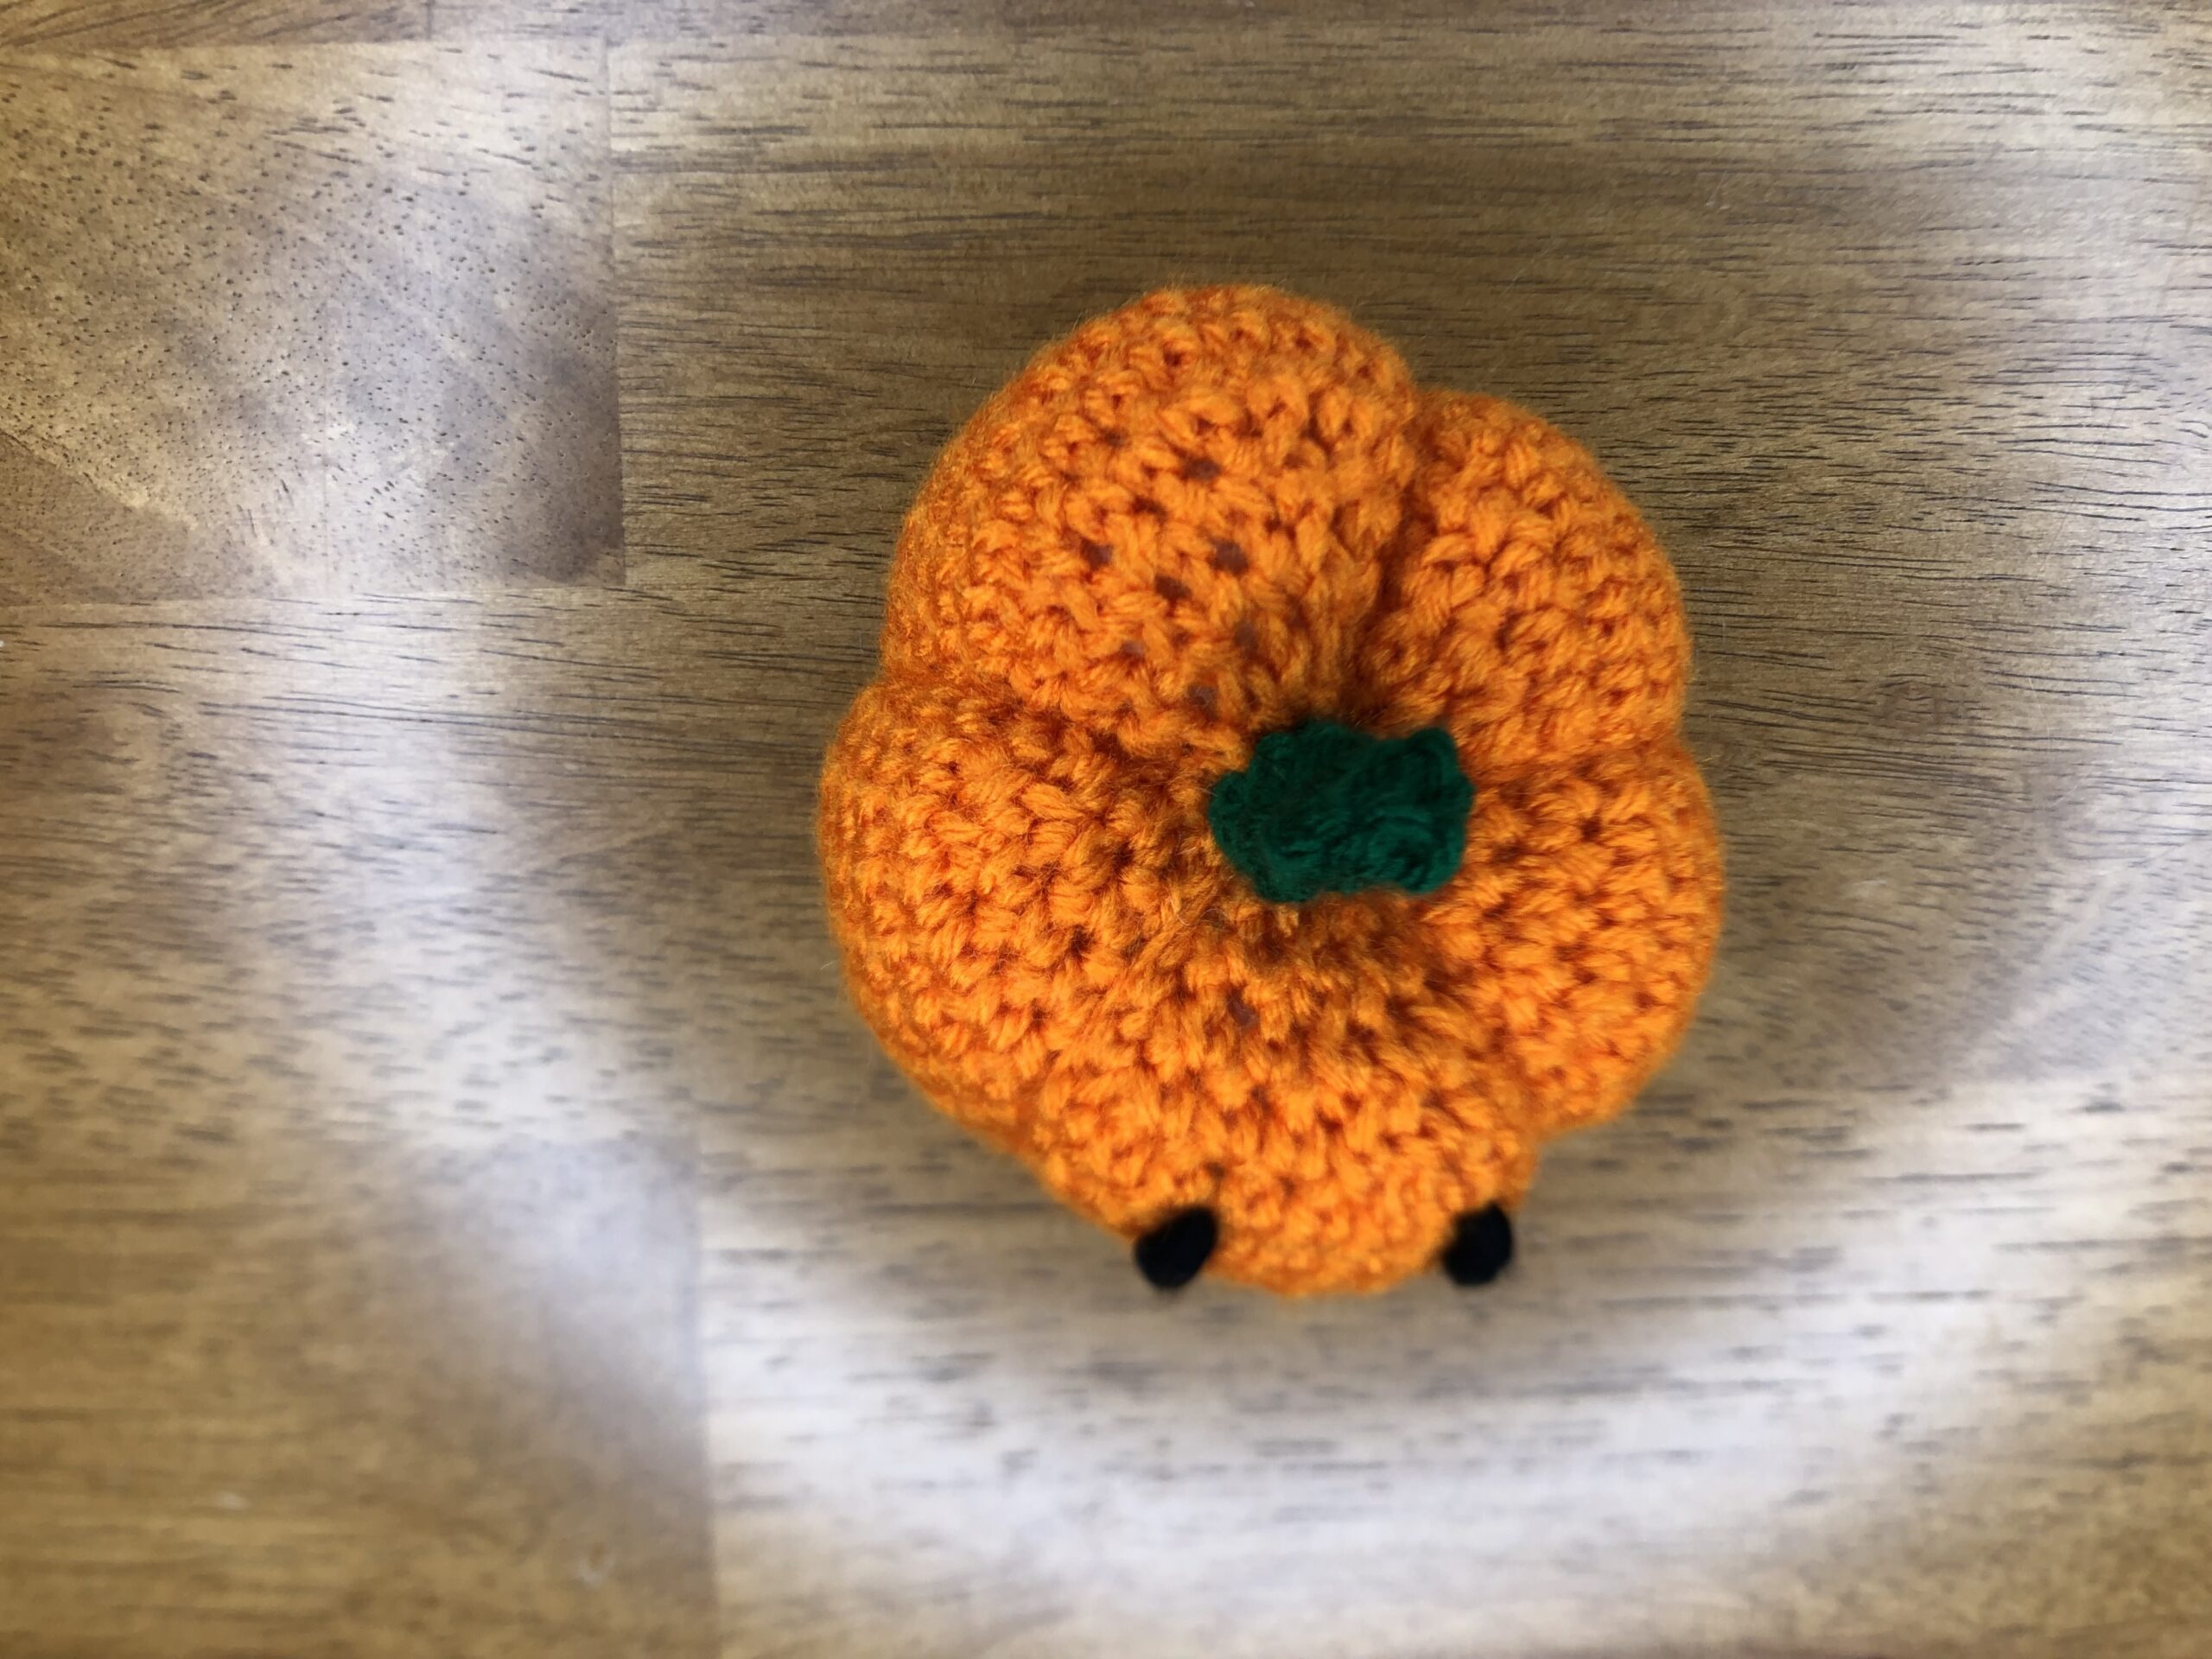
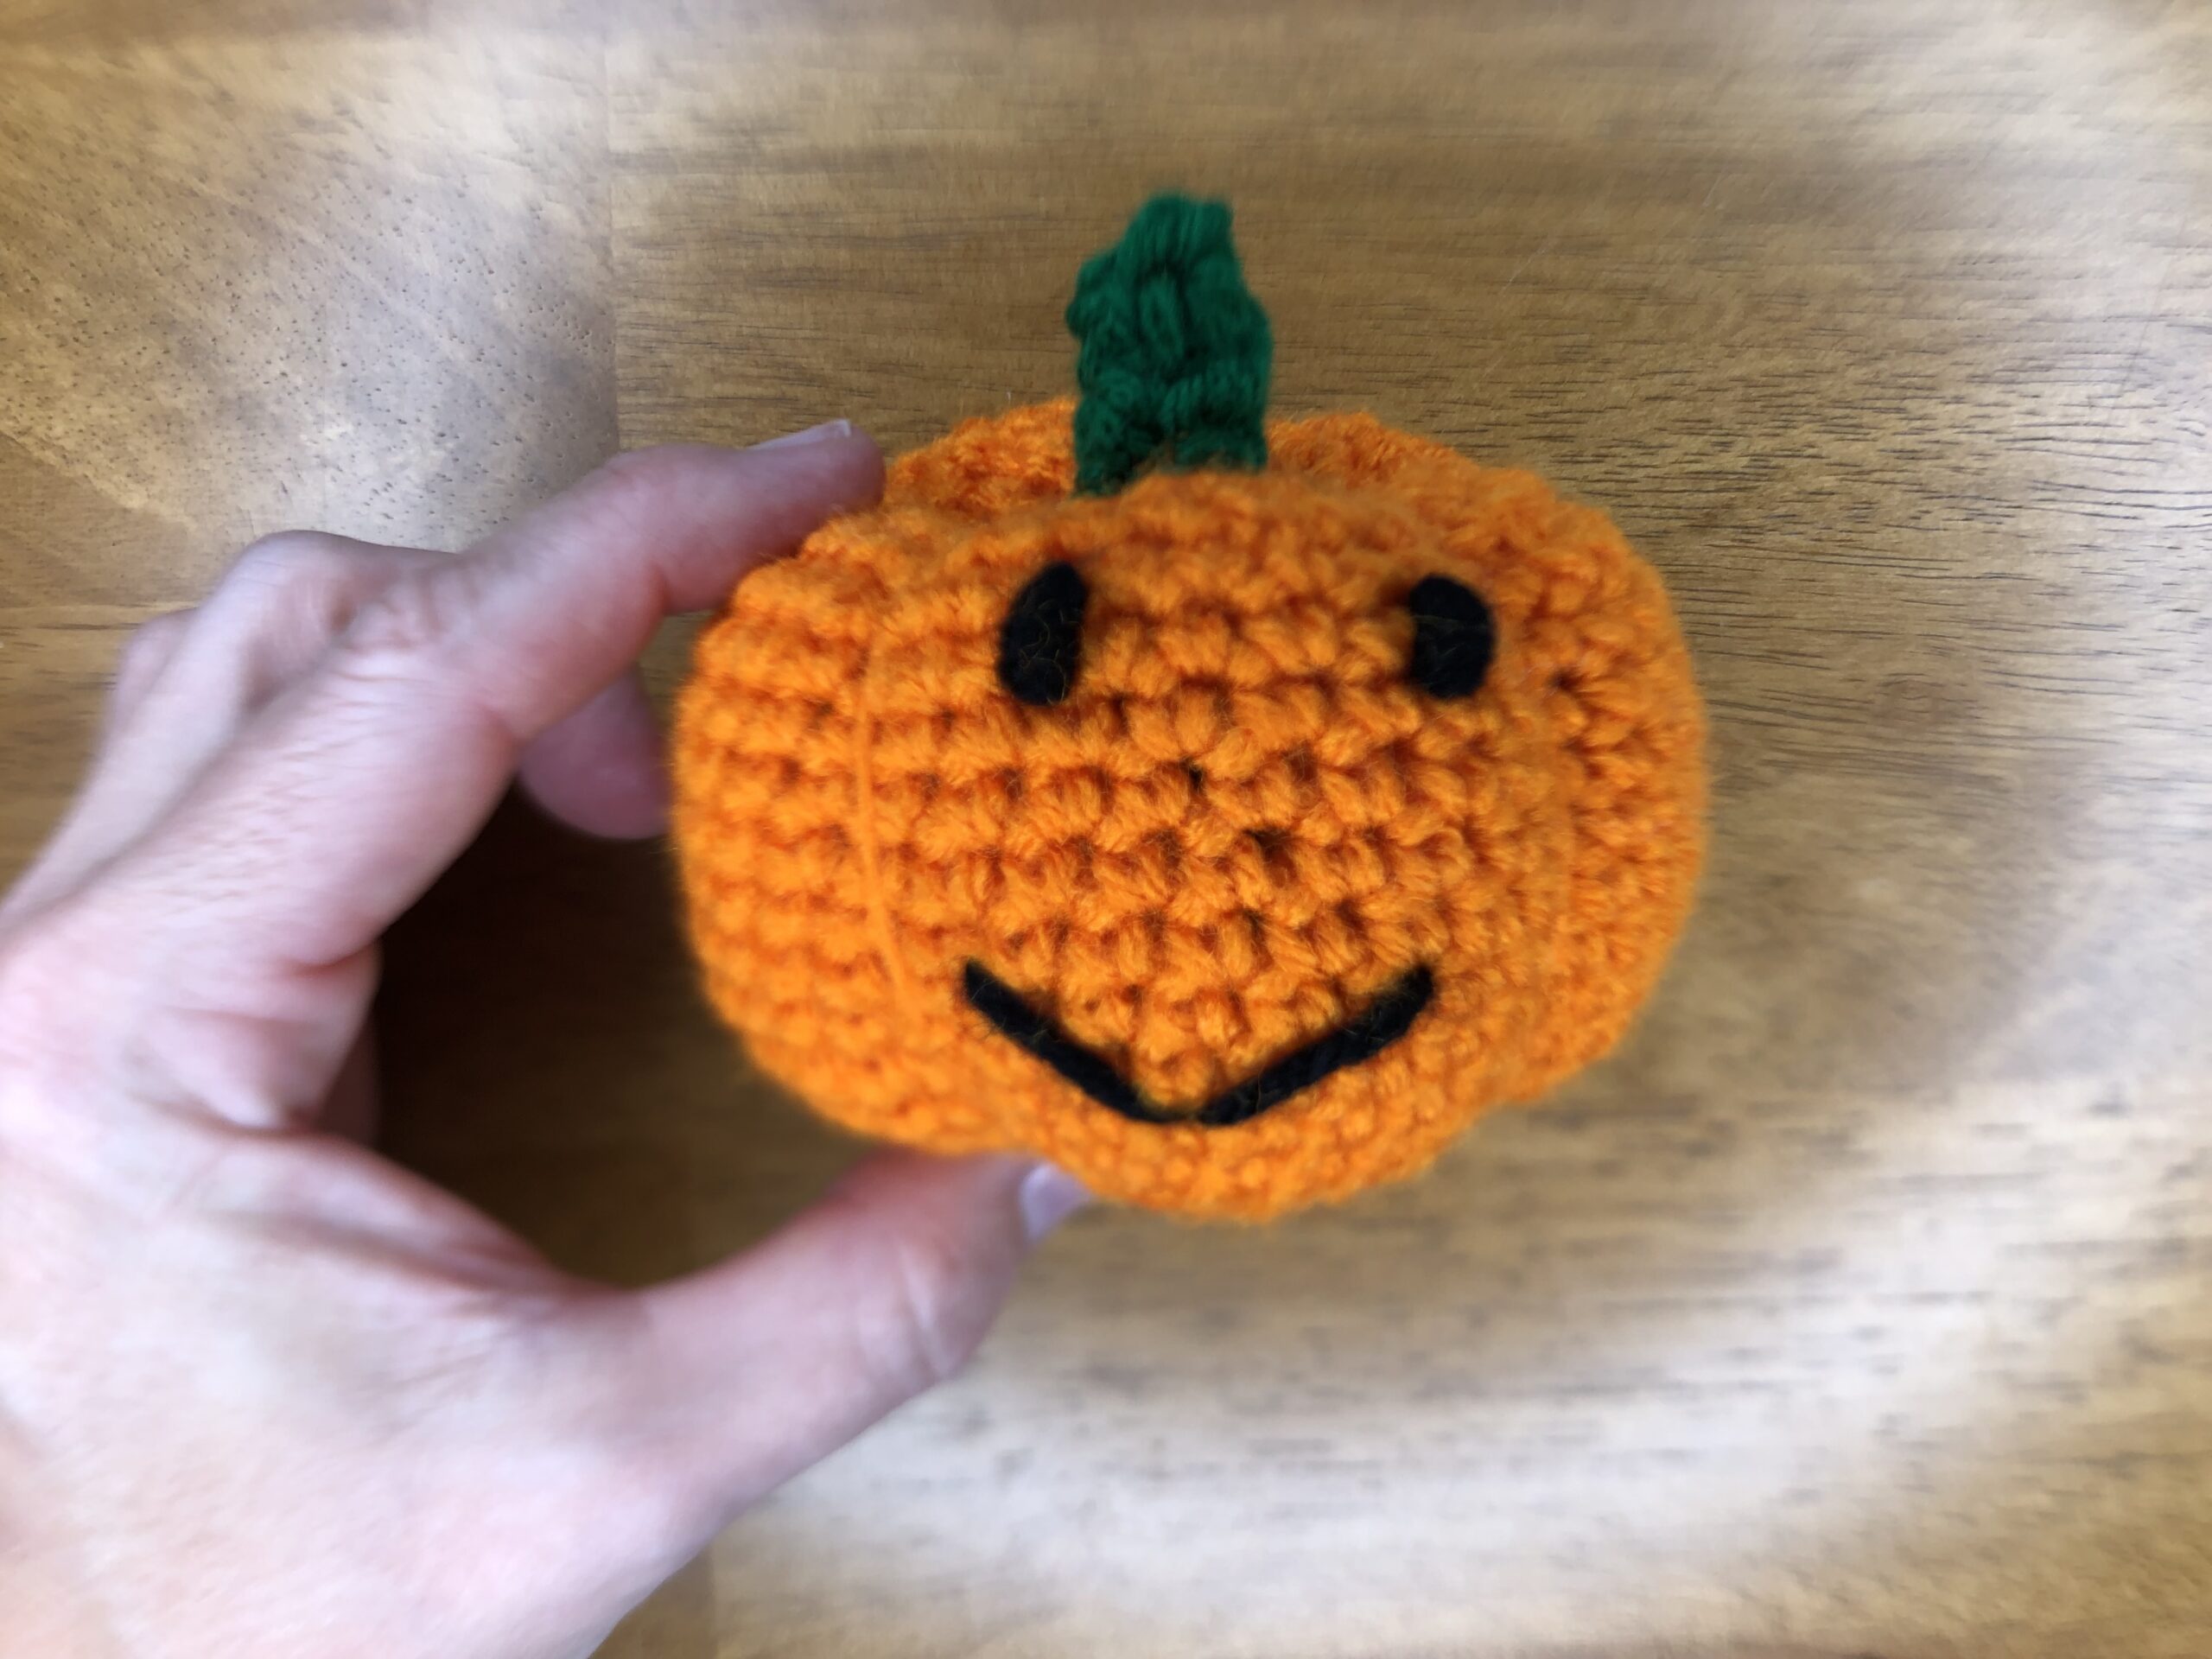
For larger eyes, make a knot with 10 loops. Experiment with embroidering a mouth in whatever shape you like, just make sure to tie the ends together before closing and stuffing the pumpkin!
To make a larger stem, chain 11 and sc 10 across. Finish in the same manner as the smaller pumpkin.
Wrapping it up
That’s all there is to making your very own Baby Jack-o-Lantern Pumpkins! They are quick and easy and sure to ramp up spooky season decorations – whether for you or if you make them as a gift for someone. Don’t forget to share some pics on social media and tag @sugarspiceandyarn or use #sugarspiceandyarn!
Prefer watching a Video?

Buy me some Yarn?
If you are enjoying the content I've created and would like to support with a tip, you've found the right place. Any amount is greatly appreciated!



Thx.